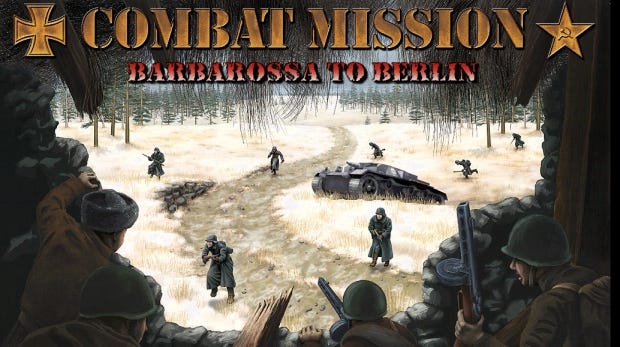
The Flare Path Welcomes Combative Commenters
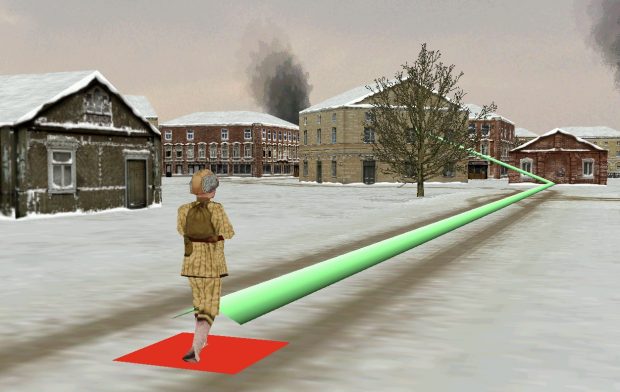
Communal Combat Mission
I was tempted to explore Nineteenth Century warfare or try something operational for this year's play-by-comment wargaming marathon, but after surveying my game collection and conducting experiments, found myself gravitating towards Battlefront's oeuvre and WW2 once again. When it comes to generating gripping unscripted dramas I reckon first-generation Combat Mission is peerless, and that clever WEGO turn structure (the orders of both sides are executed simultaneously) might have been designed with communal combat choreography and episodic AAR writing in mind.
If The Battle of the Perfectly Rectangular Olive Grove is any guide, the coming scrap will play out at approximately 1TPD. Every 24 hours, the Red Army troops and armoured vehicles under your control will experience 60 in-game seconds of Eastern Front hell.
The Concept
Just in case you weren’t around for last summer's nailbiting North African clash, here’s how PBC Combat Mission works. Every turn, via a comment along the lines of “Turn 1 orders here, please…” I solicit written instructions for friendly forces (enemy units are AI controlled). Orders are accepted on a first-come-first-served basis with individual commenters only permitted to ‘move’ a single vehicle, infantry platoon*, or weapon team per turn.
*Usually platoons are composed of several squads and an HQ.
One turn Buggleskelly might send the M5 halftrack trundling northward towards grid square E22, while Prof_Yaffle chooses a target for the 120mm mortars and Ganesha75 does something sly with the sniper. During the next order round, Cossack could end-up in charge of the halftrack while BillStickers and Toffeeman do the honours with the mortars and the sharpshooter.

Once the orders are in for all* units, I’ll execute them and return with a brief image-accompanied account of how the last sixty seconds of in-game action played out. Did you manage to sneak the HQ into that dacha without being cut to ribbons by the MG 42 across the river? Did your T-34 discover something nasty behind the woodshed? All will be revealed.
*Occasionally, to keep things moving, I may step in and issue orders for an unpopular or peripheral unit myself.

I can’t promise to process orders every day – like all GGMs (Groggy Gamemasters) I’ll be taking time out to sleep, eat, read, pet the cat, and dabble with recent wargame releases – but, going by past years, there should be a new turn summary/order invitation posted most evenings. Please pop in regularly to check on progress and lend a hand with the Ivan orchestration.

The Challenge
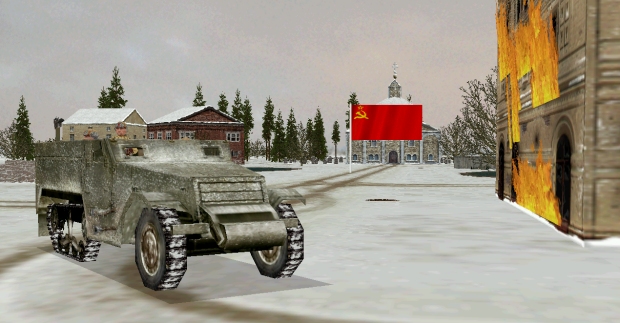
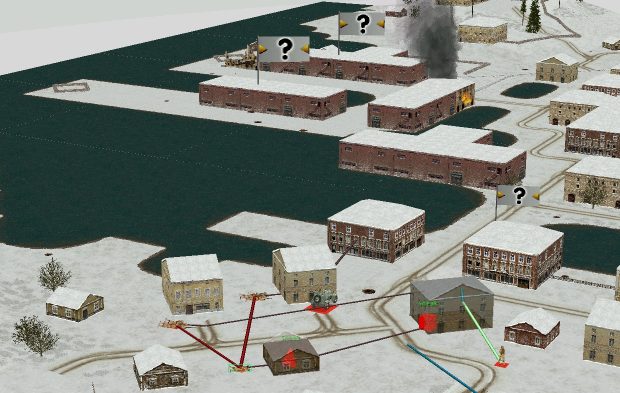
It's mid January, 1945. In a small Latvian town lapped by the icy Baltic, a ragtag band of German units cut off by the advancing Red Army await rescue from the sea. That rescue seems imminent. VVS aircraft have spotted a destroyer and freighter approaching at speed from the west. If the town isn't taken swiftly, the fascists could get clean away.
Your task, Commanders, is to secure the port and/or neutralise its defenders within 30 turns. Comrade Bagramyan believes a force consisting of two T-34s, two SPGs, an armoured car, and around 100 men should be ample for the challenges ahead.
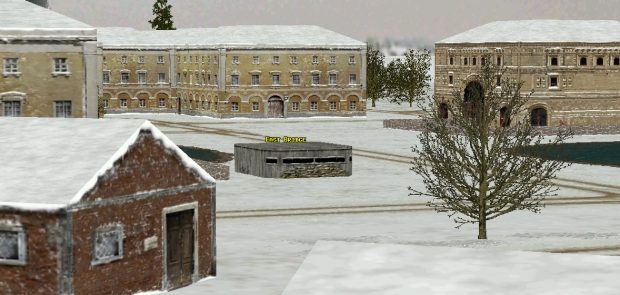
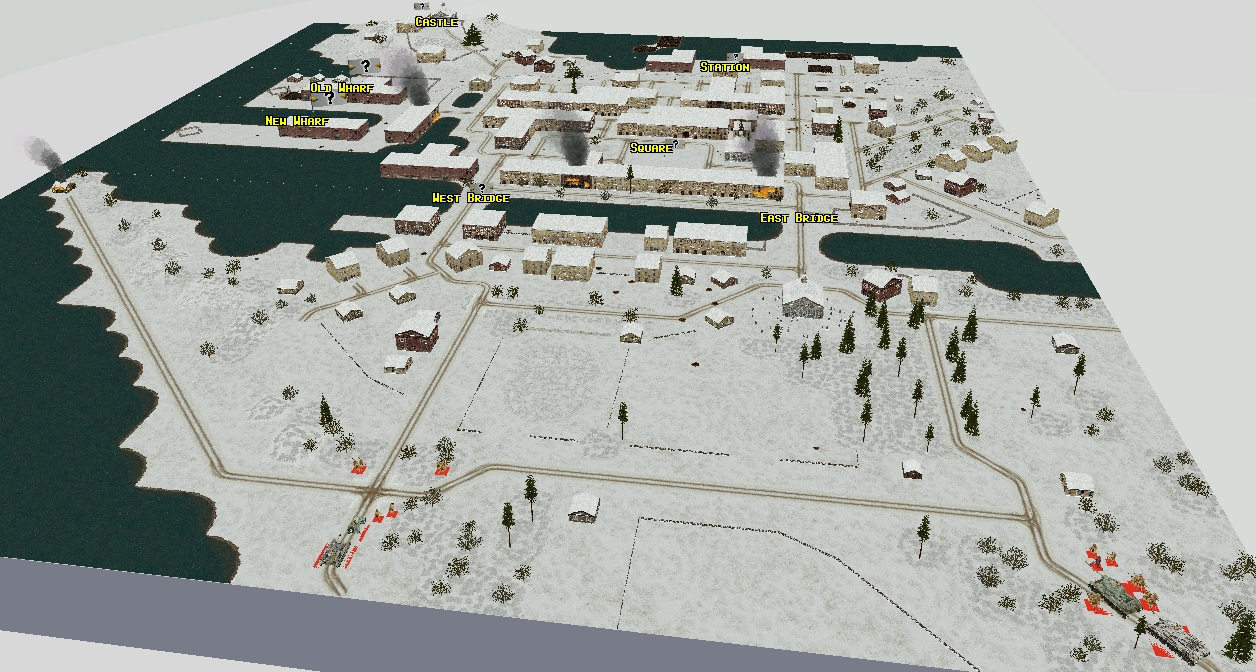
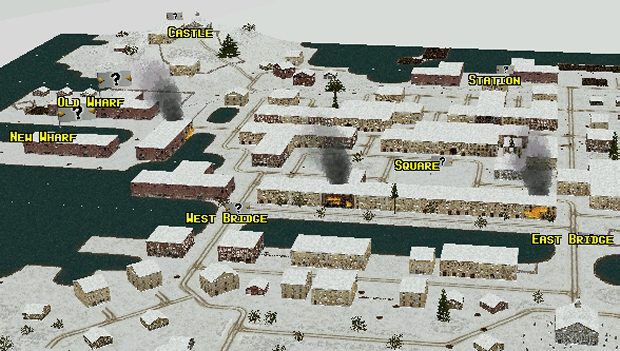
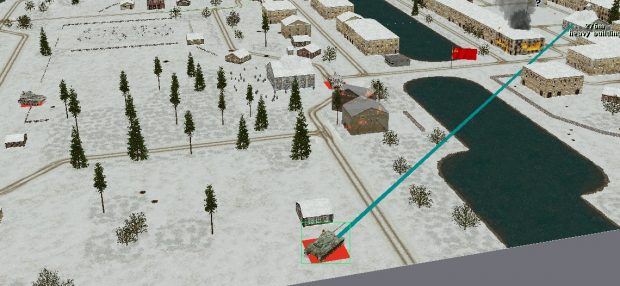
We believe the Germans aren't expecting an attack from the south. Recon troops sent into the southern suburbs at daybreak encountered no enemies south of the river except an MG bunker next to the east bridge (see above). However they did hear tracked vehicles moving about in the vicinity of the town square and observed some form of AA or AT gun being tractored out to the end of the new wharf.
An AI-controlled feint from the NE should draw some of the defenders away from the bridges and square in the early stages of your attack. Be ready for the return of the distracted units once they realise they've been duped.
The Battlefield
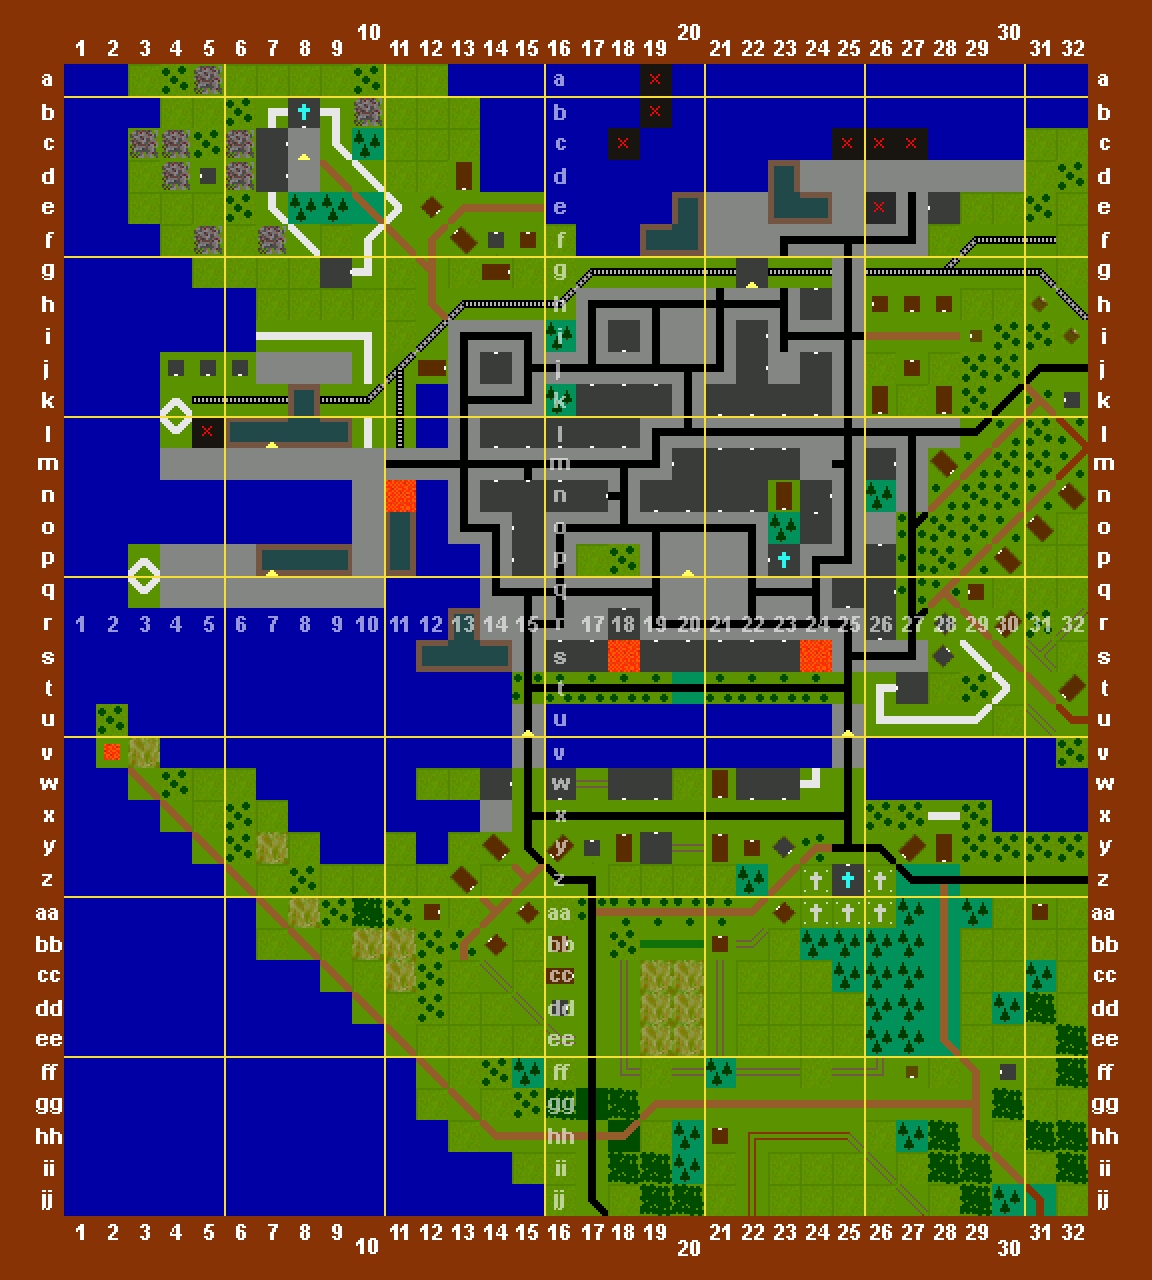
^ Click to enlarge. Walls (thick white lines), woods (dark green squares), and tall pines (blue-green squares containing three dark triangles) are impassable to vehicles
720m by 650m, the venue is dusted with a light covering of snow and is totally flat except for a castle-topped hill in the NW and a long low ridge on a spit of land in the SW.
To gain access to the town centre and the docks you will need to take one or both of the bridges spanning the river. Of the seven victory locations on the map, two – New Wharf and Old Wharf - are 'major', worth 300 VPs each. Capturing a minor VL - West Bridge, East Bridge, Square, Station, Castle – will add 100 VPs to the Soviet score tally*.
*Score tallies are also impacted by losses
^ Facing north. The two Soviet deployment areas are in the foreground (Click to enlarge)

^ Looking west along the river

^ Looking east from the wharves

^ The view SE from Castle Hill
Friendly Forces
There are two clusters of Soviet units on the southern map edge at the start of the game.
- The central group (circa ii17) consists of...
A nippy BA-64B armoured car. Armed with a single LMG and plated with relatively thin steel, it's made for rapid recon and cagey infantry support rather than tank tackling.

A SU-76 self-propelled gun. Known to its crews as the suchka (“little bitch”) or Golozhopiy Ferdinand (“bare-arsed Ferdinand” - a reference to its open top and frail flank and rear armour) the SU-76 sports a useful 76mm AT gun. HE rounds are also carried.
Lt. Ryumin's recon platoon (two squads plus an HQ). Laden with grenades and Molotovs, most of the veterans in these two eleven-man squads carry rifles.
Lt. Batrakov, a spotter for an off-map battery of 120mm mortars. He can arrange fire on out-of-LoS targets, but will be far more effective when directing bombardments at enemies in his eye-line. Expect to wait around four minutes/turns for the first shots to arrive.
- The SE group (circa ii30) consists of...
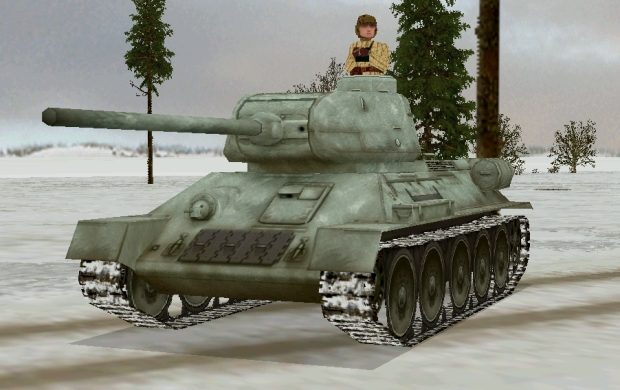
A T-34/85. Your most effective and robust tank killer.

An OT-34 flamethrower tank. Sure to strike fear into the hearts of even the stoutest defenders, the OT-34 can sling shells and spray bullets as well as squirt napalm.

Lt. Myshkov's pioneer platoon (three squads plus a platoon HQ). With their Molotovs and demo charges these three nine-man squads are well-equipped for urban warfare.
Kapitan Gurtiev, Myshkov's boss and the highest-ranking Red Army unit on the map.
Yefreytor Renko, a veteran sniper awarded the title 'Hero of the Soviet Union' for his deeds at Stalingrad.
- Reinforcements due to arrive in 7-10 turns...

A SU-122 self-propelled howitzer. Building demolition is this heavyweight's forte.

An M5 halftrack towing a 57mm AT gun.
A three-squad 30-man rifle platoon.
Issuing Orders

You don’t need to understand the intricacies of Combat Mission: Barbarossa to Berlin to participate. Just provide a destination coordinate, and perhaps a clue to pace/cautiousness and I’ll do my best to translate your instructions into an in-game order.

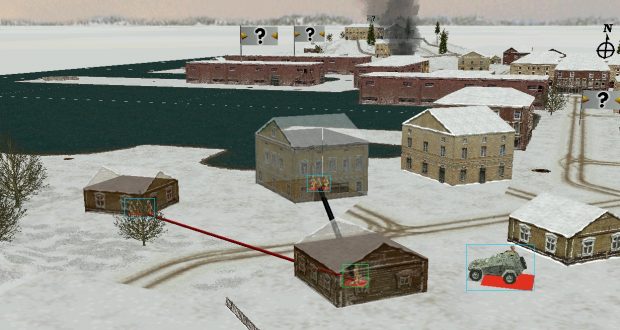
Full strength infantry squads, represented on screen with three figures, can be split into two sections for tasks like scouting, and will fight harder, react quicker, and be less likely to panic if close to an HQ (The squad on the left in the above pic is 'out of command')
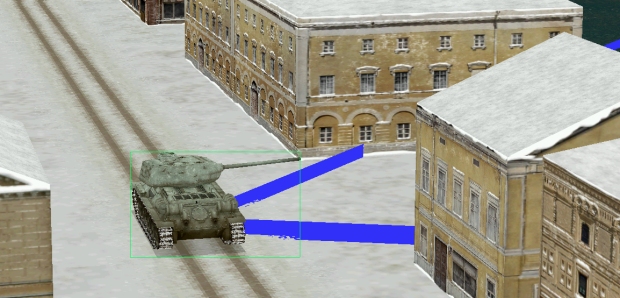
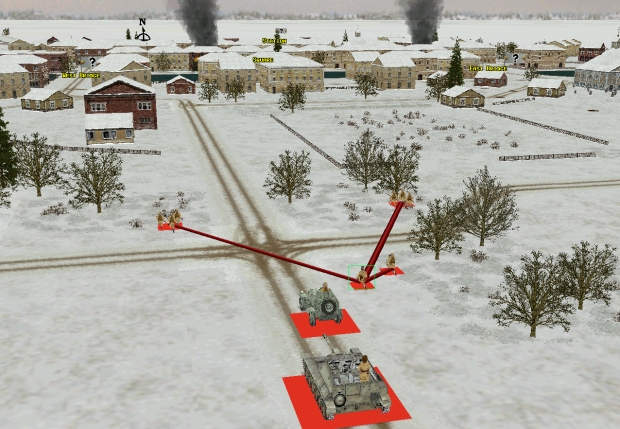
^ T-34/85 using a cover arc on the move
One of the most useful orders available to AFVs is the cover arc. Stretched over a potentially dangerous sector of the map, it helps prevent vehicles from becoming distracted while ambushing or manoeuvring.
Newcomers wanting to learn about CMBB, its powerful command options and deep simulation, could do worse than check out the manual and the demo. I'll do my best to answer technical questions during the battle. Hopefully, knowledgeable spectators and players will furnish explanations from time to time too.
Happy hunting, Comment Commanders. Take the town by T+30 and the vodkas are on me.
Turns 1 & 2
As most Soviet units are still on the move at the end of turn 1 and no enemies are in sight I allow another turn to unfurl.

Seven seconds into turn 2, the unbuttoned commander of the OT-34 drops smartly into his turret and slams the hatch shut after an MG fusillade splashes him with sparks. The 'hunting' flame tank has attracted the ire of the bunker next to the east bridge. Unperturbed, it pauses to deluge the structure with liquid fire. One gout is enough. The bunkerites immediately abandon ship.

Turn 2 ends with Lt. Myshkov’s pioneer platoon ensconced in a two-storey house (y27) overlooking the east bridge. Renkov the sniper is nextdoor scoping for targets north of the river.
In a commanding position on the righthand map edge, the T-34/85 is well placed to tackle anything approaching the east bridge from the town square. The SU-76 at ff25 can't see what's going on to the north but does have clear LoS westward to the end of the new wharf.
Lt Ryumin's recon troops occupy buildings around aa13 (the BA-64B is close-by). Batrakov, the mortar spotter, is the only friendly unit still in motion. A little weary - presumably, because he's lugging a heavy radio - he's approximately 80m from his destination, the upper floor of a two-storey house at y16.
Turn 3
... is tentative and sans combat.

Orderless, Lt Myshkov's pioneer platoon loiter south of the east bridge while nearby both the T-34/85 and OT-34 edge westward.
Meanwhile, Lt. Ryumin and his scouts approach the west bridge as unobtrusively as possible.

The SU-76 is currently 'hunting' cross-country to z16. If there is an AT gun lurking on the end of the new wharf then its crew are either asleep or extremely cool customers.
(From here-on turn summaries will be presented as standalone posts)