Deathloop: PC performance guide and the best settings to use
How to make Deathloop run as smooth as its soundtrack

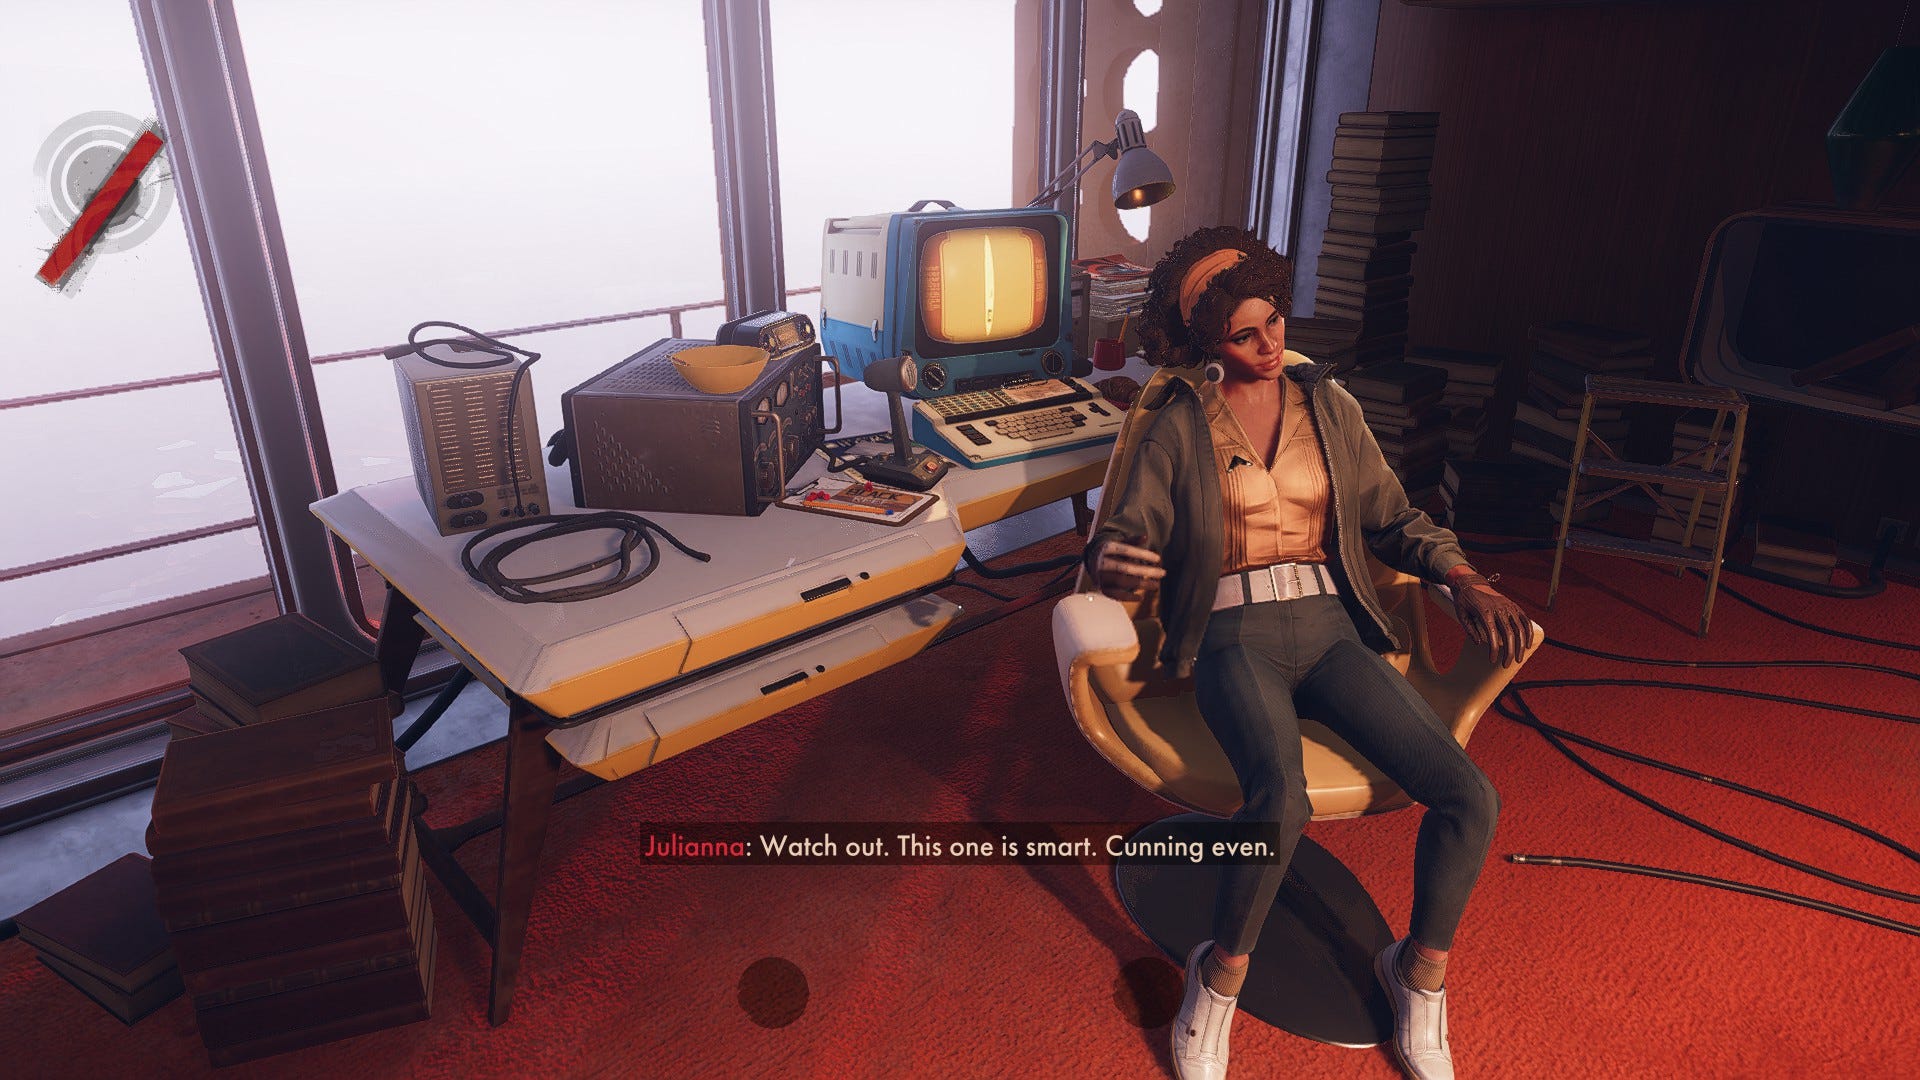
If you’ve read Brendan’s Deathloop review, you’ll know Arkane Lyon’s latest is a frequently hilarious time-loop shooter that’s worth getting trapped in. And if you’ve seen its official PC system requirements, you’ll also know it makes some big asks of your hardware. At least, in theory. After a few hours of testing it appears the minimum requirements aren’t quite so minimum, and it’s possible to get slick frame rates in Deathloop even on older graphics hardware – especially if you make a few choice settings adjustments.
Read on below for a rundown of the various graphics options available, which on the PC is an commendably varied list, as well as which ones to tone down and which to leave up. I’ve mainly focused on how the minimum recommended GPU, the 6GB Nvidia GeForce GTX 1060, holds up in actual in-game conditions, but we’ll look at a couple of other hardware configurations as well.

First, though, a touch of oddness. Enabling V-Sync will, as always, sync the the frame rate with the monitor's refresh rate; this can go up to 144Hz/144fps and presumably higher. However, disabling V-Sync activates an FPS limiter, which only goes as high as 120fps. This may be related to potential physics issues in Arkane’s Void engine, which were blamed for Dishonored 2 patching in a 120fps cap. In any case, it’s a shame if you were planning to play on top-tier hardware, as V-Sync adds input lag, which is absent when using G-Sync or FreeSync instead.
A word also about testing hardware: while I used the 6GB version of the GTX 1060, as per the minimum specs, I didn’t have an Intel Core i5-8400 or AMD Ryzen 5 1600 lying around. As such I paired the GPU with an Intel Core i7-8086K. This is obviously a beefier processor than the Core i5-8400, though I’m not convinced it boosted results dramatically enough to be an unfair test. The Core i5-8400 was always an excellent gaming CPU for its stature, anyway.
Deathloop: PC performance analysis
Update: Many PC players have reported stuttering framerates without a self-evident cause or fix. I didn't encounter this while testing, nor while playing normally since this post launched, though it's evidently a potential issue. Arkane are investigating.
Deathloop’s visual appeal leans much more heavily on its 1960s aesthetic than on any kind of hyper-advanced graphics tricks, which I suspect is why the official minimum and recommended specs end up being so pessimistic. The GTX 1060 is listed (alongside the sliiiiiightly more powerful AMD Radeon RX 580) as what you’d need to target 1080p/30fps on the Low quality preset, but as I neck-snapped my way through the early Updaam area, it usually sat within the 60-80fps range. At worst, it dropped to 54fps during one particularly chaotic gunfight.
Enable AMD’s FidelityFX Super Resolution (FSR) upscaling tech, which reduces the frame drain caused by Temporal anti-aliasing (TAA) and you can add up to 20fps on top of that. In fact, I could slam the preset all the way up to Ultra quality, and with FSR, Deathloop still produced over 60fps most of the time. It was only during combat, or looking out over Blackreef’s more expansive vistas, that it dropped significantly – but no further than 43fps. The GTX 1060, in other words, hardly creaks to 30fps at 1080p.
You can therefore get away with lower-specced hardware, even if it won’t stand up as well to higher-quality settings. For instance, by engaging the Very Low preset, plus FSR, I got a very playable 60-70fps out of the Nvidia GeForce GTX 1050 Ti. This dropped as low as 44fps in fights, but that’s manageable.
Bethesda’s recommended specs for 1080p/60fps call for an RTX 2060, which again I don’t have, though I found the similarly powerful GTX 1080 can comfortably produce at least 76fps with High settings and FSR. With the same settings, this card never strayed below 60fps at 1440p as well, though was more in the 30-40fps range at 4K.
Speaking of which, I actually do have the Core i9-10900K recommended for Ultra-quality 60fps at 4k, though neither the Nvidia RTX 3080 nor AMD Radeon RX 6800 XT graphics cards. Instead I subbed in an RTX 3090, which produced a minimum 88fps with everything on max, and bumped up against the 120fps cap in quieter moments. I’d say an RTX 3080 or Radeon RX 6800 XT should indeed do fine here, as the RTX 3090 isn’t that much more powerful in games despite its drastically fatter price.


Deathloop: How to get the best settings
Ultra is, of course, the tippity-top option of Deathloop’s six quality presets; the other five being Very Low, Low, Medium, High, and Very High. Beyond these, there are over a dozen individual settings to play with. The full list is further down, but these are the specific settings you’ll want to tweak to get the best balance of performance and fidelity.
- Lower Shadow Details
Other than switching to FSR, toning down shadows is the single best way to nab some extra frames. With the GTX 1080 running at 1080p, and all other settings governed by the Ultra preset, dropping Shadow Details to Very Low saw Deathloop jump from a minimum 43fps to aa floor of 55fps. That’s visibly smoother to the naked eye, in exchange for a barely noticeable drop in overall quality.
- Use AMD FidelityFX Super Resolution
Using anti-aliasing at native resolution takes a big chunk out of Deathloop's frame rate, so FSR is a good way to reclaim that performance. It renders the game at a lower resolution than native res, then uses a simple upscaling algorithm to make up the difference.
- Set Ambient Occlusion to FidelityFX CACAO Balanced
Vexingly, turning off Ambient Occlusion entirely does practically nothing to Deathloop’s general performance, and the Nvidia HBAO+ setting was slightly harsher on the frame rate than AMD’s FidelityFX CACAO – even on an Nvidia GPU. CACAO comes in Quality, Performance, and Balanced flavours; I got the best consistent results from Balanced.
- Turn off Depth of Field
I know a lot of folks like a good DoF effect, though in Deathloop’s case it mainly comes into play during battle scenes, when performance is at its lowest. If you’re already getting high frame rates anyway, you might not notice the extra frames that come from disabling it, but below 50fps or so I’d recommend nixing it.
- Turn off Motion Blur
The performance cost of Deathloop’s motion blur is small, but good heavens, is the effect ugly: a grainy haze that fuzzes up the edges of even slow-moving objects. Get rid, unless you’re seriously struggling to make 30fps look palatable, in which case leave it on Low.


Deathloop: graphics settings explained
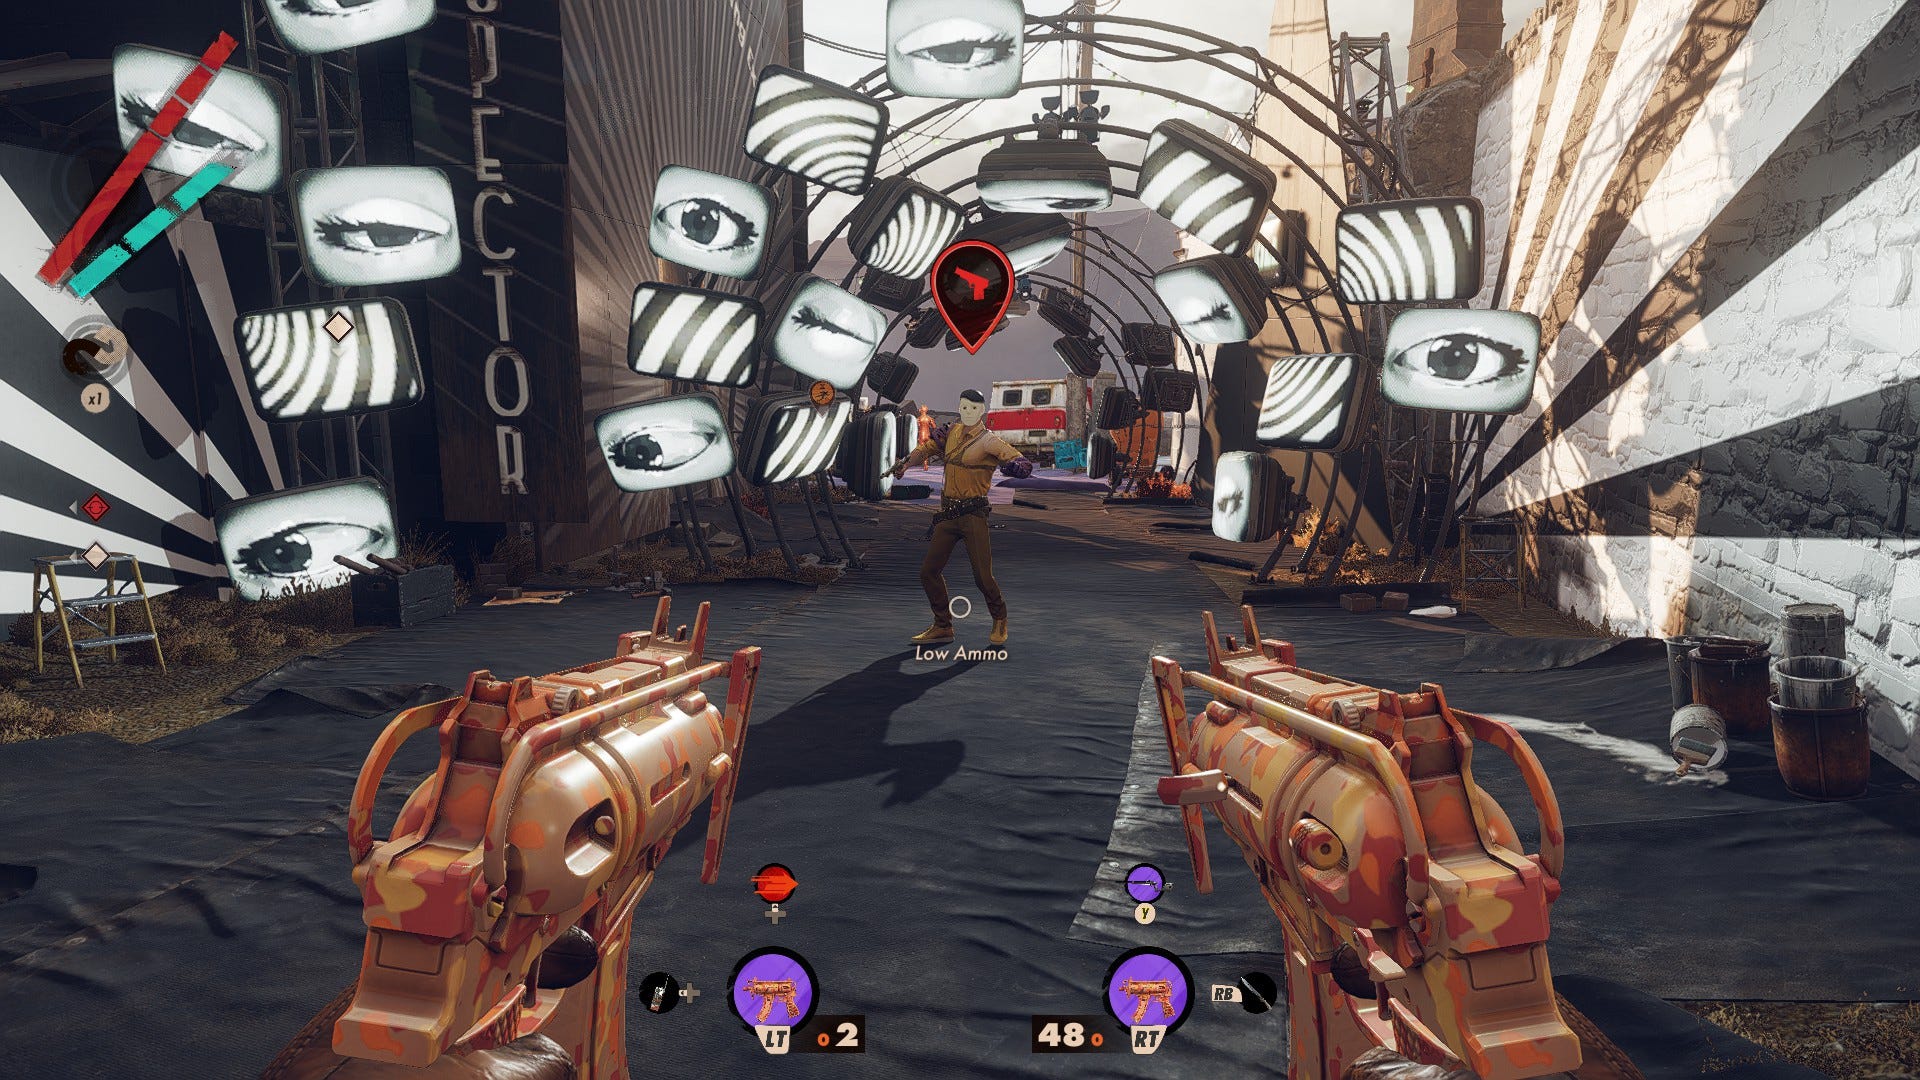
You can tinker with Deathloop’s myriad of graphics settings from the Visual section of the Option menu, even mid-game. Most of these fall under the Advanced Settings tab, but first it’s worth scrolling through the main Video Settings tab. This is where you’ll find the Upscaling option, so set this to AMD FidelityFX Super Resolution 1.0 for a performance boost. You can also choose to leave V-Sync enabled, or turn it off and set the FPS Limiter below. If you go with the latter option, set the limit as closely to your monitor’s refresh rate as possible, to avoid that pesky screen tear effect.
Under Advanced Settings, you can simply choose a preset, and to be completely frank there isn’t a great deal of difference between each stage. Only Very Low looks especially basic, especially on the character models that Deathloop’s melee kill animations provide an intimate look at. Still, my advice is to start with the highest preset your rig can more or less handle, then go back and tweak the settings listed above to secure that extra level of smoothness.
Texture Details: Affects the clarity of sharpness of object and scenery textures. This has a surprisingly low effect on performance, so feel free to leave it on the high side.
Model Details: Affects how detailed character and weapon models look, depending on how far away you from them. Again, turning this down doesn’t grant as many extra frames as you might think, and there is the potential for long-range engagements in Deathloop, so I’d leave it up.
Shadow Details: Kill it. Leaving this on its higher settings can improve how shadows appear at range, but everywhere else, they look decent enough even on Very Low. Turn this down and benefit from the vastly improved FPS instead.
Water Details: Affects surface reflections as well as the inclusion of extra visual pizzaz like seafoam. Leave this up if you can; not every mission takes you to the shores of Blackreef, so you won’t always appreciate the extra detail, but then that also means turning it down won’t always produce extra frames.
Terrain Details: This mainly determines the quality of distant terrain, with some details removed entirely on the Very Low settings. This doesn’t do much to help the most frame-hungry, close-range gunfights, though, so again you can aim high.
Decal Details: Basically a bullet holes and blood splatter setting, determining how much detail goes into the effect of projectiles and machetes making contact. Changing this from Ultra to Very Low did absolutely nothing for the GTX 1080’s frame rate output, so go for maximum detail here.
Ambient Occlusion: AO aims to make 3D objects look more realistic by adding shadow effects where an object might be blocking the light. You can’t turn this off, so most PCs will be best off with the FidelityFX CACAO Performance option, as detailed above. There’s also a ray-traced option for this, which doesn’t have the visual impact of full-scale RT lighting, but is worth trying it you have a powerful, recent GPU.
Sun Shadows: This affects the quality of shadows caused by natural sunlight, which are governed separately from the Shadow Details setting. This defaults to “Simple,” which actually looks fine, though if you have a sufficiently muscular GPU it’s worth switching to the “Raytraced” setting for a more realistic look.
Post-Process Anti-Aliasing: Smooths out jagged edges. There are four quality levels, starting at Off and ending at Temporal; higher settings will yield smoother edges, albeit at a heavy performance cost.
TXAA Sharpness: Only enabled if you select Temporal for Post-Process Anti-Aliasing, you can adjust the intensity of the smoothing-out effect from a scale of 1 to 20. Unsurprisingly, higher values have a more marked adverse effect on frame rate.
Sharpness Post Process: This applies a sharpening filter to partially counteract the blurriness that can come from applying anti-aliasing. There are two settings, Standard and FidelityFX CAS; there’s not much difference quality-wise, but I got an extra 2fps from the latter, so you might as well choose the same.
Camera Motion Blur: Adds a “stylistic” blur effect to moving objects. This could potentially help mask the performance deficiencies of a really low-specced PC, but as above, the effect itself is pretty ugly. Turn it off, and save yourself a couple of frames for the trouble.
Bloom: Intensifies light sources to provide a cinematic bloom effect. Disabling this can provide a very, very small performance boost, but the game world can look duller and flatter as a result.
Depth of Field: Creates a blurring effect on “out of focus” areas of the screen, something that’s mainly noticeable when you’re aiming. This has a minor performance tax and isn’t necessary to enjoy Deathloop’s shootin’ and loopin’, so I suggest ditching it.
Lens Flare: Another camera-mimicking setting that adds….well, lens flare. No performance issues to worry about here, so leave it switched on unless you really don’t like Hollywood filmmaking techniques.
Deathloop PC requirements
Here are the Deathloop’s three-tiered recommended specs, if you need a reminder. Alone, the ever-plucky GTX 1060 has shown these are cautious at best, so don’t be shy about whacking the quality up if your components aren’t quite on the level of the listed parts.
If there’s an exception, I’d absolutely recommend installing Deathloop on an SSD if you can. I was often left tapping my fingers at the loading screens, and my test PC was running entirely off a relatively quick Kingston KC2500 NVMe drive. You’ll be waiting much longer if you install on a mechanical HDD.
Deathloop minimum specs (1080p / 30fps with Low settings)
- OS – 64-bit Windows 10 version 1909 or higher
- CPU – Intel Core i5-8400 / AMD Ryzen 5 1600
- RAM – 12GB
- Storage – 30GB available (HDD or SDD)
- GPU - Nvidia GTX 1060 (6GB) / AMD Radeon RX 580 (8GB)
- DirectX - Version 12
Deathloop recommended specs (1080p / 60fps with High settings)
- OS – 64-bit Windows 10 version 1909 or higher
- CPU – Intel Core i7-9700K / AMD Ryzen 7 2700X
- RAM – 16GB
- Storage – 30GB available (SDD)
- GPU - Nvidia RTX 2060 / AMD Radeon RX 5700
- DirectX - Version 12
Deathloop Ultra 4K specs (4K / 60fps with Ultra settings)
- OS – 64-bit Windows 10 version 1909 or higher
- CPU – Intel Core i9-10900K / AMD Ryzen 7 3800XT
- RAM - 16GB
- Storage – 30GB available (SDD)
- GPU - Nvidia RTX 3080 / AMD Radeon RX 6800 XT
- DirectX - Version 12