How to install a PSU
Fit a new power supply to keep your components fed


It ain’t the most glamorous piece of the PC building puzzle, but your PSU (power supply unit) is ultimately what brings the whole system to life. Beeping, whirring life. Let’s look at how to install a PSU in your PC case, how to prep yourself for better cable management once the build is complete, and how to make sure you get a PSU with enough power for your build in the first place.
If you’re following along with our How to build a PC guide, this is an ideal time to turn your attention to both the PSU and the case at large: after installing the CPU, installing RAM, and fitting a CPU cooler to the motherboard, you’re almost ready to slap (i.e. carefully place) the mobo into the waiting chassis. Having the PSU ready in advance of that will let get most of the power connections, of which there are a few, out of the way as soon as the board is in place.
Grab your screwdriver, then, and get ready to crack open your case: there’s a PSU that needs to get comfy.

How to install a PSU
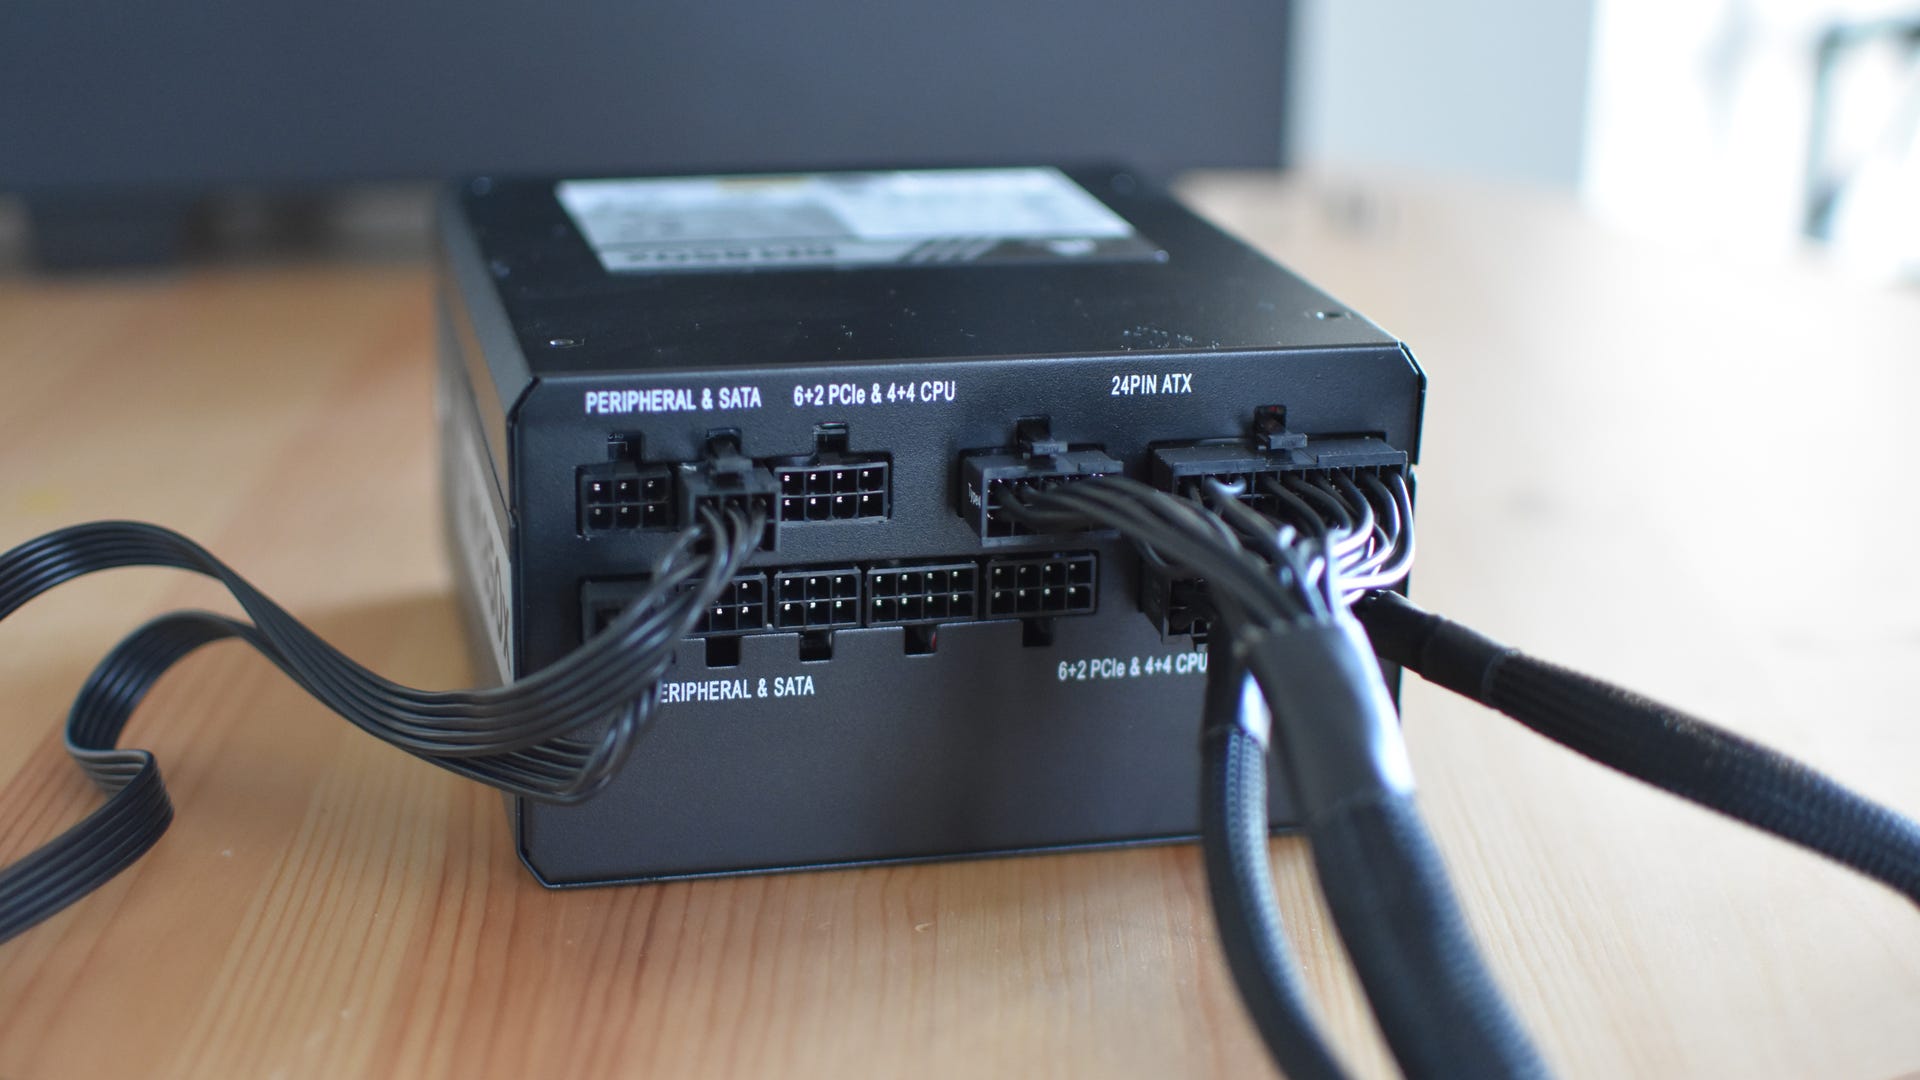
Step 1: You can skip this step if you have a 'fixed' PSU, as all the cables that feed power to the other components will be permanently attached. For modular and semi-modular PSUs, your first move is making sure that all these cases are connected to the main power supply. Here are the essentials:
- 1x 24-pin motherboard connector, for general power
- 1x 8-pin CPU power connector
- 1-3x PCIe power connectors, for the graphics card. Most GPUs only need 1-2
You may also need:
- 1x SATA power connector, for any hard drives, 2.5in SATA SSDs or CPU cooler power cables you might be installing. These tend to have multiple connectors on a single cable, so you probably only need one.
- 1x 4, 6 or 8-pin CPU power connector, but only if your motherboard has two CPU power headers and you intend to perform some extreme CPU overclocks. If not, you only need the one CPU cable listed above, even if your motherboard does have a second header – it’s fine to leave this empty.
Double-check your other components to see which cables you’ll need, and plug them all into the PSU. Then, remove both side panels from your PC case by loosening any thumbscrews or latches.
Step 2: With the PSU fan-side down, slide it into the case’s PSU bay. This is usually at the back and in the floor of the case, except for very cheap or old cases that have it at the top.
Some cases let you remove a plate at the rear then simply slide in the PSU, which can then be secured by re-attaching the plate. On others, as you can see in these photos, the PSU goes in from the side, then is screwed directly onto the chassis. Either way, secure the PSU in place with the flat-topped screws that came with the case.
Step 3: Later sections of the PC building guide will show you exactly where to plug in each PSU cable, but you can make life easier for yourself by thinking in advance about where these cables are going to run. That way, when the time comes to do some actual cable management, you won’t have to unplug and replug them.
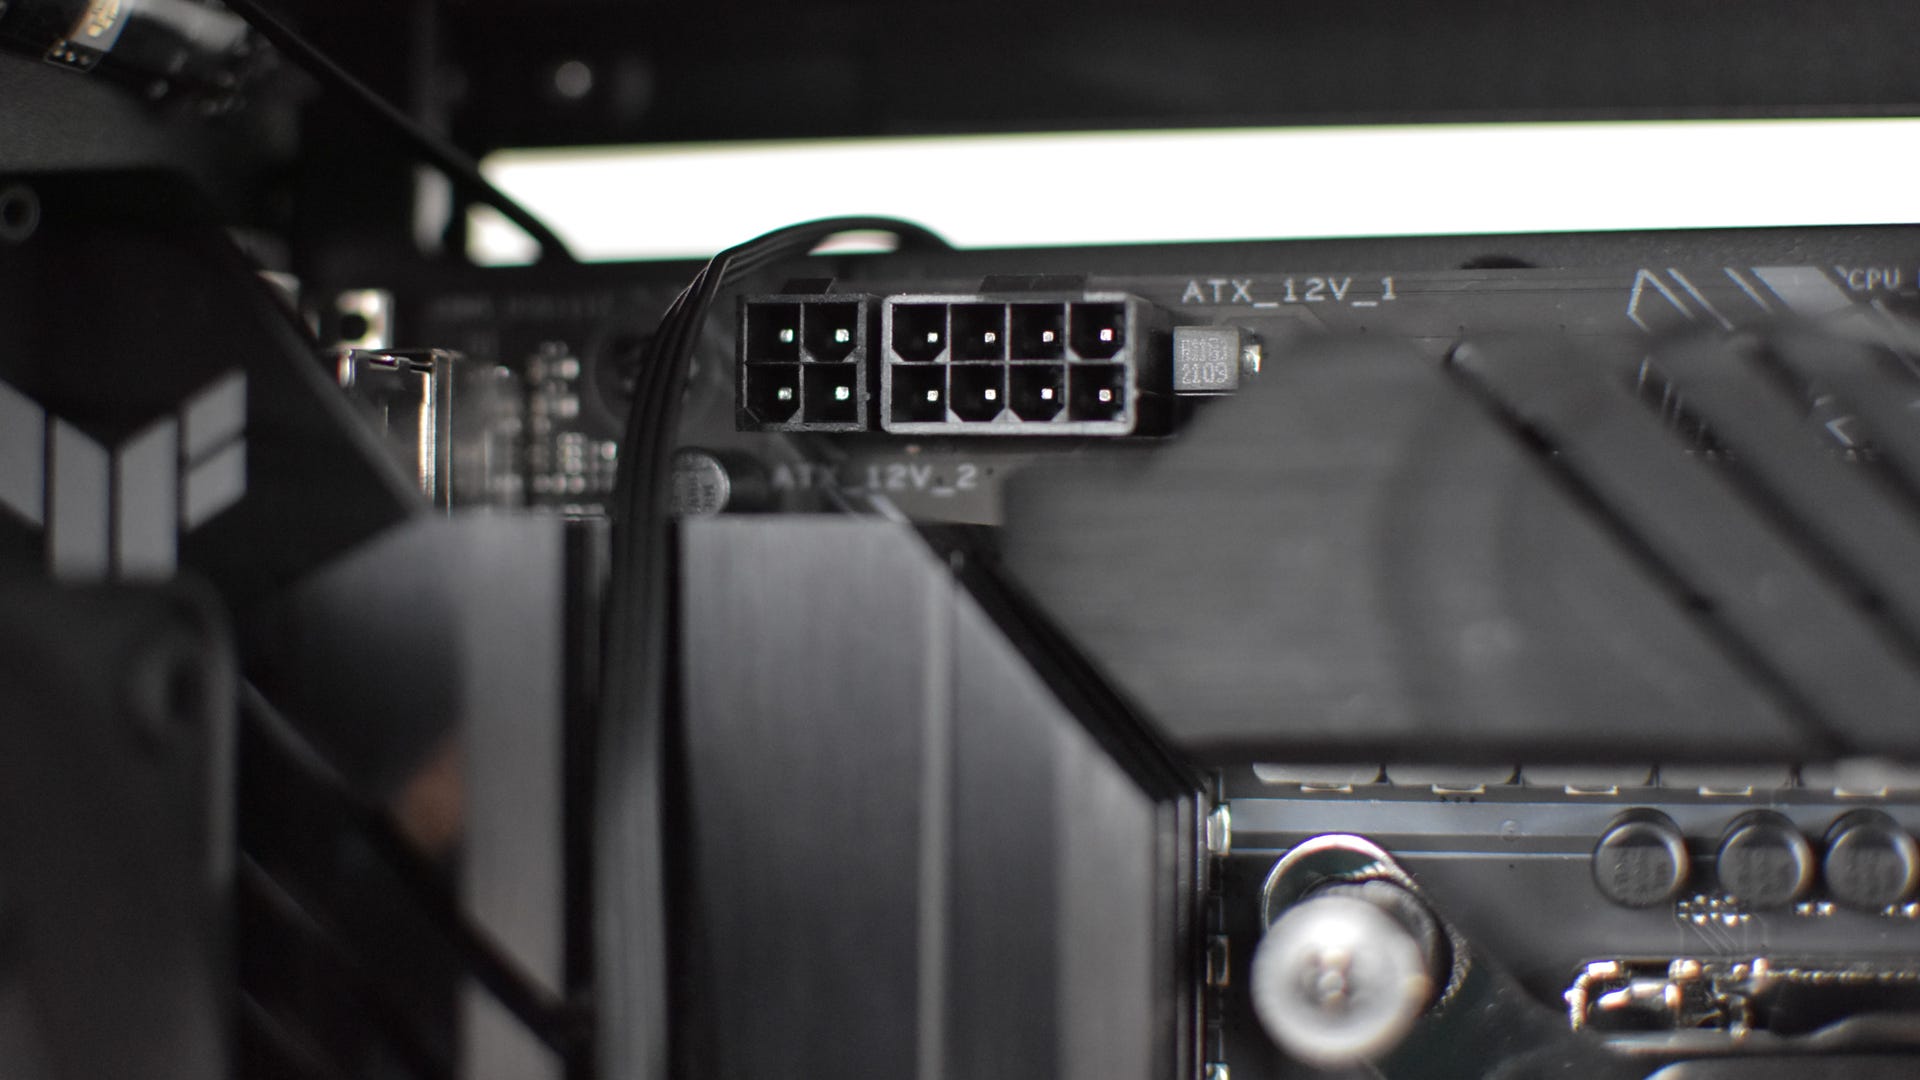
For example, the big 24-pin cable connects directly to the motherboard, usually about halfway up the board’s right edge. See the currently empty motherboard tray? It should have cable routing gaps running alongside the right edge, so you’ll eventually need to run the cable behind the tray, then thread it through this routing hole into the motherboard. The CPU power cable, meanwhile, will usually need to run up to the top-left corner of the motherboard. Check your case: there will be another routing hole, wouldn’t you know it, near the top-left corner of the motherboard tray. Any cables going to graphics card can share a routing hole with the 24-pin cable, as they’ll also be connecting to component about halfway up the case’s interior.
Obviously you can’t properly tidy these cables until they’re connected to something, but it’s much easier to avoid messy builds and criss-crossing wires if you can visualise beforehand when they’re going to go. Even if that means simply stuffing the cables under the PSU shroud: you can likely do this with any SATA power cables, as the most common positions of hard drive and 2.5in SSD mounts don’t put them within the main chamber, unlike the motherboard and graphics card.
What PSU do I need?
Most importantly, your PSU should fit your case. The vast majority of conventional tower-style cases have room for standard ATX power supplies, whereas compact chassis designs may only fit an SFX-style PSU. Check your case’s specs if you’re not sure.
Next, you’ll need enough watts on hand to ensure the components doing the heavily lifting are sufficiently fed – there’s no sense investing in the best graphics cards or best gaming CPUs if they’re not getting enough power. For a very basic gaming PC, 450-500W will be enough, but I’d recommend at least 650W for mid-range builds. More advanced rigs, especially those with power-hungry GPUs like the RTX 4070 Ti, should go for at least 750W.
You’ll also see PSU possess ratings like 80 Plus Bronze, 80 Plus Gold and 80 Plus Platinum. These basically rate how efficiently a PSU can turn wall power into PC power. Higher ratings (Gold, Platinum and Titanium) are therefore better for your electricity bill and should produce less heat, at the cost of being more expensive to buy. Honestly, Bronze-rated PSUs are fine for budget builds, but Gold is a better middle ground.
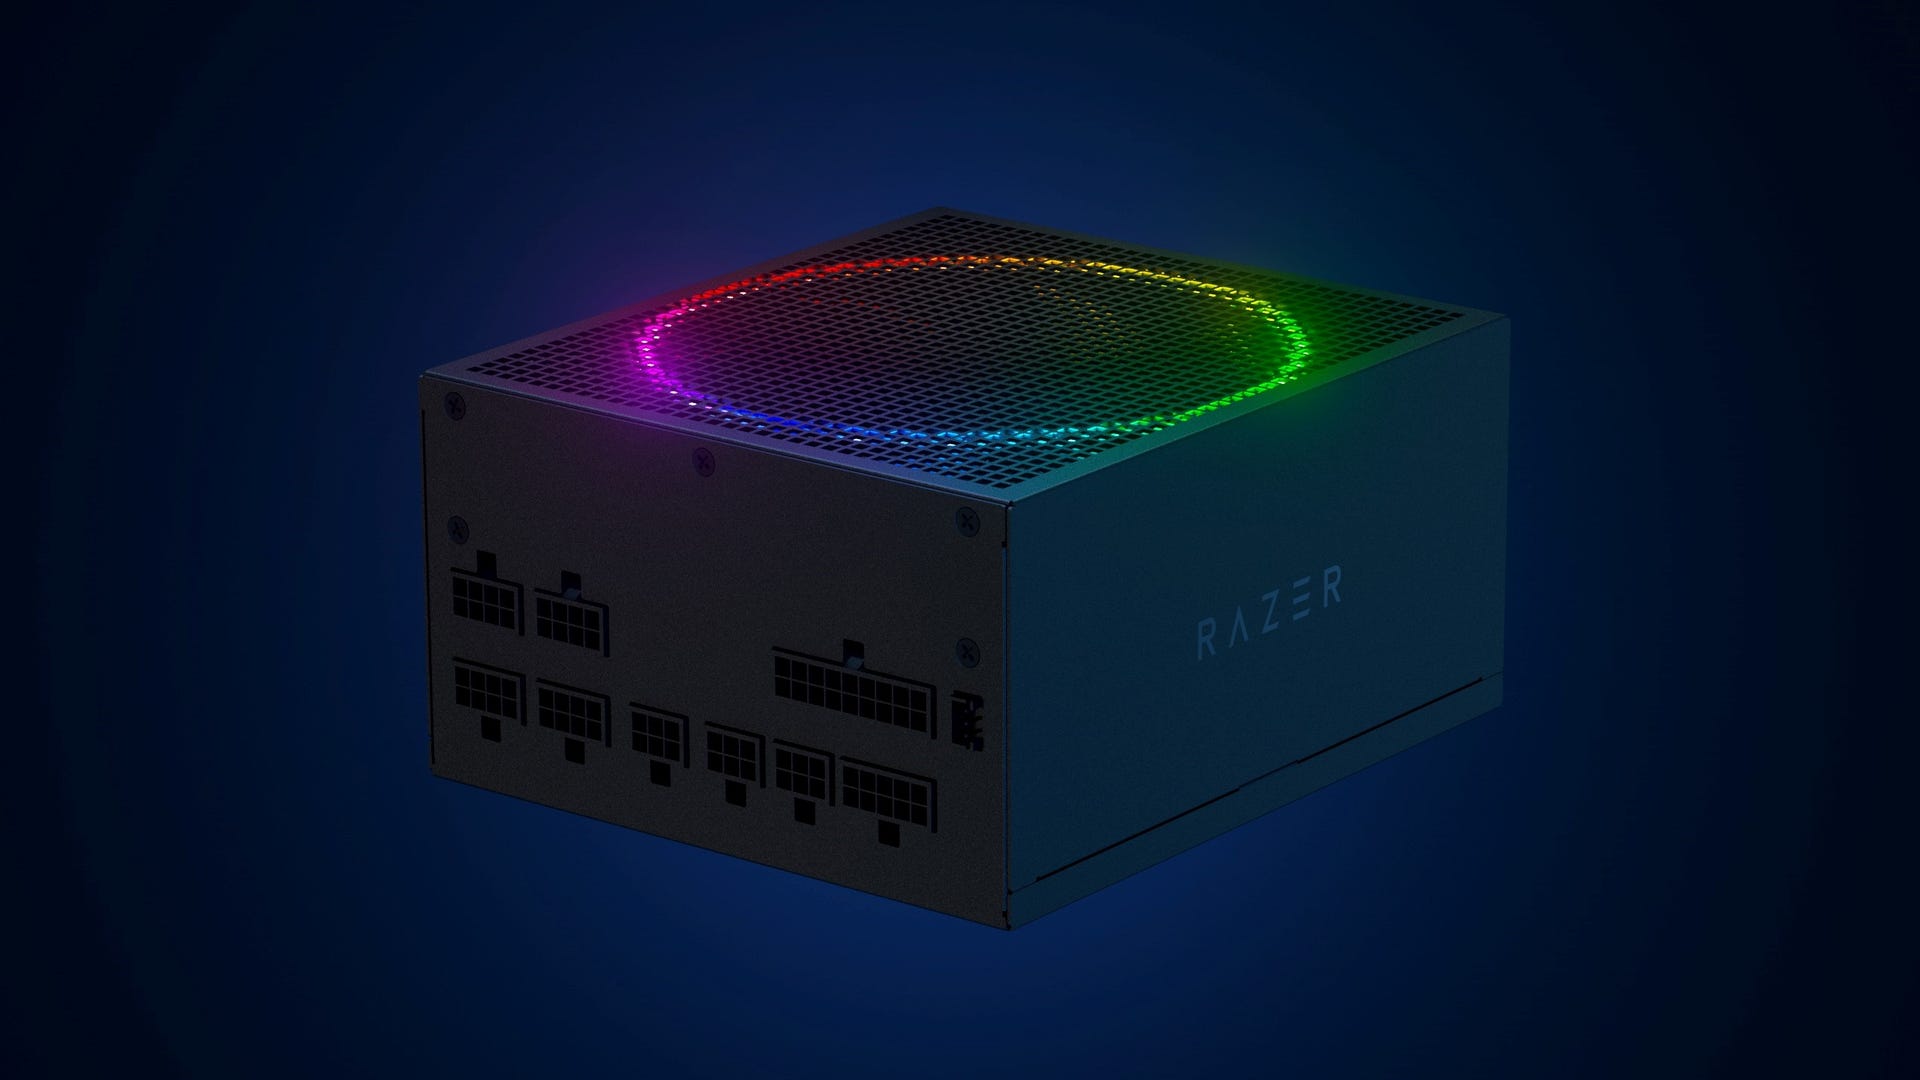
Lastly, you can take your pick of modular, semi-modular and fixed PSUs. Modular models allow you to attach and detach every individual PSU cable from the PSU itself, so the only cables in the case are the ones you need; fixed PSU cables can’t be removed, so are cheaper but might stuff your case with unnecessary wires. Semi-modular PSUs have both a few fixed cables and a few sockets for removable cables. I personally prefer semi-modular PSUs when buying them for myself, as the fixed cables are usually the most essential ones anyway.