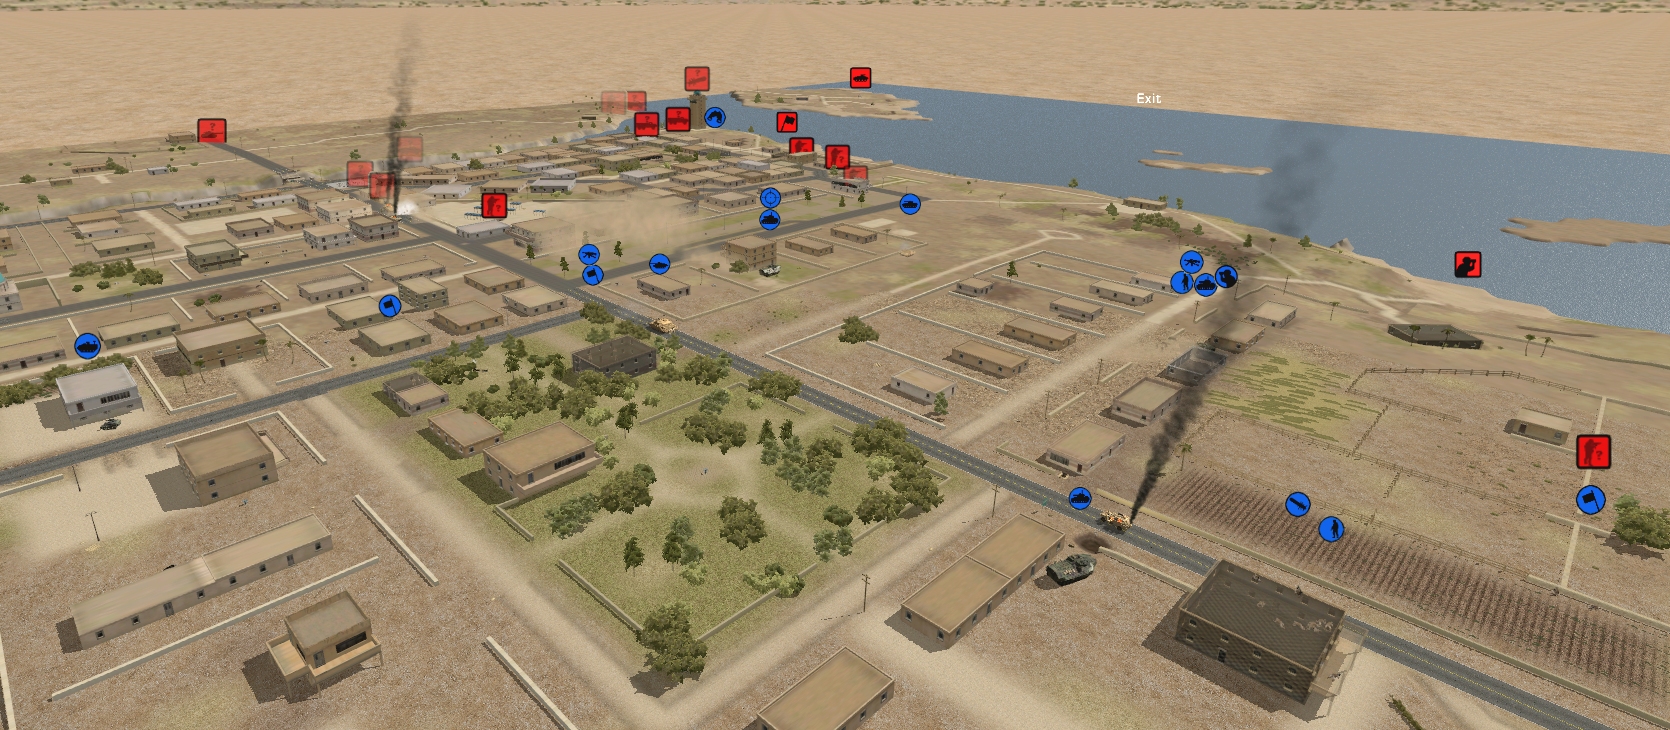
Quitting Qatab: Turn 12

From here on InstiGator will be known as Deviator. Our HQ Amphibious Assault Vehicle was asked to scoot beachward in turn 12 using the houses on row 75/76 as bulwarks against AT-14 attack, but for reasons known only to herself she decides to risk her life and the lives of her eight passengers by plumping for a far more dangerous route.
(Quitting Qatab is an open-to-all game of Combat Mission: Shock Force 2 in which NATO forces are orchestrated by commenters while Qatabi units are computer controlled. Each daily turn covers one minute of action. For a scenario outline and summaries of earlier turns, click here)
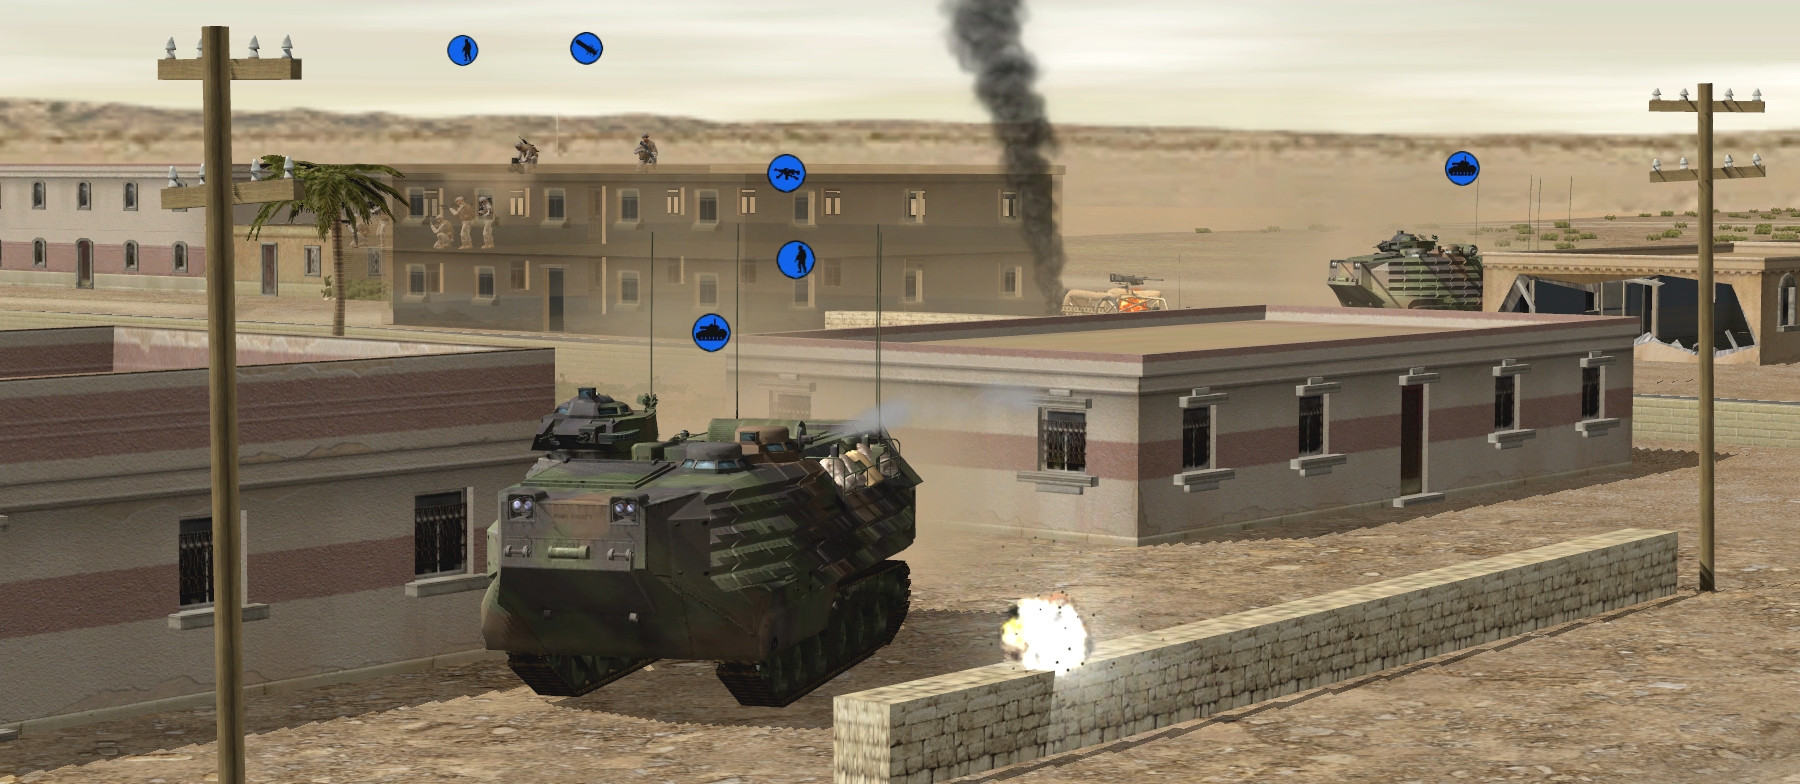
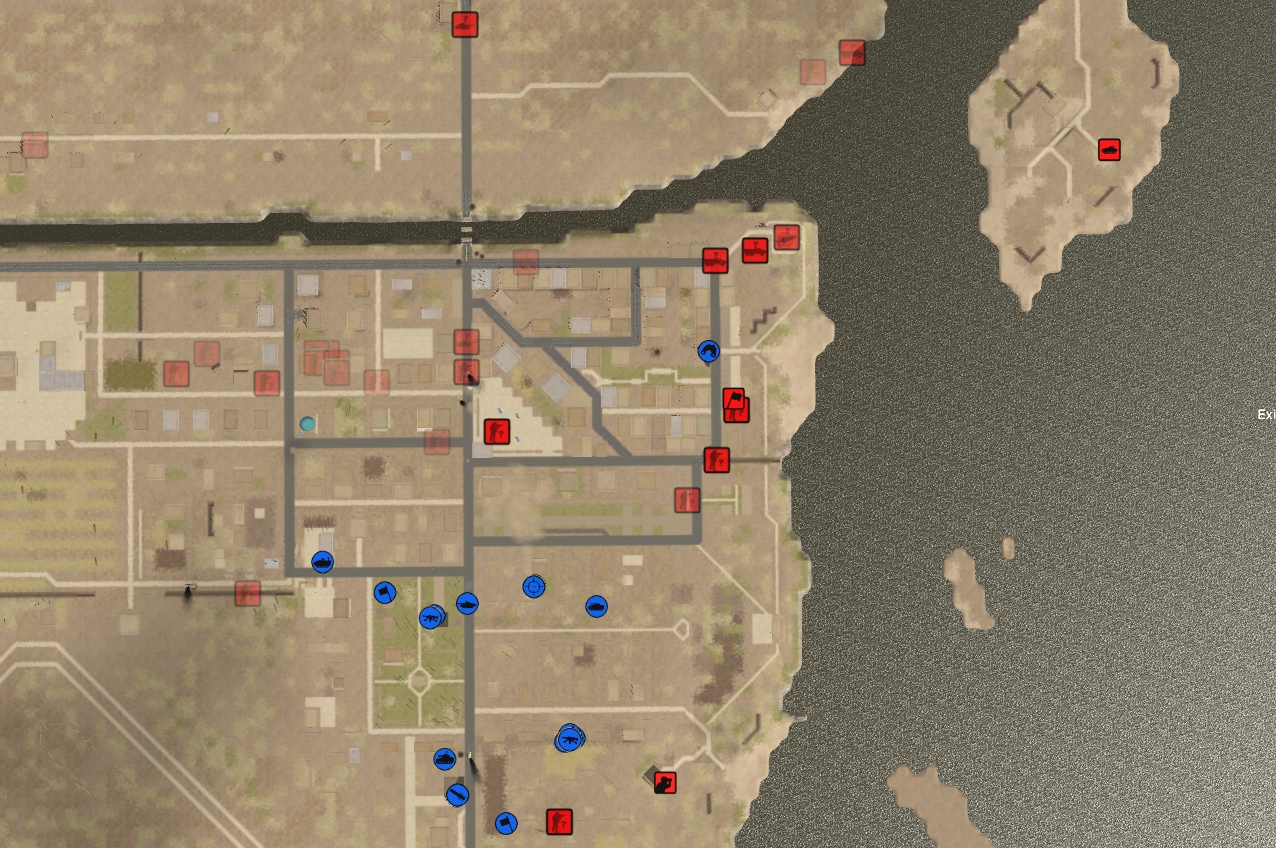
The Qatabis notice the meandering miniature sandcrawler as she detours around the back of the house at redb75/76 and come horribly close to clobbering her. At T+33 something thuds into the wall beside the AAV and disintegrates in a fiery flash, hurling stone fragments and shrapnel at her corrugated flank.
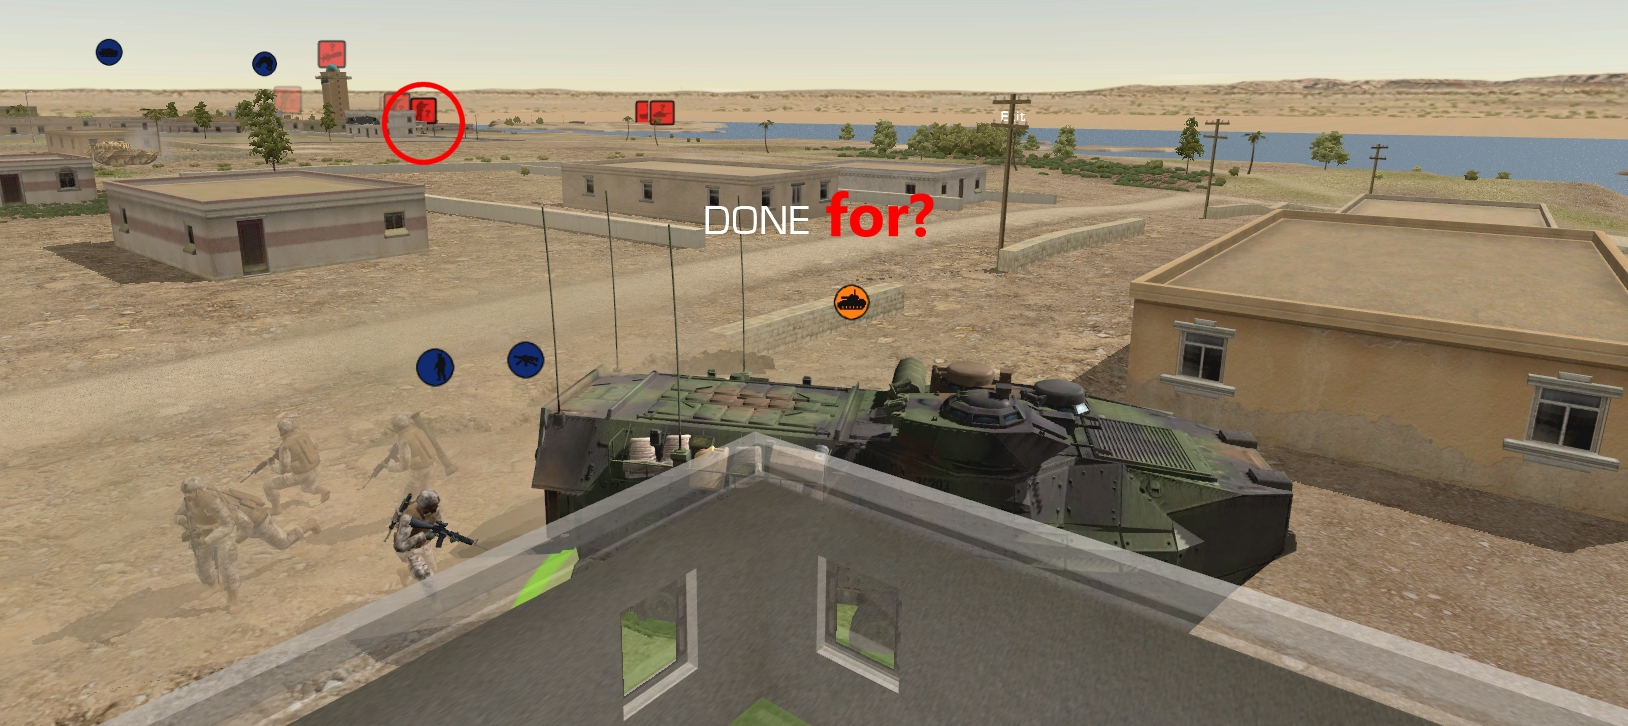
Deviator ends the turn disgorging soldiers in an excruciatingly exposed position. Thankfully, one of the foes that might have punished her is only capable of dispensing smoke and sparks at this point, and another is too busy defending itself from savage British sword strokes to think about offence.
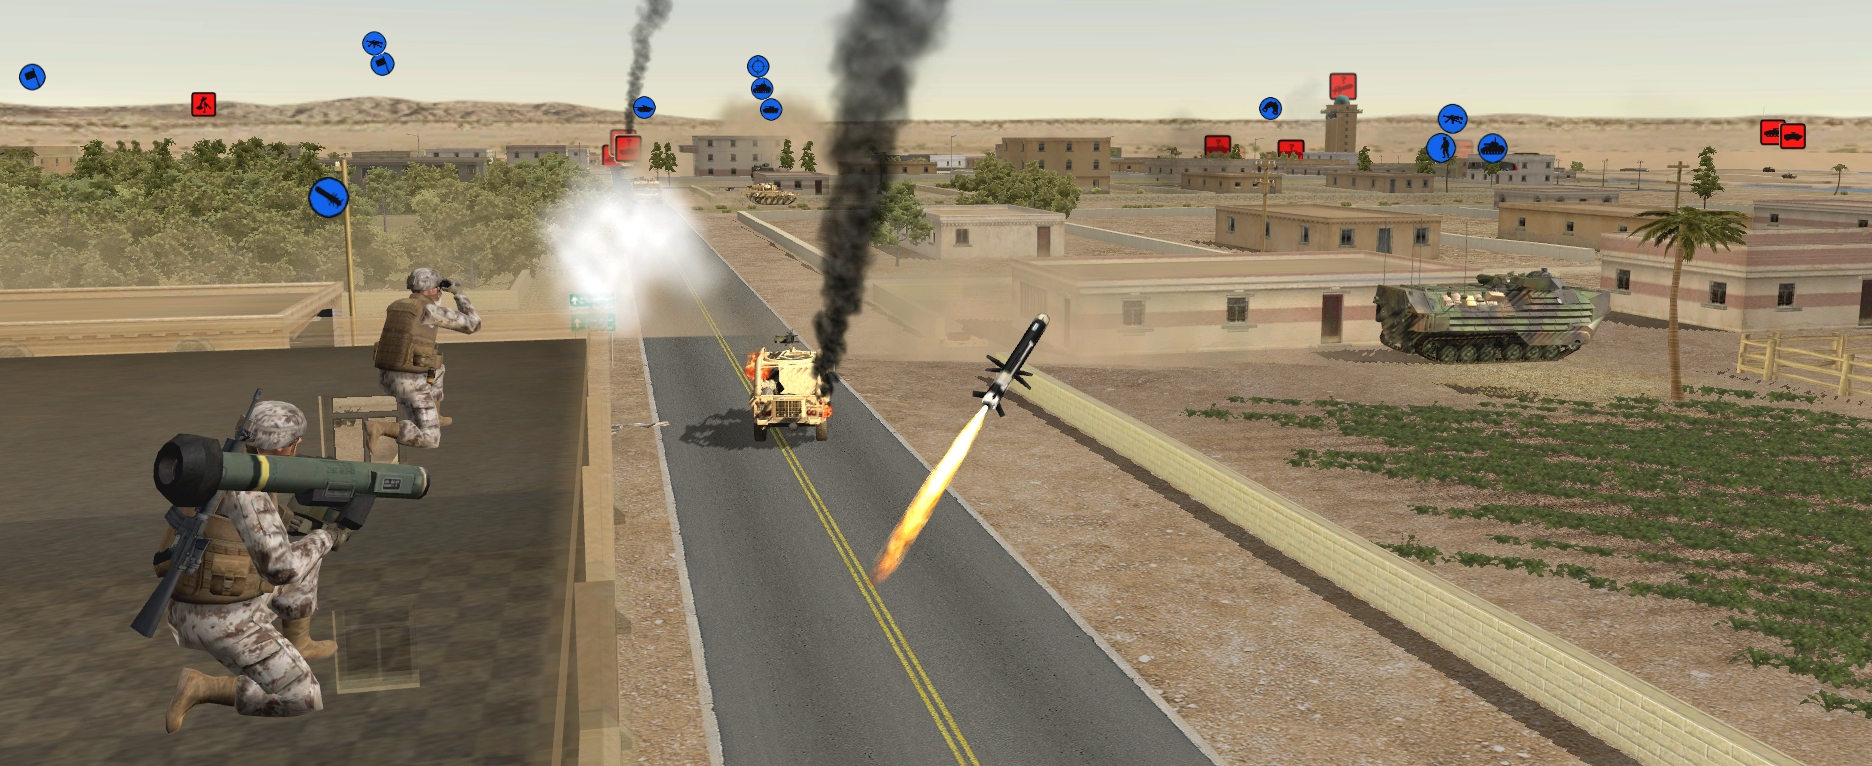
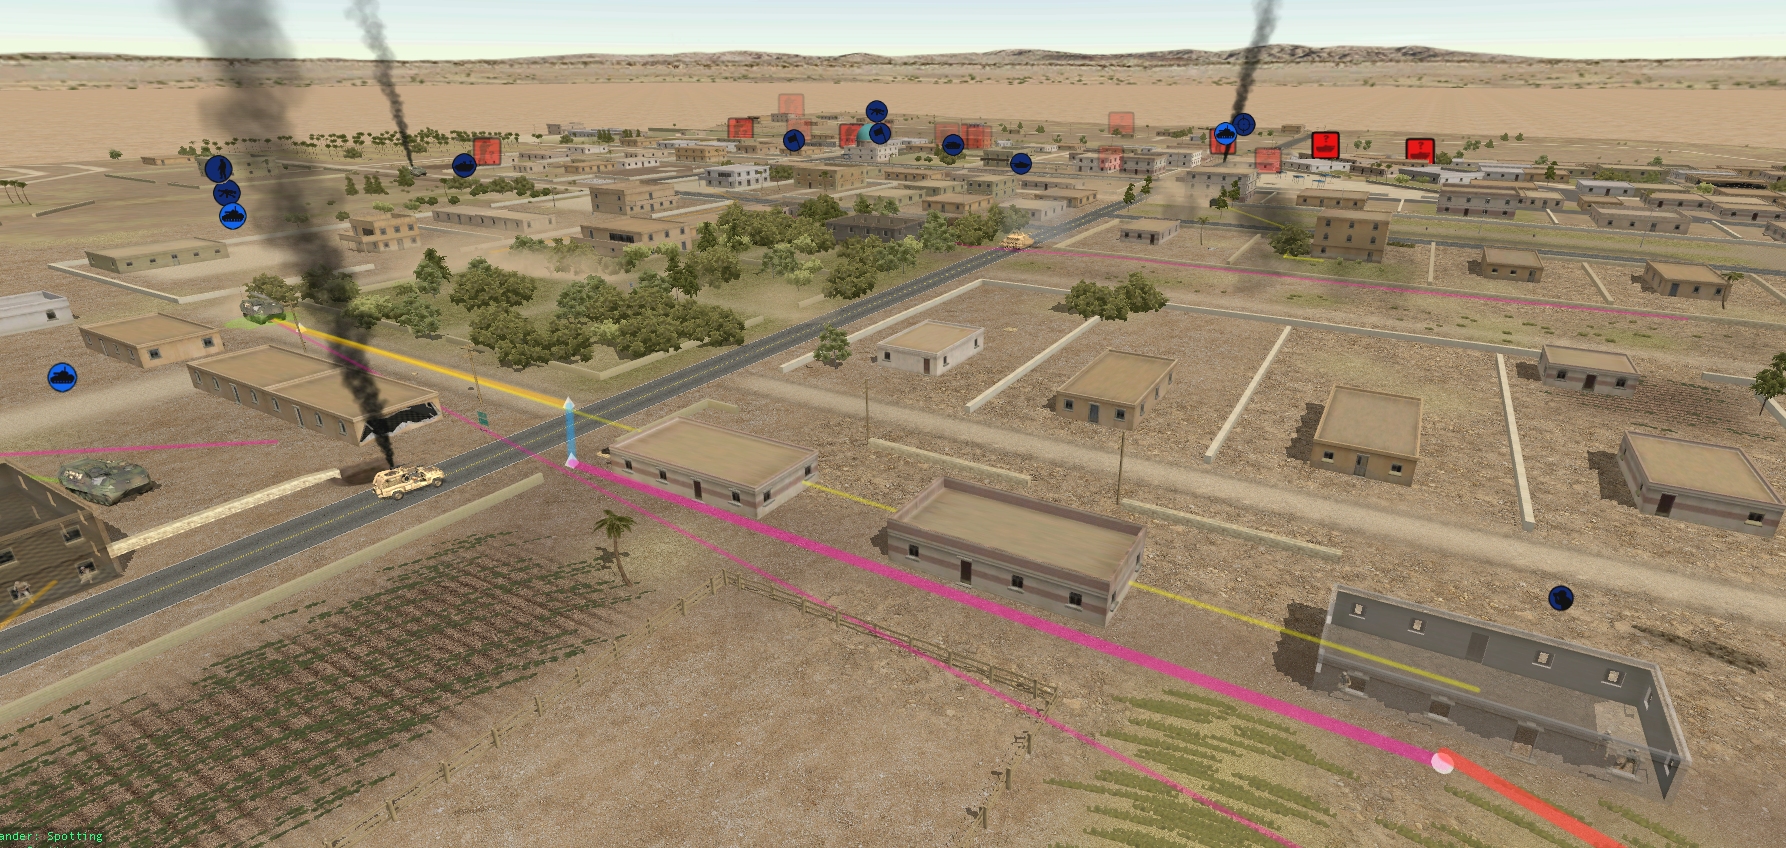
Determined to atone for his first turn miss, Corporal Yuen spends a good 15 seconds patiently acquiring the closest of the Pelican Point AFVs and checking his infrared tank killer is correctly configured, before tweaking his trigger. On the stroke of T+22, a Javelin missile soft-launches with a ruptured steam pipe hiss, dropping below the roofline before soaring skyward when its main rockets ignite.
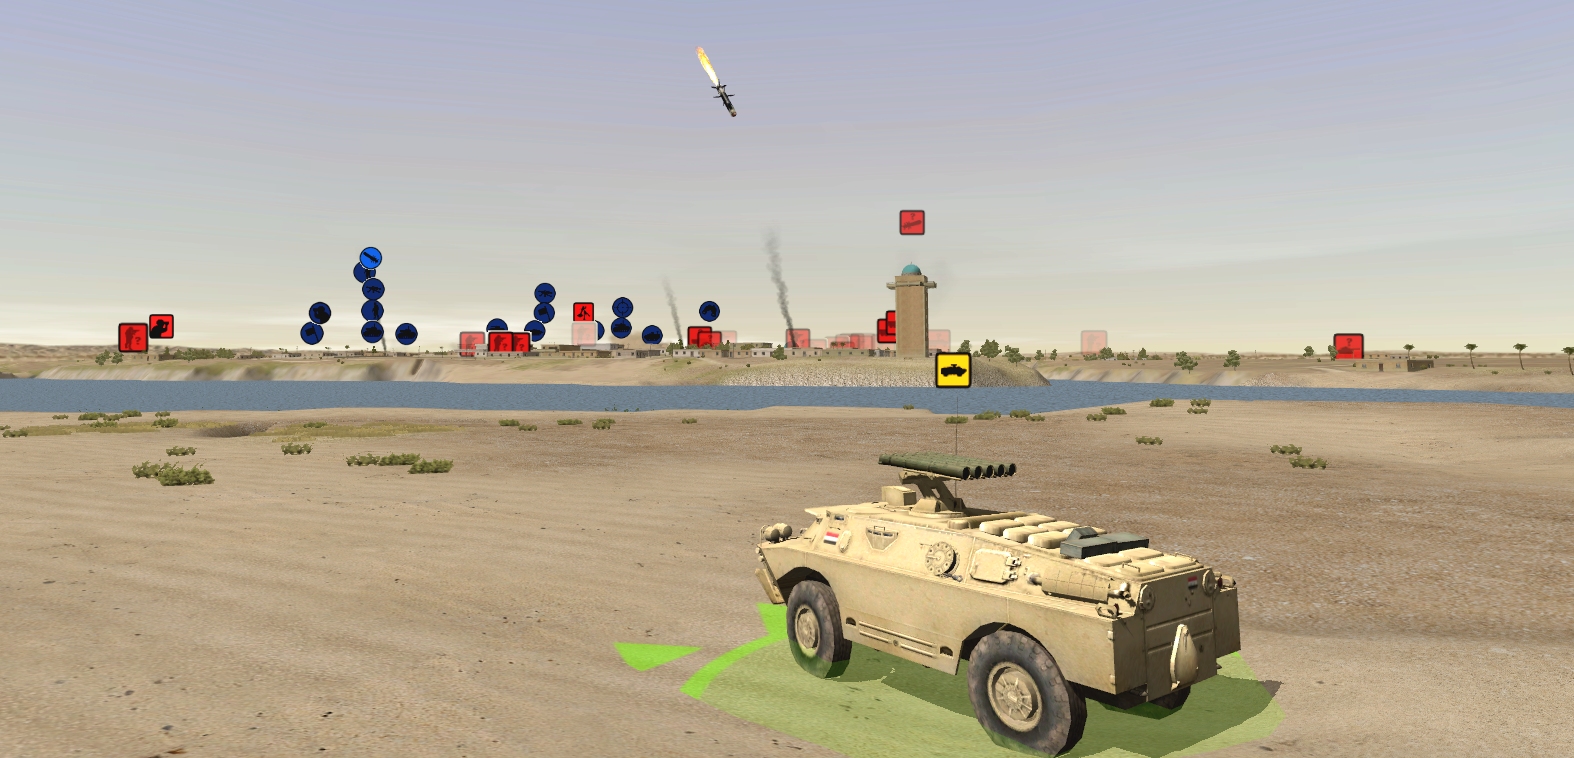
The BRDM-2 is in the process of turning to engage something - Deviator? - when the fatal thunderbolt hits.
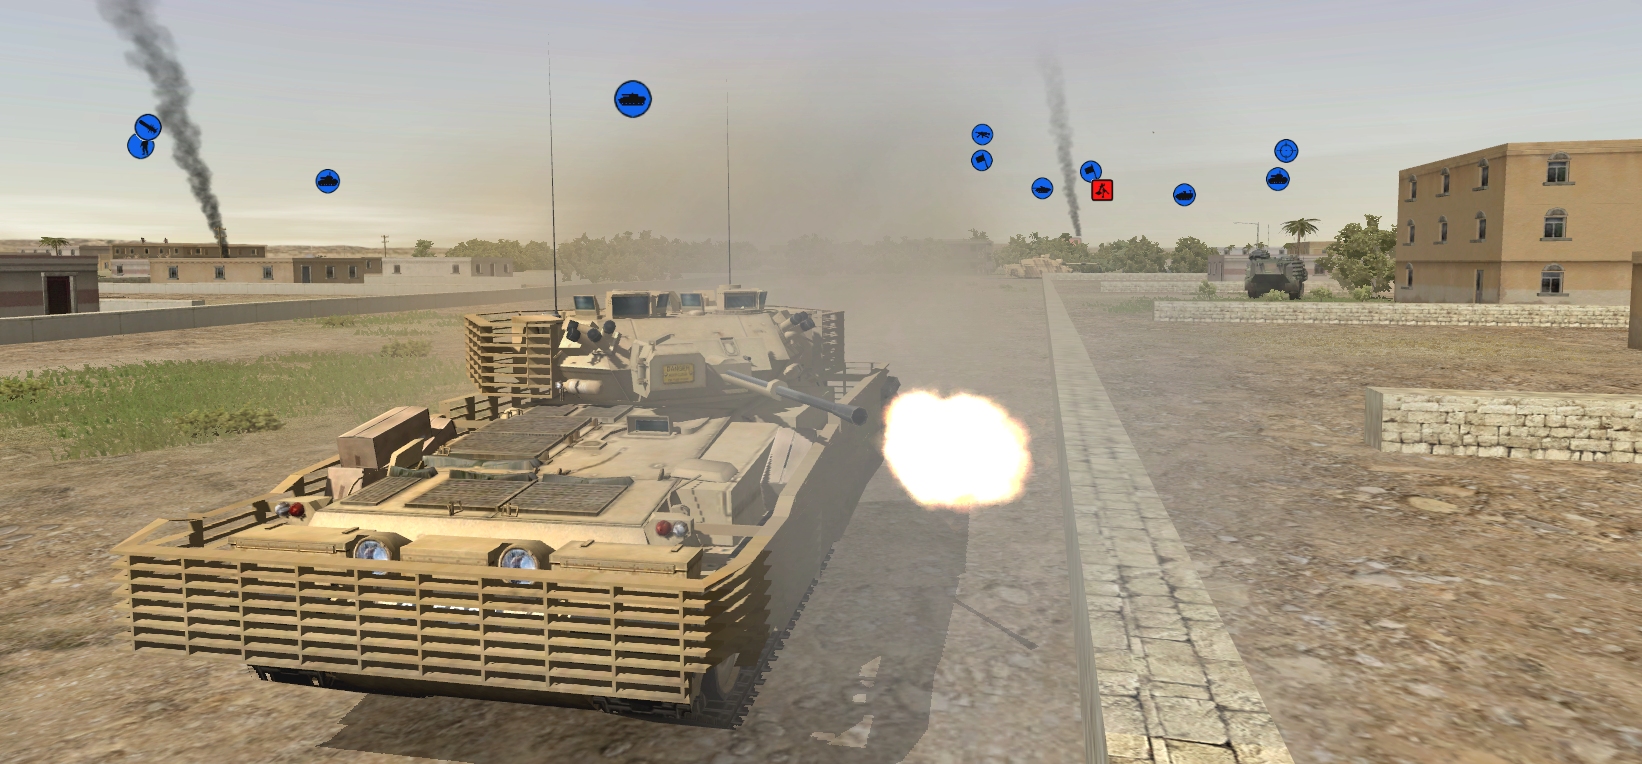
The crew of the Scimitar have been itching to contribute since rocking up in turn 6. Their itch gets scratched fifty seconds into the turn. Spotting the remaining vehicular target on the Point, the advancing recon tank pummels it with multiple three-round bursts of autocannon fire. None of the 30mm missives are off target, but there's no way of telling whether any penetrate the BTR's raked carapace.

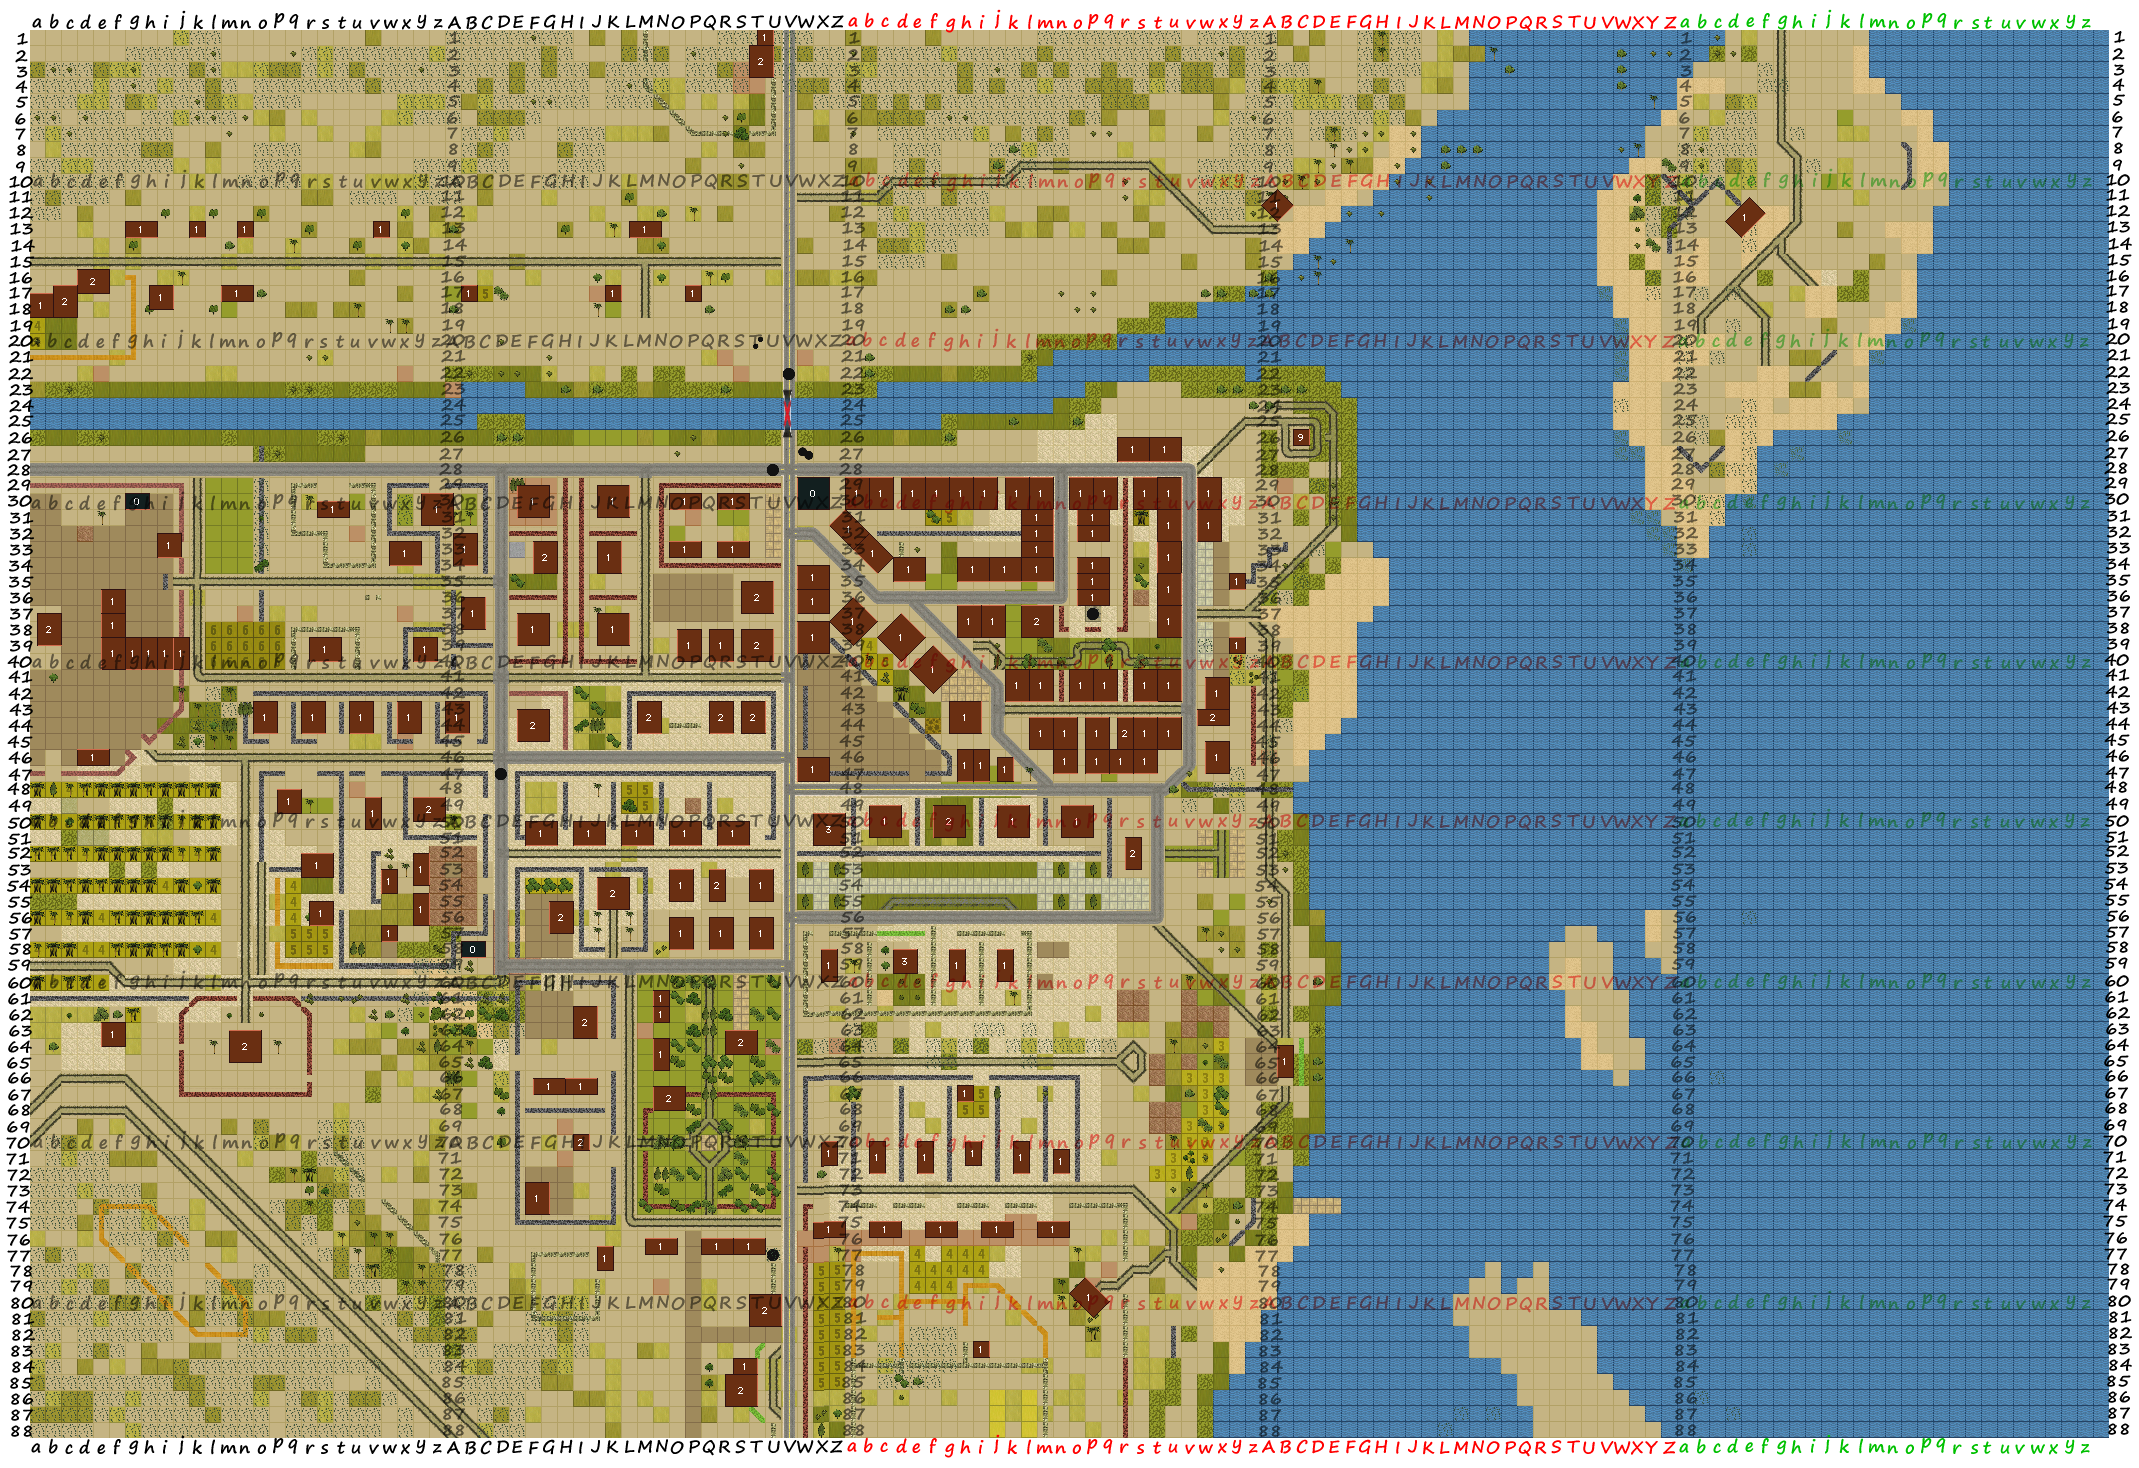
Unlike the BTR, the IFV that strayed into the Challenger's eyeline last turn, doesn't make it to T+60 in one piece, although for a spell it looks it might. Screened by Annie's smoke in the first few seconds of the turn, it takes advantage of a CMSF2 TacAI blindspot (the unwillingness of units to fire speculatively through dust and smoke clouds) and attempts to back into cover.
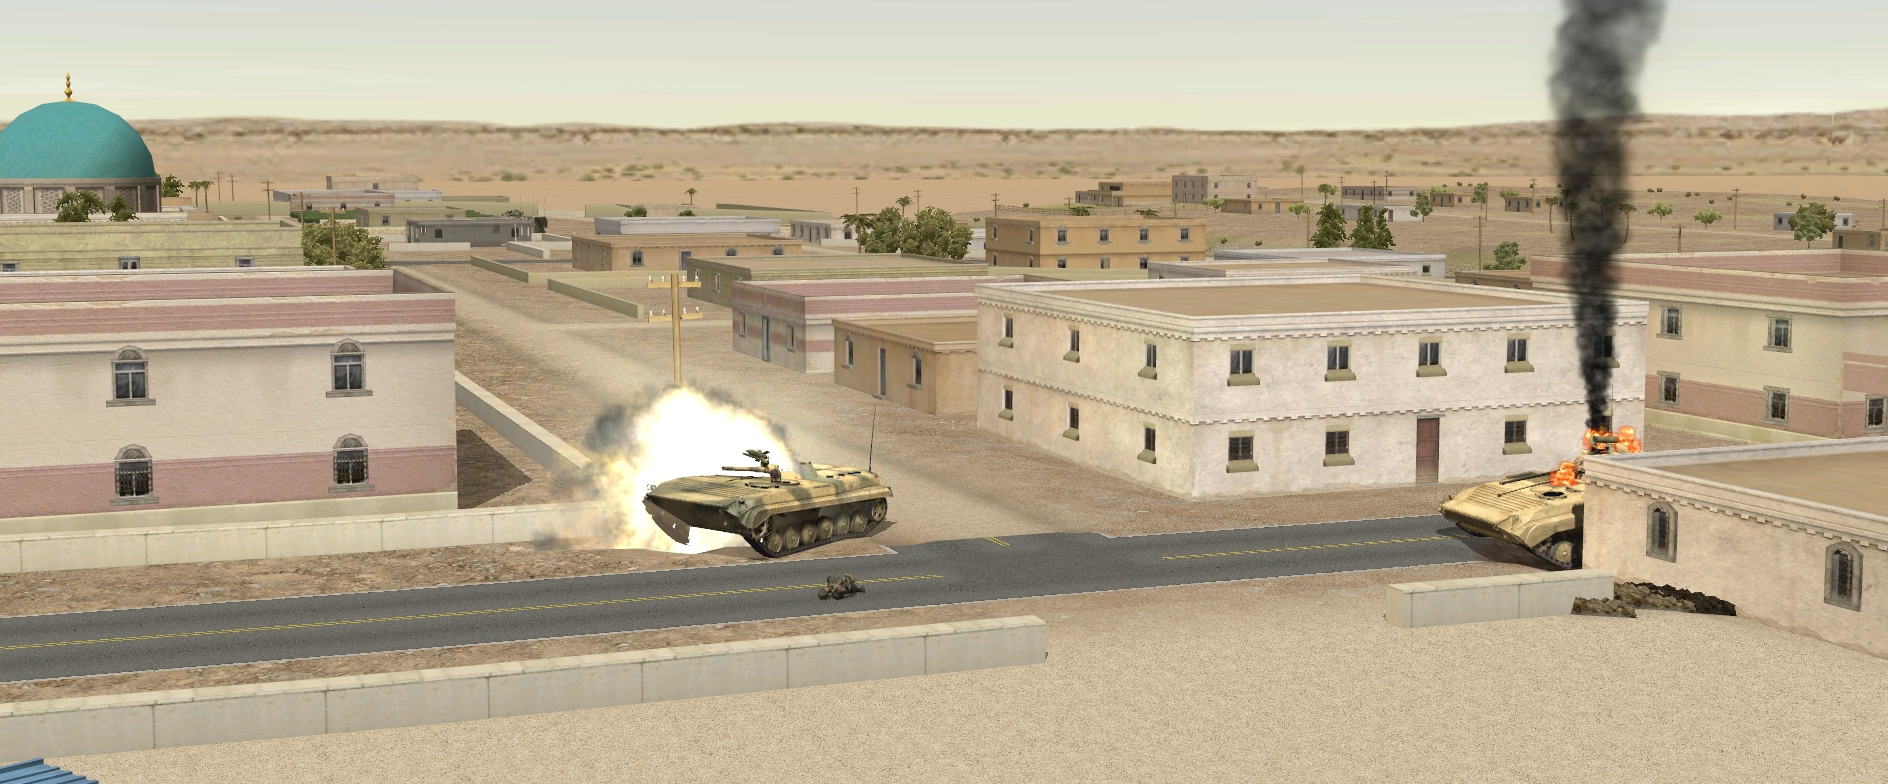
All is going swimmingly for the retreating Boyevaya Mashina Pekhoty until it chooses to reverse into the row 41 road rather than the marketplace entrance at W41. Chally's gunner gets a fleeting glimpse of it as it manoeuvres and that fleeting glimpse is sufficient.
One dead BRDM-2, one dead BMP, and one brutally battered BTR – a strong turn for the Comment Commanders then? Yes, but they don't have it all their own way.
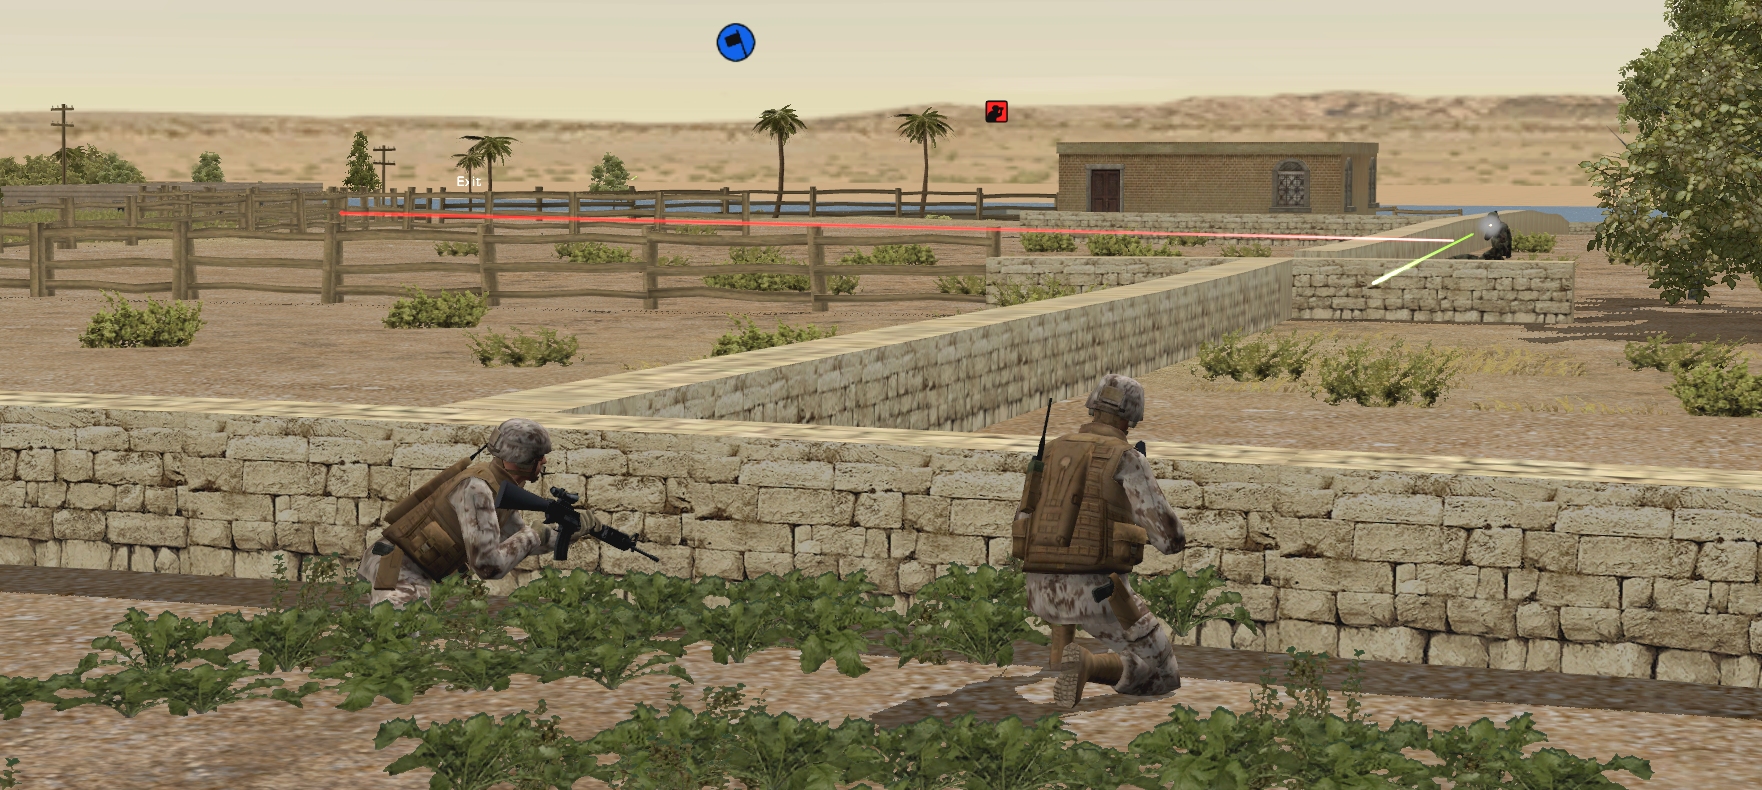
The Qatabi grenadier above South Beach proves himself a brave and resourceful combatant in minute 12. Ignoring heavy suppressive fire, he first eliminates a platoon leader (leading by example, Sigler was attempting to outflank the flanker at the time of his death) then...
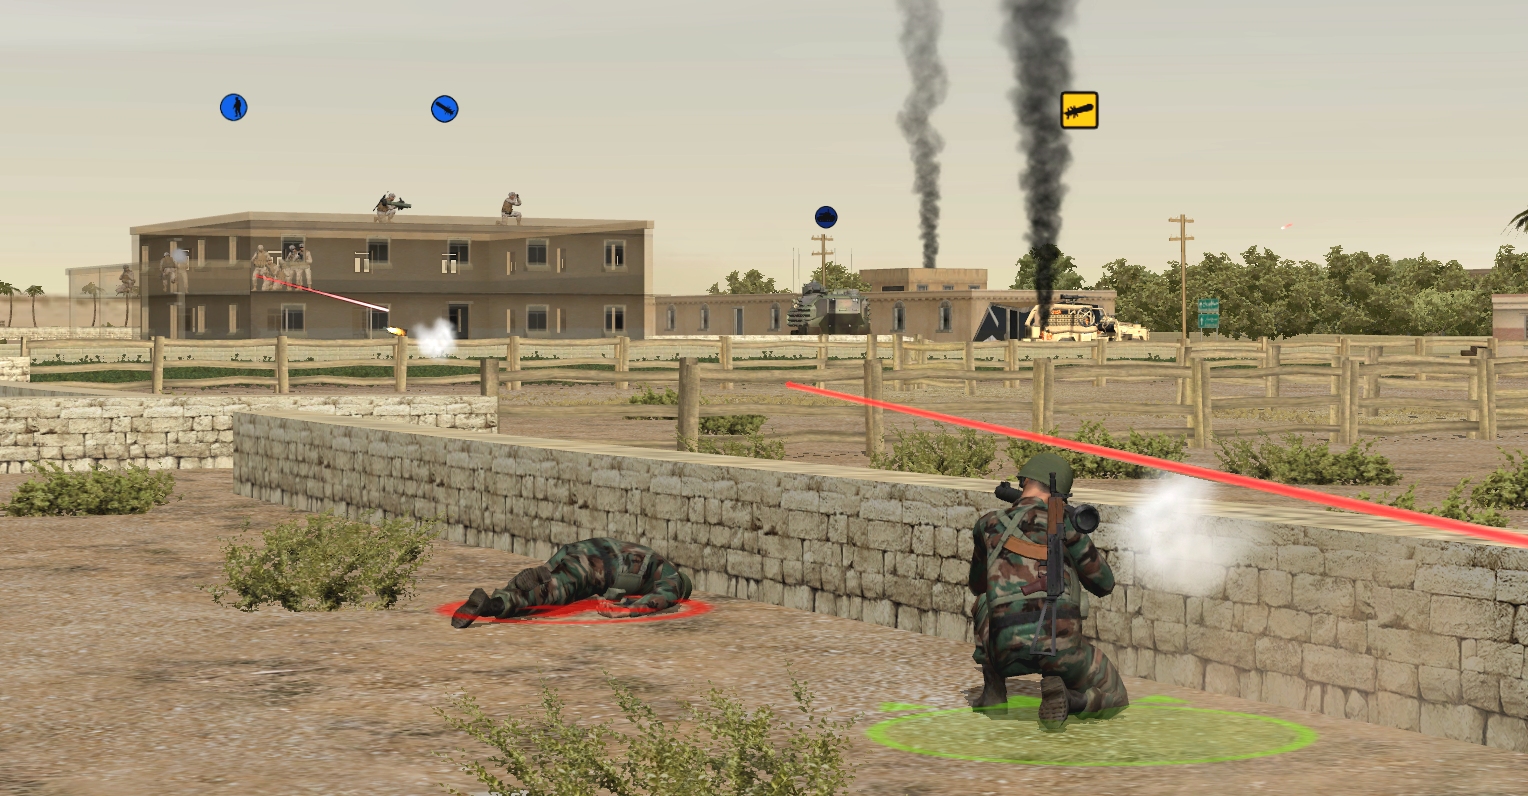
...switching to his grenade launcher, he sends an RPG into the facade from which the majority of the suppressive fire is emanating. No-one is hurt by the HEAT warhead, but the gutsy grenadier gains some respite.
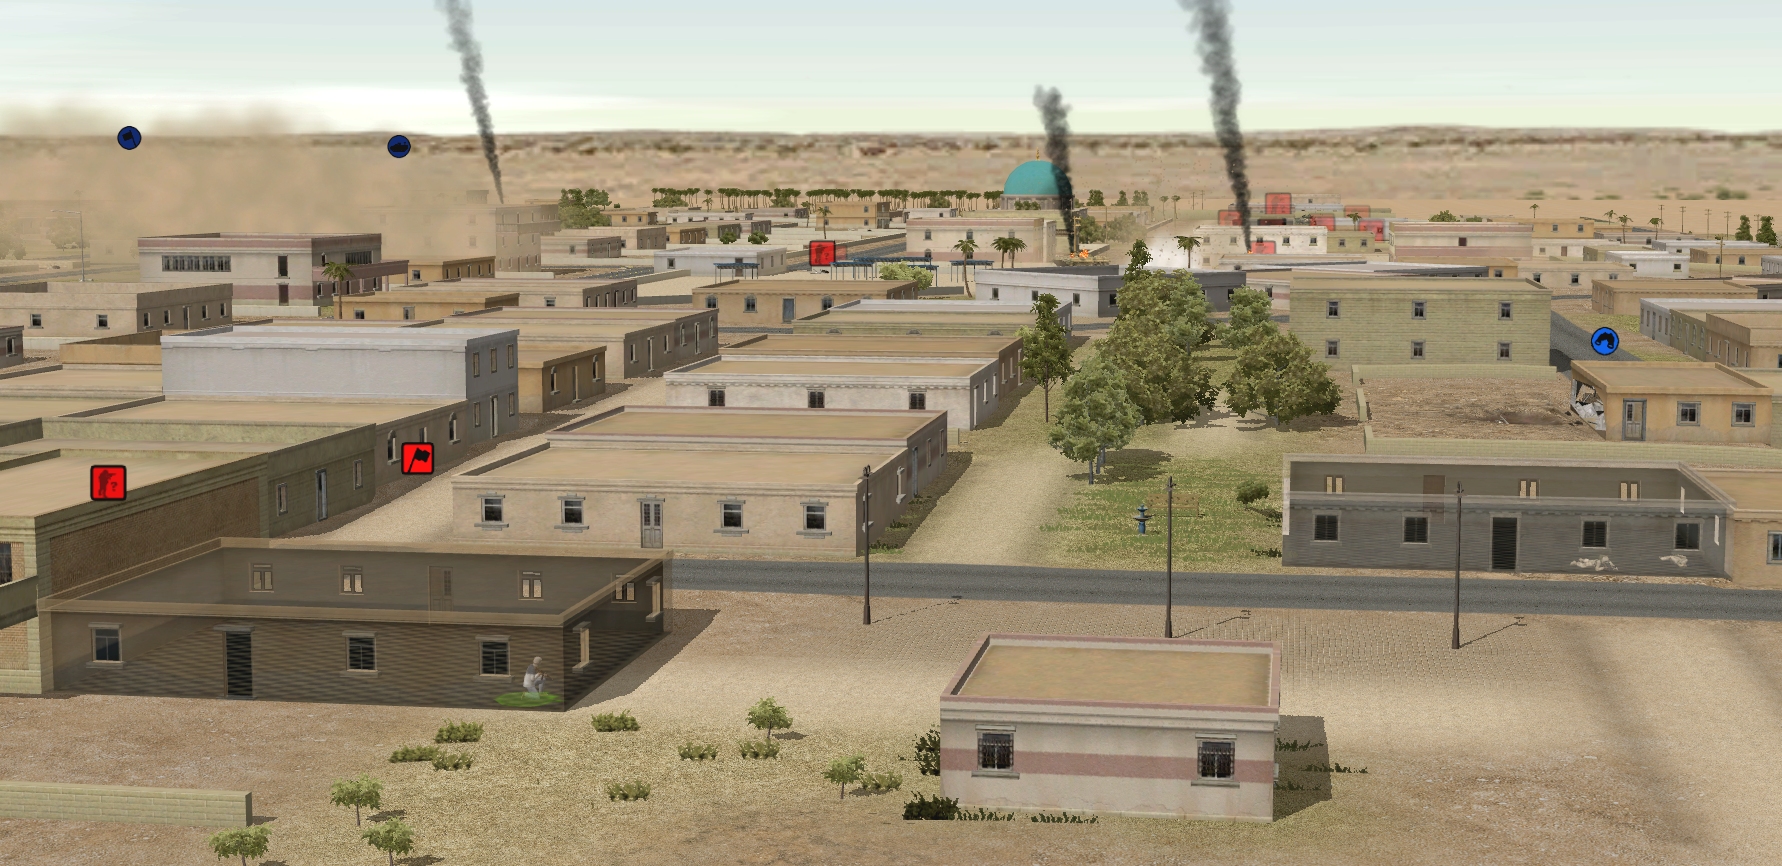
And it's my sad duty to report that there's now just one Dutch aviator in need of rescue in the north-eastern corner of Al Rayman. Although Overdam and his co-pilot made it to the house at redu38, they were spotted by trigger-happy hostiles before they could conceal themselves inside and the brief ensuing firefight went badly for the whirlybirdmen.