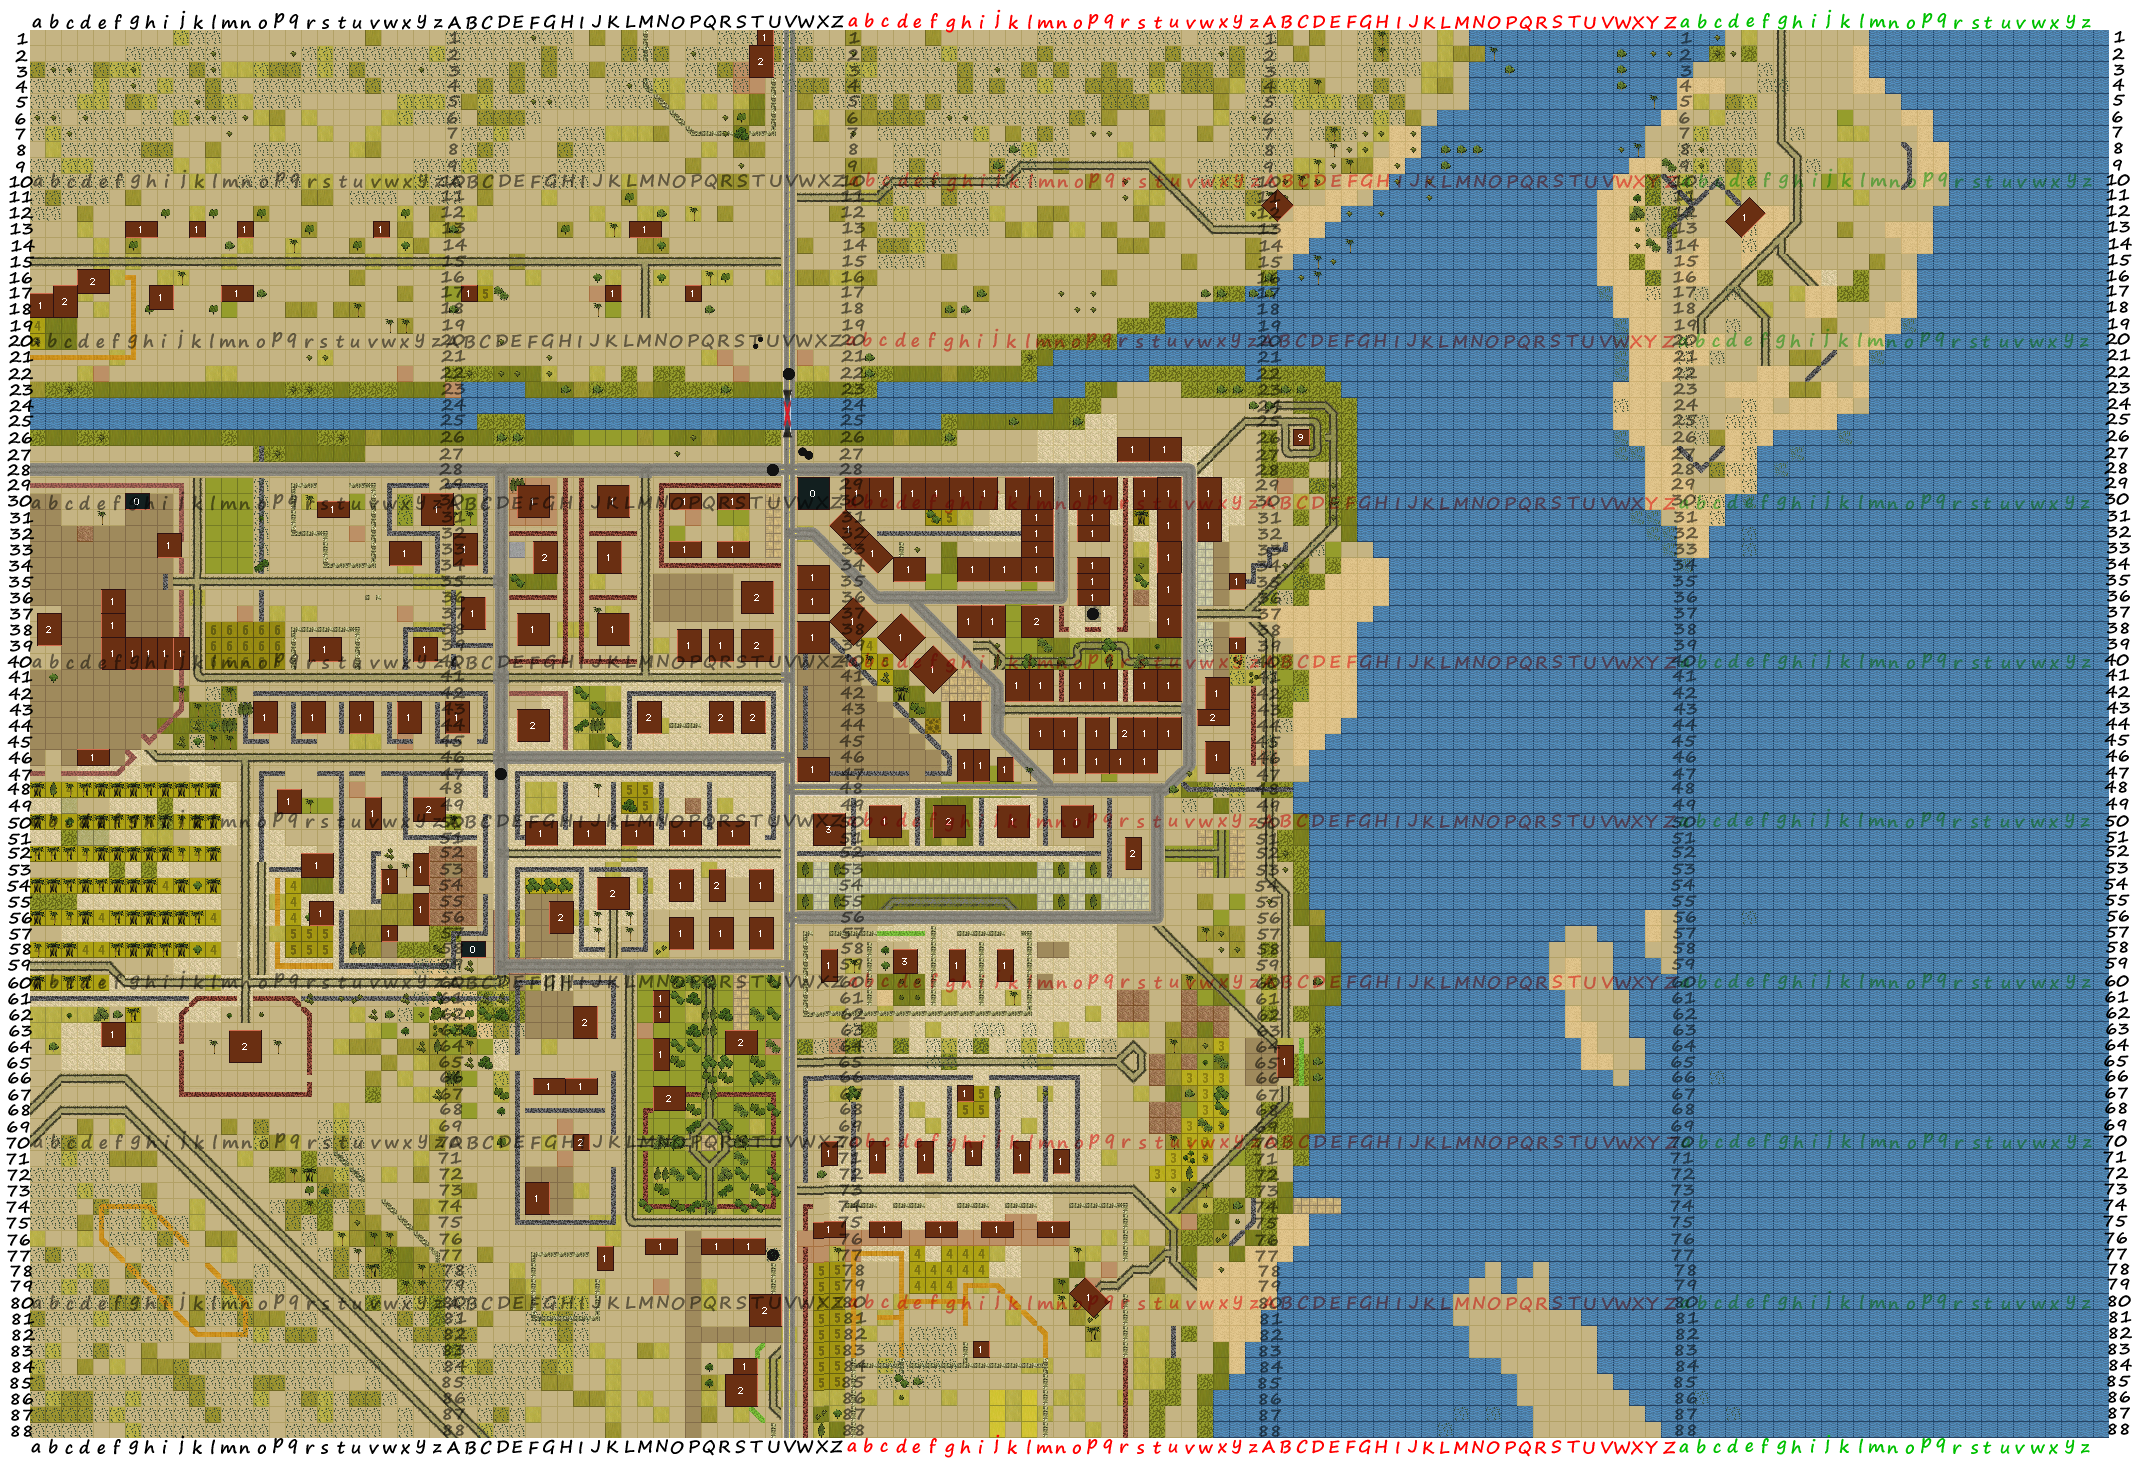
Quitting Qatab: Turn 6

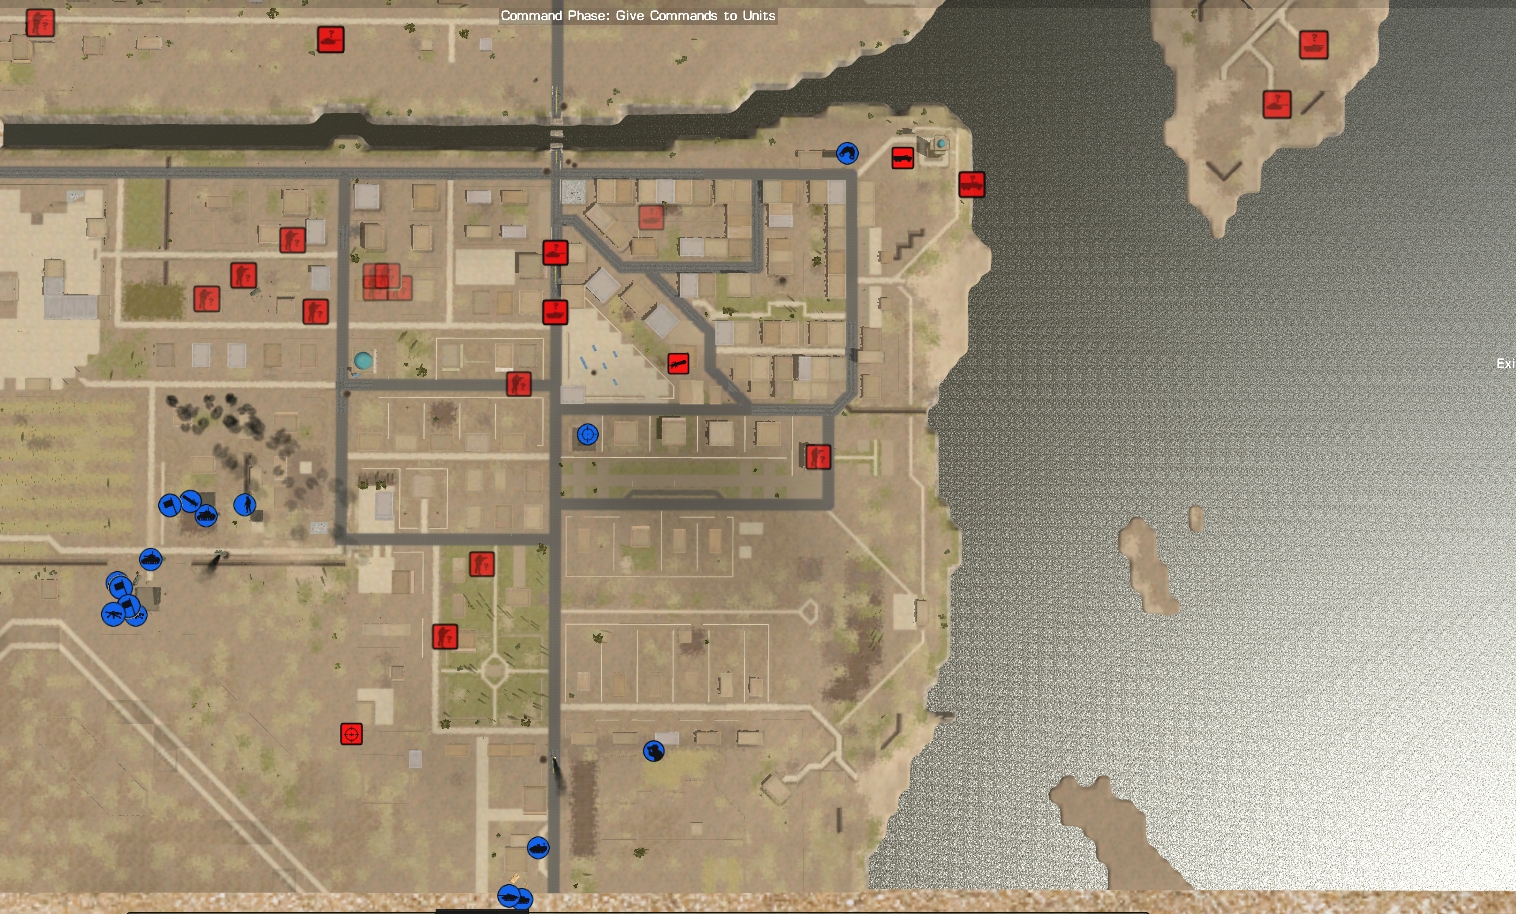
If you've been cheering on the Qatabis for the past six days, you're going to enjoy today's slice of stop-motion slaughter. When we parted, Deathproof, the AAV with a taste for ditches and sloughs, was racing along road 60 with Metzger's assault squad as accidental passengers. An order tweak applied at the start of turn #6 sharpens her senses but also reduces her speed and increases the likelihood of her stopping adjacent to The Ditch o' Doom.
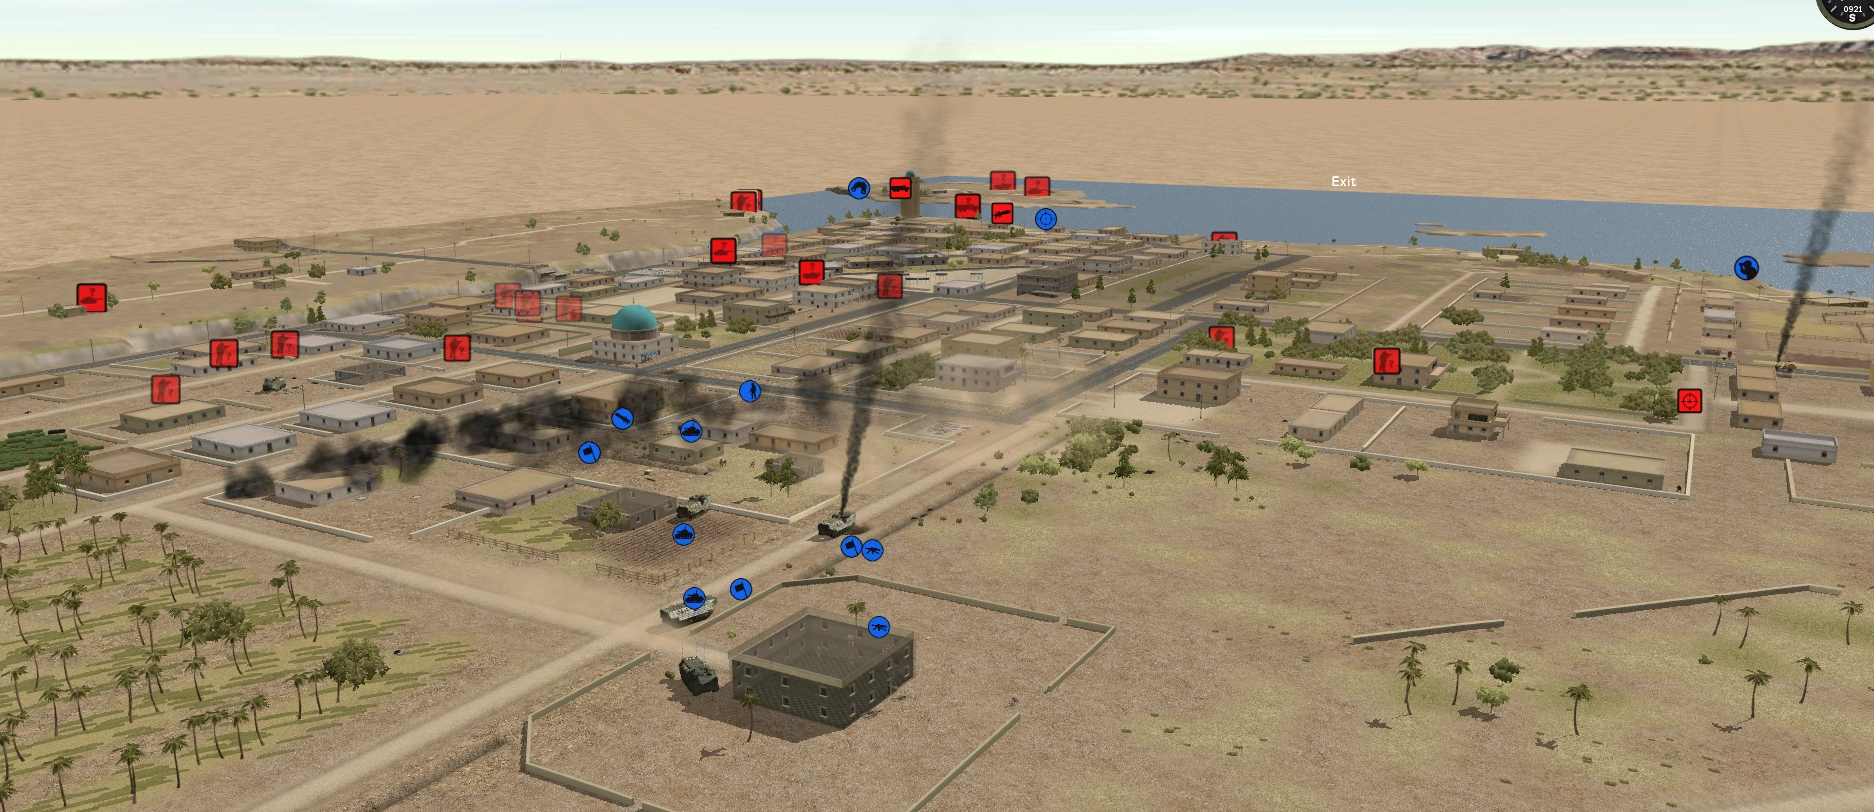
(Quitting Qatab is an open-to-all game of Combat Mission: Shock Force 2 in which NATO forces are orchestrated by commenters while Qatabi units are computer controlled. Each daily turn covers one minute of action. For a scenario outline and summaries of earlier turns, click here)
Would Deathproof have survived her gauntlet run if she'd relied on velocity rather than vigilance and violence? We'll never know for sure, but I suspect not. To the man who turns her into a flame-wreathed roadblock with one timely trigger tug, her pace is almost an irrelevance.
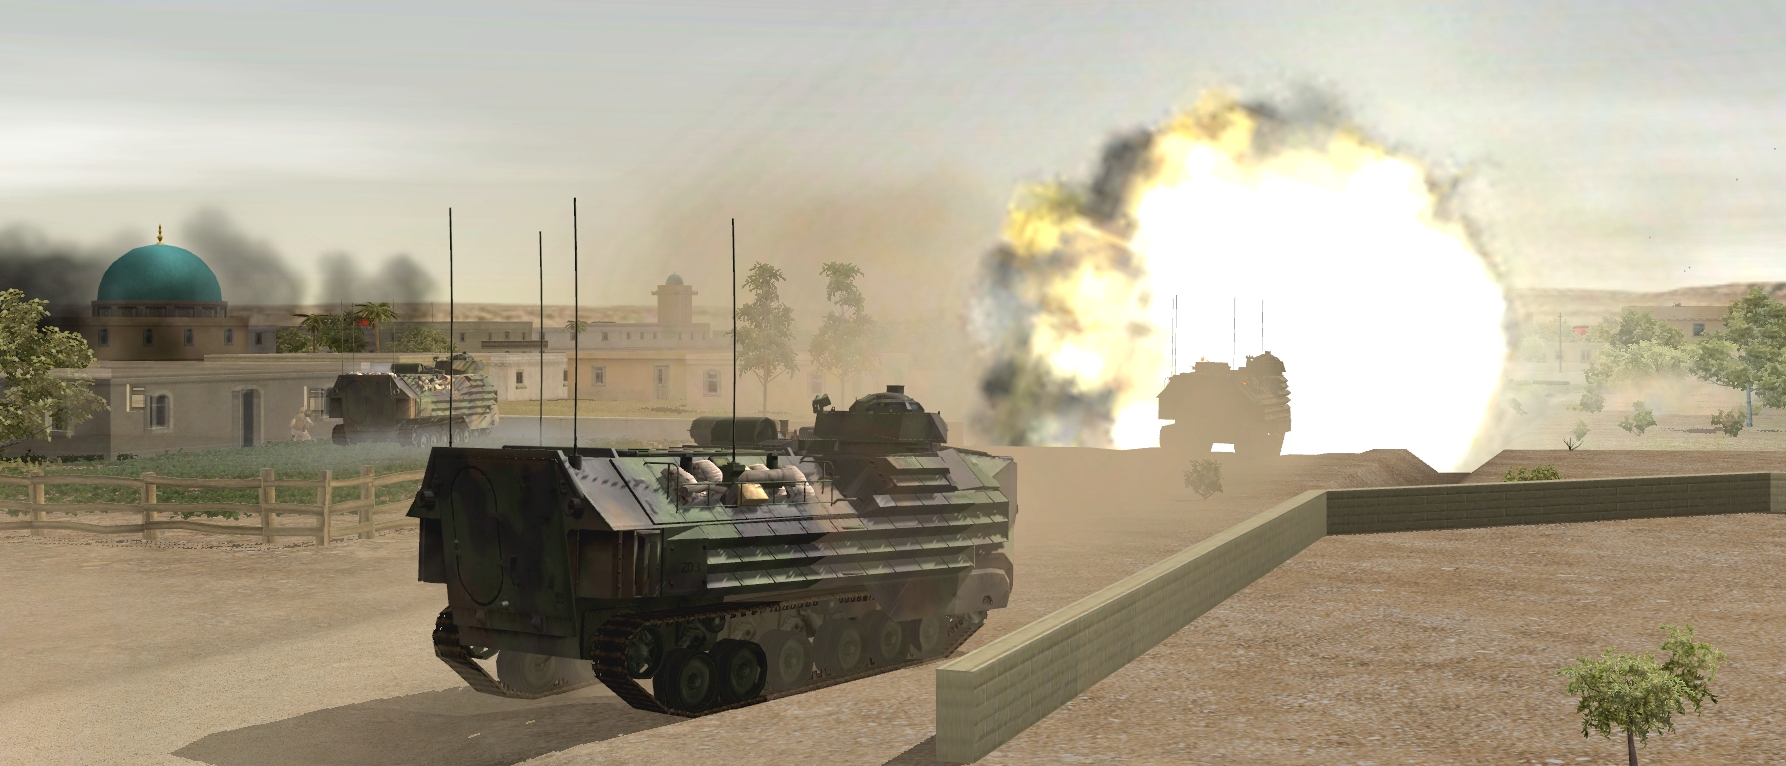
Five seconds into the turn the bustling amphibian is enveloped by a colossal explosion. The shockwave jostles InstiGator and Swamp Thing and turns the east-facing windows of racecourse house into blasts of crystalline shrapnel.
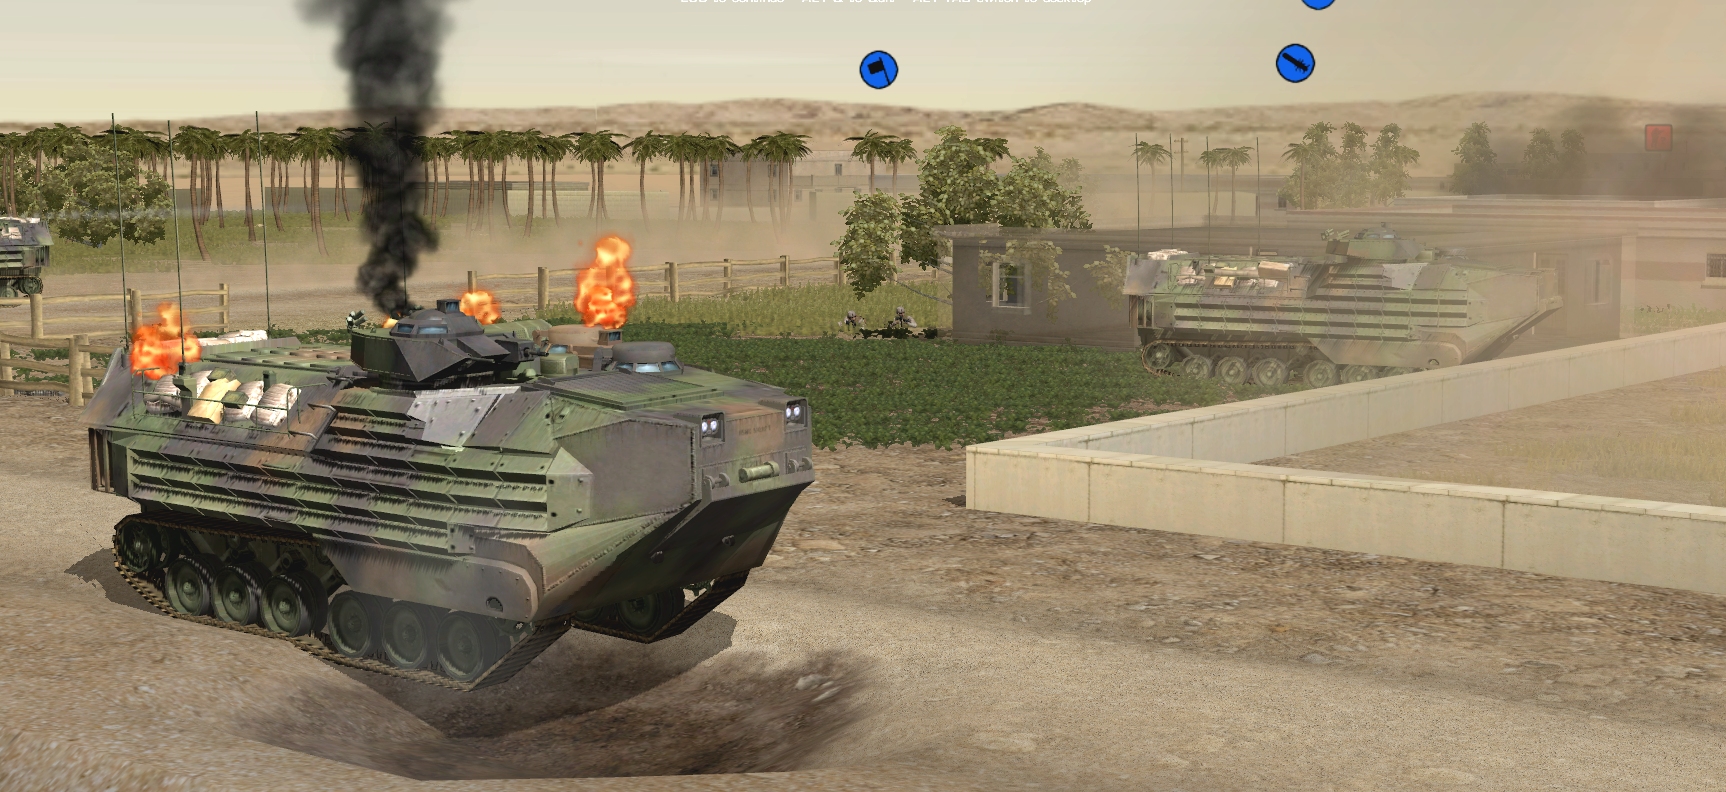
The monumental crater... the suddenness... everything points to an IED, but re-running the action phase tape reveals another cause.
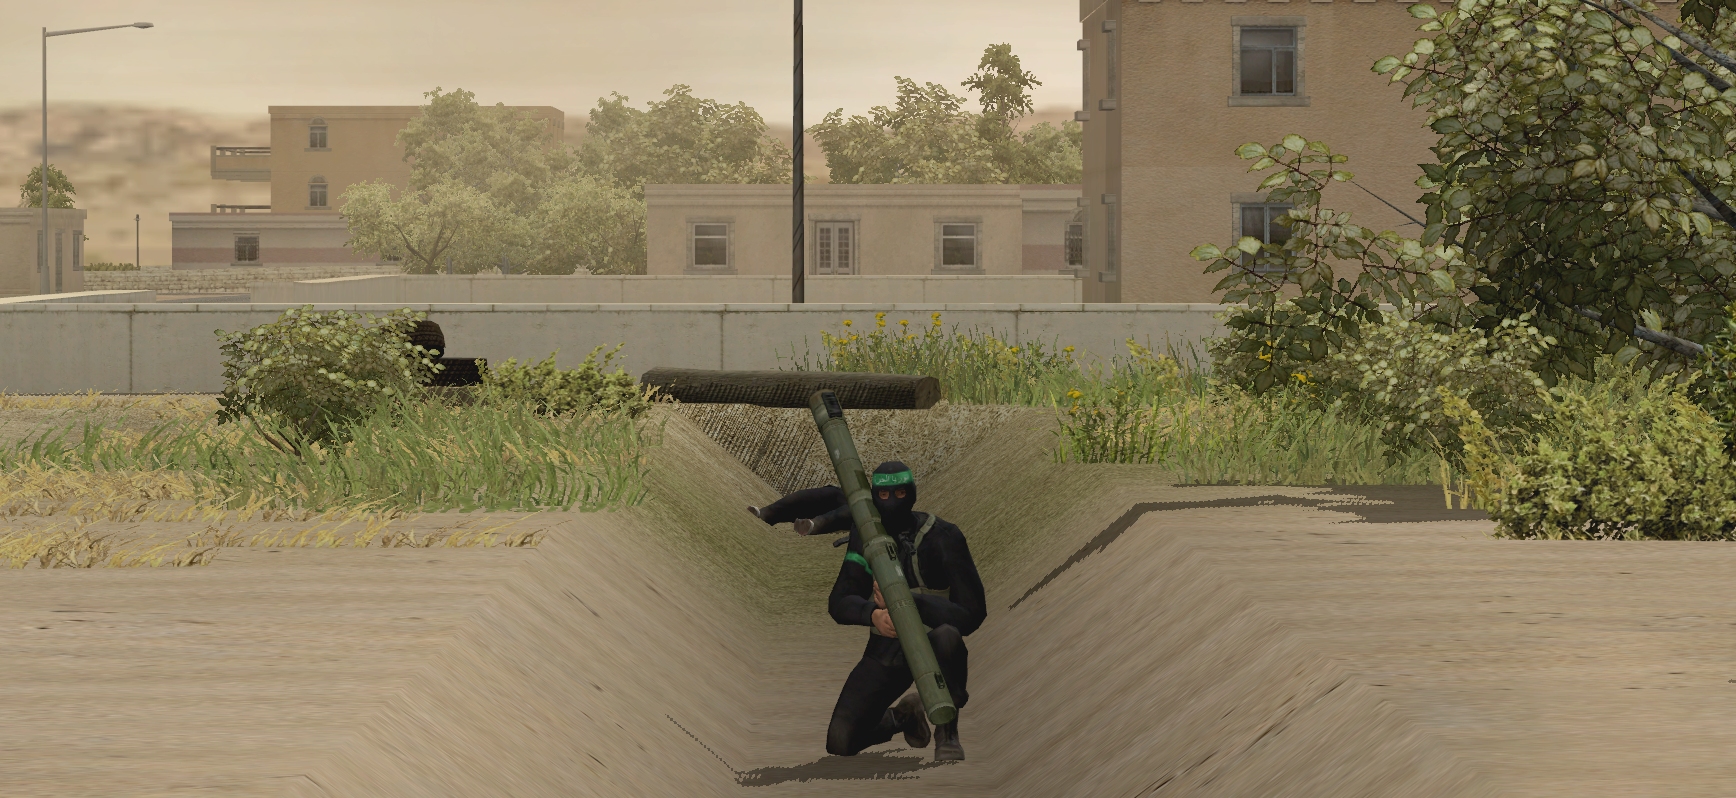
Ankle-deep in water stained red by the blood of his fallen comrades, a lone Qatabi anti-tankist has shown Deathproof's artfully-daubed nose art to be nothing but wishful thinking.

A grim turn for the Comment Commanders almost becomes a catastrophic one twenty seconds after Deathproof and all who sallied in her, perish. Having coolly reloaded behind a veil of smoke and dust generated by his first victim, the AT ace puts InstiGator under his crosshairs and fires again. The rocket misses the HQ AAV by a whisker. Spotting the launch puff, InstiGator's Mk 19 Grenade Launcher operator reacts instantly. Detonations race along the ditch like floodwater. The Qatabi hero disappears in a cloud of crimson mutilation.
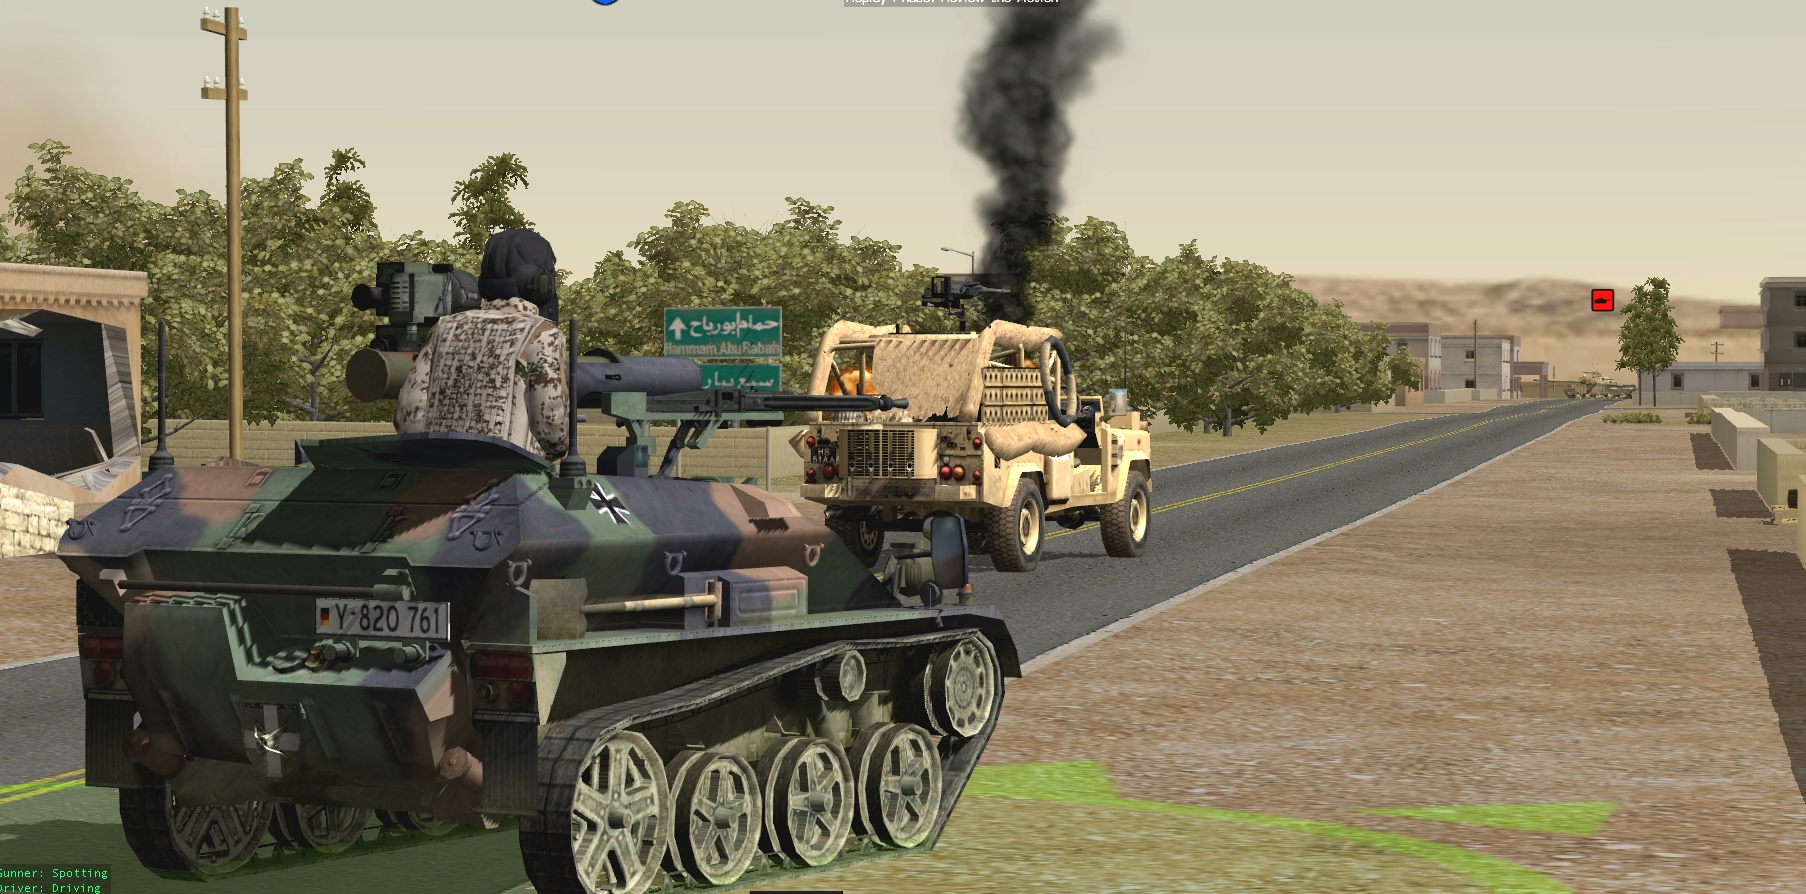
The chance to quickly avenge the loss of the AAV falls to wounded Willy. Beetling onto the V column highway, the Wiesel sights its prey side-on, pointed west, not far from the bridge. I position the camera in readiness for an eye-catching TOW launch screenshot, but Willy has other plans. Ignoring both a hunt command and a narrow north-facing 'target armour' arc, the German AFV loses its nerve and decides to retreat back to its original position. A splendid chance has been squandered.
Other Turn #6 occurrences of note:

In the second round of the sniper duel, the Red marksman keeps his head down, Hotel Lux loses another star to a HEAT warhead, and one of Stone's men sustains light wounds and fells a foe.
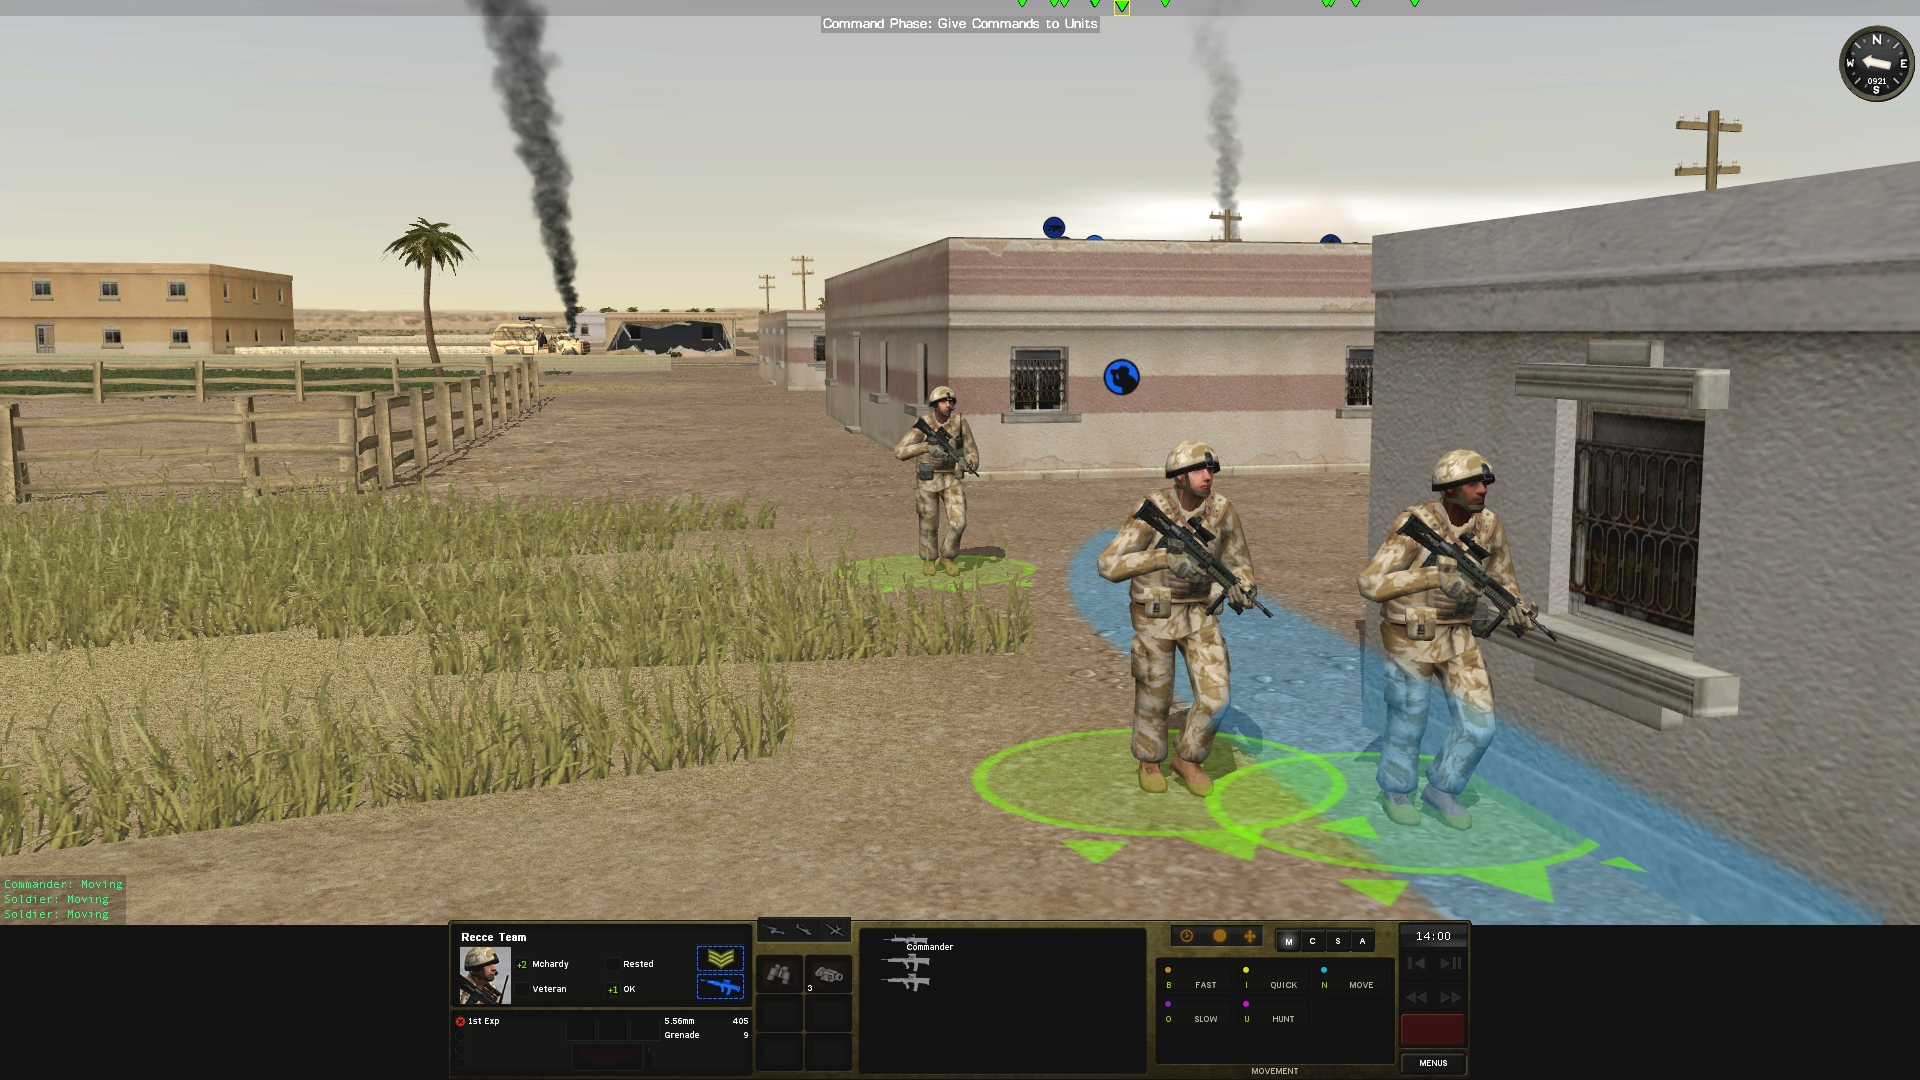
Daly's squad and Ample Annie redeploy successfully.
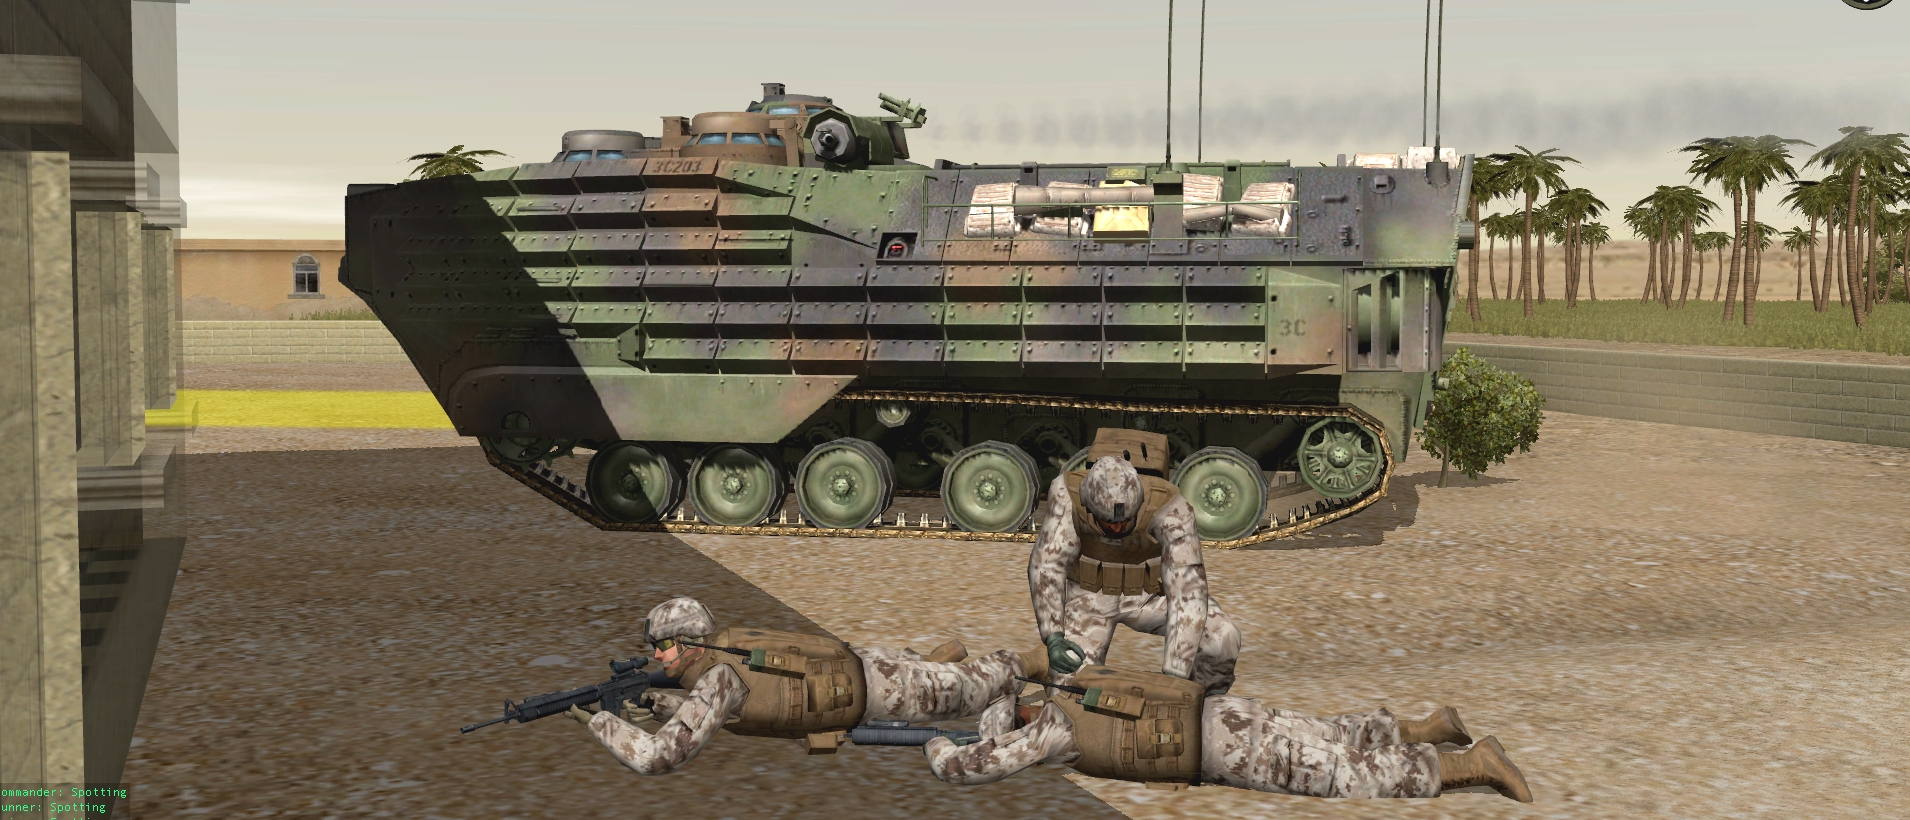
Having received prompt first-aid, Macmurray shows sign of life!
The Dutchmen sweat as two vehicles – a truck and a technical – pass metres from their door.
The Landy Boys go for a stroll.
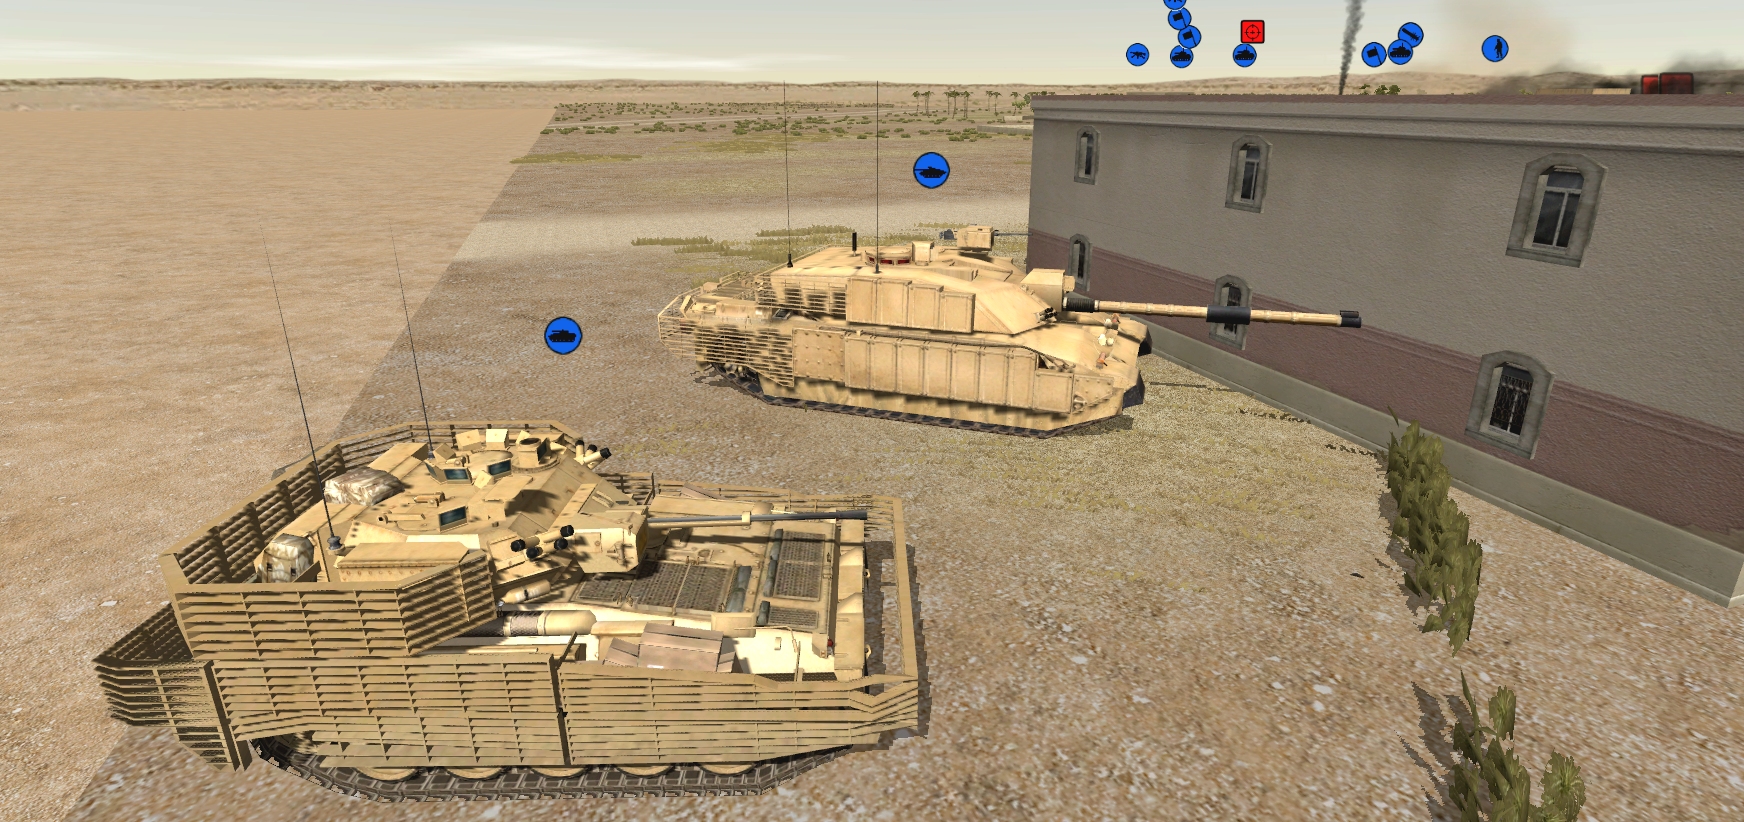
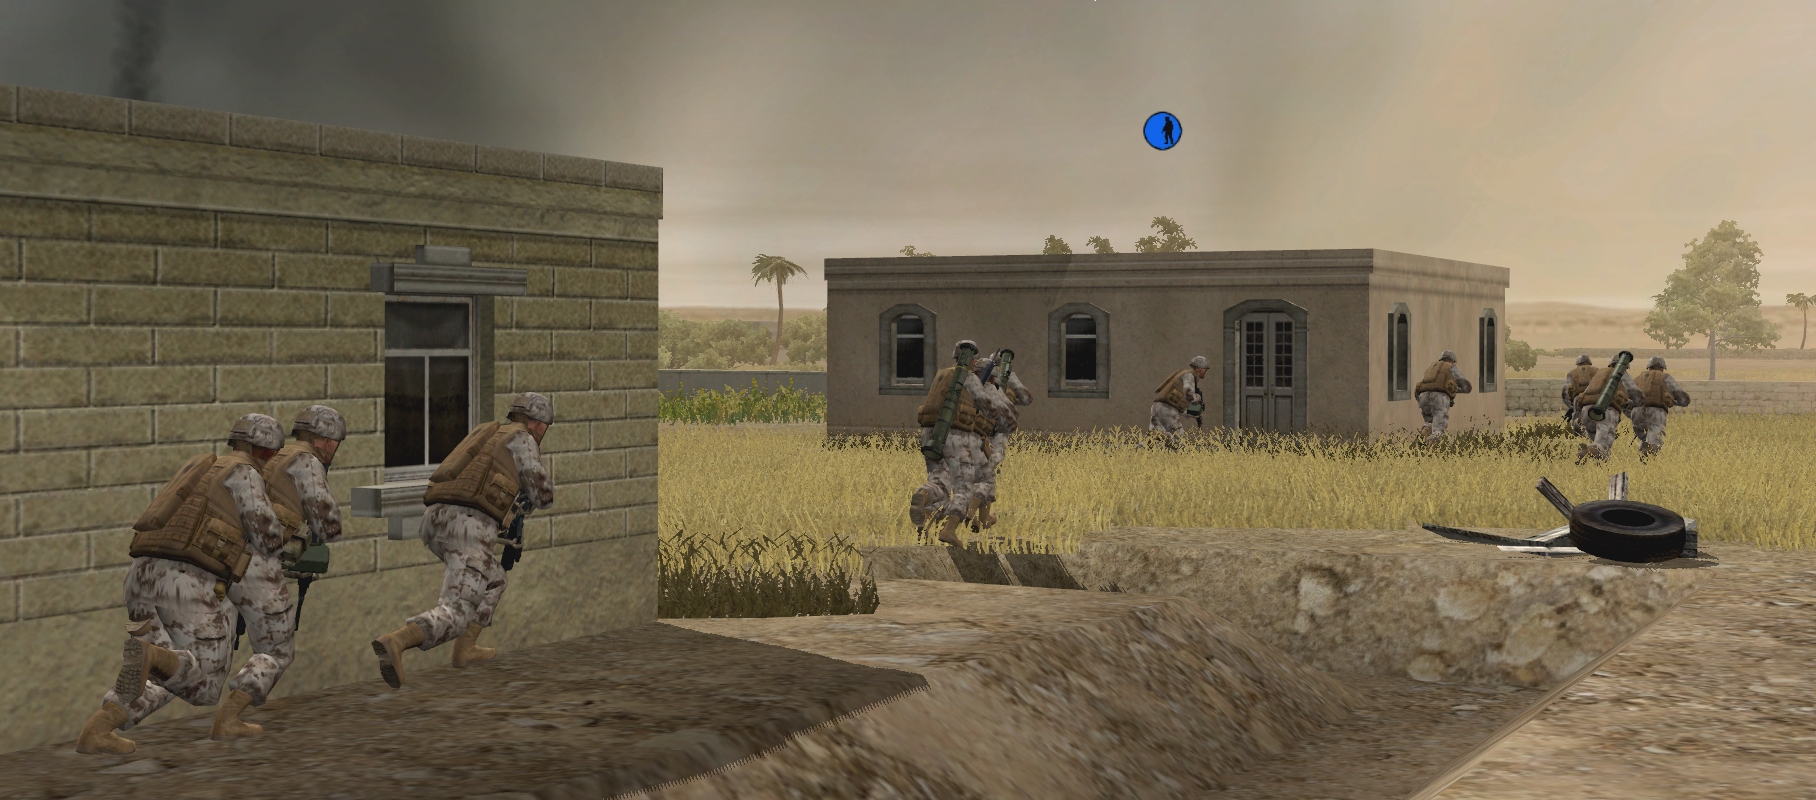
The cavalry arrives!