How to install a power supply
Power to the people


The first step in our How to build a PC guide is installing your power supply, or PSU for short. Before we begin, however, we need to make sure your case is prepped and ready for it. That means taking out any lingering bits and pieces your case manufacturer might have left in there when you bought it, so get that screwdriver at the ready. It's time to crack open that case.
Step 1: On the back of your case, you should find four large-ish screws at the top and bottom of each side. Hopefully your case will have nice easy thumbscrews you can twist without having to resort to a screwdriver, or it may even have a pair of release switches you can press inwards.
Either way, you'll want to take the right one off first (looking at it from the back), as this is the one that will give us the main access to our building space. The left-hand side is where we'll be routing most of our cables and installing our storage devices, so you can leave that one on for now if you prefer, or just take it off to save yourself time later.
Step 2: Make sure you take out any accessory boxes still hanging around inside your case. Sometimes you'll find screw boxes tucked away inside the disc drive shelf or in one of the storage bays, so have a good nose around to make sure you haven't missed anything. Essentially, you need a completely empty work space. Make sure you keep that screw box nearby, though, as you'll be needing it shortly.
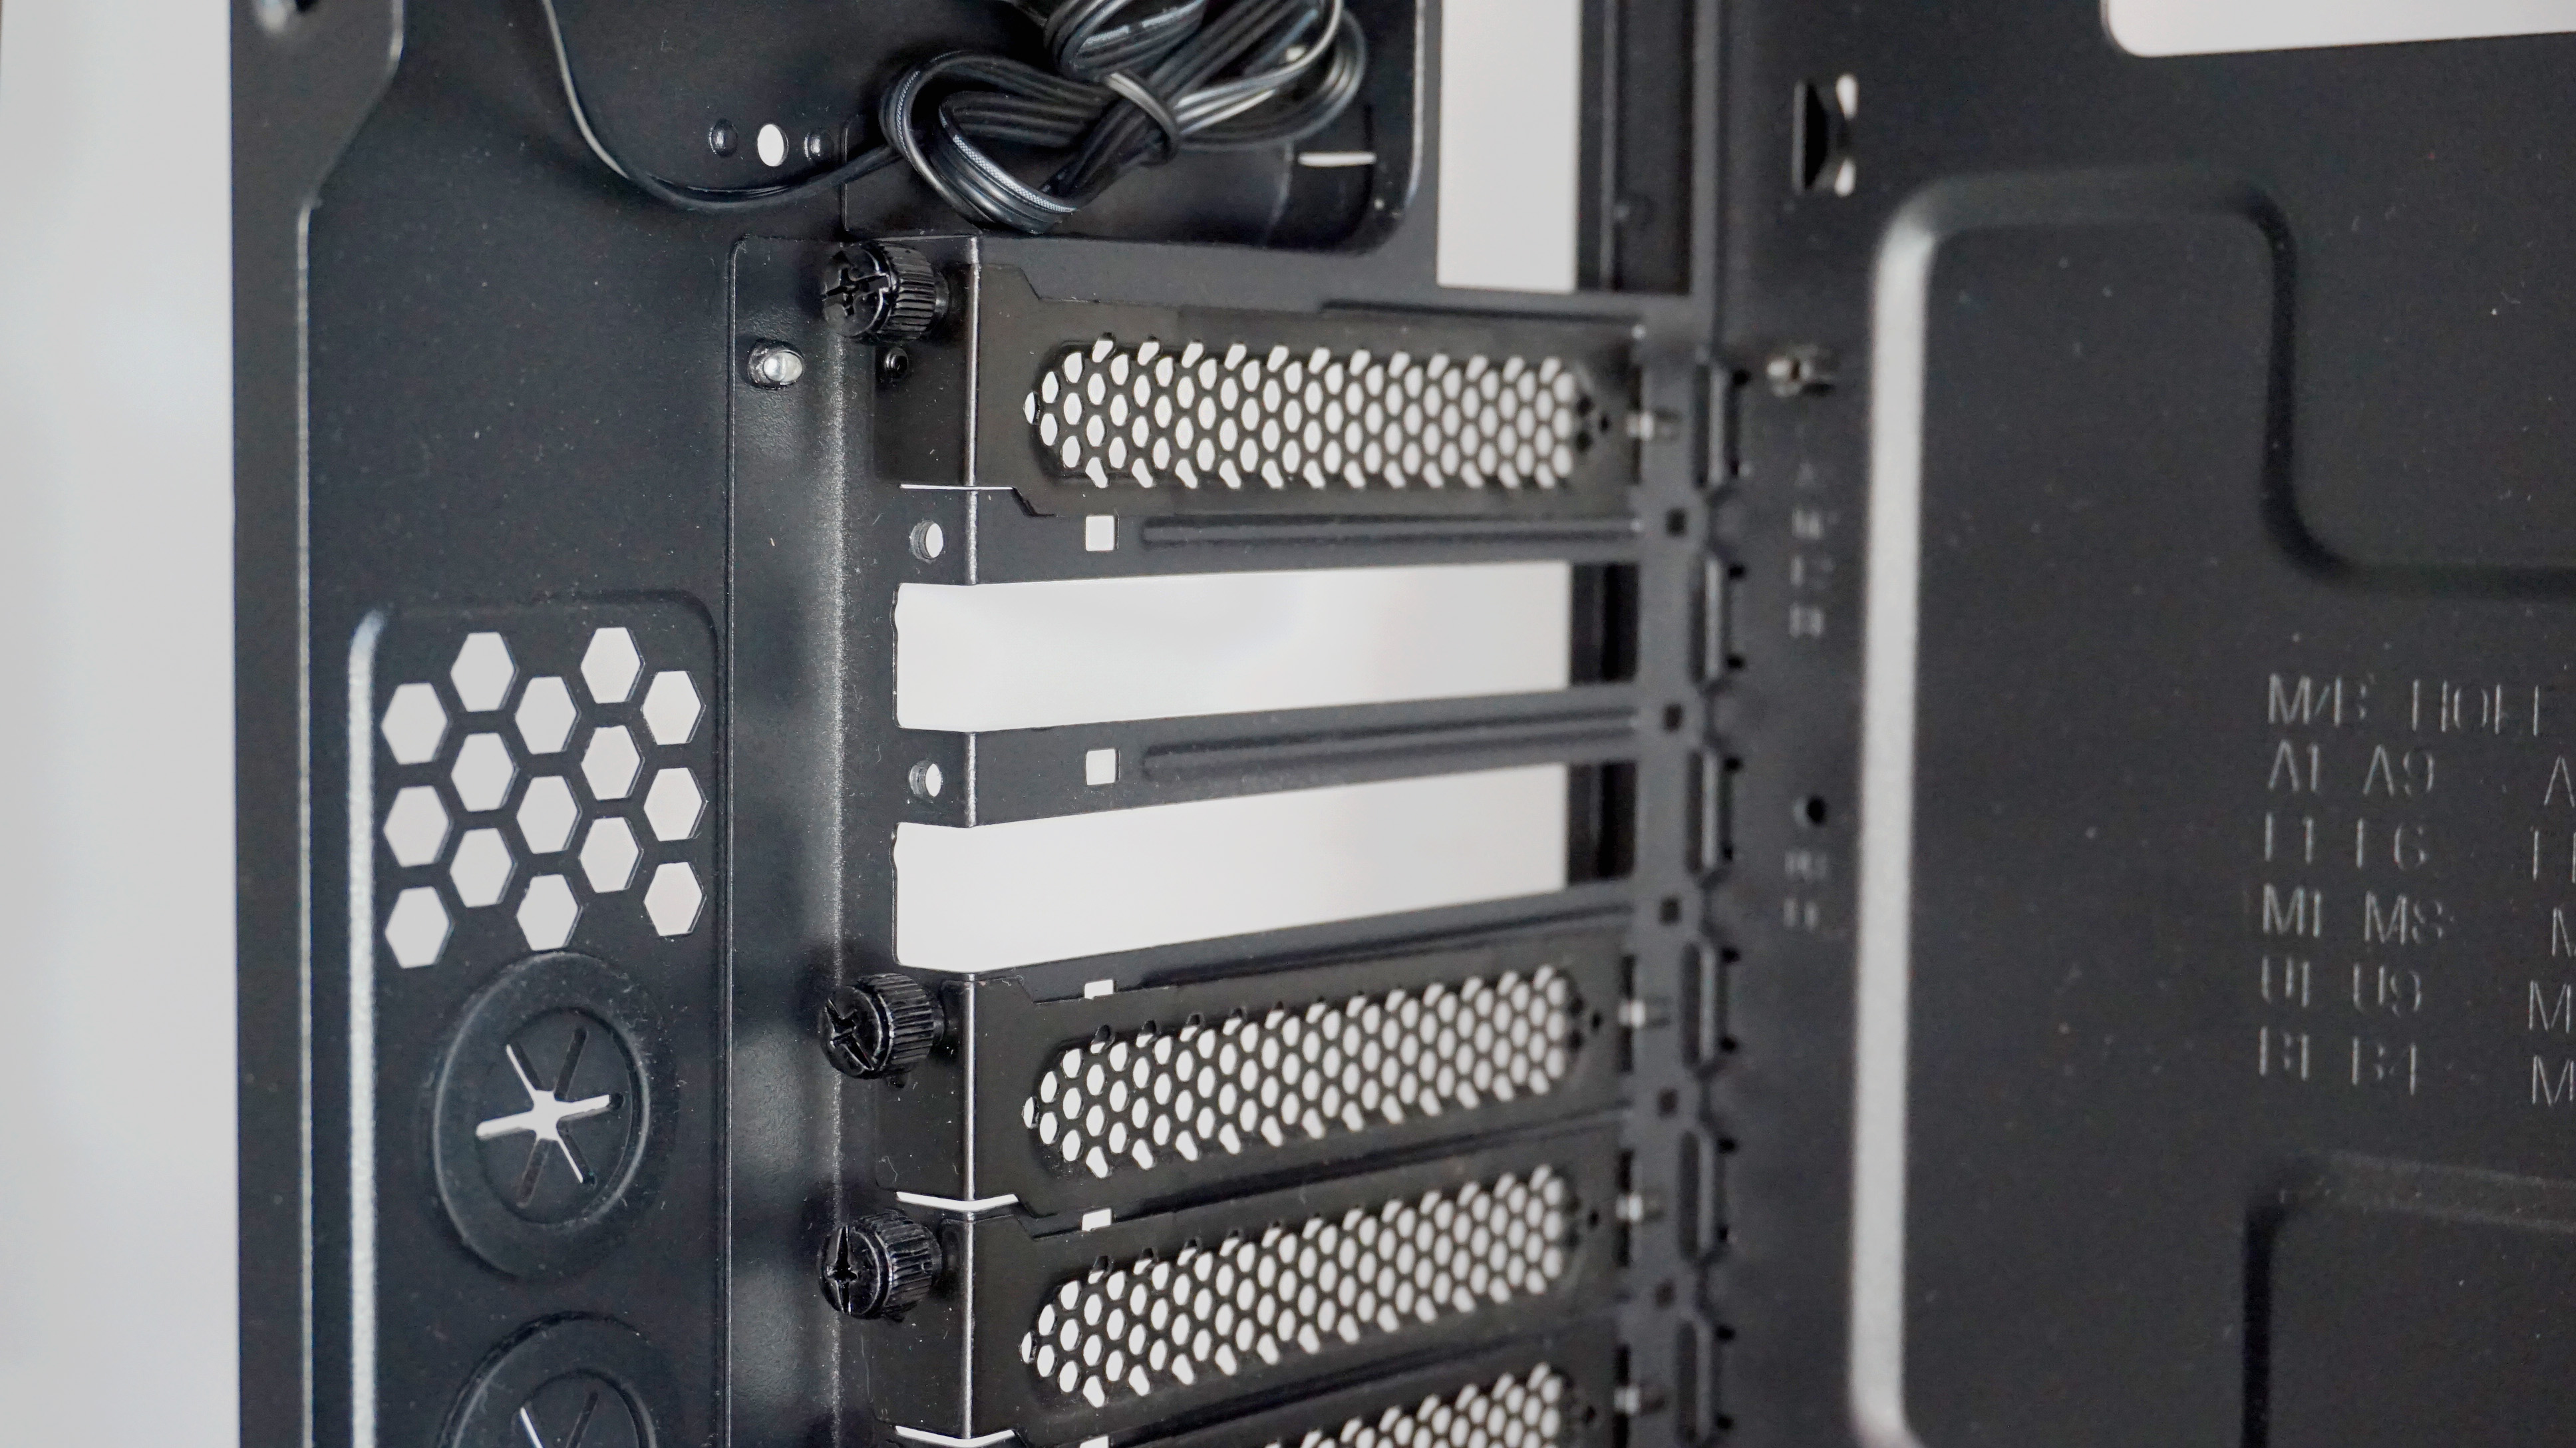
Step 3: Now it's time to remove the case's back plates to prepare the way for your graphics card and any other extra expansion cards you have such as a network card. These all line up with the PCIe slots on your motherboard, so you'll only need to remove the ones where you'll be installing your cards. Generally, most graphics cards take up two plates these days, while other expansion cards only need one.
Most of the time, your graphics card will need the second and third back plates to be taken out, but an easy way to check is to have a quick look at your motherboard and place it roughly in line with the mounting points inside your case. Just be sure to put your motherboard back inside the anti-static bag it came in once you're finished.
Again, most cases employ thumb screws for securing your case's backplates, but you may find it easier to use a proper screwdriver for this step, as they can sometimes be a bit stubborn.
Step 4: Now your case is ready, it's power supply time! Most cases have their power supplies positioned at the bottom of the case these days, but if you've got one that keeps it up at the top you should find there's a dedicated shelf for it.
It's also worth noting that some cases like the Corsair Carbide 270R (see below) have special cages for their power supplies that don't allow access from the front, so you may well need to remove that left side panel on your case after all and slot it in from there.

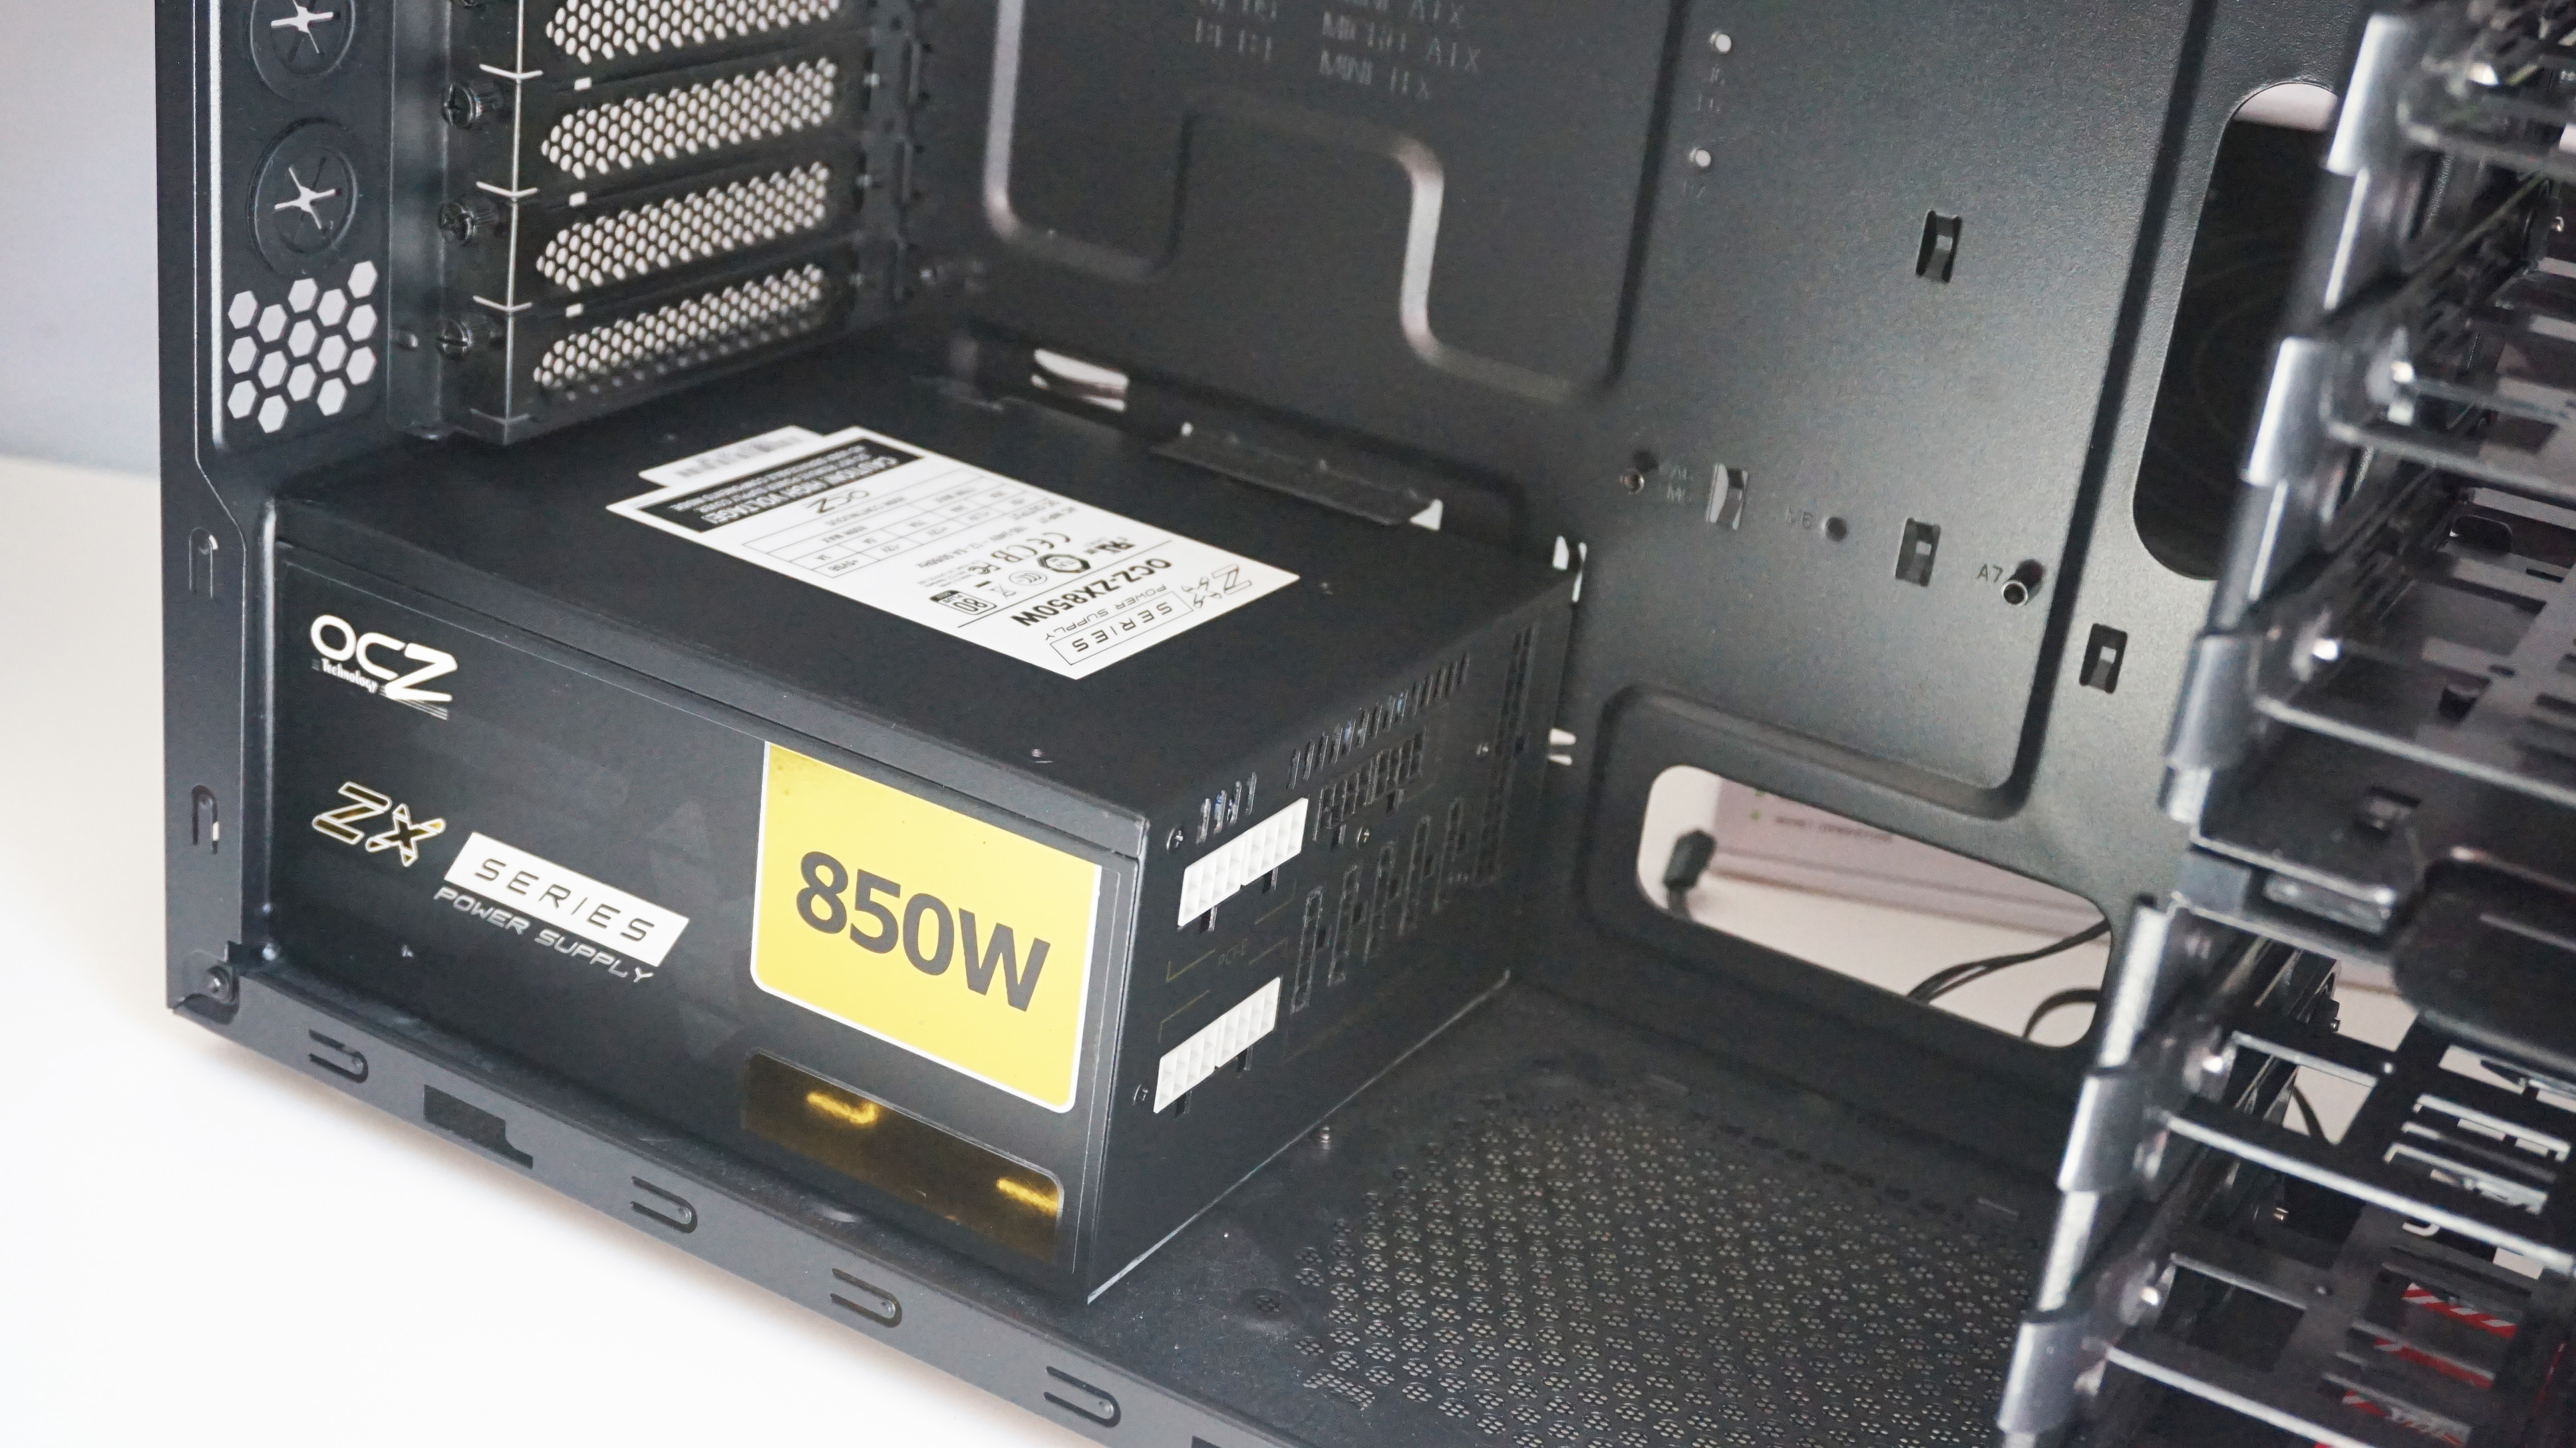
You'll probably need to consult your manual to work out which way up the power supply should go, but almost every PSU I've ever used slots in upside down - that is, the fan facing downwards toward the bottom of the case. That may sound counterintuitive, but this means the power supply can draw in air from outside the case to help keep it cool inside. Your case may well let you position the fan upwards, of course, in which case it will draw in hot air from inside the case and push it out, but not all cases give you this option.
Either way, all you need to do is slide it into the case and make sure it's as far back as it can go until it's lined up with the screw holes on the back of your case.

Step 5: Now it's time to begin securing your power supply in place. You'll need a screwdriver for this, as well as the accessory box that came with your case, as you'll find all the necessary screws there. Make sure the holes line up, screw them down and job done.
It may also be worth attaching your power cable and plugging it into a grounded wall socket at this point, as this will ground the case and prevent any static from building up while you're working. Personally, I've never had any problem with static damage when handling components, but if you're building your PC on a carpeted floor, it's probably better to be safe than sorry. Just don't actually turn your wall socket on yet.
And that's your power supply done and dusted. Don't worry, we'll come back to connecting up the cables later on. Now let's move on to the next step: how to install a motherboard.
Contents:
How to build a PC guide
How to install a power supply
How to install a motherboard
How to install a case fan
How to install a CPU
How to install RAM
How to install a graphics card
How to install an SSD / HDD
How to connect your system panel connector and case cables
How to put your case back together again and connect your peripherals
How to install Windows 10