How to put your case back together again and connect your peripherals
Bringing it all together


Congratulations! You've made it through our How to Build a PC guide. Now it's time to double-check and triple-check that everything's connected properly, put your case back together and plug in those peripherals. Let's get started.
Step 1: All right, final check time. One of the most common problems when you first come to turn on your newly-built PC is… nothing happening. And that's usually because you forgot to connect a cable somewhere or it's come loose - or maybe you even forgot to flip your power supply's switch on the back of your case.
To prevent all this from ruining the moment, take a good look inside your case and make sure there aren't any loose cables where there shouldn't be - give everything that's plugged in another firm press to make sure it's connected properly, and make sure all your components are sitting securely inside their various slots and connectors.

Check there isn't anything obstructing your fans either - shove any excess cabling through the holes in your motherboard tray if you've got them, or make sure cables are grouped together with cable ties or electrical tape and are positioned as far away from your fans as possible if your case doesn't provide any extra routing room round the back.
Grouping cables together is another way of helping to improve the airflow inside your case too. I wouldn't recommend using zip ties, as they're impossible to undo again if you need to move or rearrange something. You may already have some cable ties in your motherboard box, but if not, a couple of velcro or wire ones should do the trick.

Step 2: Once all your cabling has been checked, you can now reattach your side panels - and if you took off the front one to install another set of fans, then put that back on too. Most side panels should slide on pretty easily provided there aren't any cables getting in the way, but you may also need to hook in the top and bottom first before they'll slot into place. Once they're sitting flush against your case, screw them back in using their respective thumbscrews on the back.

Step 3: Ta da! Your PC is now is ready to rumble. All we've got to do now is attach your monitor, mouse and keyboard and any other peripherals you might need. Don't forget to plug your PC into a wall socket either if you haven't already done so.
First, let's get your mice and keyboard sorted. Most plug in via USB these days, but if you've got a particularly old one then you may need to use your motherboard's green and purple PS/2 port instead (see below). Otherwise, connect these to your PC's rear USB ports - probably up the top where they're less likely to get tangled up in all the other cables you're about to connect.

Step 4: If you're using a wired internet connection, now's as good a time as any to plug in your Ethernet cable. This will also be on the rear of your case. Then you just need to connect the other end to your router, or your home plug adapter if you're going down that route instead.
In case you're unfamiliar with home plugs, these are a brilliant alternative to getting a wired internet connection around your house without resorting to Wi-Fi or running a huge Ethernet cable up the stairs. They comprise of two plug adapters - one to go with your router, and another to go in the room you want your internet connection. All you need to do is attach Ethernet cables to both of them and plug them into your router/PC, and your home electrical wiring does the rest. Magic. They're not massively expensive either - just £25 in the UK and $40 in the US.
Step 5: Next up, your audio solution - if you've got one that is. If you've got some speakers, you'll want to plug these into the audio ports round the back of your PC (ditto if you've got a headset with a 3.5mm audio connection). If you've got a USB headset, on the other hand, then plug this into another free USB port.
Wireless headset users may prefer to plug in their transmitter on a front USB port if you have one, but it's probably best to keep these free for USB sticks and other things you want to be able to remove quickly rather than faffing around at the back all the time.
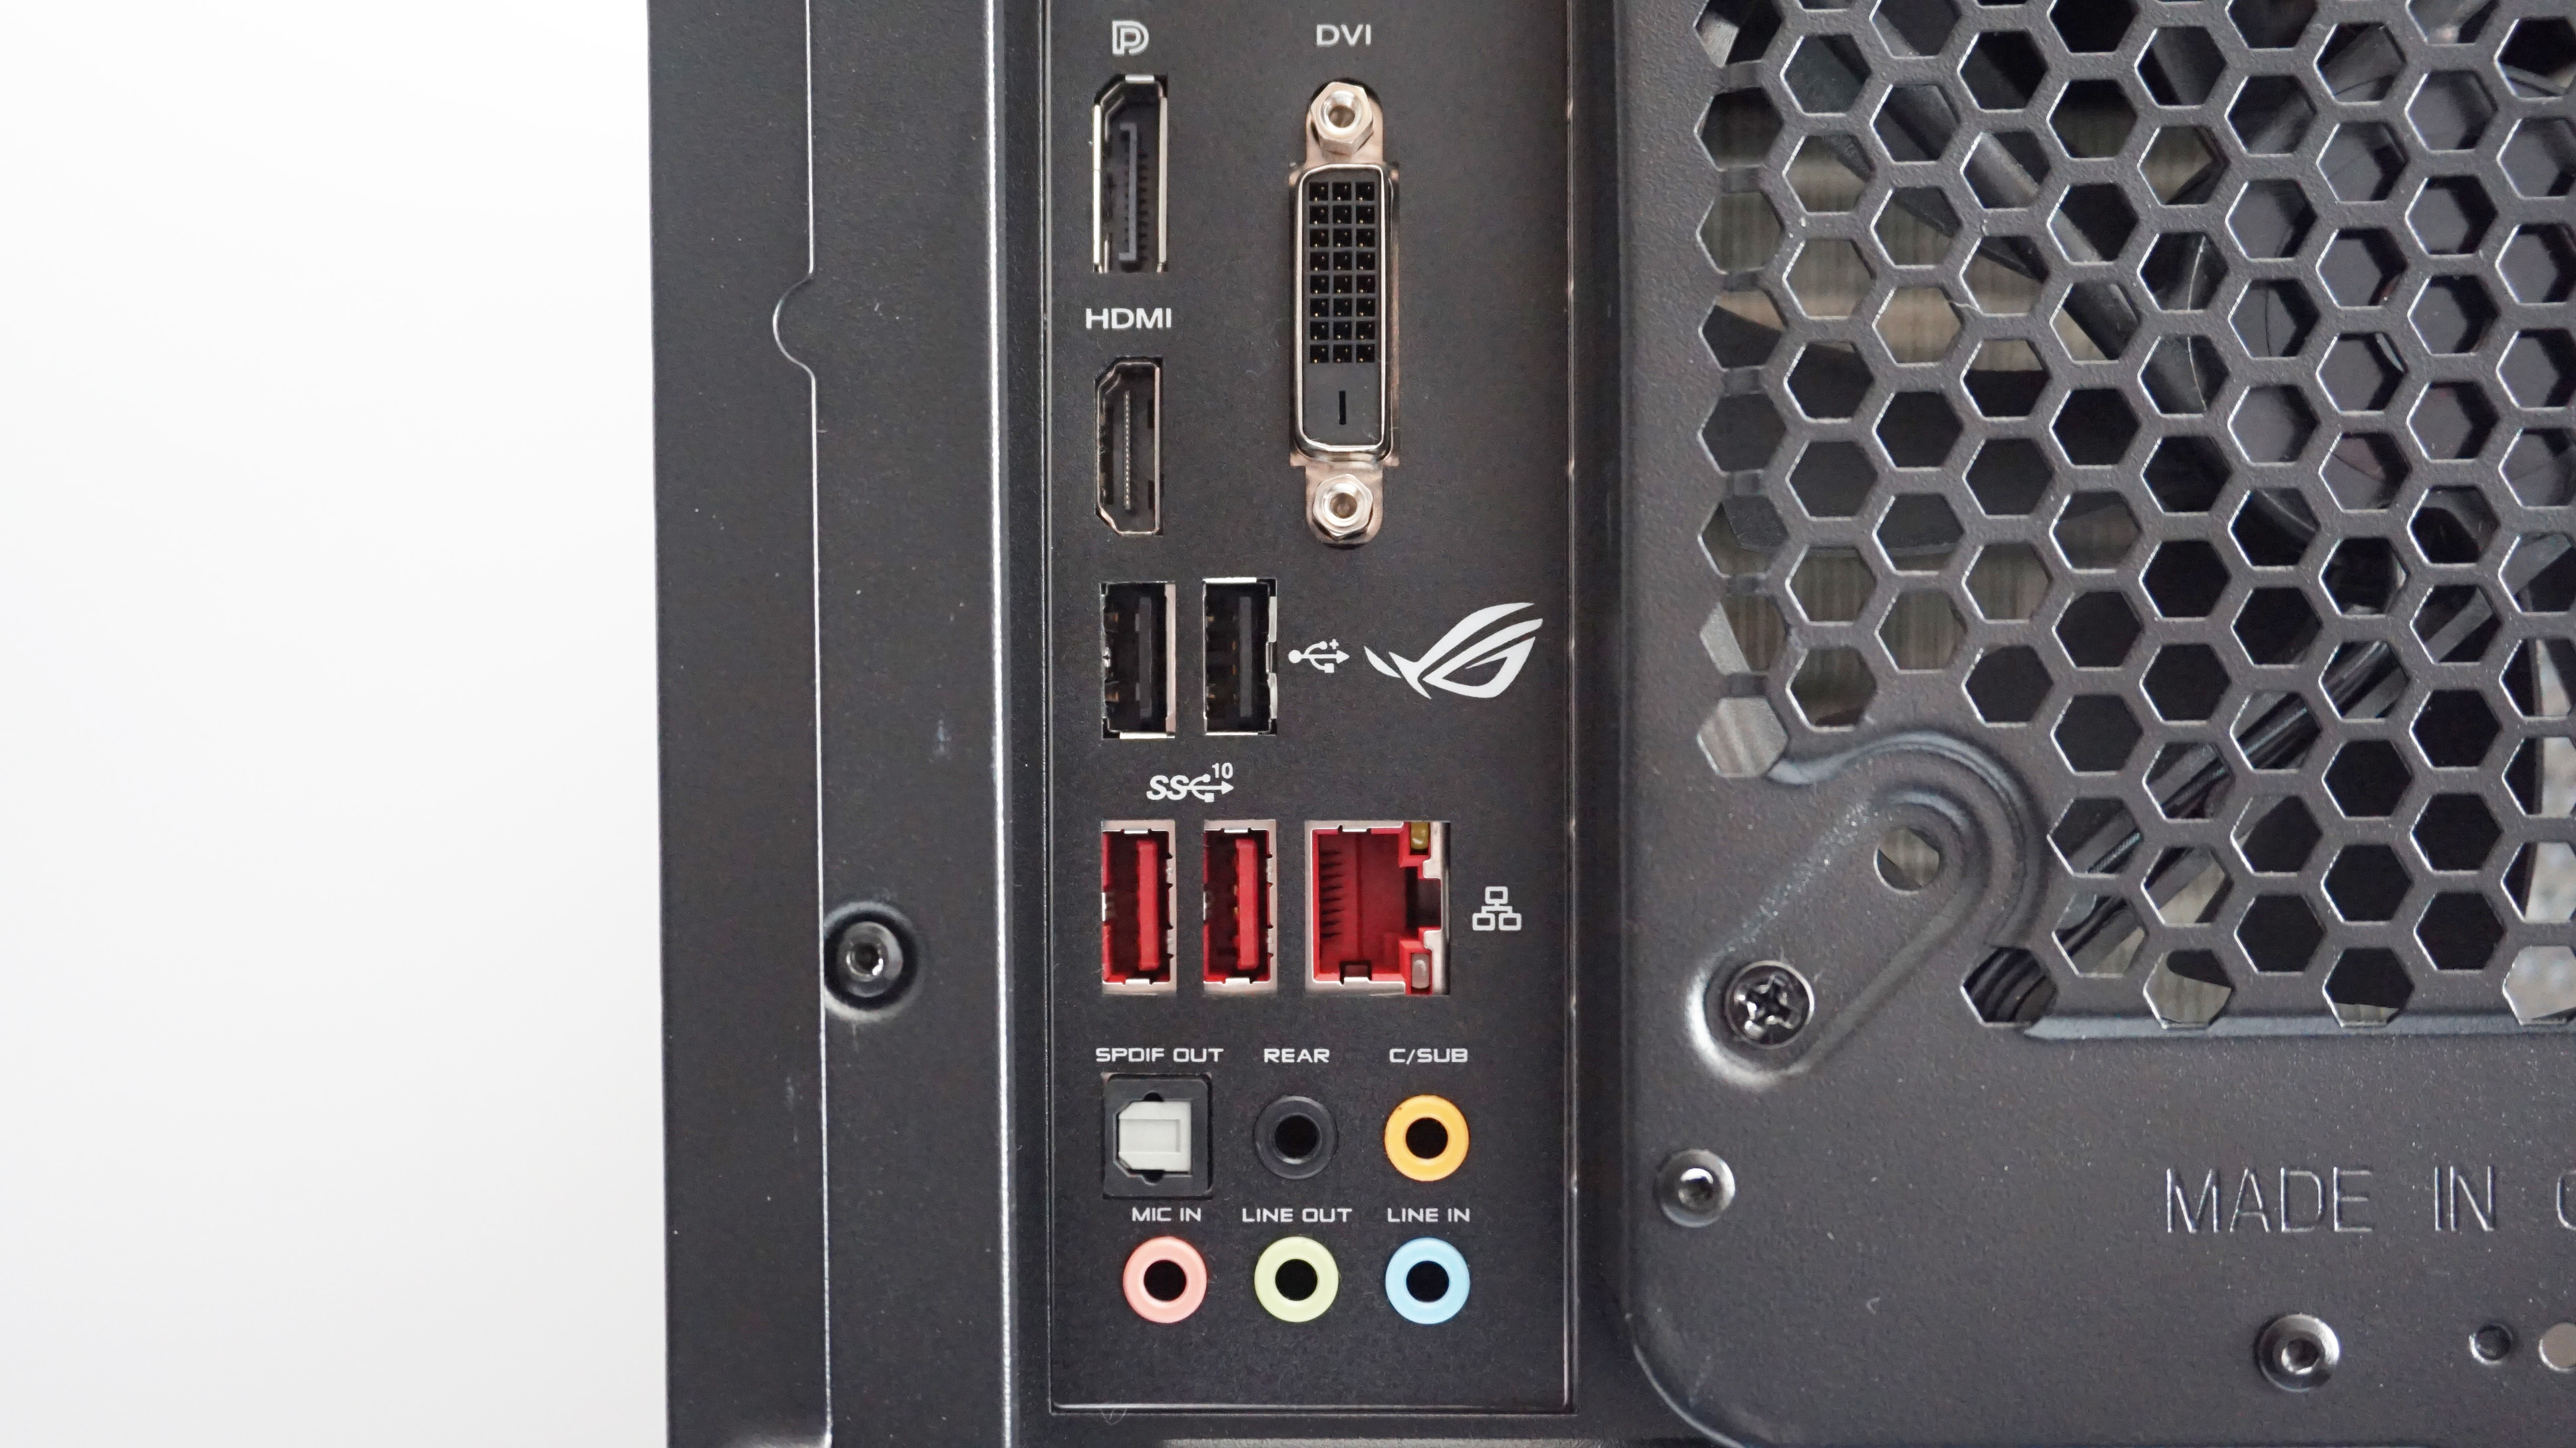
Step 6: And finally, your monitor. You'll want to use the ports on your graphics card for this, not your motherboard, otherwise you'll only end up using your motherboard's onboard graphics, not that big fancy dedicated GPU you've just spent many hundreds of pounds / dollars on.
Most modern graphics cards have a plentiful supply of HDMI or DisplayPort outputs these days, but older cards may still have DVI or even VGA. Ideally, you'll want to use either HDMI or Displayport if possible, as these have larger bandwidths for displaying higher resolutions and faster refresh rates than DVI or VGA.

Often, your monitor will come with a selection of cables in the box, but if not, you'll need to make sure the cables you buy support the right standard for each display type: ideally, DisplayPort 1.4 or HDMI 2.1
If you can't find the latter, then HDMI 2.0b will do just fine, as this standard still supports 4K resolutions at up to 60fps and 2560x1440 at up to 144fps without any compromises to your overall image quality.
If you've bought a monitor that supports Nvidia G-Sync or AMD FreeSync - the adaptive frame rate technology that dynamically adjusts your monitor's refresh rate to the number of frames being spat out by your graphics card to help prevent stuttering and tearing - then you'll need to stick with DisplayPort, as this technology isn't supported over HDMI. See our best gaming monitor guide for more info on this.
Step 7: It's almost here. It's time to turn on that PC and get your operating system set up, which I'll cover in my next step: How to install Windows 10.
Onward!
Contents:
How to build a PC guide
How to install a power supply
How to install a motherboard
How to install a case fan
How to install a CPU
How to install RAM
How to install a graphics card
How to install an SSD / HDD
How to connect your system panel connector and case cables
How to put your case back together again and connect your peripherals
How to install Windows 10