Monster Hunter Rise: PC requirements, performance and the best settings to use
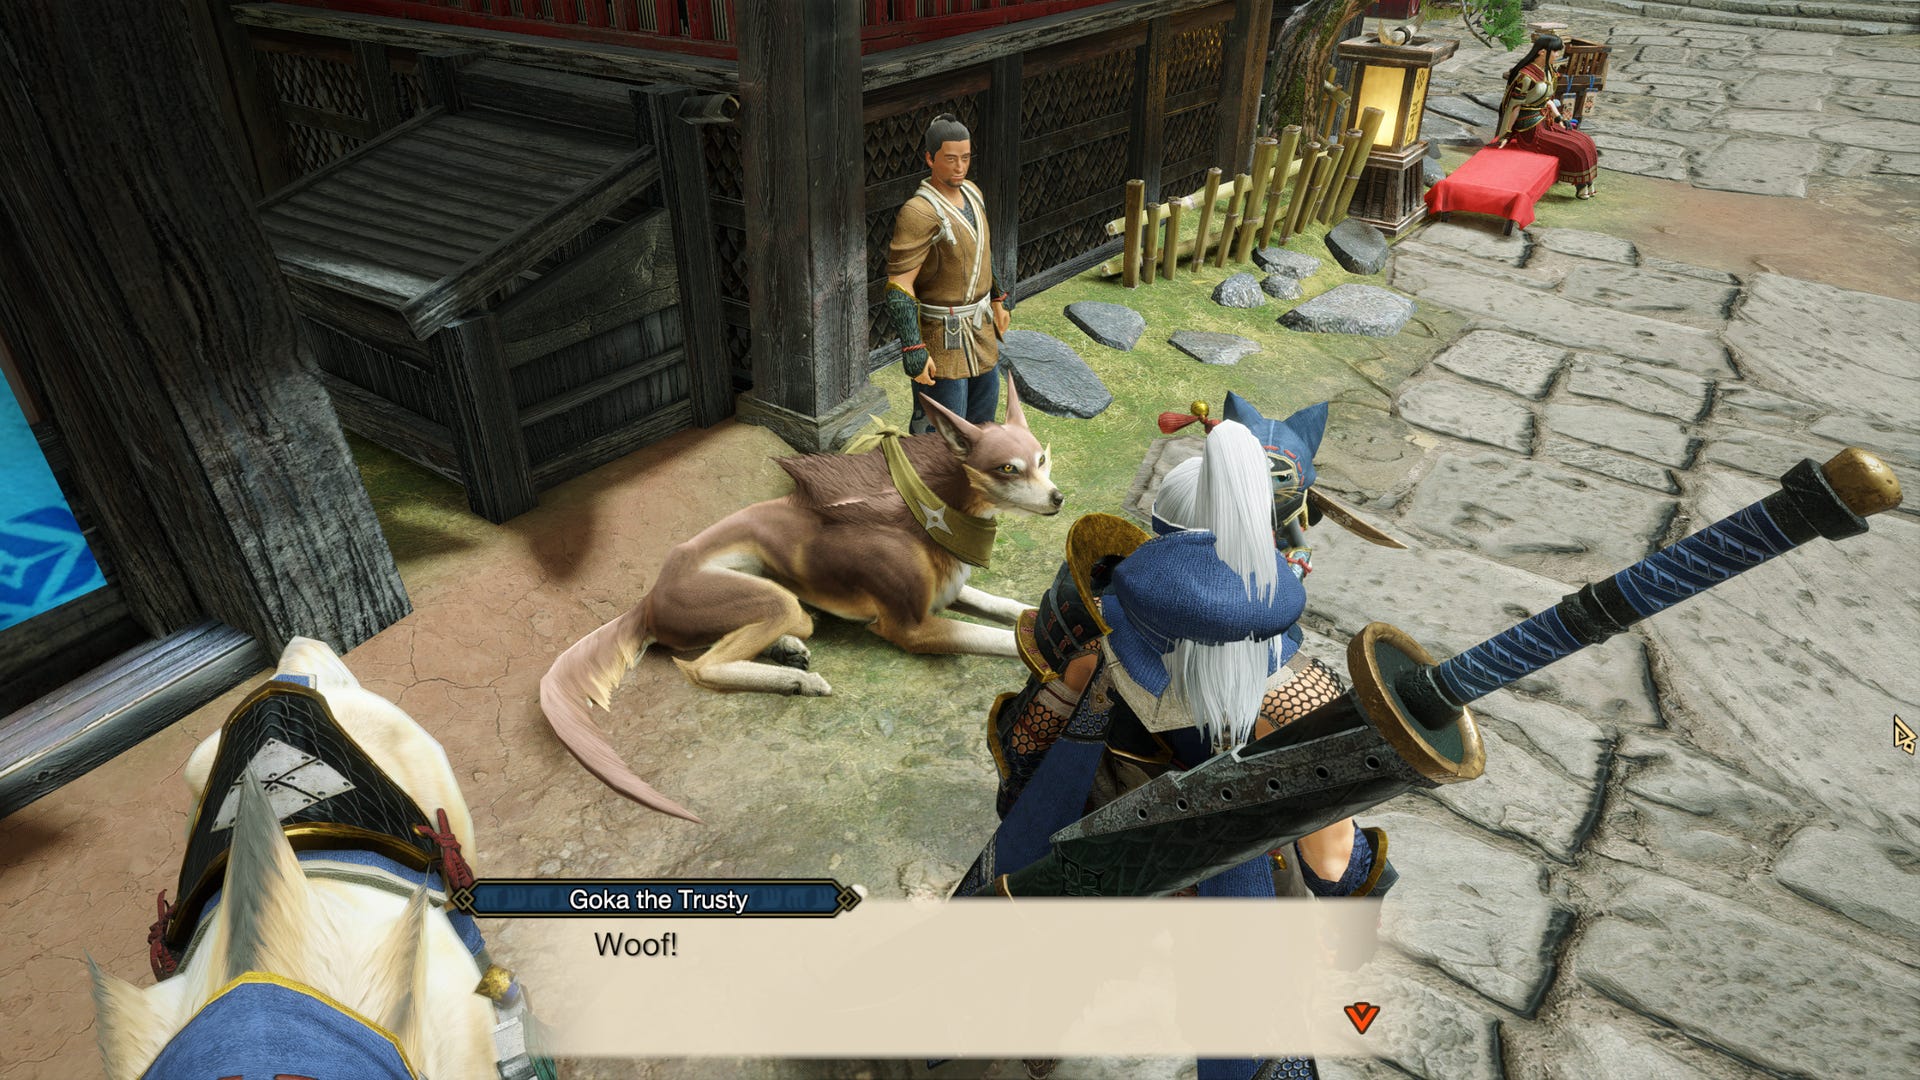
Beast mode


Monster Hunter Rise is about to see a rise in monster hunters, as the PC’s cosiest killing-for-sport RPG is now available on Game Pass. Since this is likely to introduce a few boatloads of curious would-be huntspeople to the world of Palamutes, gunlances, and enchanted dango, now seems like a good time to revisit our guide to Rise’s best settings to use on PC.
This is no PC-melter, and its system requirements aren’t exactly a Forspoken-style shopping list of premium components. The upside, you might say, of Monster Hunter Rise being a Nintendo Switch port, and thus having been designed for something with the horsepower of a Meccano motor.
Even so, Capcom have polished up the PC version, so it does look significantly better – and there are enough customisable graphics options to let you optimise for even smoother performance. Or, if you’ve got the rig for it, ultrawide and 4K monitor support awaits as well. There’s even DLSS, which I can confirm no longer makes your pets bald. Progress!
One last note before we begin: this is all based on vanilla Rise, not the Sunbreak expansion, which also released on PC last year but won’t make its way onto Game Pass until sometime in Spring 2023. Sunbreak doesn’t make any real graphical and performance changes, though, so anything here should be applicable to the expansion as well.
Monster Hunter Rise PC system requirements and performance
I’ve bunged the official PC minimum and recommended specs below. While they do list newer hardware than Monster Hunter World’s requirements, the CPUs and GPUs in Rise’s minimum spec are actually less powerful, so you can definitely expect more easygoing performance demands compared to the previous game. Older kit, like the Nvidia GeForce GTX 760, should be fine as well.
Monster Hunter Rise minimum PC specs
- OS – Windows 10 (64-bit)
- CPU – Intel Core i3-4130 / AMD FX-6100
- GPU – Nvidia GeForce GT 1030 / AMD Radeon RX 550
- RAM – 8GB
- Storage – 23GB available space
Monster Hunter Rise recommended PC specs
- OS – Windows 10 (64-bit)
- CPU – Intel Core i5-4460 / AMD FX-8300
- GPU – Nvidia GeForce GTX 1060 (3GB) / AMD Radeon RX 570
- RAM – 8GB
- Storage – 23GB available space
If you’re lucky enough own one of the best graphics cards, Monster Hunter Rise is such a light touch that you may find your GPU power exceeds what the game can even make use of. For benchmarking all the different PC visual settings, I initially tried my standard testing setup of a GeForce RTX 3070, Intel Core i5-11600K and 16GB of memory, but even at 1440p always ended up averaging between 181fps and 186fps, regardless of which settings were in play. That kind of homogeneity can be a sign of CPU bottlenecking, but here it looked like Rise couldn’t throw enough workloads at the system to trouble it. You could fairly point out that this shows there being a limit to how well Rise can scale with premium hardware, though you’d need a 240Hz monitor to see the differences between such high frame rates.
To make sure my benchmarking was actually useful, then, I swapped out the RTX 3070 for a GTX 1050 Ti, and lowered the display resolution to 1080p. And with that, it was time to see which of the shiny new PC settings had the biggest performance impact.
Monster Hunter Rise: best settings guide
For all the effort that’s gone into making Monster Hunter Rise as PC-friendly as possible, it’s quite bizarre in how it splits up its display settings: some can only be changed in the title menu, which isn’t unheard of, but others can only be changed once you’ve loaded into the game proper. I confess, I can’t comprehend the reasoning behind how they’ve been divvied up: why are the Dynamic Shadows and Equipment Shadows toggles exclusive to the title menu, but Shadow Quality is only changeable in-game?!
The good news is – and I’m aware that I’m making the rest of this article largely redundant by saying this – that you can just leave the main Graphics Settings preset on High, which automatically engages the highest possible level for every individual setting. Unless you’re on the minimum specs, or using truly ancient hardware, the game should still run well above 30fps at 1080p. My GTX 1050 Ti averaged 76fps when out in the field, with slightly better performance within the hub village.
You can get huge boosts in an instant by lowering the Image Quality setting from High to Average, though at great cost to fidelity as it involves lowering the rendering resolution. The Low setting does the same, making it look – and apologies to Nintendo, but I don’t mean this in a kind way – like the Switch original.

If, though, you do want to perform some fine-tuning rather than slapping everything on High, there’s no shortage of settings to change. First, here are the settings you can only tweak in the title menu:
Dynamic Shadows: This only seems to affect shadows caused by moving foliage, which can be set to become static anyway. Still, turning it off gave me an extra 5% frames per second, so it’s one of Rise’s more impactful visual options.
Equipment Shadows: This determines whether your hunter’s own shadow reflects their outfit and the gear they’re carrying; when turned off, that shadow merely resembles a tiny naked person. Unless you find that amusing, leave this turned on, as switching it off didn’t improve performance for me at all.
Processing Reduction via Model Swapping: Off by default, what this essentially does is reduce the draw distance for environmental details like grass. It’s a noticeable loss when viewing terrain at range, and only boosted performance by 1% when enabled, so I’d keep it off.
Mesh Quality (Level of Detail): Because this only has two settings (Average and High, in blatant disregard for what “average” means) and also affects environmental detail. In practice, this has a remarkably similar effect to the Processing Reduction setting above. Lowering it to average also makes distant hills look bare, with clearly visible pop-in once you get closer, and all for the same measly 1% frame rate gain.
And the rest can only be changed individually once you’re in-game:
Image Quality: A rendering resolution setting by another name, though the highest setting – 150% - is the only one that actually looks like native res. Lowering this from High to Average, or 150% or 100%, more than doubled the average frame rate but made everything a lot grainier. Low, or 75%, is simply too low-res when using 1080p as a starting point. Leave this on 150% unless you’re trying to use integrated laptop graphics or something.
High-Resolution Textures: A new addition to the PC version, this sharpens up the textures of just about everything, from character models to minor environmental details. Surprisingly, there was no performance gain at all when I disabled them, so keep them on.
Texture Filtering: This can be changed from High to Medium or Low, though admittedly I couldn’t see much of a difference between all three. The Low setting also bumped performance up by 3%, so it’s not no biggie either way.
Ambient Occlusion: If you’re not already familiar, ambient occlusion adds a shadowy effect in the corners and crevices where two objects meet. Turning it off granted me a 7% performance boost, which is relatively hefty for Monster Hunter Rise, though be warned that it will make the world look more flatly lit.
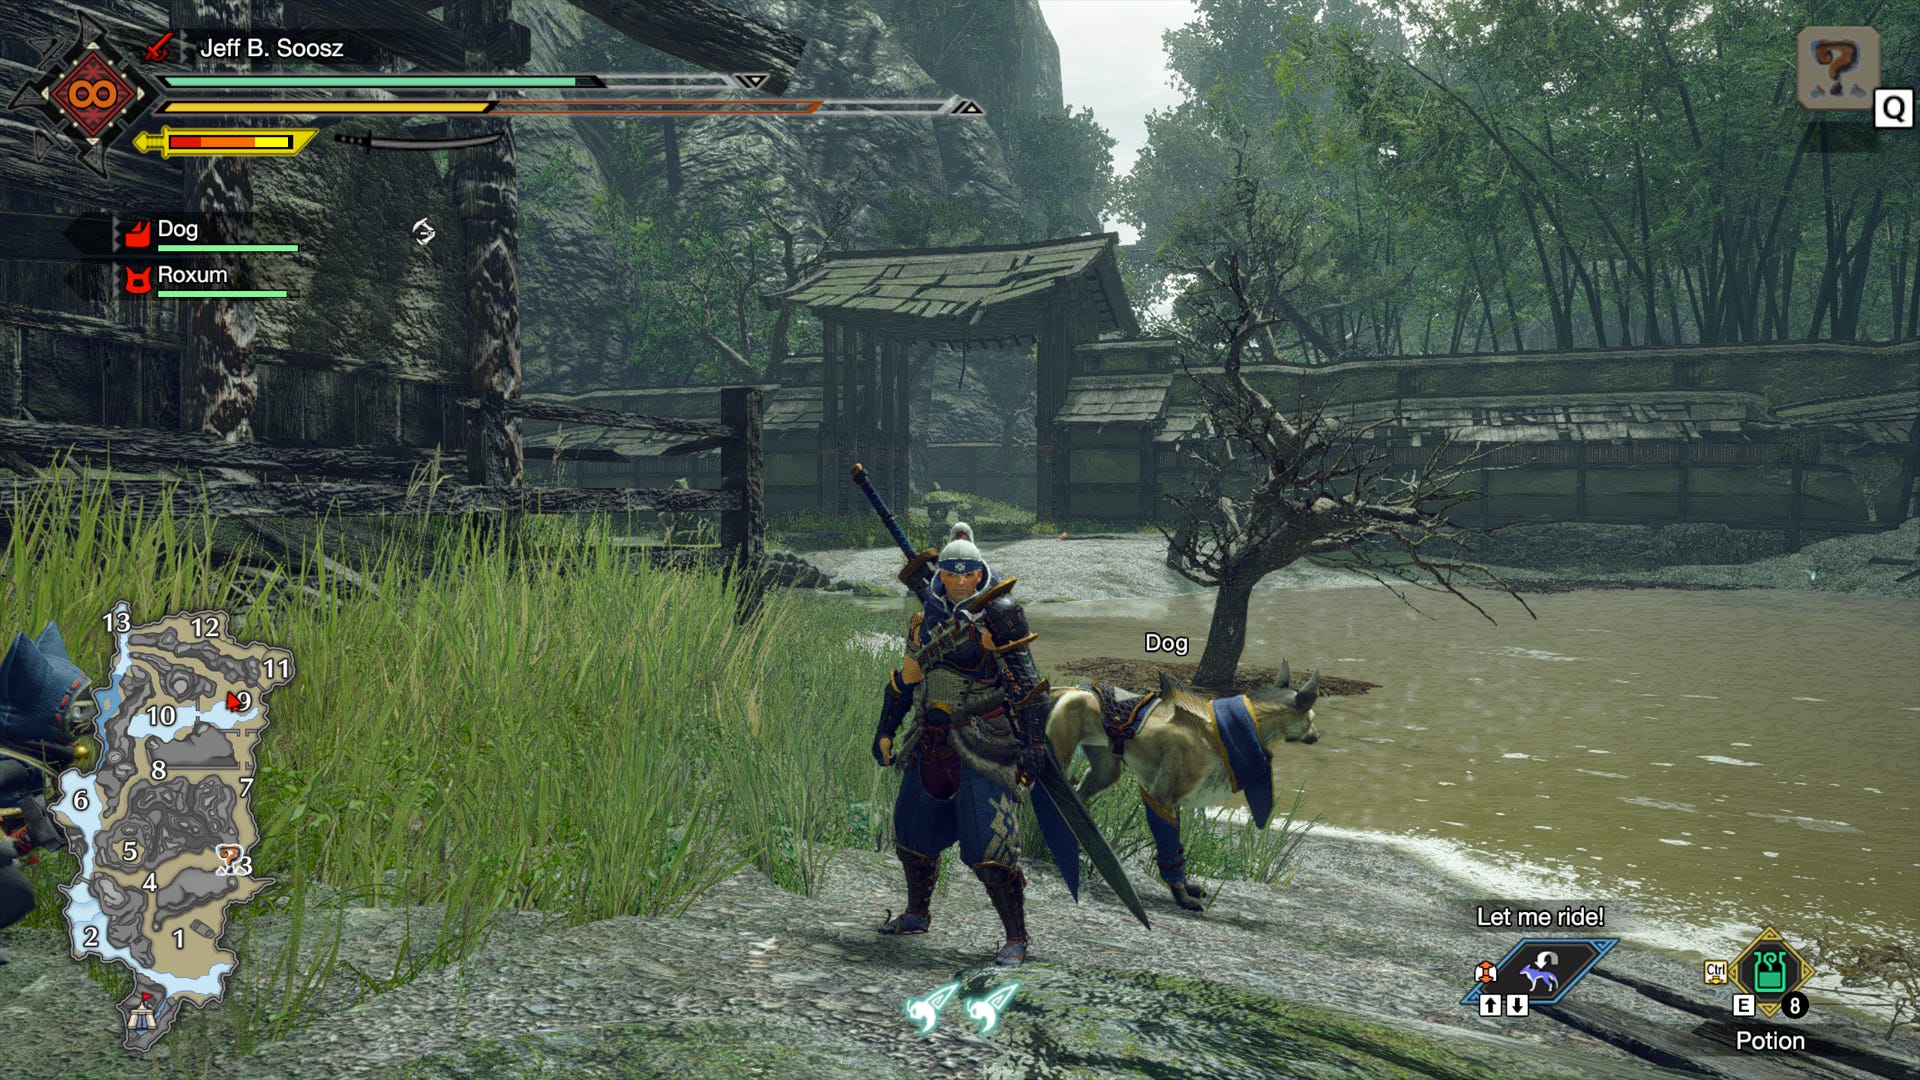
Shadow Quality: This seems to cover all shadows, including those under the thumb of the Dynamic and Equipment Shadows settings. Setting this to low makes shadows – especially those of fast-moving objects like yourself, your pets and monsters - look a little blocky and jittery. However, this did give me a big fat 14% performance gain compared to the High setting, so should probably be the first setting you lower when trying to secure more frames.
Anti-Aliasing: You can turn this off, but I don’t recommend it unless you’re fine with jagged edges, especially at 1080p. FXAA (fast approximate anti-aliasing) is the least taxing on performance, though TAA (temporal anti-aliasing) looks ever-so-slightly smoother to my eyes. Used individually, these raised performance by 5% and 3% respectively, though I preferred the look of the combined TAA+FXAA setting. It's also worth noting that for some reason, fur effects only render with TAA enabled, so use it by itself or together with FXAA if you want monsters and pets to keep their fuzz.
DLSS: For once, DLSS upscaling is rarely an essential upgrade – it’s only available on Nvidia GeForce RTX graphics cards, and all of those are powerful enough to run Rise no problem. Then again, it can help at the highest of resolutions. On an RTX 3080, running the game at 4K on High quality, 90-110fps becomes 180-190fps with the addition of DLSS’s Quality setting.
Variable Rate Shading (VRS): To use this feature, you’ll need either an AMD GPU built on the RDNA 2 architecture, or an Nvidia Turing card or newer. It essentially allows your PC to focus rendering power on the most “important” aspects of a scene, which can actually improve performance by using fewer resources to render peripheral parts of the image in lower quality. Given how well Monster Hunter Runs on the lowly GTX 1050 Ti, mind, owners of older graphics cards shouldn’t feel like they’re missing out. VRS is also only really suited to 1440p resolution or higher, where the areas of lower-quality rendering aren’t as noticeable.
Foliage Sway: Determines whether foliage, uh, sways. I got 3% more frames by turning it off, though cardboard trees do take away a little something from the overall aesthetic.
Motion Blur: Nope. Nah. No thank you. Switching this from Off to Default costs performance - 7%, in my case – and running around with the Strong setting is like being drunk.
Lens Distortion: This is like being slightly less drunk, but still a couple of G&Ts in. It’s a fairly rote chromatic aberration effect, which means its perma-blurring around the screen edges is just as ugly as it is in other games.
Vignette Effect: It won’t really affect performance, but you can opt to add a lil’ cinematic touch by darkening the edges of the screen. Or, in the case of the Heavy setting, the whole screen. Leave this on Off or Default to avoid overdoing it.
Depth of Field: Adds a pretty strong DoF effect at all times. I’m not a fan – it felt like I was in the middle of a giant bubble that followed my movements, and it comes with a 5% performance tax. Luckily, it’s off by default.
Film Grain: Another optional aesthetic tweak, this time with no performance hit. It still makes everything slightly darker, mind.
Filters: More of a photo mode aid than a serious visual setting, this lets you add various black and white or sepia filters. There are also some which mimic the visual artefacts of old film, and a “Warring Lands” filter that mutes most colour shades saves for a few highlights. None of these will noticeably help or harm performance.
Ultimately there are only a small handful of settings that will visibly enhance performance when lowered, and fewer still where that enhancement is worth the loss in visual quality. The vast majority of gaming PCs will happily cope with the High preset, so it’s honestly fine to just go with that.
That said, you can get some decent little boosts by lowering setting Shadow Quality to Low and Dynamic Shadows off. Swapping from TAA+FXAA to simply FXAA will also net you a few more frames, as will disabling Ambient Occlusion, though taking the latter option will make the game look noticeably worse.