PUBG Erangel: where to loot, how to win
Where to not get murdered

For some, Playerunknown's Battlegrounds's Erangel is still the best map in the game. Maybe it's because it's the one they're most used to, or perhaps Miramar is too big, Sanhok is too small, and Vikendi is too snowy. If you're diving into PUBG for the first time, then this is probably the best map to start out in. Erangel's Russian inspired island is full of dense forests, abandoned towns and military complexes, and so many vantage points that danger could be around every corner. This guide will show you where to loot and tell you how to win.
Playerunknown's Battlegrounds Erangel map guide
So, you've read our PUBG guide hub. You might even have seen our guide for PUBG guns & weapons. Now it's time get properly acquainted with Erangel, the first map that came with the game. We'll be looking at general tips for spotting a good landing zone, areas that tend to be teeming with players and those that are a bit more peaceful. We'll also be covering vehicle spawns and some tips for how to hide and move around without (probably) being shot in the back of the head.
Popular drop locations in Erangel
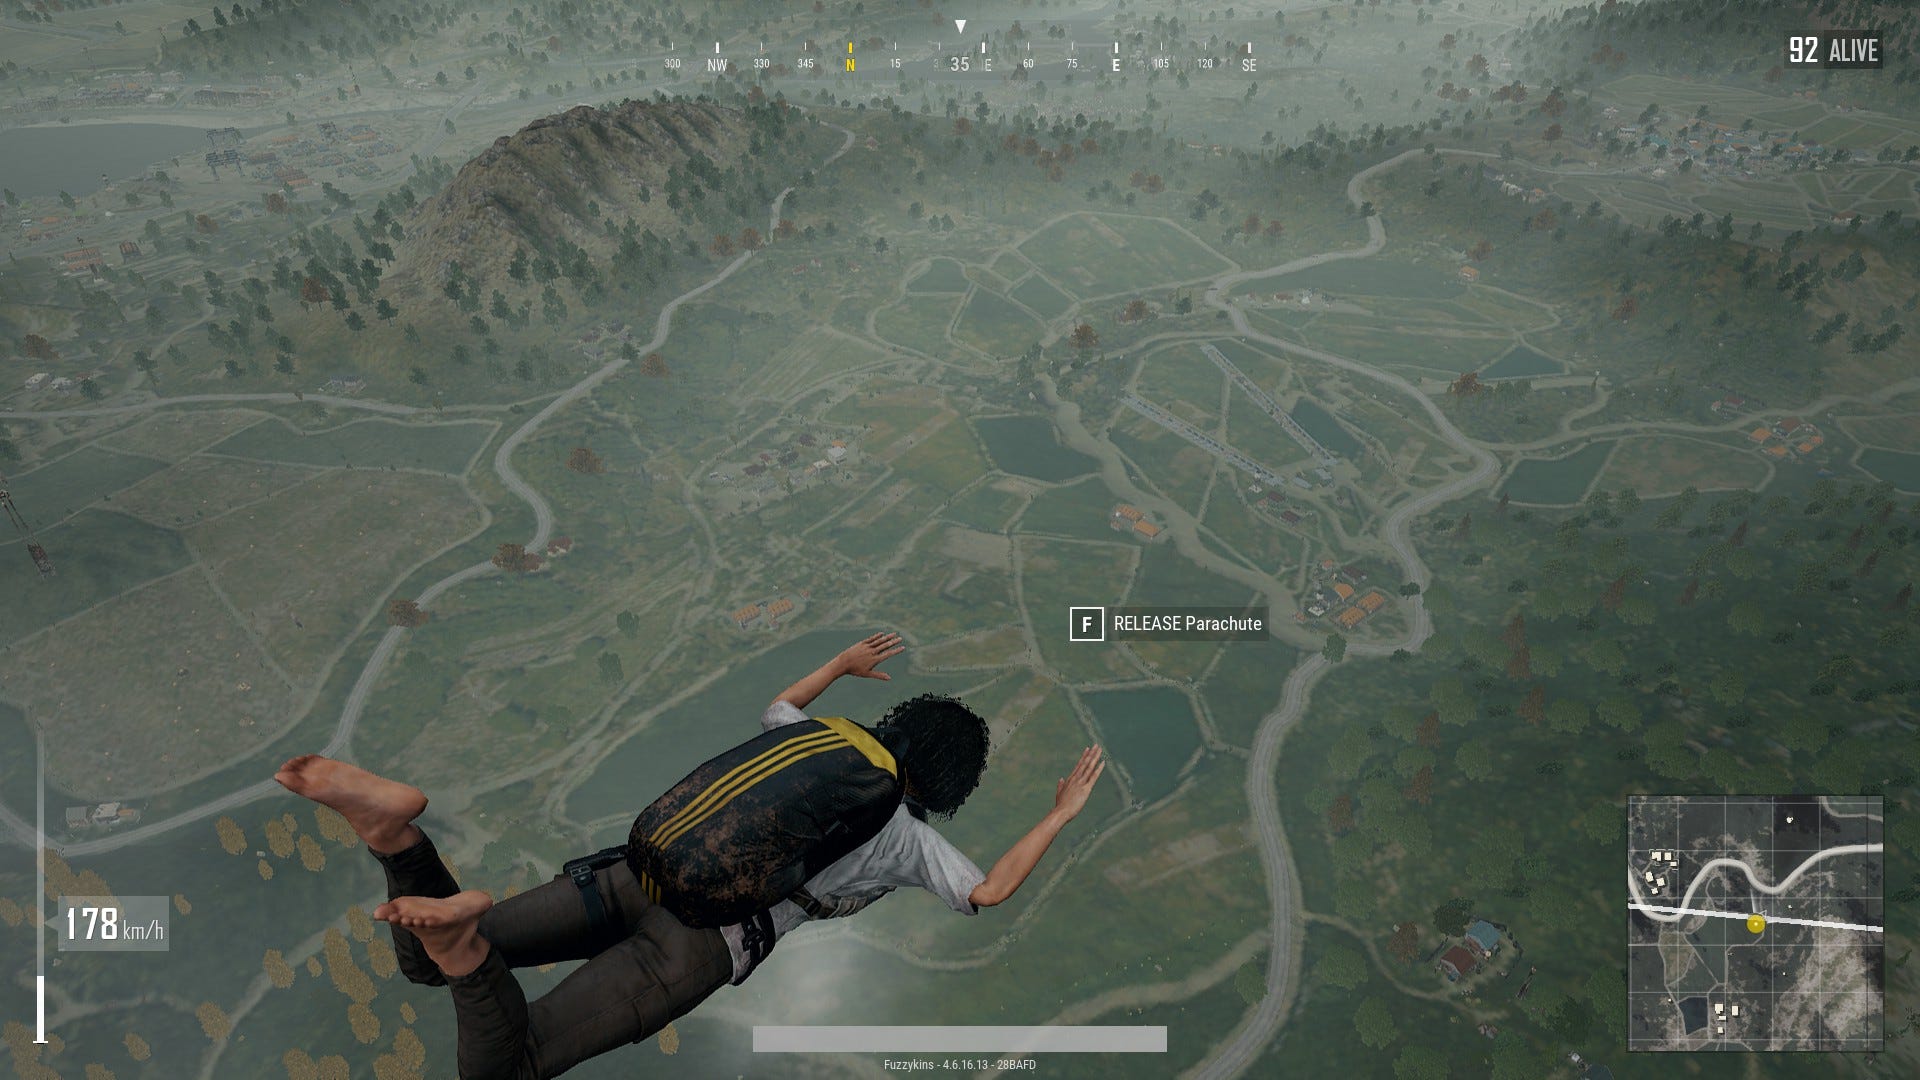
Wherever you choose to drop at the start of a round, it's always worth taking note of a few things. First, you'll want to have a close look at the trajectory of the plane. This isn't just so you can pick where to land, which we'll cover in the next two sections, it's also an invaluable tool for guessing where other players are likely to end up. If you can remember it 20 minutes into the game, then you'll have a good idea of which directions people are most likely to come from. If memorising the route sounds like too much effort, then fortunately James Lantz has made a handy tool for tracing the plane route. It also highlights the areas either side of it that people are likely to drop into, as well as potential vehicle spawns and other useful titbits.
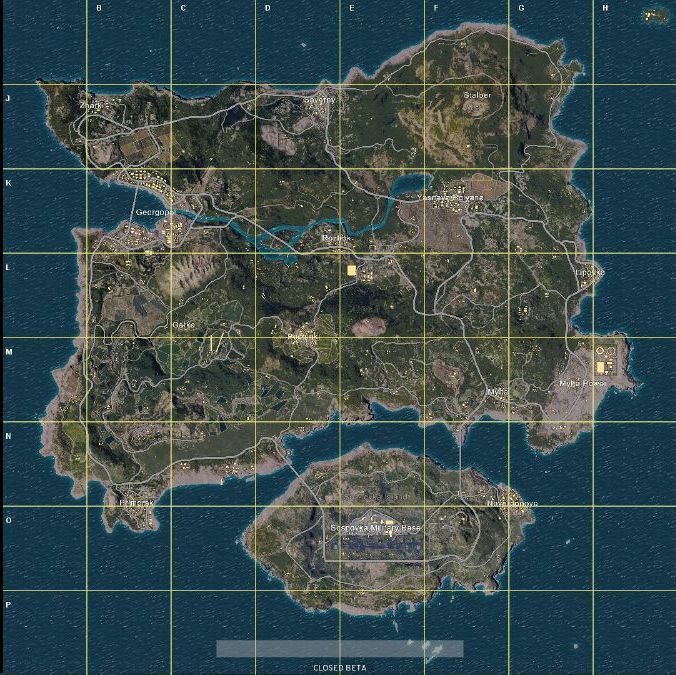
Before I go into individual spots, have a gander at this handy interactive map. It's got all the information you need to navigate Erangel, and is worth slapping up on a second screen while playing if you've got one. While the amount of people that end up in each location will vary based on the plane trajectory, generally speaking the red zones labelled as 'high loot' areas are the ones that you'll have the toughest time fighting over. Landing in one of these and surviving the ensuing fight can result in you being fully equipped for the rest of the game.

School
The school is bang in the middle of the map, and consequently one of the bloodiest places in Erangel. Its 3 floors of high quality loot can get flooded with players, making this a dicey drop to say the least. When I'm going for a loud start, I tend to prefer to visit places that are a little less crowded. It's just too easy to get caught out in one of the long, narrow corridors when death can come from either side of you. If you do go for it, then my advice would be to pick one of the classrooms (if you can make it to one) and ambush people with a short range weapon as they run in. That should see you through the initial carnage, and once things have quietened down a little you can start hunting out people yourself. If you do manage to get the place to yourself, then the pool room can make for an excellent sniping spot.
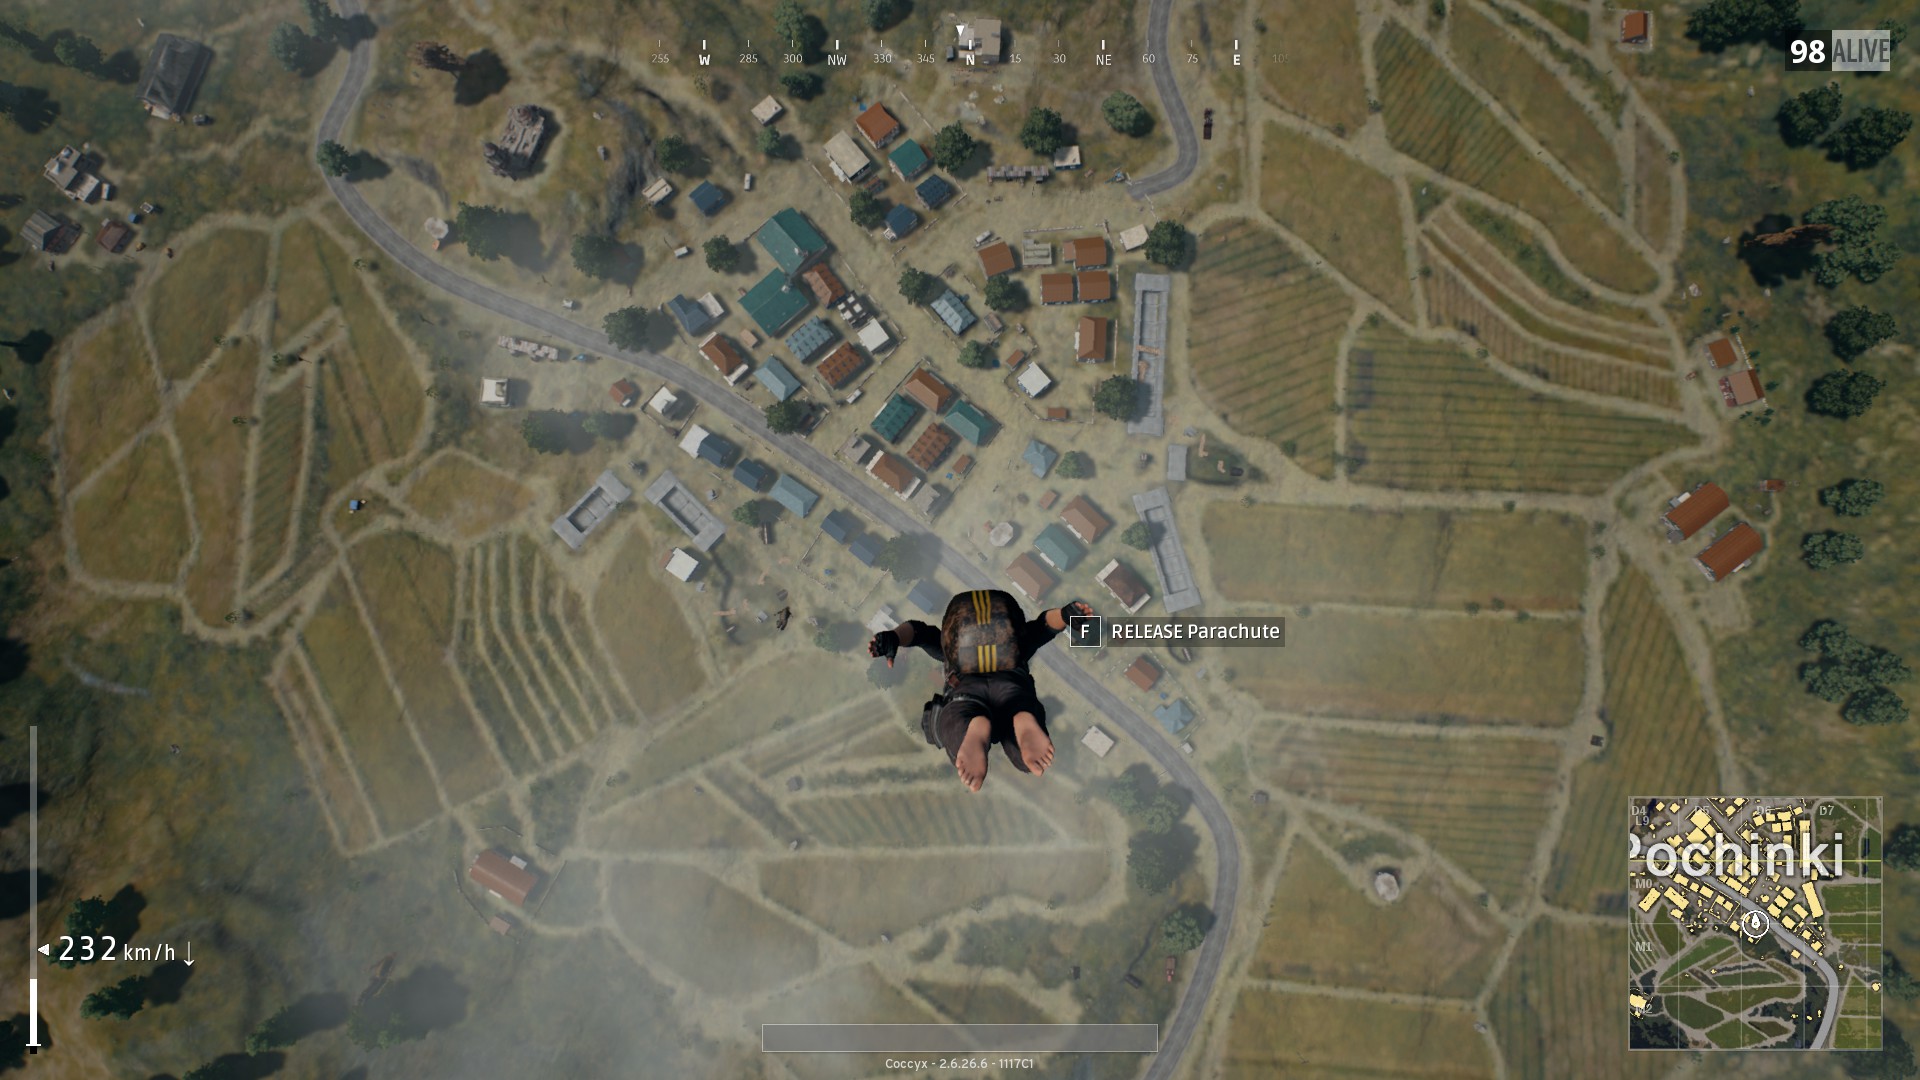
Pochinki
The town of Pochinki is another central location, which again makes it a popular attraction. You'll want to spend as little time as possible running between buildings, as you can bet there'll be people watching from the windows. It's much better to be one of those people: set up shop upstairs in a house once you've found some decent equipment and wait for your prey. It can be surprisingly easy to spot people moving around in other buildings too, though remember that will apply to you as well. As with the School, being near the centre of the map will mean you shouldn't have much trouble staying inside the circle. It can be fine to loiter in one building for most of the game, especially as killing someone who's spent the whole game looting is as good as going to the trouble yourself. Complain about camping all you like, it's a damn effective tactic.

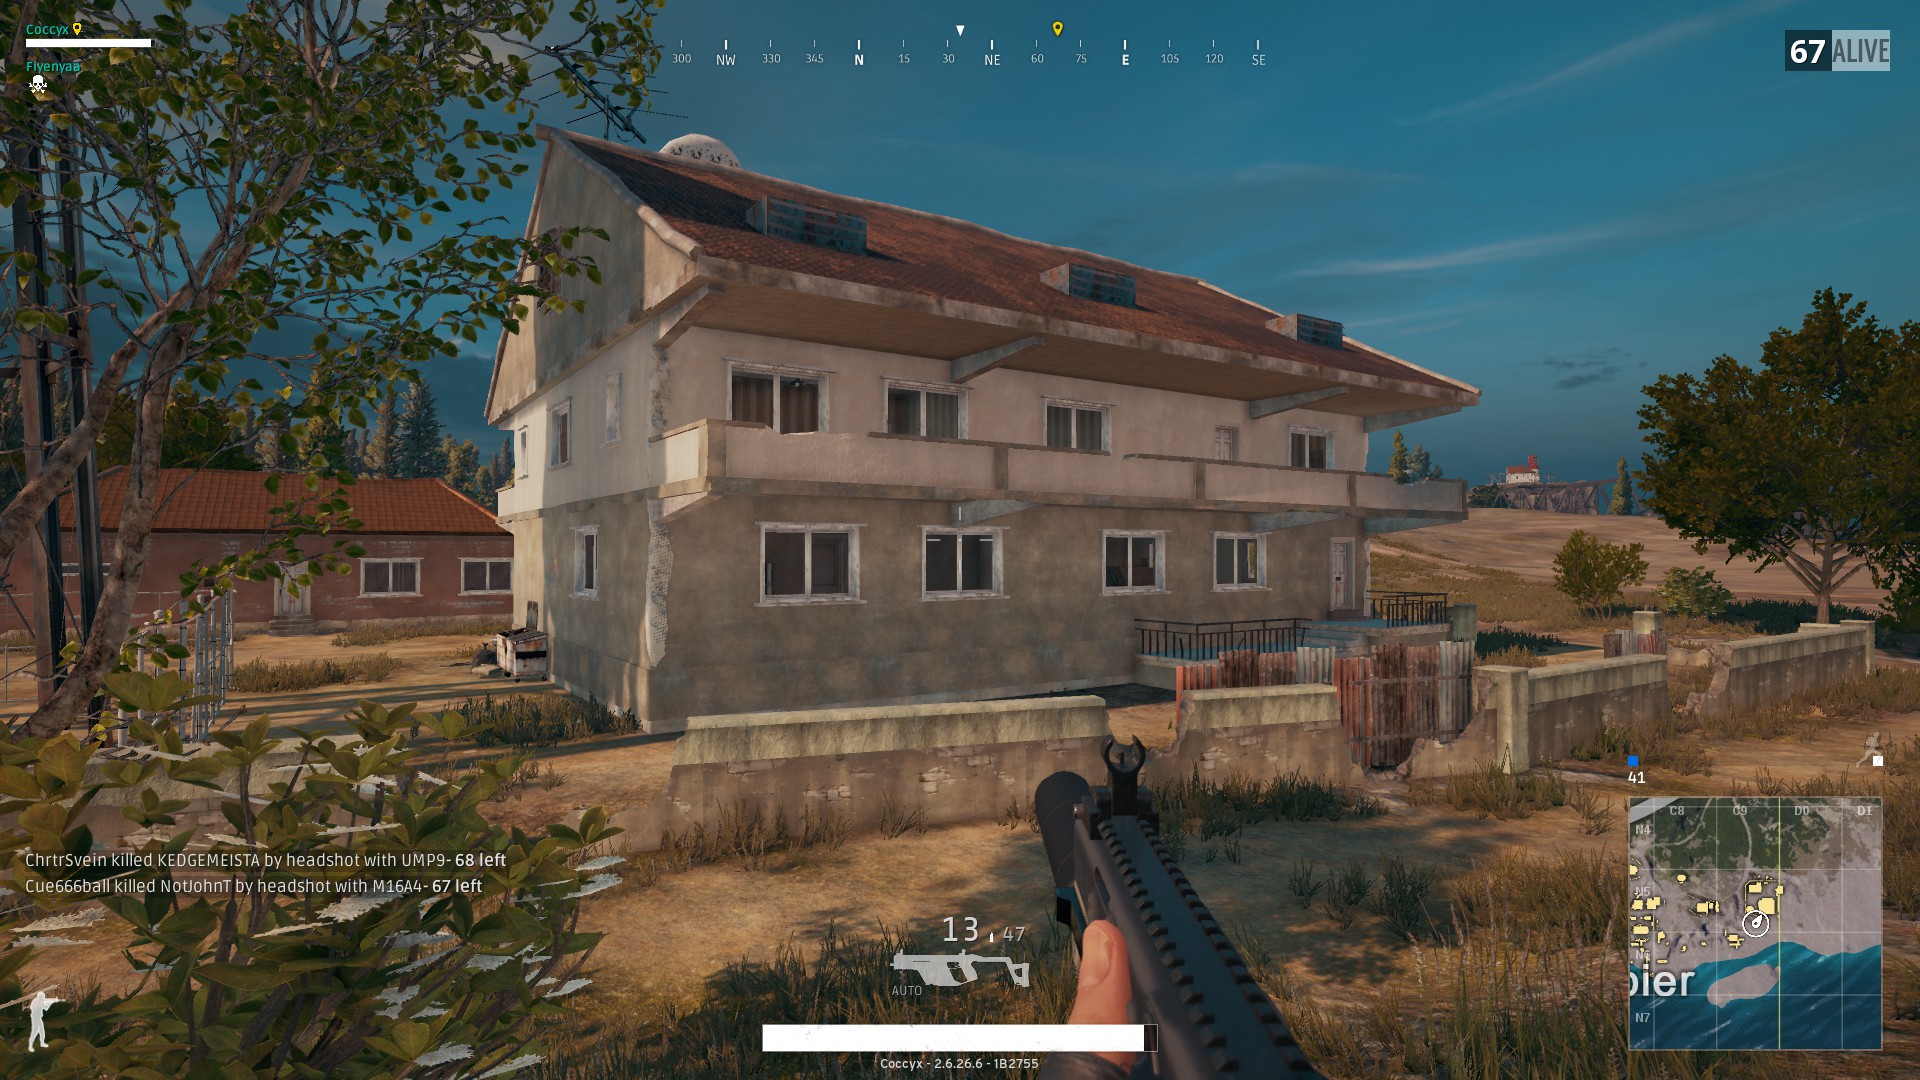
Sosnovka Military Base
As you'd expect, the military base is packed with high-tier gear. However, it'll also be packed with people trying to claim that gear for themselves. The radar antenna in the north-west offers anyone that can climb it an excellent view of most of the area, though they're liable to be picked off themselves. This is another area where the geography combined with the volume of likely visitors make it a tough place to recommend: even the most skillful players will still find themselves being killed from one angle or another. It also has the massive problem of being in the far south of the map where the circle is likely to be far away, meaning you'll have to cross one of two bridges (or find a boat) which are choke points almost always clogged by players waiting to ambush you.

Georgopol
Georgopol is a city located on the far west of the map, and is separated by a river into two sections. As you can see from the interactive map, the apartment blocks in the south-east contain the best loot and can get busy, though unless the plane passes over Georgopol at the start then the fighting won't get as heated as the School or Pochinki. The hospital in the south is also well worth considering. Due to its size, it's usually possible to touch down in a more isolated spot and get a few minutes of looting to yourself if either place looks off-puttingly crowded.
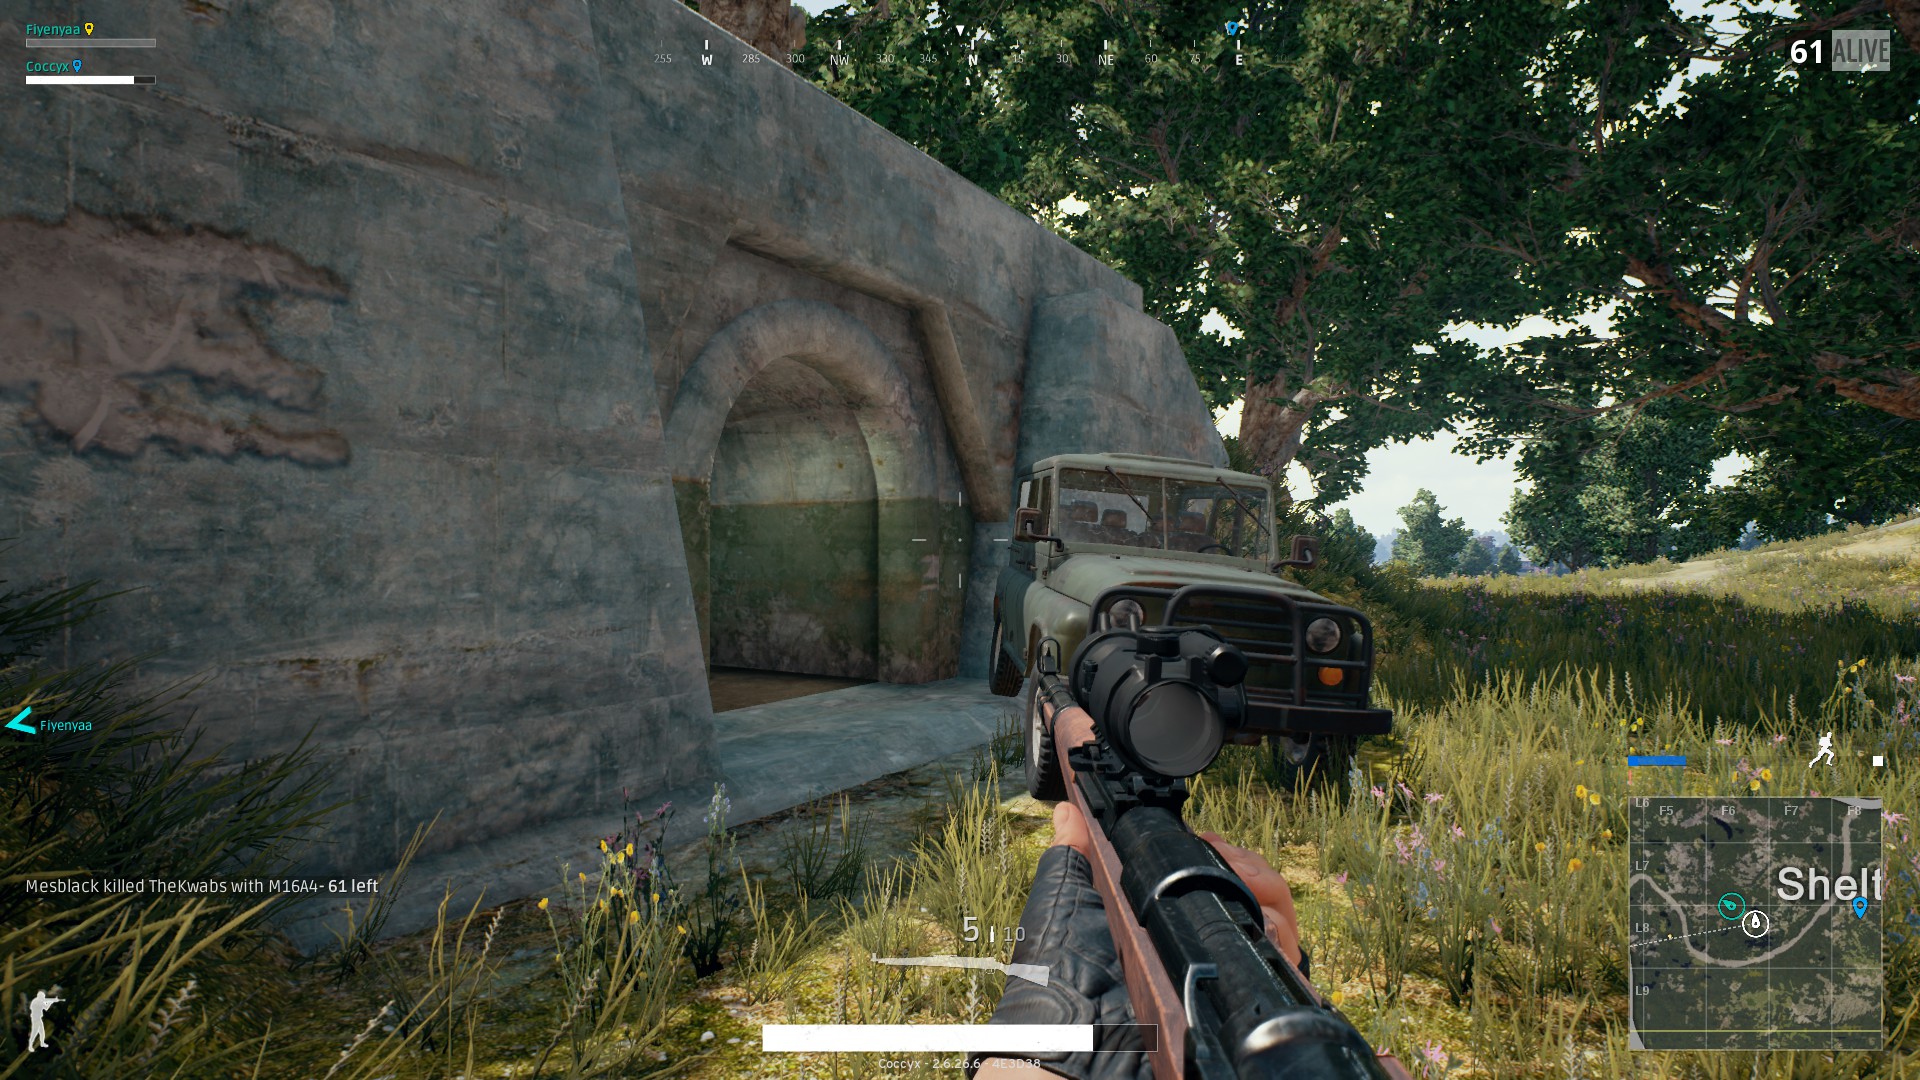
Shelter (Bunker)
Discovering there's an underground bunker, typically filled with top-tier loot, is a lovely surprise in Battlegrounds. Less lovely is discovering that it's usually a deathtrap, with multiple corridors that lack any cover offering an easy ambush to anyone that's got there before you. It's located towards the east, and you'll have to spot the entrances yourself as they're not marked as buildings on the map. If you do manage to get there first, then you can turn this to your favour - although you'll then have to work out how to get out of this subterranean nightmare. For me, if the bunker is far away from the trajectory and I've managed to secure a vehicle in the first minute or two, then I'll hot foot it and try to be in and out before anyone else gets there. Otherwise it's a no go.

Mylta Power
Mylta Power, in the south-east of the map, offers good gear but can be teeming with players if it's near the start of the plane's path. The smaller section of it that's more inland is typically a better bet than the larger section further east. This is both because it'll be closer to the circle, and because the loot spawn locations are more densely packed together.
Quieter drop locations in PUBG's Erangel
While all of the places above will typically have enough loot to last an entire match (squads of four may have to do more roaming), visiting several quieter locations is also a valid path to getting yourself fully equipped. The plane's trajectory will have more of an impact on the company you have at these places. If it's a minute or more gliding time away, then normally you'll have the place all to yourself.
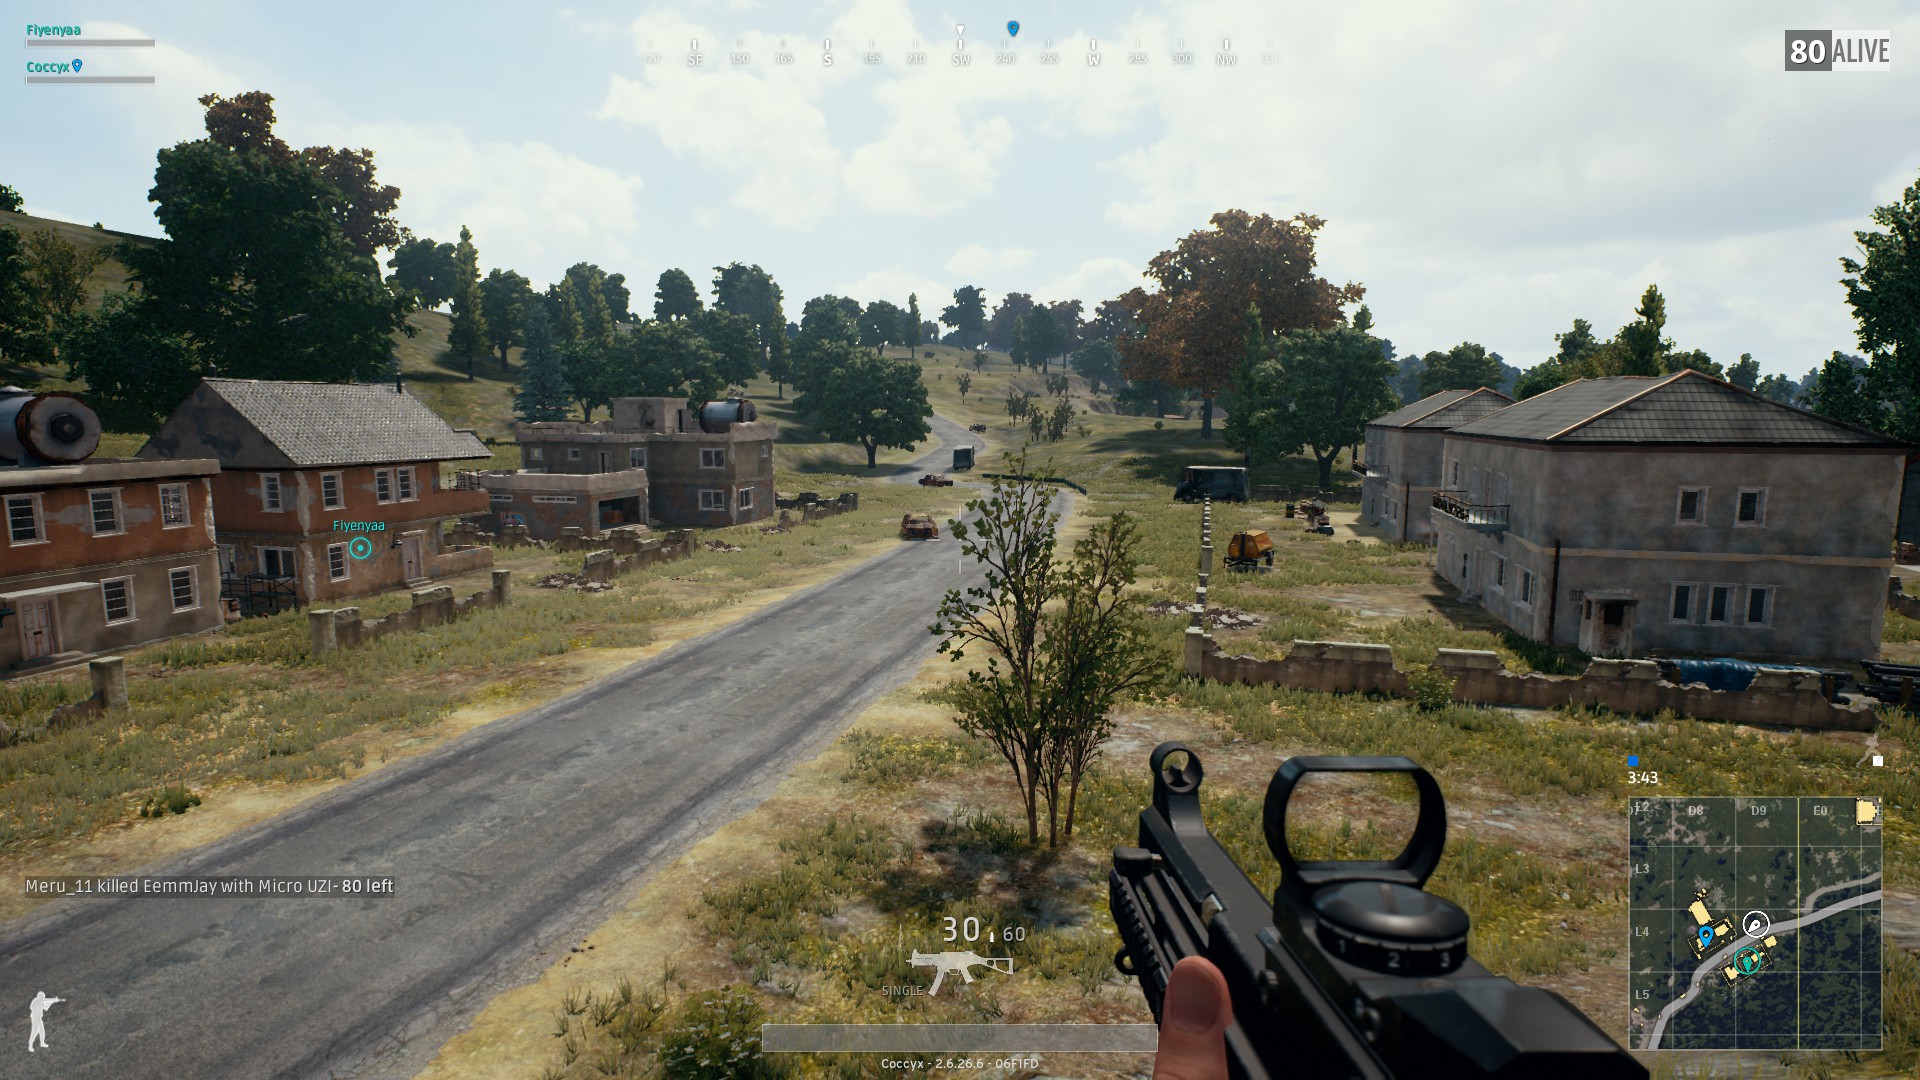
Ferry Pier town
The town by the Ferry Pier in the south offers reasonably comfortable looting, as you can keep your back safe if you start from the beach and work your way inwards. There's also a decent chance of finding either a boat or a car, though if you don't happen to spot one then heading east and looting everywhere along the way is a viable option. The little cluster of buildings in the Ridge Complex can be an underwhelming source of loot, but for that reason you'll likely not have anyone to compete with. There's also the possibility of setting up an ambush at the aforementioned bridge to the military island: it's a long narrow strip that should allow you to take out anyone that attempts to drive or walk across it.
Central Houses
This one's a bit riskier than other spots in this section, but it's also a favourite. It's not a named location and the interactive map doesn't highlight it as a high-tier or even a medium-tier spot, but I've found that it almost always provides me with some decent gear. You can find it just south of the School, East of the ruins. There's a barn, 2 big houses and 4 smaller buildings the opposite side of the road - those contain easily enough loot spawns for RNG to provide you with something good. As with earlier examples, its central location is a big point in its favour, with easy access to the Ruins and Water Town. Alternatively, either of the 2 big houses can be great to camp in for almost the entire game: a lot of people will target it as a place to visit on their way to other locations, which means you're less likely to waste your time than in a more isolated location.

Ruins
The Ruins are located in the centre of the map, though the slightly lower loot spawn chance makes them much less popular than Pochinki or the School. Looting here will also leave you more vulnerable than in an enclosed building, although in practice I've found that people seldom sneak up on me. I'm featuring it here mainly because the church can be a good place to snipe from, and it's only a hop and a skip away from Water Town.
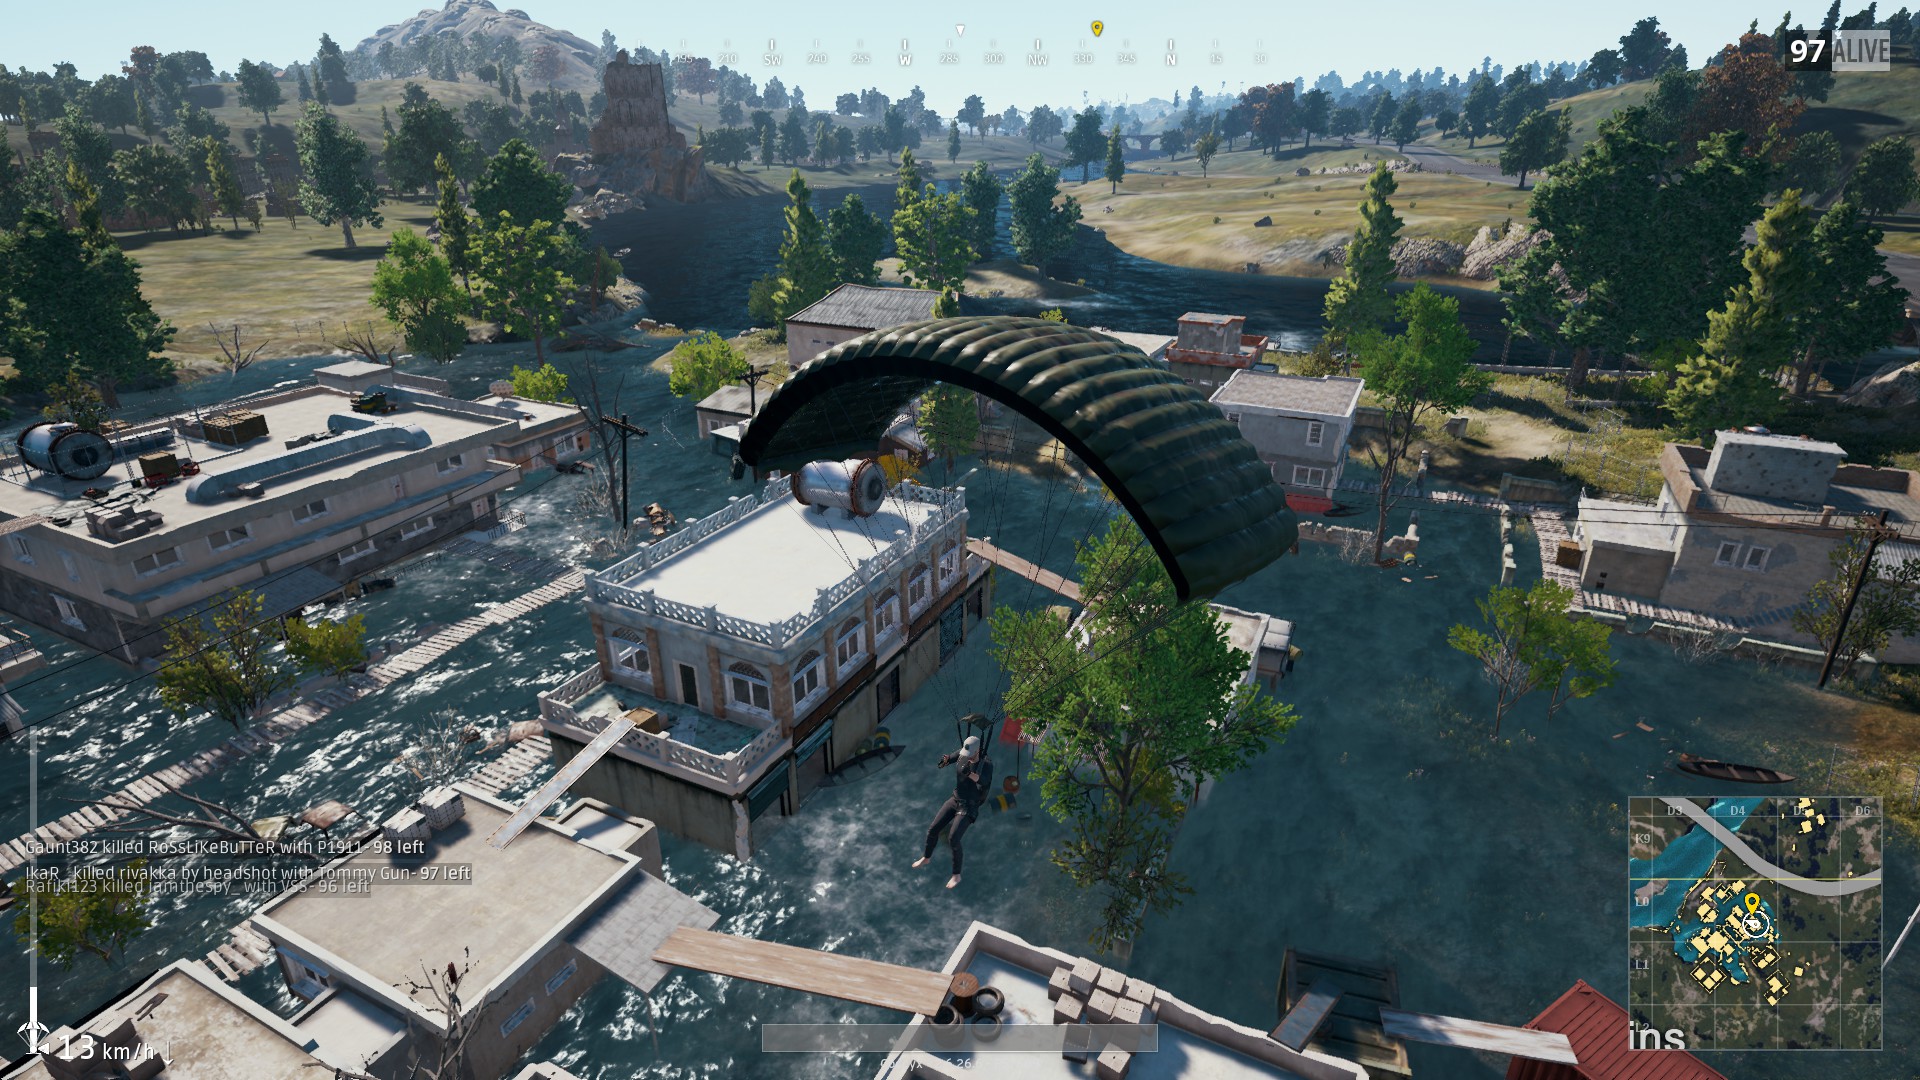
Water Town
Apart from providing a welcome bit of visual variety, Water Town is also a good central location to loot. The lower, flooded sections of the buildings can be good places to search if you're trying to sneak around. If you can hear footsteps near you or are just generally paranoid, then you can time your movement with the swelling of the water to mask your own steps. The roof of the central building with the vent running along it provides a good view of the whole area, while also providing cover from nearly every angle.

PUBG's Erangel map vehicle spawn locations
Vehicles are a big deal in Battlegrounds. If you can nab one at the very start of the game, then you can scoot off to a zone with high quality loot drops that's far away from other players. If you'd rather have a more fast-paced game and try to get some killing in near the beginning, then gunning people down as they try to enter those vehicles is also a legitimate tactic. As is this.
You'll want to abandon them towards the end of the match when the noise becomes more of a factor, but get one near the start and it can change your whole game plan for the better. It's important to know that some vehicle spawns are much more likely than others. There's a chance of one spawning along almost every section of every major road on the map. Some garages have a high chance of spawning a vehicle inside them: it's worth learning what these look like and where they are so that you can make a beeline for them if you're in the area. Remember, they look like the garages in the screenshot above - don't confuse them with the other garage type buildings! Both Plane Path and the interactive map I linked to earlier show their locations.
As for what spawns in the map, here's a list and how effective they are in the map:
- Buggy - can carry two players, doesn't provide a lot of cover but is fast and excels off-road.
- UAZ (Open top) - carried four players, doesn't provide a ton of cover either, but again a good off-roader.
- UAZ (Closed top) - carries four players and provides decent cover. The most durable and is the best balanced vehicle.
- Motorcycle (with sidecar) - carries three players, but provides no cover. Fast, but vulnerable to flipping and not for off-road.
- Motorcycle - carries two players, provides no cover, and awful off-road. It's very fast and fuel efficient however.
- Dacia 1300 - carries four players, provides good cover, but has bad traction off-road. Good road vehicle though.
- PG-117 - carries five players. Offers no protection, but is a quick boat for naval assaults.
- Aquarail - carries tow players. Offers no protection and is more affected by waves than the PG-117.
PUBG's Erangel map tips

Now you know where's worth visiting, but you should also know how to survive in order to reach those places (if you haven't managed to grab a vehicle). Crouching in a bush, as daft as it may seem, can be surprisingly effective. This is less relevant if you're playing in first person as the foliage can obscure your aim more than it can your character, but in third person a bush can provide a safe place to scan an area before moving through it. It takes some force of will to remain still, and every now and then someone will catch you out, but if you don't get spotted heading into one then people are unlikely to see you. The same applies to going prone in ditches, which offer even more camouflage at the cost of a more awkward firing angle.
If you're keen to learn more about the maps that were released later on in Plunkbat's history, you can head to either our PUBG Miramar map, or PUBG Sanhok map guides respectively. We'll leave you with one last trick that might just save you in a pinch: a vehicle that's rolling downhill can be used as moving cover. Play us out, Evermore.
Everything Evermore does in this clip is next level. pic.twitter.com/PbxJq3F91C
— Twitch (@Twitch) September 11, 2017