CS:GO - Best keybinds 2018
How to set up some of the most important keybinds in the game.
One of the perks of playing a PC shooter like CS:GO is that you are able to assign almost every action in the game to a keybind.
This allows you to set the controls exactly how you want them, allowing you to be far more efficient than the default controls would lead you to believe. We’ve compiled a list of our favourite keybinds to make your actions more efficient.
Some of these keybinds may not work for everybody, and that’s absolutely fine - everyone has their own preference when it comes to these things. The most important thing is to find keybinds that are comfortable for your playstyle.
In this article, we'll walk you through some of the most important options. Experiment with them all!
CS:GO - Best Grenade Keybinds
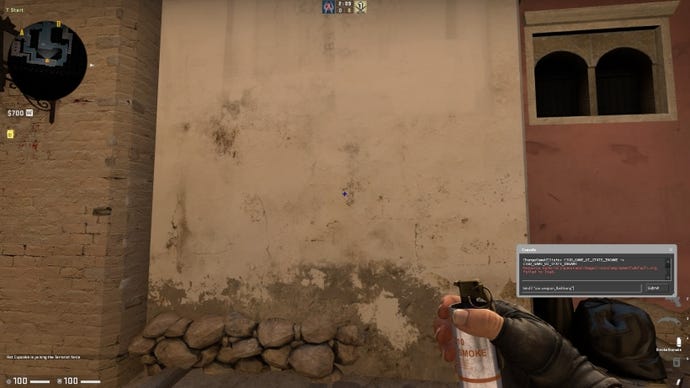
Keys in use: F (Flash), Z (Decoy), X (HE), C (Molotov/Incendiary)
Binds:
- bind f "use weapon_flashbang"
- bind z "use weapon_decoy"
- bind x "use weapon_hegrenade"
- bind c "use weapon_molotov"
- bind c "use weapon_incgrenade"
How to set the bind: Launch CS:GO, ensure that ‘Enable Developer Console’ is set to ‘Yes’ and hop into a practice game with bots.
If you haven’t changed the keybind for opening the console, press ‘~’ to open it. Copy and paste each bind individually into the console, pressing ‘Enter’ on your keyboard to set them and then ESC to close the console. Alternatively, navigate to the Game Settings > Keyboard/Mouse and set each key manually.
The worst habit a lot of new players pick up is selecting their weapons using the mouse wheel. This might not seem too bad at first, but when you begin to rank up you’ll soon find that better players will punish you for simple mistakes like this.
With Valve’s default bindings, players have two options: press ‘4’ to cycle through to the grenade you need, or you can reach over to the ‘7’, ‘8’, ‘9’ and ‘0’ keys for that specific grenade. These two default options are both extremely inefficient as they require you to waste your time, or perform incredible feats of finger-stretching.
Assigning each of the four grenades to their own individual key is essential, as you will then have access to every tool at your disposal within a moment’s notice. You only want to be holding a grenade for a few seconds - minimising your chances of getting caught off-guard.
‘F’, ‘Z’, ‘X’ and ‘C’ are all easy to reach with your left hand, even while moving. The keys we’ve chosen have been highlighted above, but as we mentioned before, you can change these to your liking (providing they are accessible).
f you happen to own a mouse with several buttons, it might be worth seeing if you feel more comfortable assigning some of the more important grenades to the page up and down buttons.
Binding ‘Z’, ‘X’ and ‘C’ replaces the radio commands that you have in-game, and binding ‘F’ will remove your inspect weapon keybind. As all of these old actions are rarely ever used in game, feel free to reassign them to any of the keys you know you won’t accidentally press in the middle of a shootout.
More popular CS:GO guides:
- 1. Guide - CS:GO - Guide 2018
- 2. Keybinds - CS:GO - Best keybinds 2018
- 3. Auto-Exec - CS:GO - How to open an auto-exec file
- 4. Launch Options - CS:GO - Best launch options
- 5. Best Settings - CS:GO - Best settings guide
CS:GO - Best Voice Chat Keybind
Keys in use: I
Bind:
- bindtoggle “i” “voice_enable”
How to set the bind: Launch CS:GO, ensure that ‘Enable Developer Console’ is set to ‘Yes’ and hop into a practice game with bots.
If you haven’t changed the keybind for opening the console, press ‘~’ to open it. Type: bindtoggle “i” “voice_enable”. Press Enter to select the bind and ESC to close the console.
Occasionally, you may find that you need to mute voice chat with your teammates. Typing the full command to do so, while in a potentially high-pressure situation, just isn’t realistic.
If you happen to solo-queue and often find yourself having to listen to the rest of your team natter away while you sweat to pull off a 1v4 clutch, this keybind will provide you with temporary silence from your team so you can focus in peace.
Enabling this keybind will give you the option to toggle voice chat on or off as frequently as you’d like, without having to constantly open the console.
While permanently muting specific toxic players is still advised, being able to mute the entire team for short periods may prove to be useful in certain circumstances. If your performance is largely affected by how friendly or toxic your team members are, this toggle can serve as a great way to take a step back, cool off and concentrate on the game.
That said, it’s also worth remembering that voice chat is fundamentally important in competitive CS:GO matches, so try not to turn it off too often. Using the ‘i’ key may also be a slight stretch for some people, so take a look at the other available keys on your keyboard and set it to one that feels comfortable for you.
CS:GO - Best Switch to Last Weapon Keybind
Key in use: Q
Binds:
- alias +knife slot3
- alias -knife lastinv
- bind q +knife
How to set the bind: Copy the three bind commands into Notepad and save the document as ‘holdq.cfg’.
Ensure that the ‘Save as type’ is set to ‘All Files’. Copy the file into your CS:GO cfg folder. Launch CS:GO, ensure that ‘Enable Developer Console’ is set to ‘Yes’ and hop into a practice game with bots.
If you haven’t changed the keybind for opening the console, press ‘~’ to open it. Type: exec holdq. Press Enter to select the bind and ESC to close the console.
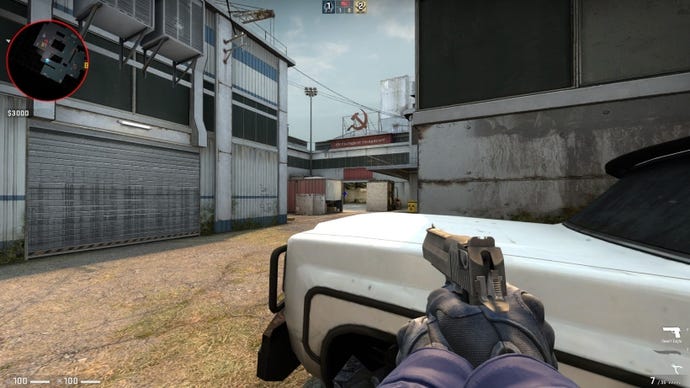
‘Q’ is one of the easiest keys to reach from where your fingers will naturally rest on WASD so it deserves a pretty useful keybind. Unlike the other keybinds in this guide, this one can be activated by pressing the key once to switch back to your last used weapon, but it also enables you to hold the key down to pull out your knife. Upon releasing the key, it will once again switch back to your last used weapon.
There are a number of situations in which this keybind becomes exceedingly useful, particularly when you intend on switching bombsites and need to get somewhere quickly.
This may also suit AWPers who prefer to quick-switch between their knife and AWP after taking a shot, as it will save them having to unscope and rescope for their next shot. Simply take a shot with the AWP and tap ‘Q’ to avoid having to unscope.
Switching to your knife straight after taking a shot with the AWP also increases your mobility, giving you a better chance of finding cover from potential reactionary fire. In this instance, hold ‘Q’ down for longer until you reach a safe position.
While it is very risky, some players may also want to show off their pro stealth-knifing skills. In these situations, releasing a key to have it instantly switch to your last used weapon is easier than having to move your finger to ‘1’ or ‘2’. This is a great backup, just in case you fail to pull off that backstab.
CS:GO - Best Drop Bomb Keybind
Key in use: V
Bind:
- bind "v" "use weapon_c4;drop
How to set the bind: Launch CS:GO, ensure that ‘Enable Developer Console’ is set to ‘Yes’ and hop into a practice game with bots.
If you haven’t changed the keybind for opening the console, press ‘~’ to open it. Type: bind "v" "use weapon_c4;drop. Press Enter to select the bind and ESC to close the console.
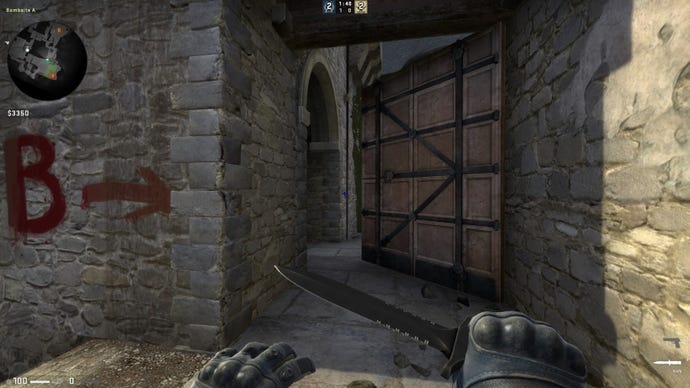
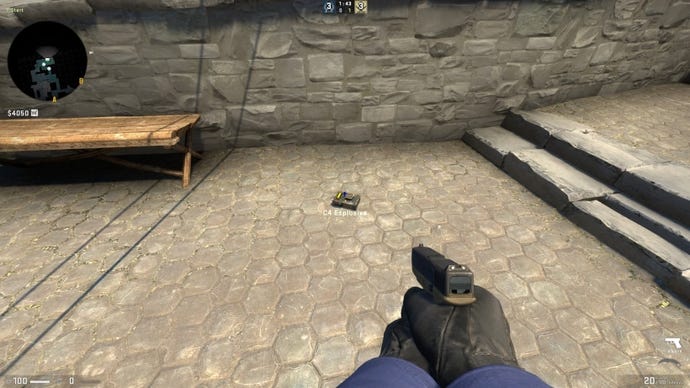
On the Terrorist side you may find that your team’s strategy requires you to drop the bomb in a safe spot or hand it over to another player.
With default settings, this requires you to press ‘5’ so that your player model switches to holding the bomb, and then ‘G’ to drop it. This is not a particularly quick process and when attempted too quickly, can result in you accidentally dropping one of your weapons.
Binding ‘V’ as your ‘drop bomb’ key will save you time as it completely removes the process of switching to the bomb, meaning that you can throw it to a teammate without the risk of switching from your weapon.
Minimising the time it takes to drop the bomb while remaining in an offensive position with your weapon in-hand will ensure that you’re not caught off-guard by a rushing enemy team.
CS:GO - Best Jump Keybind
Key in use: Mousewheel Down
Bind:
- bind mwheeldown “+jump”
How to set the bind: Launch CS:GO, ensure that ‘Enable Developer Console’ is set to ‘Yes’ and hop into a practice game with bots.
If you haven’t changed the keybind for opening the console, press ‘~’ to open it. Type: bind mwheeldown “+jump”. Press Enter to select the bind and ESC to close the console.
This bind makes it easier to perform bunny hops as you will no longer have to time your jumps perfectly. Instead of pressing the spacebar to jump, this bind allows you to constantly scroll down on your mouse wheel, negating any need to correctly time the jump at all.
Bunny hopping in CS:GO is an advanced technique that is used sparingly by professional players. It utilises your strafe-jumping momentum to send you further than a standard jump forward would. New players may want to hold off on attempting to learn this difficult technique, whereas experienced players may find this bind to be quite useful.
Bunny hopping not only allows you to move faster depending on where you are on the map, it can also make it very difficult for the opposing team to deal damage to you when hopping around corners. The effectiveness of bunny hopping does depend on how much momentum you are able to build, meaning you won’t be able to use it everywhere.
Again, this technique is used sparingly by professional players, so don’t feel the need to hop around at every opportunity you get.
It’s important to note that bunny hopping is significantly harder to pull off on 64-tick servers (Valve matchmaking servers) than it is on 128-tick servers. Keep that in mind if you are able to to consistently land bunny hops on an offline server, but you struggle to do so when playing competitively. That might help explain why.
CS:GO - autoexec.cfg
To ensure that all of your binds work all of the time, consider setting up an autoexec.cfg. That will automatically run upon start-up. Follow our CS:GO autoexec guide for more help.
