The best stratagems in Helldivers 2
These are the best stratagems to use in Helldivers 2

What are the best stratagems in Helldivers 2? Before every mission in Helldivers 2 you must select your stratagems, which range from airstrikes and orbital lasers to defensive fortifications and heavy weaponry. There are 47 different stratagems to unlock in total, so you have plenty of options, but to begin with, only a few will be available.
As you level up, more stratagems will unlock, though each new one must be bought with requisitions, which are earned by completing missions. So if you're wondering which are the best stratagems for you to prioritize in Helldivers 2, look no further.
Railgun (Best Stratagem in Helldivers 2)
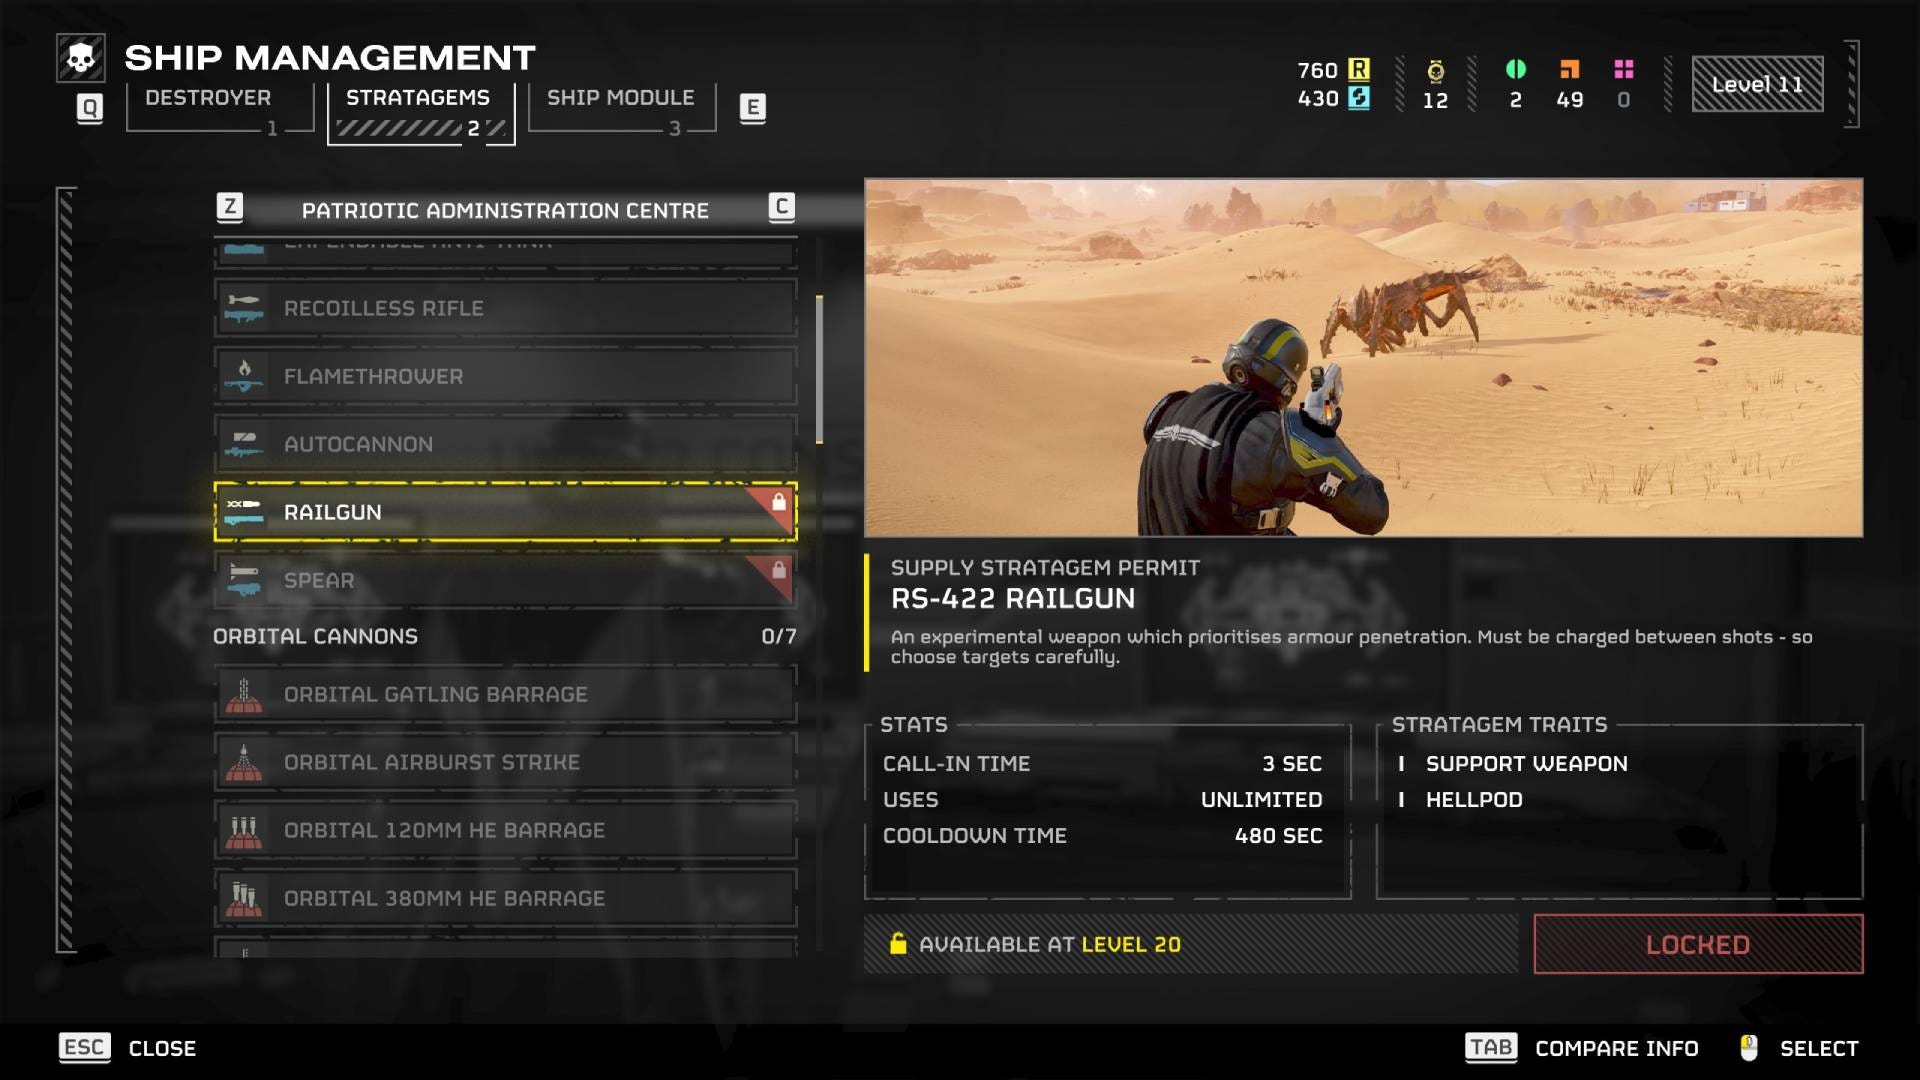
- Level: 20
- Call-in Time: 3 sec
- Uses: Unlimited
- Cooldown Time: 480 sec
The best Stratagem in Helldivers 2 is clearly the Railgun. You'll have to wait a while to unlock it, but this support weapon is the best of the bunch thanks to its immense firepower which can deal with even the biggest of bosses with ease. However, to deal with Hulks, Bile Titans, and Chargers, we'd recommend you enable unsafe mode by holding R and selecting it from the options. This unlocks the potential for the Railgun, meaning you can fire more powerful shots, but don't charge it for too long or it'll explode and kill you instantly.
Orbital Laser
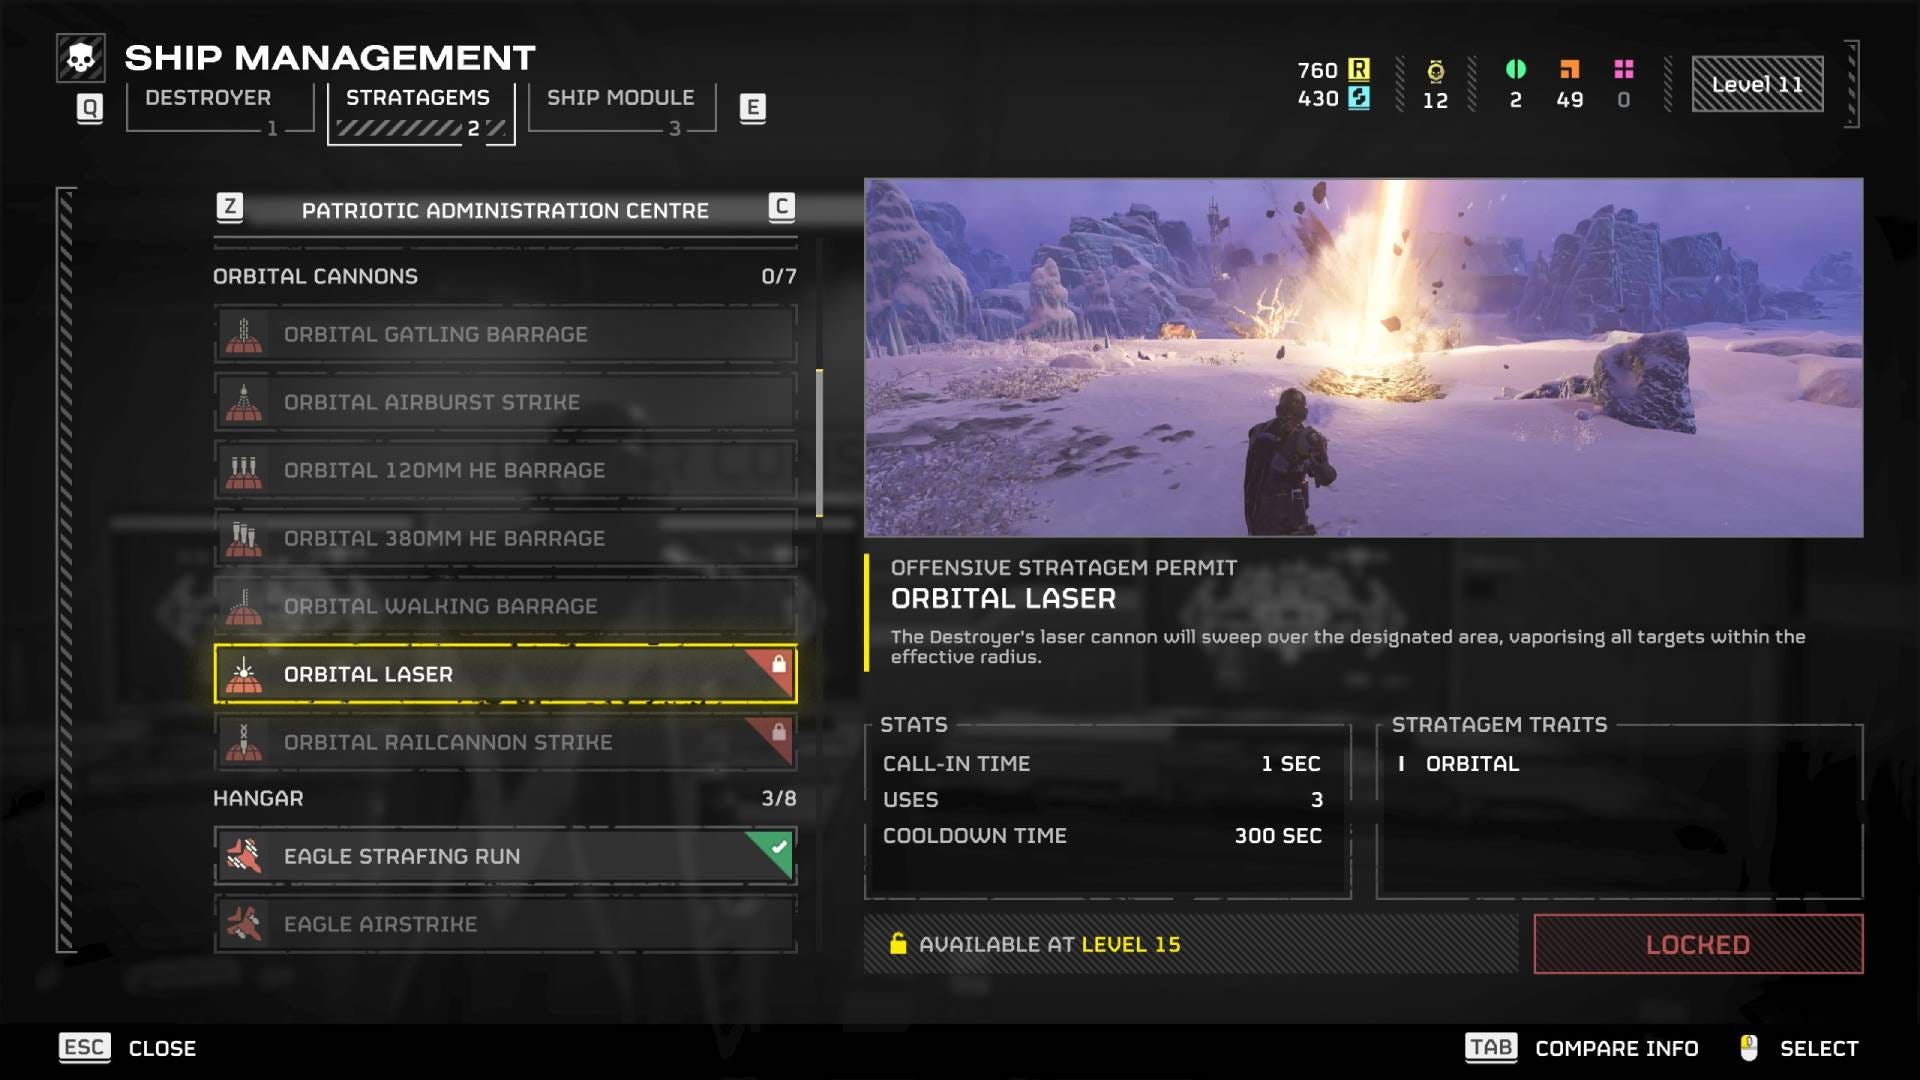
- Level: 15
- Call-in Time: 1 sec
- Uses: 3
- Cooldown Time: 300 sec
Orbital stratagems come down from your ship high above the planet, and the Orbital Laser is by far the best. This is a single, concentrated laser beam that will automatically seek out all targets in the designated area, and much like the Railgun, can be used to take down some of the game's biggest foes pretty much single handedly. However, you can only call in a maximum of three of these per mission, so use them wisely.
Eagle Airstrike
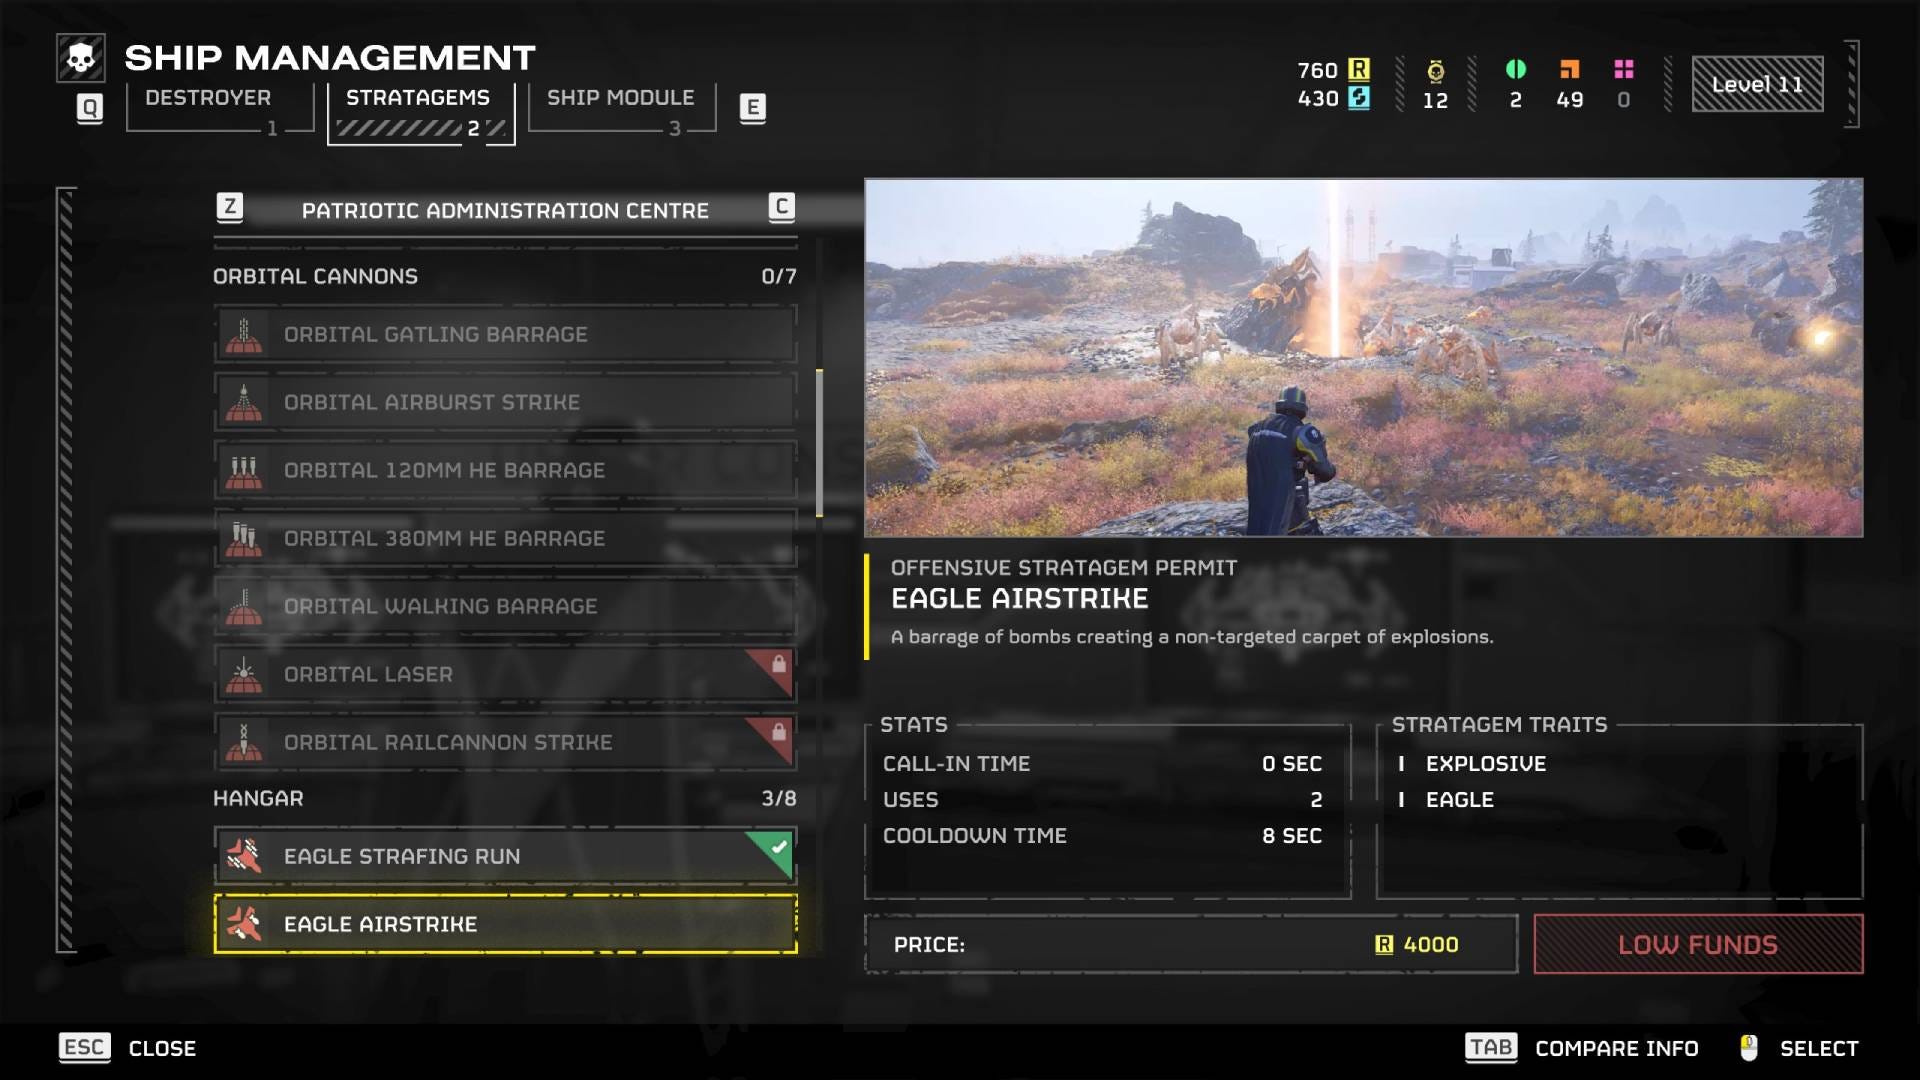
- Level: 1
- Call-in Time: 0 sec
- Uses: 2
- Cooldown Time: 8 sec
As a contrast to these extremely powerful late-game stratagems, the Eagle Airstrike is available right from the get-go in Helldivers 2. It'll still set you back 4,000 requisitions, but it's an extremely versatile stratagem that you'll keep falling back on as ol' reliable no matter the foe you're facing. It's essentially just a carpet bomb that devastates a small area, obliterating anything found within. It's also extremely quick to turn up, but you can only use it twice before the Eagle must re-arm, which isn't a quick process.
"Guard Dog" Rover
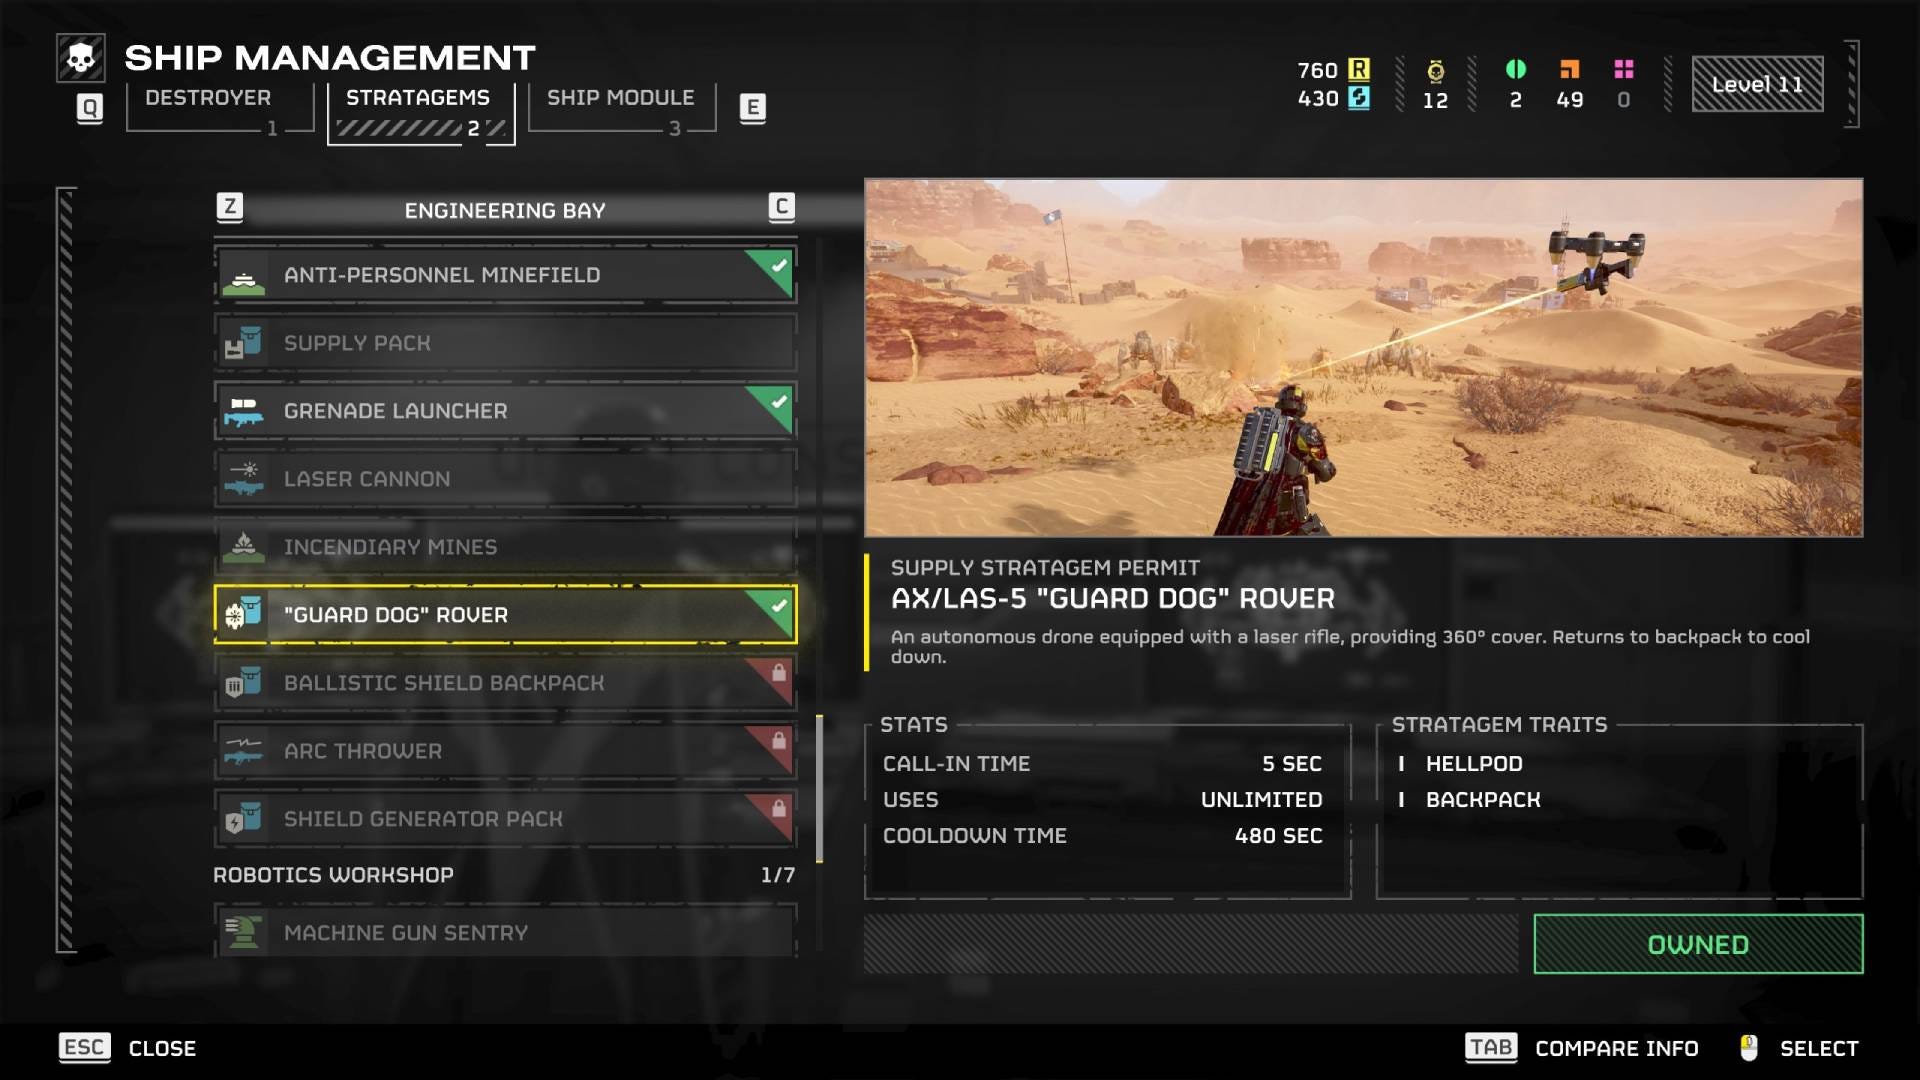
- Level: 10
- Call-in Time: 5 sec
- Uses: Unlimited
- Cooldown Time: 480 sec
The first backpack in the list, the "Guard Dog" Rover is your best friend in the fight for Super Earth. While not a literal dog, this is a drone that follows you round, equipped with a laser rifle. When it needs to cool down, it will return to the backpack for a short while, before automatically redeploying itself. You can also get a "Guard Dog" with an assault rifle, but the Rover tends to perform better thanks to the range and continuous damage output from the laser.
Autocannon Sentry
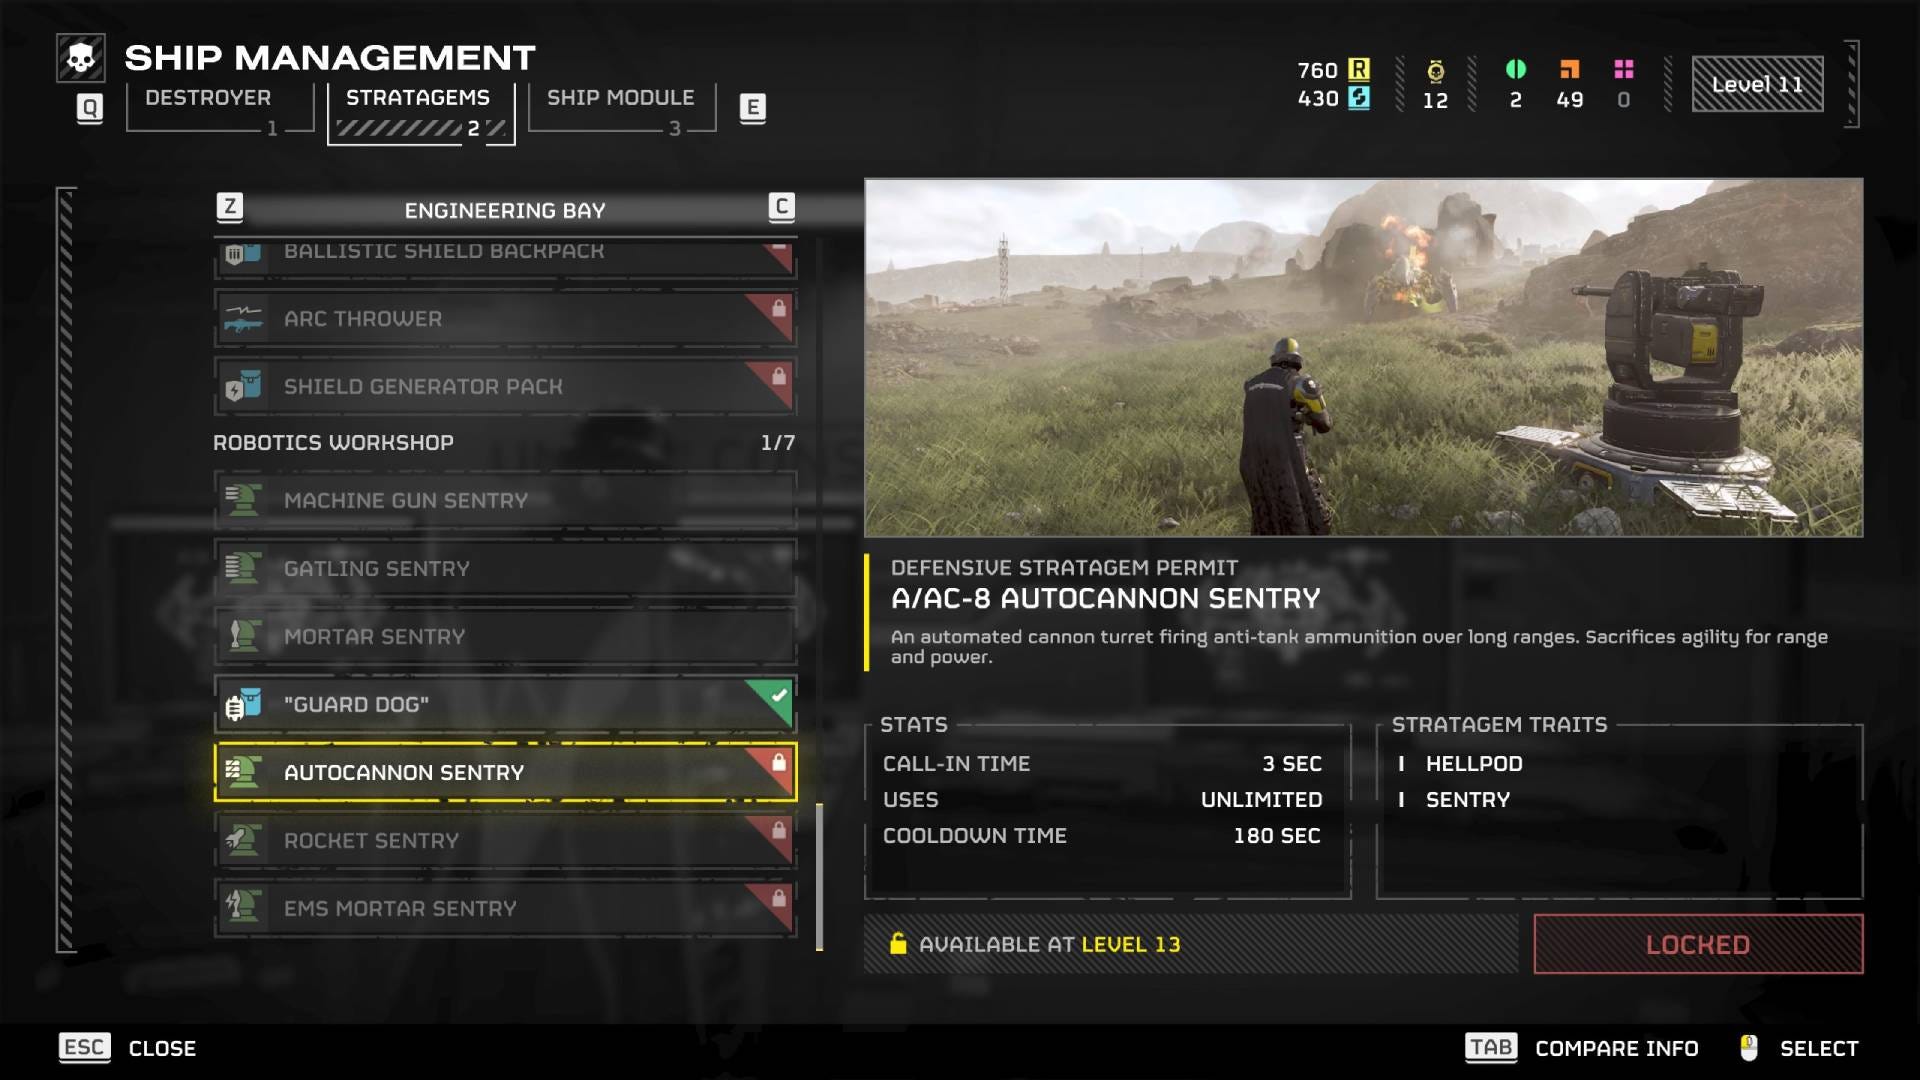
- Level: 13
- Call-in Time: 3 sec
- Uses: Unlimited
- Cooldown Time: 180 sec
When you need to fortify a position in Helldivers 2, such as during a defend mission or when you're waiting to extract, there are few things more useful than an automated turret. On harder difficulties, you'll often have heavy enemies such as Chargers, Titans, and Hulks all over the place, so the Autocannon Sentry comes in very handy. It fires slower than the Gatling Sentry, but deals much more damage per shot. The Gatling Sentry is useful at lower difficulties, while the Rocket Sentry is also useful, but has a much higher chance of friendly fire and has a much slower fire rate.
Anti-Personnel Minefield

- Level: 1
- Call-in Time: 3 sec
- Uses: Unlimited
- Cooldown Time: 180 sec
The Anti-Personnel Minefield does exactly what it says on the tin: mines. Call it in and countless mines will be scattered in a circle around the device, like a garden sprinkler activating. Any enemies that walk over the minefield will meet their demise quickly. However, you need to be in communication with your teammates for this one, because the mines don't differentiate between a Helldiver and a Terminid or Automaton, so you can rack up the accidentals with ease too.
Eagle 500kg Bomb
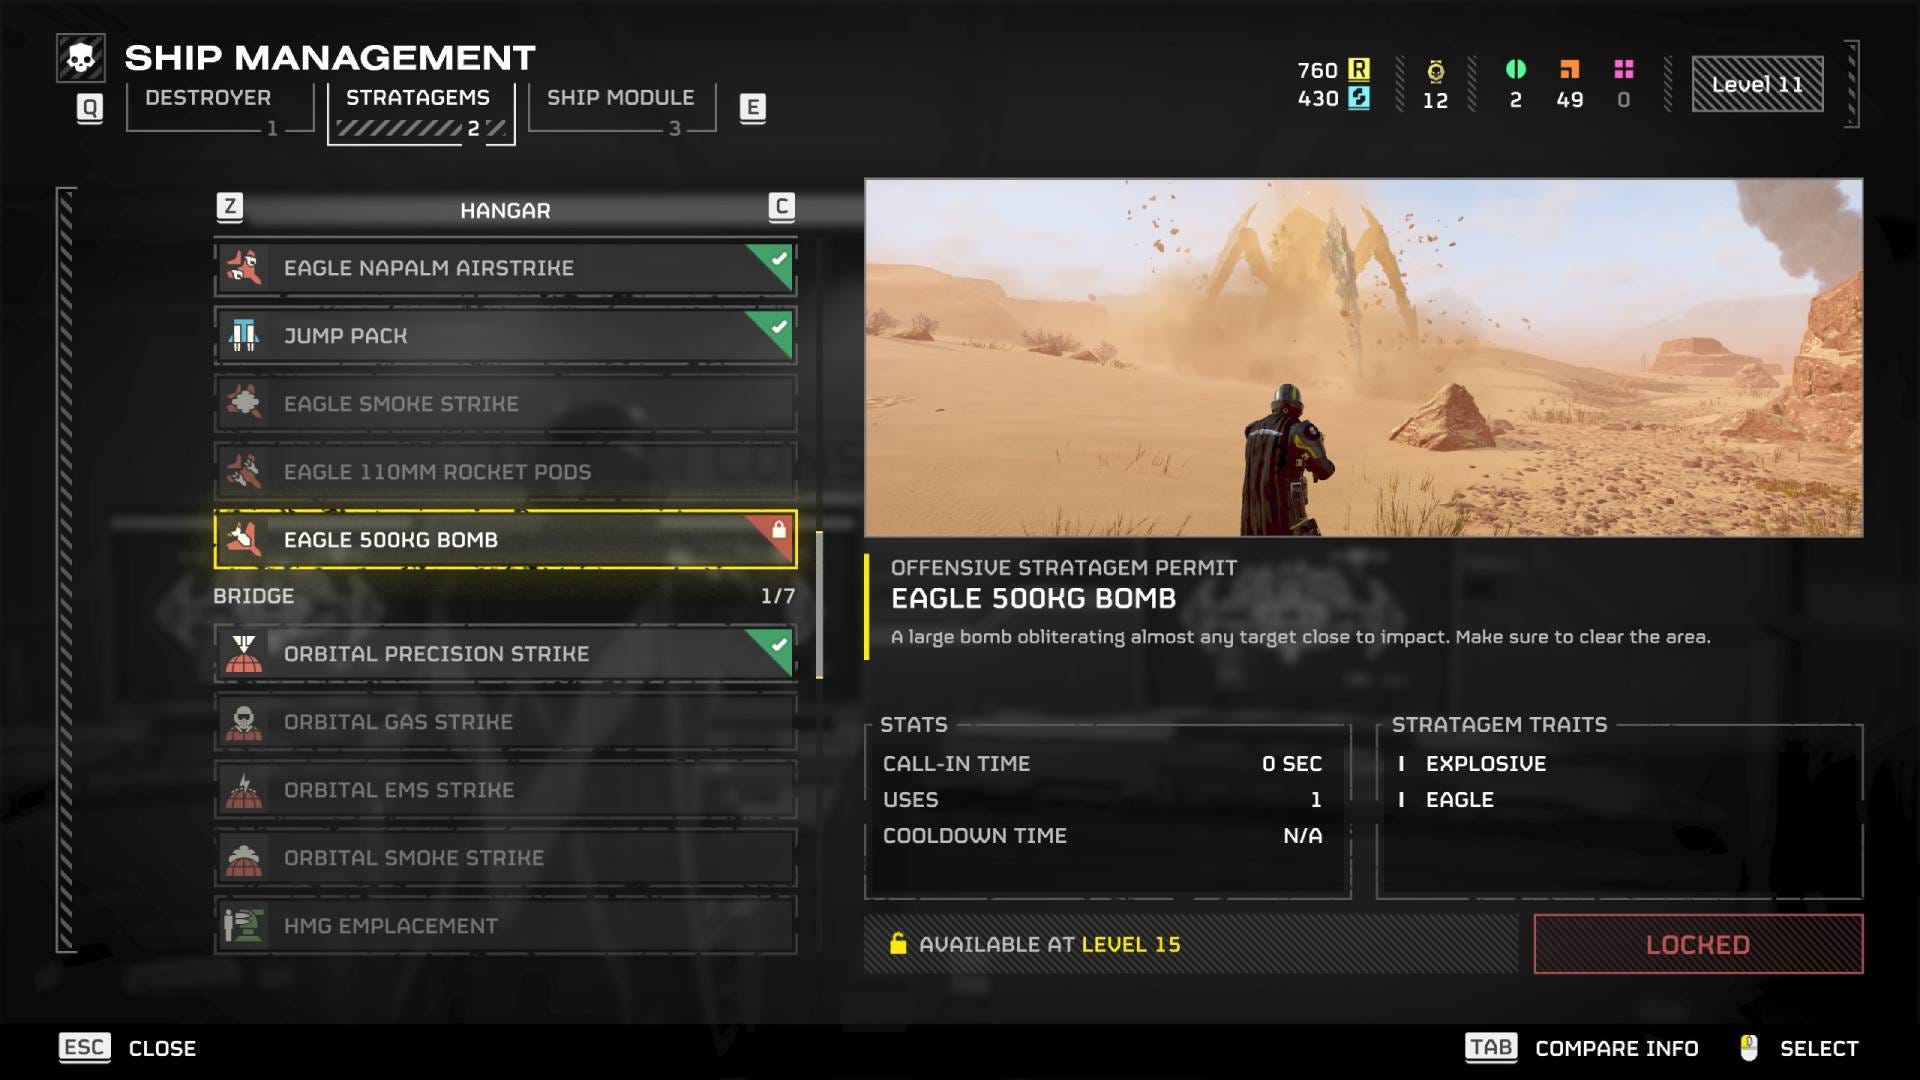
- Level: 15
- Call-in Time: 0 sec
- Uses: 1
- Cooldown Time: N/A
When you hit level 15, you can essentially unlock a nuke. You only get one Eagle 500kg Bomb before the Eagle needs to rearm, but it works exactly as you'd expect it to. Drop it on a Bile Titan or a Hulk to one-hit-kill it, or in the middle of a huge nest to obliterate lots of smaller enemies.
Grenade Launcher
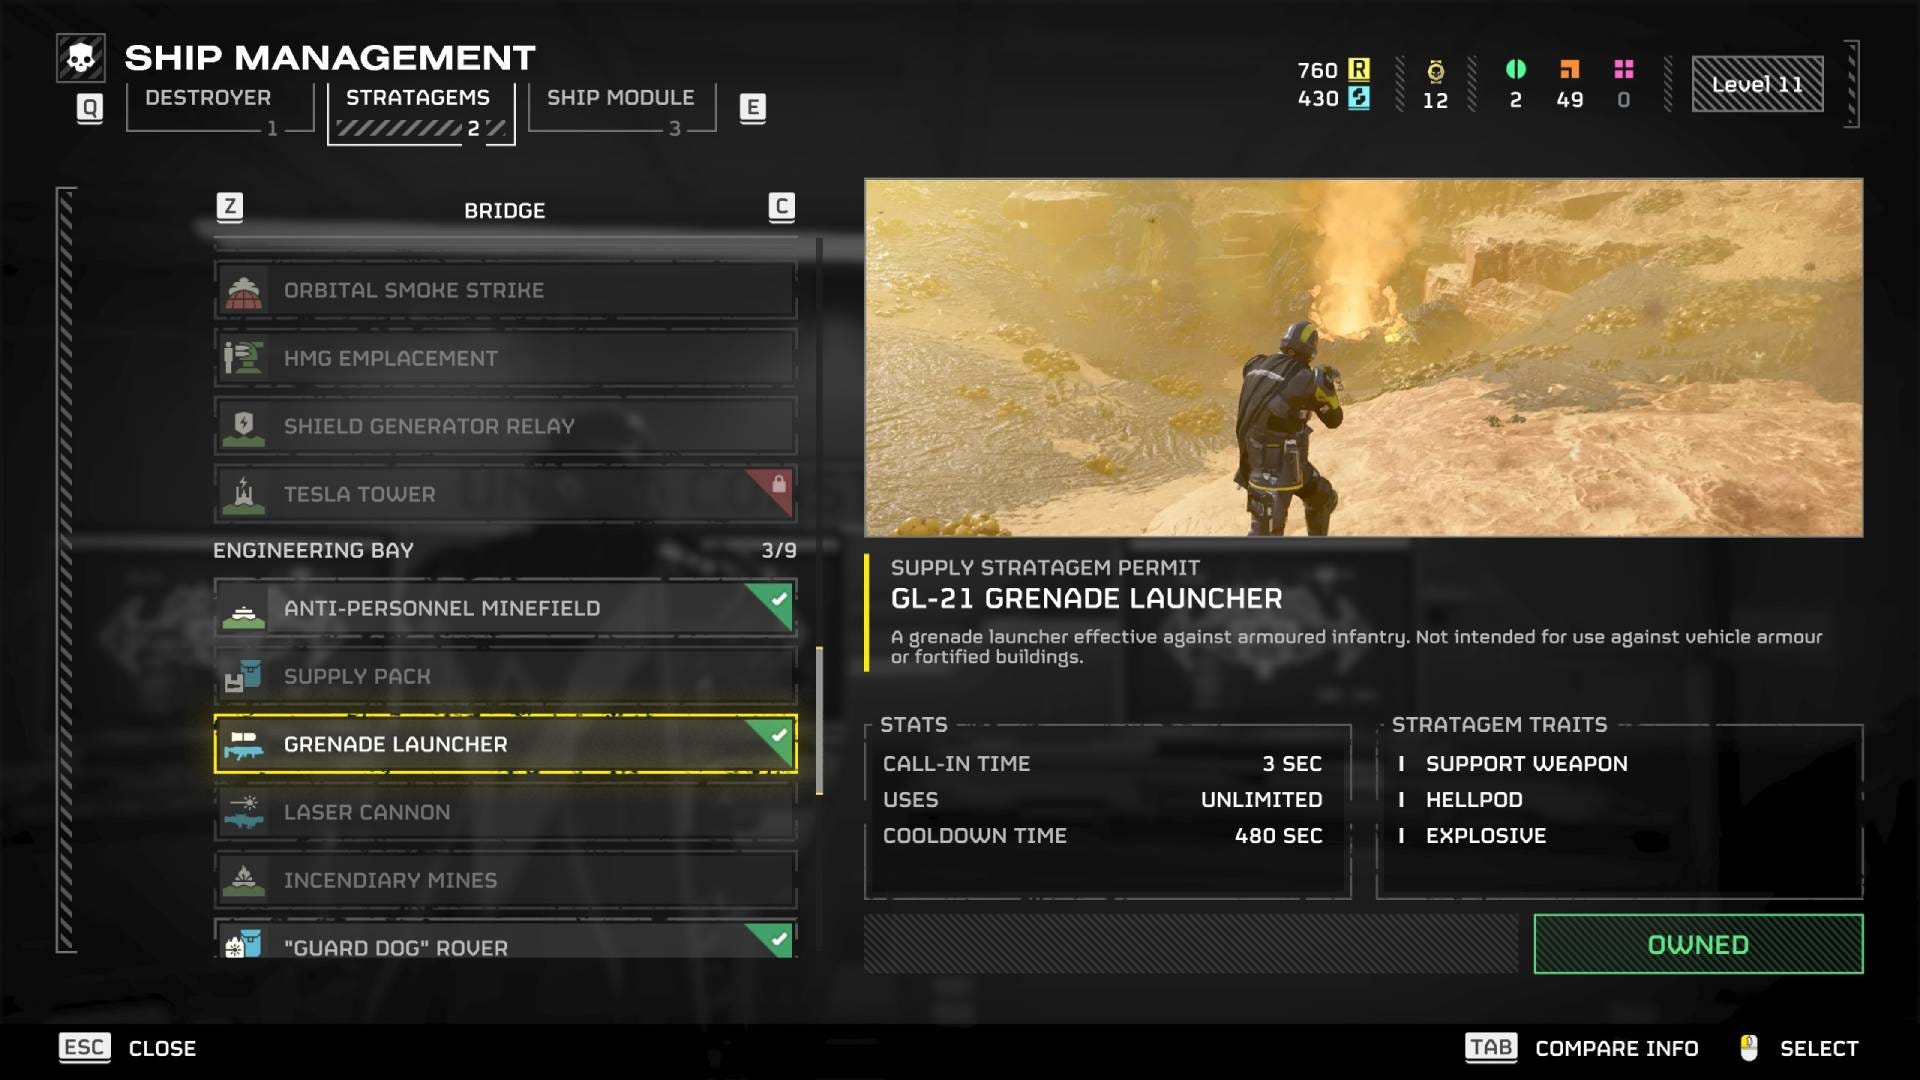
- Level: 1
- Call-in Time: 3 sec
- Uses: Unlimited
- Cooldown Time: 480 sec
While the Railgun is the best support weapon in Helldivers 2, you can't get your hands on it for quite some time. In the early stages, you should grab the Grenade Launcher, because it's a solid all-rounder for dealing with any type of foe. It doesn't do well against armor - the grenades will bounce off - but all armored enemies have weak spots, where the Grenade Launcher can deal some serious damage. You can also close up bug holes from afar, if your grenade throwing arm isn't quite up to scratch.
Orbital Railcannon Strike
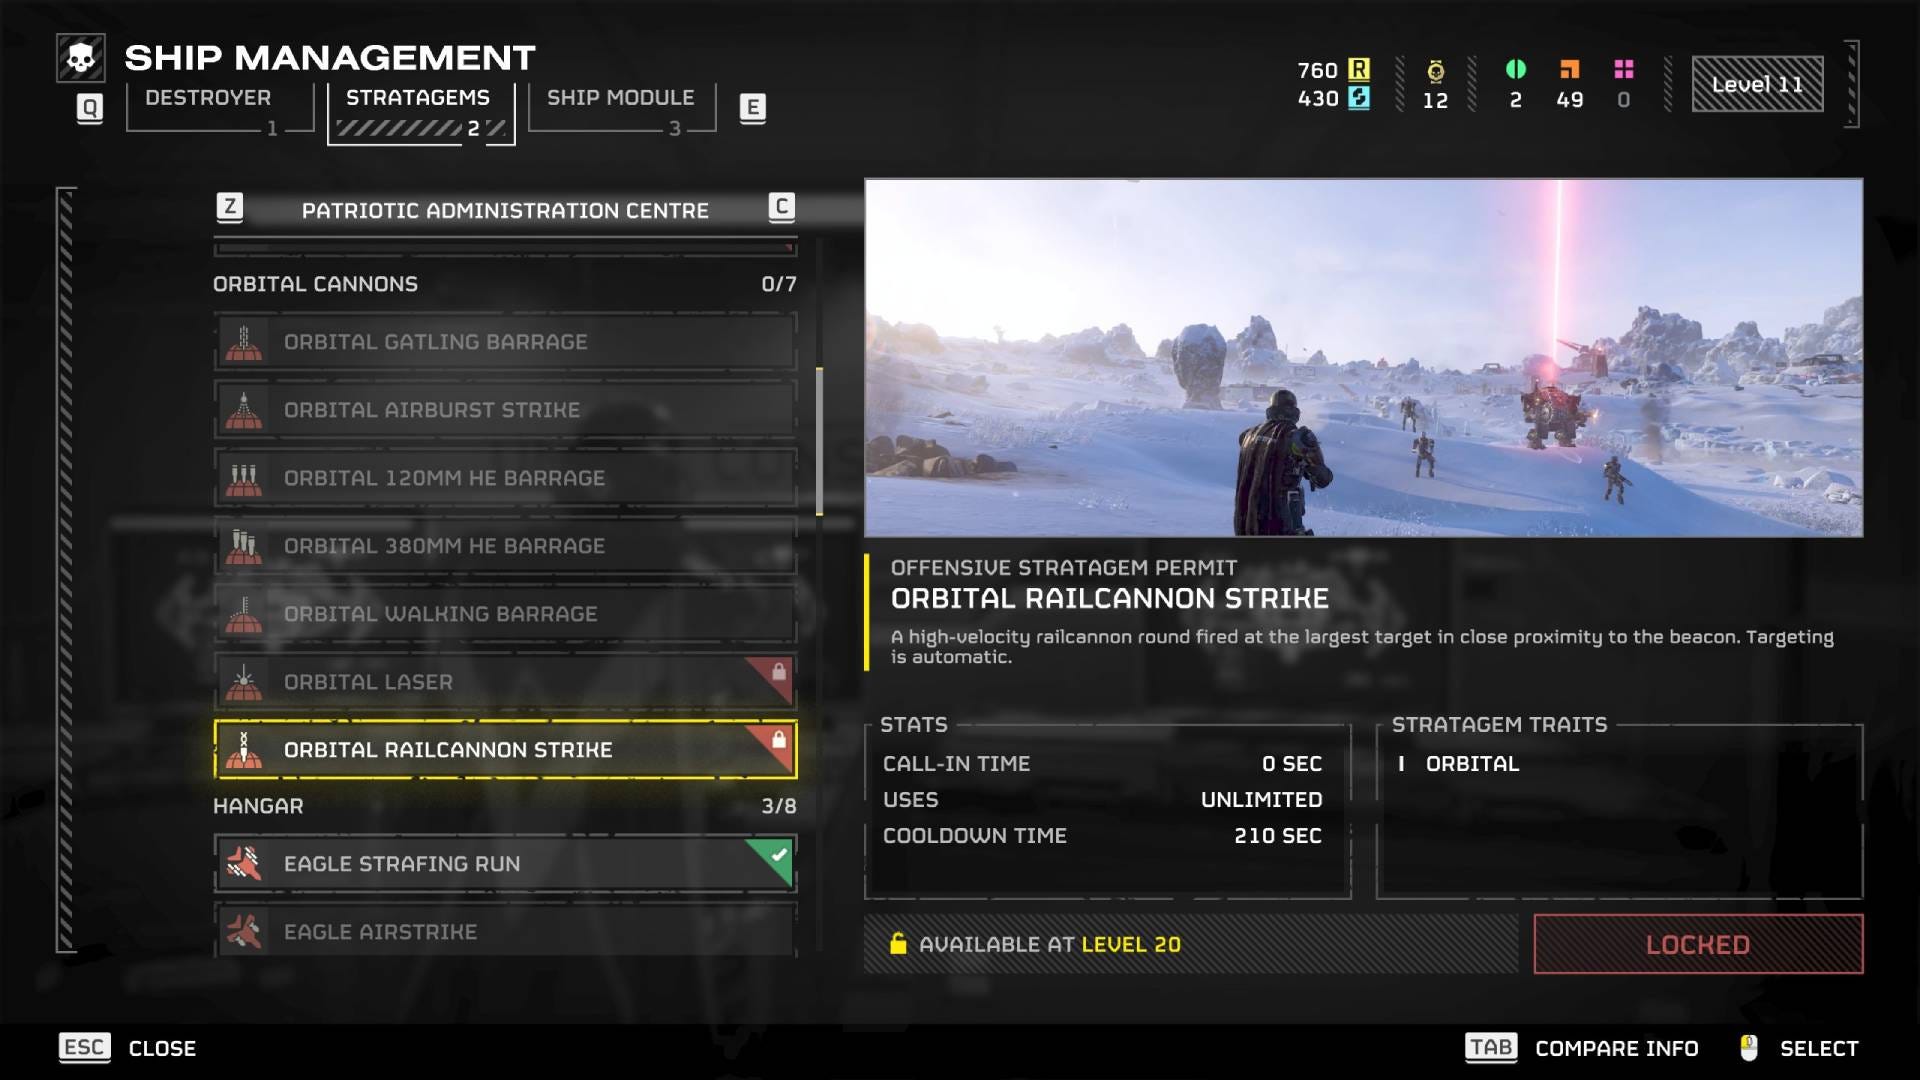
- Level: 20
- Call-in Time: 0 sec
- Uses: Unlimited
- Cooldown Time: 210 sec
If you want to destroy one singular big target in an instant, you could do worse than the Orbital Railcannon Strike, which is very reminiscent of "Alice in Borderland"-style deaths. The targeting laser quickly finds the largest target nearby and fires an immensely powerful shot straight through the top, with the ability to kill Chargers, Hulks, and the like in one hit.
Recoilless Rifle
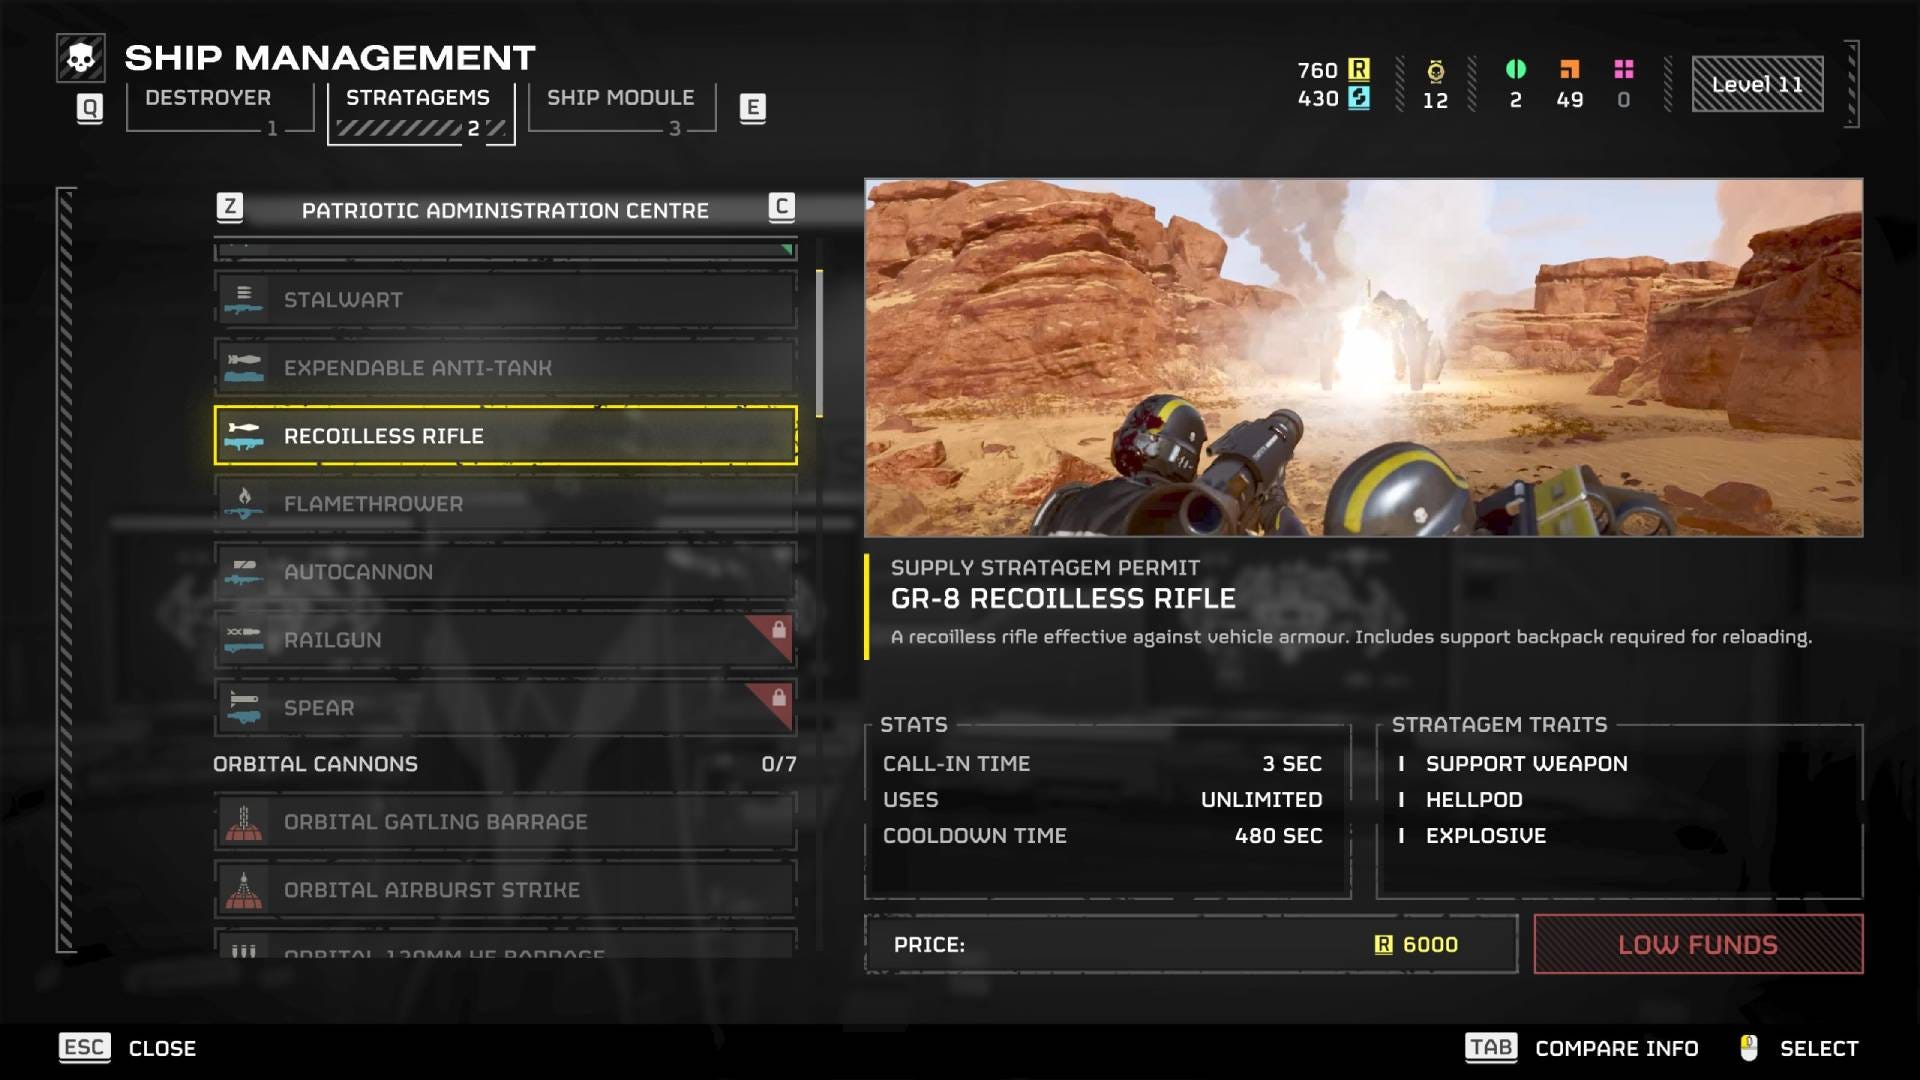
- Level: 5
- Call-in Time: 3 sec
- Uses: Unlimited
- Cooldown Time: 480 sec
Finally, we have the Recoilless Rifle. This is another earlier option instead of the Railgun to deal with armored targets, as it completely shatters the armor on Chargers and Hulks. However, it also comes with a support backpack for reloading. This means you must also wear that and reload yourself, albeit slowly, or a teammate can equip it to perform a team reload which is more efficient, but takes both of you out of action for a short while.
That's all you need to know about the best stratagems in Helldivers 2, but make sure you also check out our guide to the best weapons in Helldivers 2, as there are plenty of choices there too.