Hitman 2 Isle of Sgàil Silent Assassin walkthrough: best ways to kill the targets
Island vacation


For the grand finale of Agent 47’s latest global assassination stint, the hairless hitman for hire takes his well-pressed suit to a secret patch of land in the middle of the Atlantic Ocean. There, members of the world’s richest elite are holding an event in an elaborate ruined castle. They're gathering to discuss how they’re planning to influence society in their favour while also surviving the inevitable downfall of civilisation they’re undoubtedly contributing to as well. Eliminating two of their key leaders could probably do the planet some good, so I’m here to help you with the Isle of Sgàil Silent Assasin walkthrough.
Hitman 2 Isle of Sgàil Silent Assassin walkthrough
Maybe this is your first visit to the elusive mid-Atlantic island. For you, it’s probably a good idea to have a browse of the Isle of Sgàil walkthrough to get the lay of the land before attempting this perfect run. You can also head back to our Hitman 2 guide hub for everything else. This walkthrough assumes you’re playing the Isle of Sgàil from the original starting location with no concealed weapons, coins and any of the game’s other basic items.
Step 1: Eliminate Zoe Washington
Beginning on the pier, make your way to the crowd gathered by the steps. You can stand and follow the group, but if you’d rather just get on with things continue up the stairs and follow the path to the right. Once you reach another open area, head left and through the grand double doors to enter the lower courtyard of the castle.

There is a bar and a fancy show underway here, but you’re not interested in any of that. Head left through the archway and up the ramp towards the imposing effigy in the distant – you’ll get a closer look at this soon. As you enter the upper courtyard, duck behind the wall on the left and follow it to where you can jump down into a bush. When the guard is turned away, drop down and move towards the cliff edge to get behind the building.
From here, you can shimmy along the outcropping and peer inside through the window. Duck past the first window and wait by the second until the guard has finished talking to the custodian. When the coast is clear move inside.
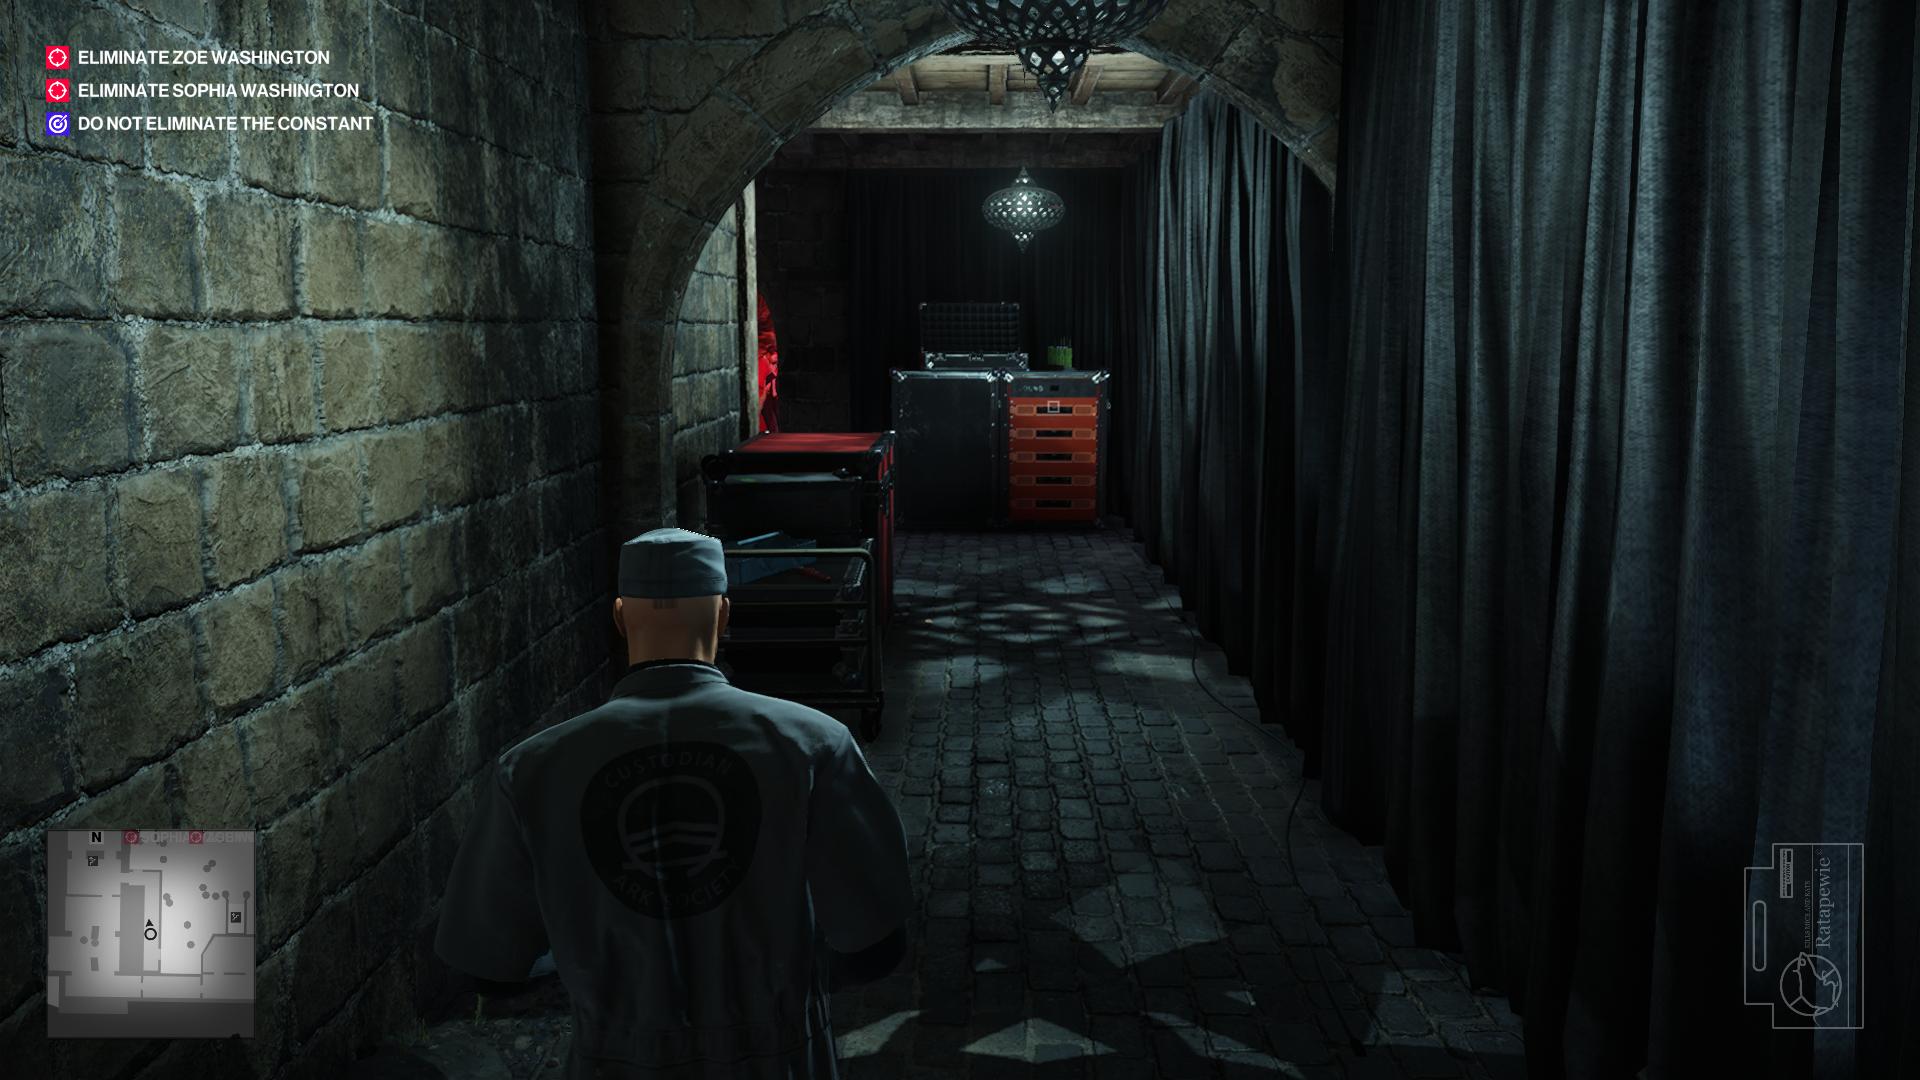
You’ll see a generator directly in front of you. Activate it and either duck out the window again or move to the left side out of the custodian’s line of sight. When she checks the generator, move in a knock her out. Do exactly the same to the male custodian in the room. Hide both of their bodies in the container and take their uniform as a disguise. Before you leave, use the wrench to loosen the hydraulics on the trap door and pick up the rat poison.
Next, move through the door that takes you further into the castle and jump through the window at the end on the right. Follow this path around as it bends left and pass through the crumbled wall to reach the crypt. Immediately in front of you will be a ladder – climb it to pop out in a security room and watch for the one suspicious guard.

This next part is tricky and requires some impeccable timing. You need to access and wipe the nearby security system, but it’s being watched by four guards. To give you the time to sabotage it, flick a coin into the far corner of the room without being seen and as all the guards turn to look for it, quickly dash to the hub and break it. Then flee through the door on the right into the next room. Phew, that’s one of the two hardest parts of the level out of the way.
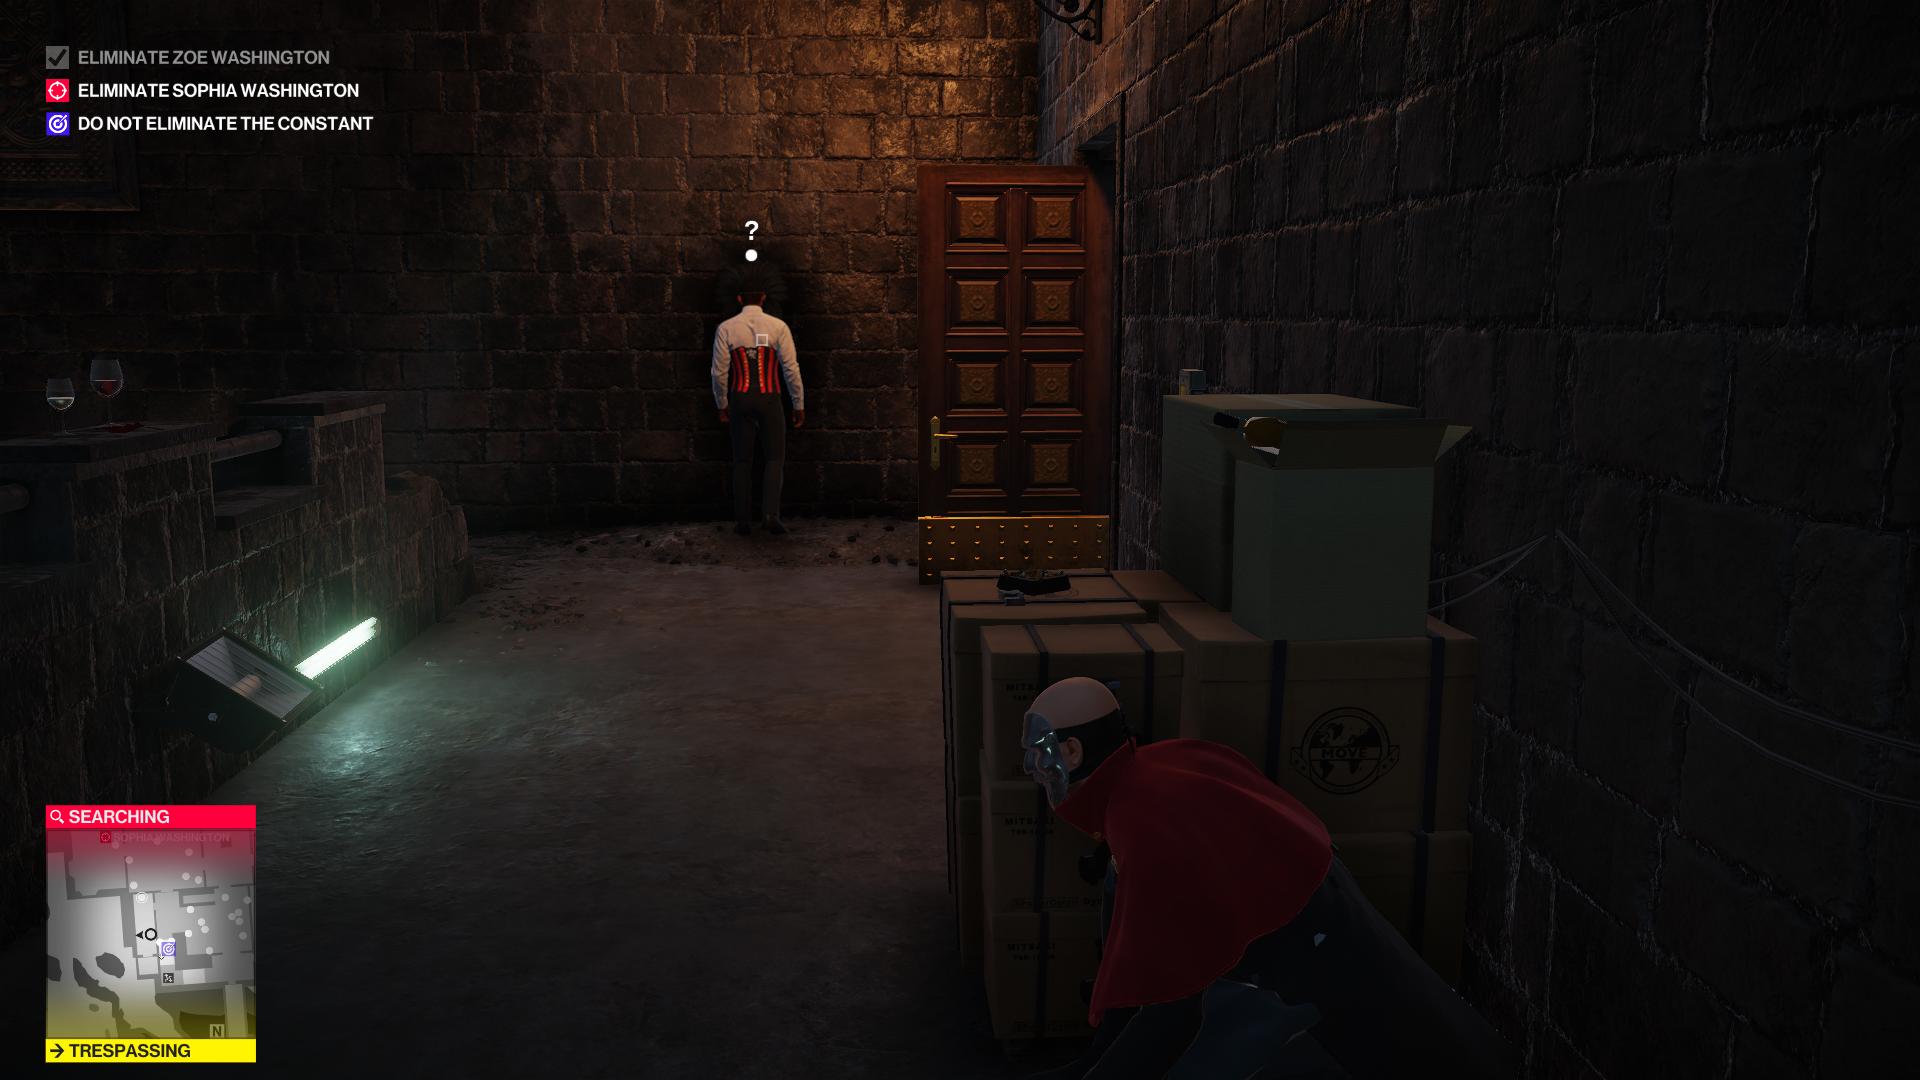
In this next room, you’ll see a fancily-dressed man pacing up and down. This is the Master of Ceremonies and you want to grab his robes for your disguise. The easiest way to acquire them is to take the schedule he’s placed on the side next to his wine. When he comes looking for it, he’ll search the back of the room, where you can subdue him and hide the body in one of the many nearby containers.

Slip into his robes and head out the door opposite to the one you entered. Proceed up the stairs and make your way to the giant statue. Move down to the pit of money the guests are encircling and collect the torch to begin the ceremony. Complete the necessary actions as prompted and then move up to join Zoe when she’s ready. She’ll get inside the effigy and ask you to light it. Oblige her request and watch her sizzle as the crowd cheers.
Step 2: Eliminate Sophia Washington
With your first target well and truly roasted, move back down the steps and push through the crowd to reach the VIP entrance on the left side of the courtyard. Continue walking through without being questioned and follow the path further into the castle until you reach the gallery. Proceed through the door on the right and up the stairs. Follow the path as it loops around and enter the door next to the waiter. Turn left immediately and you’ll see a balcony with a pipe you can climb to reach the next level – scale it.
Up here you’ll spot a fuse box. Flick the switch and take cover behind the box as a member the castle staff will come to investigate. Knock them out when they do and quickly flick the fuse box back on. Move their body away from the door so it can’t be seen and then take their uniform for yourself.
Now that you’re inside you need to track down a member of the council named Jebediah Block. He’s on the roof of the armoury all the way through the back of the Architect's bar. You’ll recognise him by the ludicrous outfit he’s wearing – and the fact he’s surrounded by guards. Looks like he’ll be tough to reach…

Here comes the second hardest part of the level. Make your way down one flight of stairs to where you can drop down and shimmy alongside the building. Watch out for guards from below who can see you. Sidle all the way across and climb up onto the roof, taking cover by the generator in front of you.
Next, this section will take some clever timing. What you need to do is distract the nearby guard with the generator when Block and the other patrolling guard are moving away from the wine glass on the roof so you can slip in some rat poison. Pull that off quickly enough and Block will move to the edge of the roof where you can subdue him and steal his robes. When you pull it off, consider moving the body a little closer to the wall so it definitely can’t be seen.

With your new duds on you can track down Sophia Washington walking through the upper floors of the castle. Speak with her and you’ll arrange a new meeting with the council to vote on a potential motion. Once Sophia has argued her case, disagree with her again and she’ll want to see you in private. You’ll be led up to the penthouse where you’ll receive a brief scolding and threatened with torture by an iron maiden. Introduce Sophia to the device instead and secure your second kill.
Step 3: Extract the Constant
The last step is painfully straightforward. Pick up the killswitch dropped by Sophia and show it to the Constant, who can be found roaming the castle. Once you threaten him with it, he’ll happily follow you all the way down to the pier where you can make your escape with your hostage in tow.

And there you have it. The final mission of the game complete with a Silent Assassin rank. Definitely the toughest of the lot! Congratulations are in order, but your job isn’t over yet. As is the case with the Hitman games, there’s much more to go back and see or many weird methods of assassination still to find. For the rest of what you can see on the cultist's island, go to our Isle of Sgàil walkthrough, otherwise head on over to the Hitman 2 guide hub to give you some inspiration for what to do next.