How to install a PC case fan
Whirr mongering


Ah, a nice easy, beezy upgrade that even the most nervous technophobe can quickly make to their gaming rig. Learning how to install a PC case fan is as simple as reading this guide, and actually doing it barely requires any more effort. What’s more, adding more ventilation your PC is almost never a bad idea, considering heat is as much of a natural foe to its well-being as malware and spilled drinks.
That’s not to say that adding a fan will improve performance (like the best graphics cards and best CPUs for gaming might), nor that your PC will burst into flames if you keep using the fan configuration it came with. But thermal throttling can be a genuine issue for CPUs and NVMe SSDs in particular, so some added airflow could help with your components’ long-term health. You could end up with a quieter system too, as having more case fans means they don’t need to spin as fast to shift a healthy amount of air.

Before we get into the business of screwdriver-ing in a new fan or two, there are some preflight checks to handle. First, make sure your case actually has empty fan slots to fill, and second, only buy fans that will fit them. 120mm is the most common fan size and just about any case will fit them, but you can also get 140mm fans easily as well. Aftermarket fans come with their own mounting screws and use a universal style of cable connector, so you’re not limited to fans from your case manufacturer or anything – it’s mainly the size that matters.
You should also think about whether your new fan should act as an intake fan, to draw cool air into the case, or an exhaust, to expel the hot air that would otherwise build up inside the main chamber. Generally, fans at the front of the case should always be intakes, and fans at the rear should always be exhausts; top-mounted fans can usually go either way, but floor-mounted fans are better as intakes because there won’t be much space underneath the PC for the ejected hot air to disperse.
Installing a case fan as either an intake or exhaust is merely a case of having it face a certain direction. On one side of the fan, the frame will include several bars extending from the centre – air will flow in from the opposite, ‘open’ side towards the side with the bars. Keep this orientation in mind and just flip the fan over to change its airflow direction.
Right! Now for the fun bit.

How to install a PC case fan
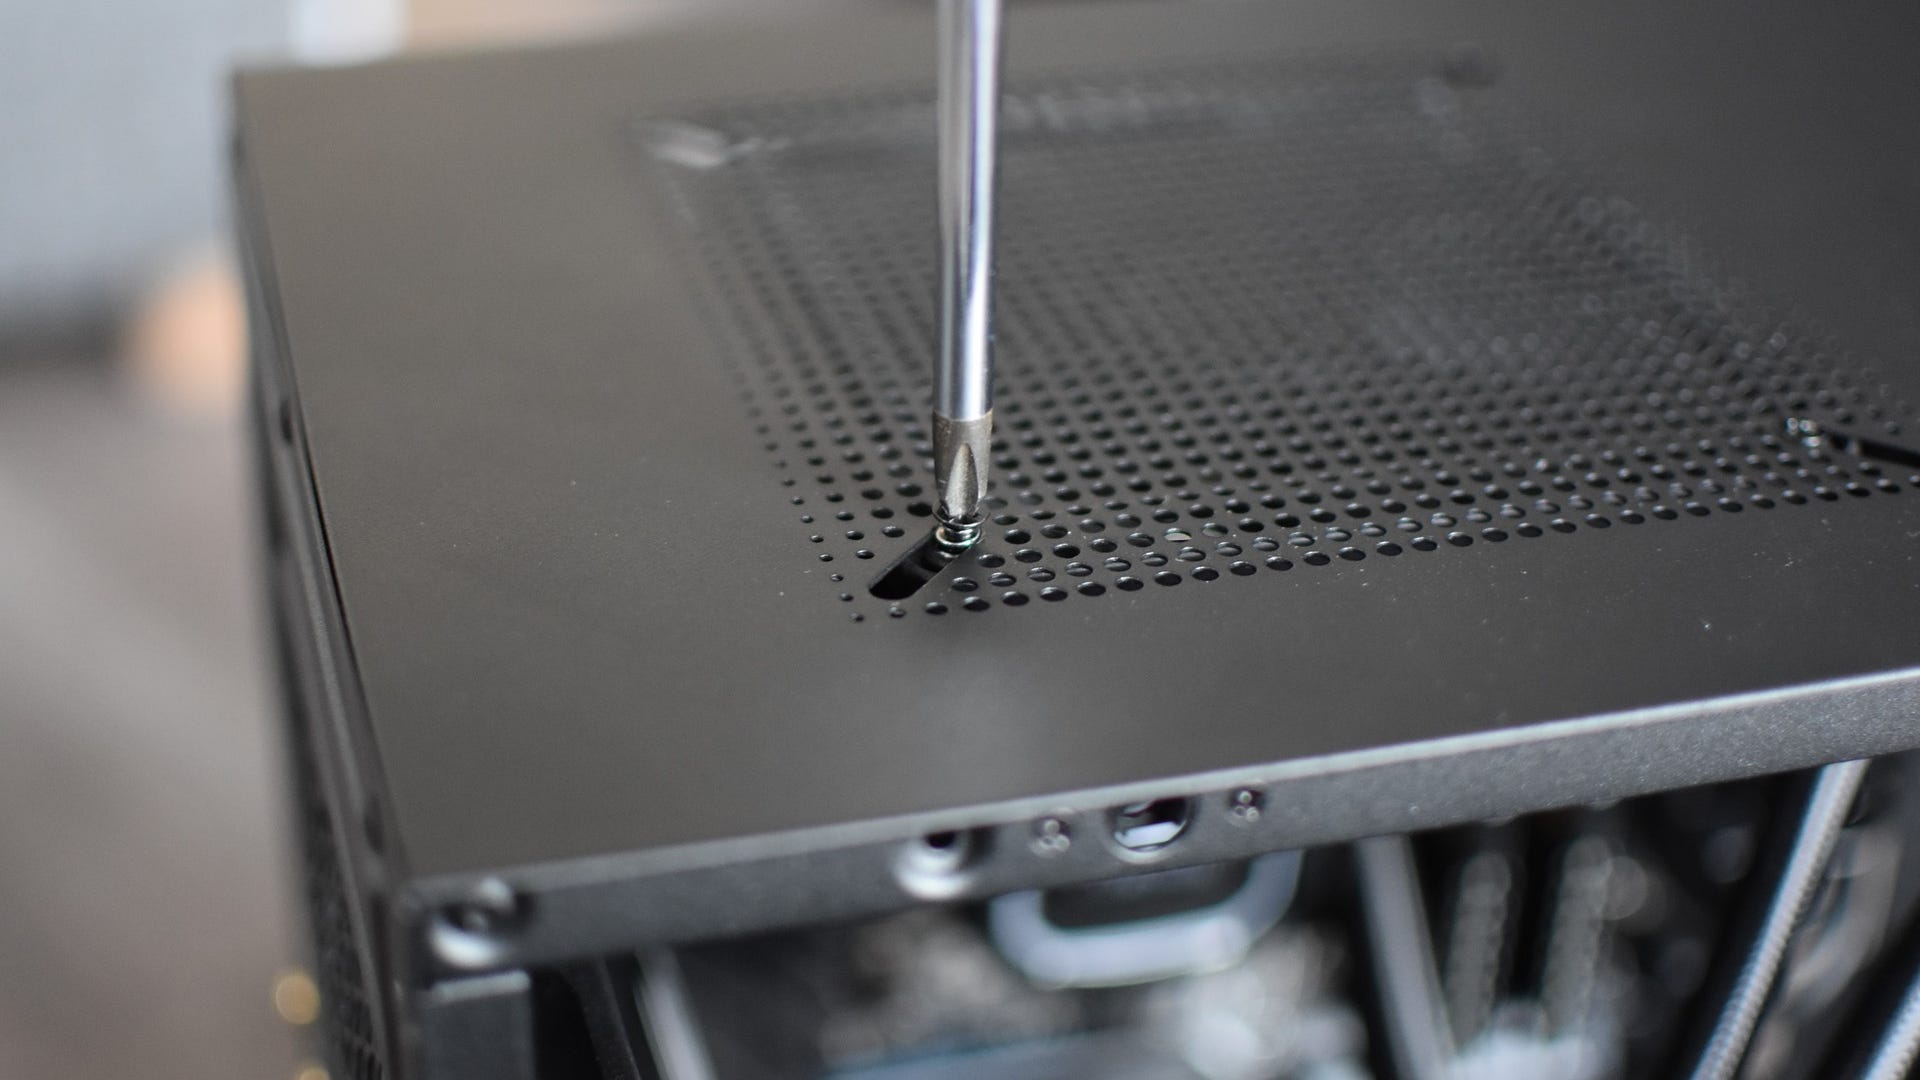
Step 1: Find a spare fan slot on your PC. These are normally at the front, top and rear of your case; some might have one or two slots in the floor of the case as well.

Step 2: With one hand, position the fan so that it’s both facing the desired direction (based on whether it’s an intake or exhaust) and so that the screw holes line up with the holes in the case. Try and get the cable facing towards to your motherboard or fan hub as well – this will mean it’s not stretched across the fan itself once it’s connected.

Step 3: With your other hand, grab your screwdriver and use the fan’s included screws to mount it to the case. Once the first screw is in, it should be secure enough that you can let go of the fan and use both hands to adjust the screw hole alignment, tighten them more easily and so forth.
Step 4: With the fan in place, it’s time to connect the cable. Start by threading it into the cable management area behind the motherboard tray – or at the very least, away from any other components.

Step 5: Simply connect the cable to a 4-pin header on either your fan hub, or directly to a system fan header on your motherboard.

Power up your PC, use your hand to double-check that the fan is blowing air in the right direction, and you’re done. See? Easy breezy.