How to upgrade to Windows 11
Oh, for 11’s sake

Alright, fine, here’s how to upgrade to Windows 11 from Windows 10. The current stance of this hardware ed is that Windows 11 has some cool features but is yet to fulfil its potential, largely owing to the missing DirectStorage capability – which, to be fair, could be a very big deal when games start supporting it. For now, then, it’s a free but absolutely not an essential upgrade, and you can think of this post as the RPS equivalent of that video where Valve tore down a Steam Deck: we’re not saying you should do this, just that you can do this.

That being said, if you really can’t wait to poke around the redesigned Windows 11 interface, or you own one of the best gaming monitors and can take full advantage of its Auto HDR trick, following this guide will help you upgrade from Windows 10 without having to wait until Windows Update deigns to offer it to you. This is apparently Microsoft’s recommended method for switching to the new OS, though if that’s true they’re taking their sweet time in offering it to everybody. Instead of twiddling your thumbs until Windows Update serves it up, you can start installing immediately by downloading the Windows 11 Installation assistant instead – it’s still an absolute doddle to upgrade this way.
You won’t lose any of your files, games or drivers through this method either, and if you don’t get on with Windows 11, you can switch back fairly easily too – see our guide on how to uninstall Windows 11 for instructions.
How to upgrade to Windows 11 from Windows 10
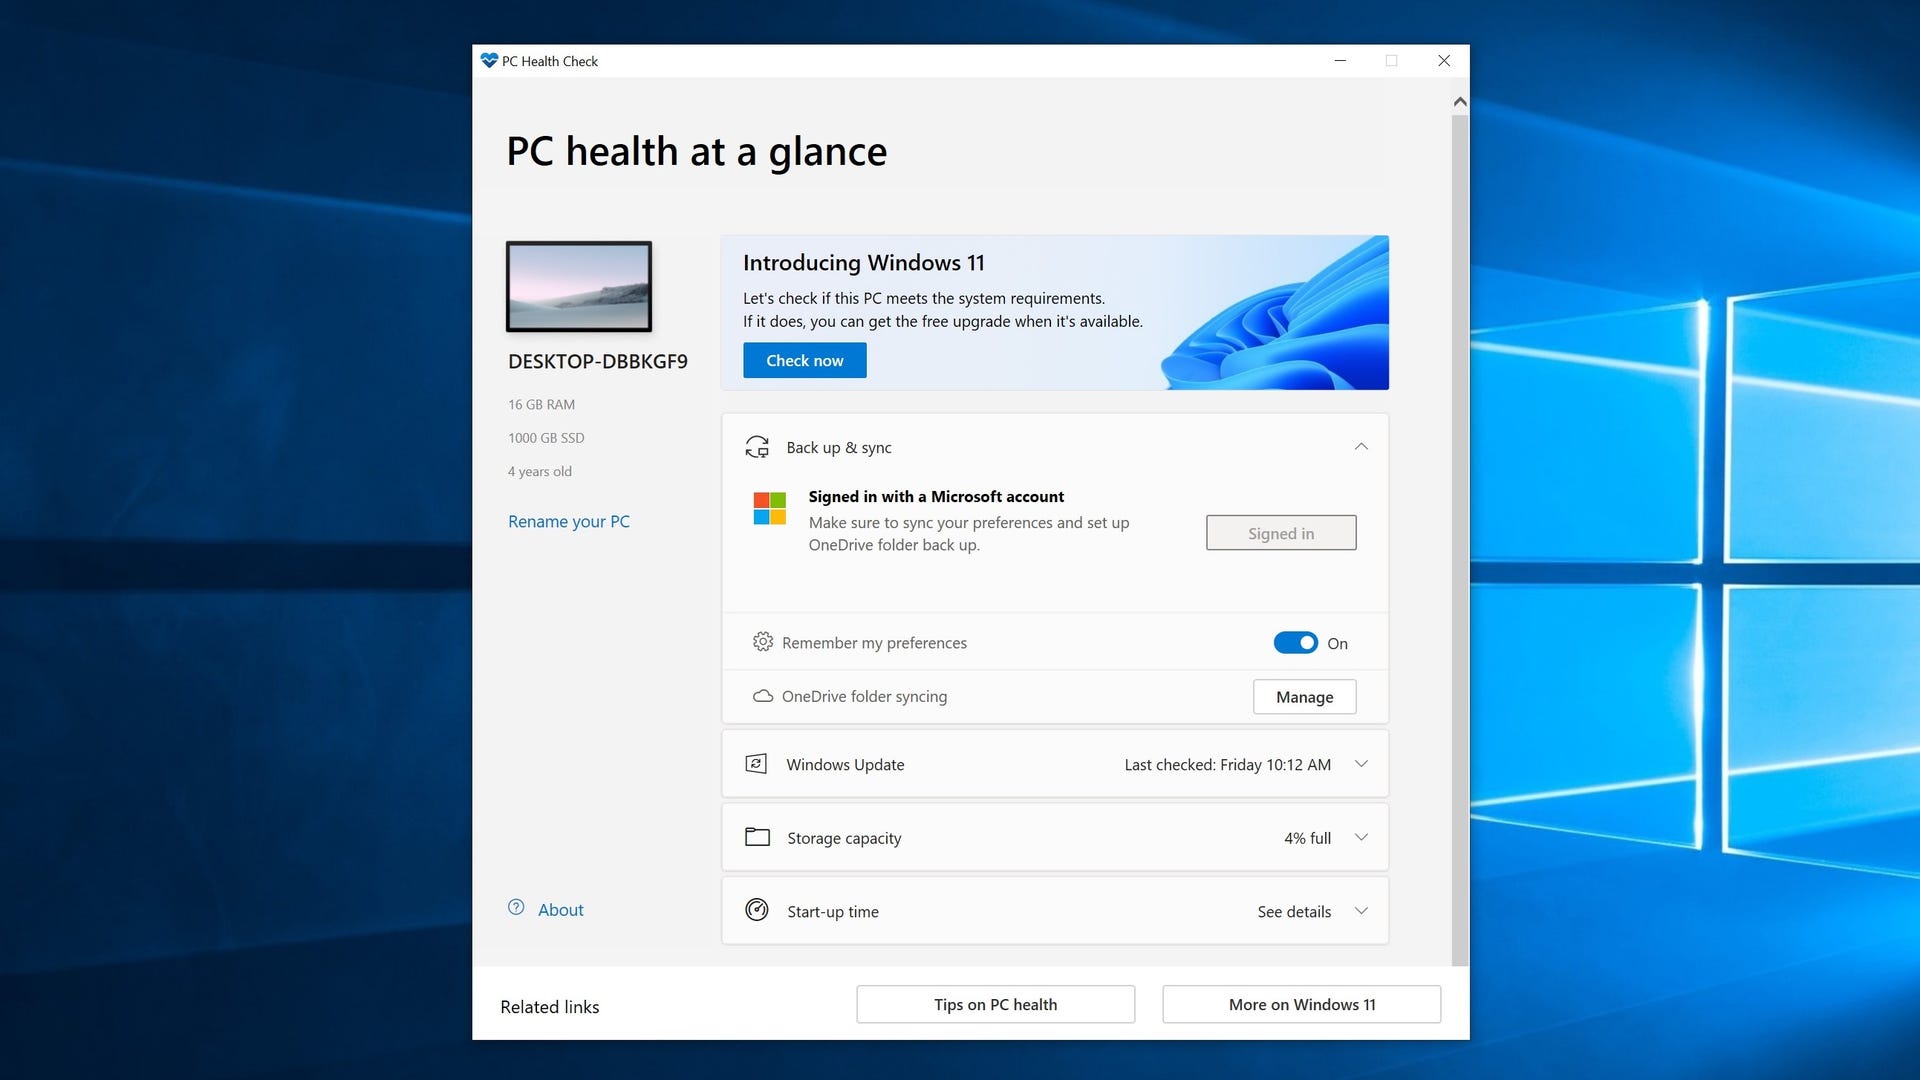
Step 1: Use Microsoft’s PC Heath Check app (the download link is at the bottom of this page) to make sure your PC meets the system requirements for Windows 11. If your CPU supports TPM 2.0 but the app says it doesn’t, you probably need to manually enable it in the BIOS.
It is possible to install Windows 11 without a supported CPU. Microsoft themselves added a registry hack that lowers the TPM requirement to TPM 1.2, which you can use by opening typing “regedit” in the Run app, navigating to HKEY_LOCAL_MACHINE\SYSTEM\Setup\MoSetup, creating a DWORD (32-bit) value with the name “AllowUpgradesWithUnsupportedTPMOrCPU” then setting this value to 1. After restarting, you should be able to get upgrade with an unsupported CPU, as long as it supports TPM 1.2 Again, though, I don’t strictly recommend that you do this, as important Windows 11 security updates may not be made available to those who worked around the official requirements.
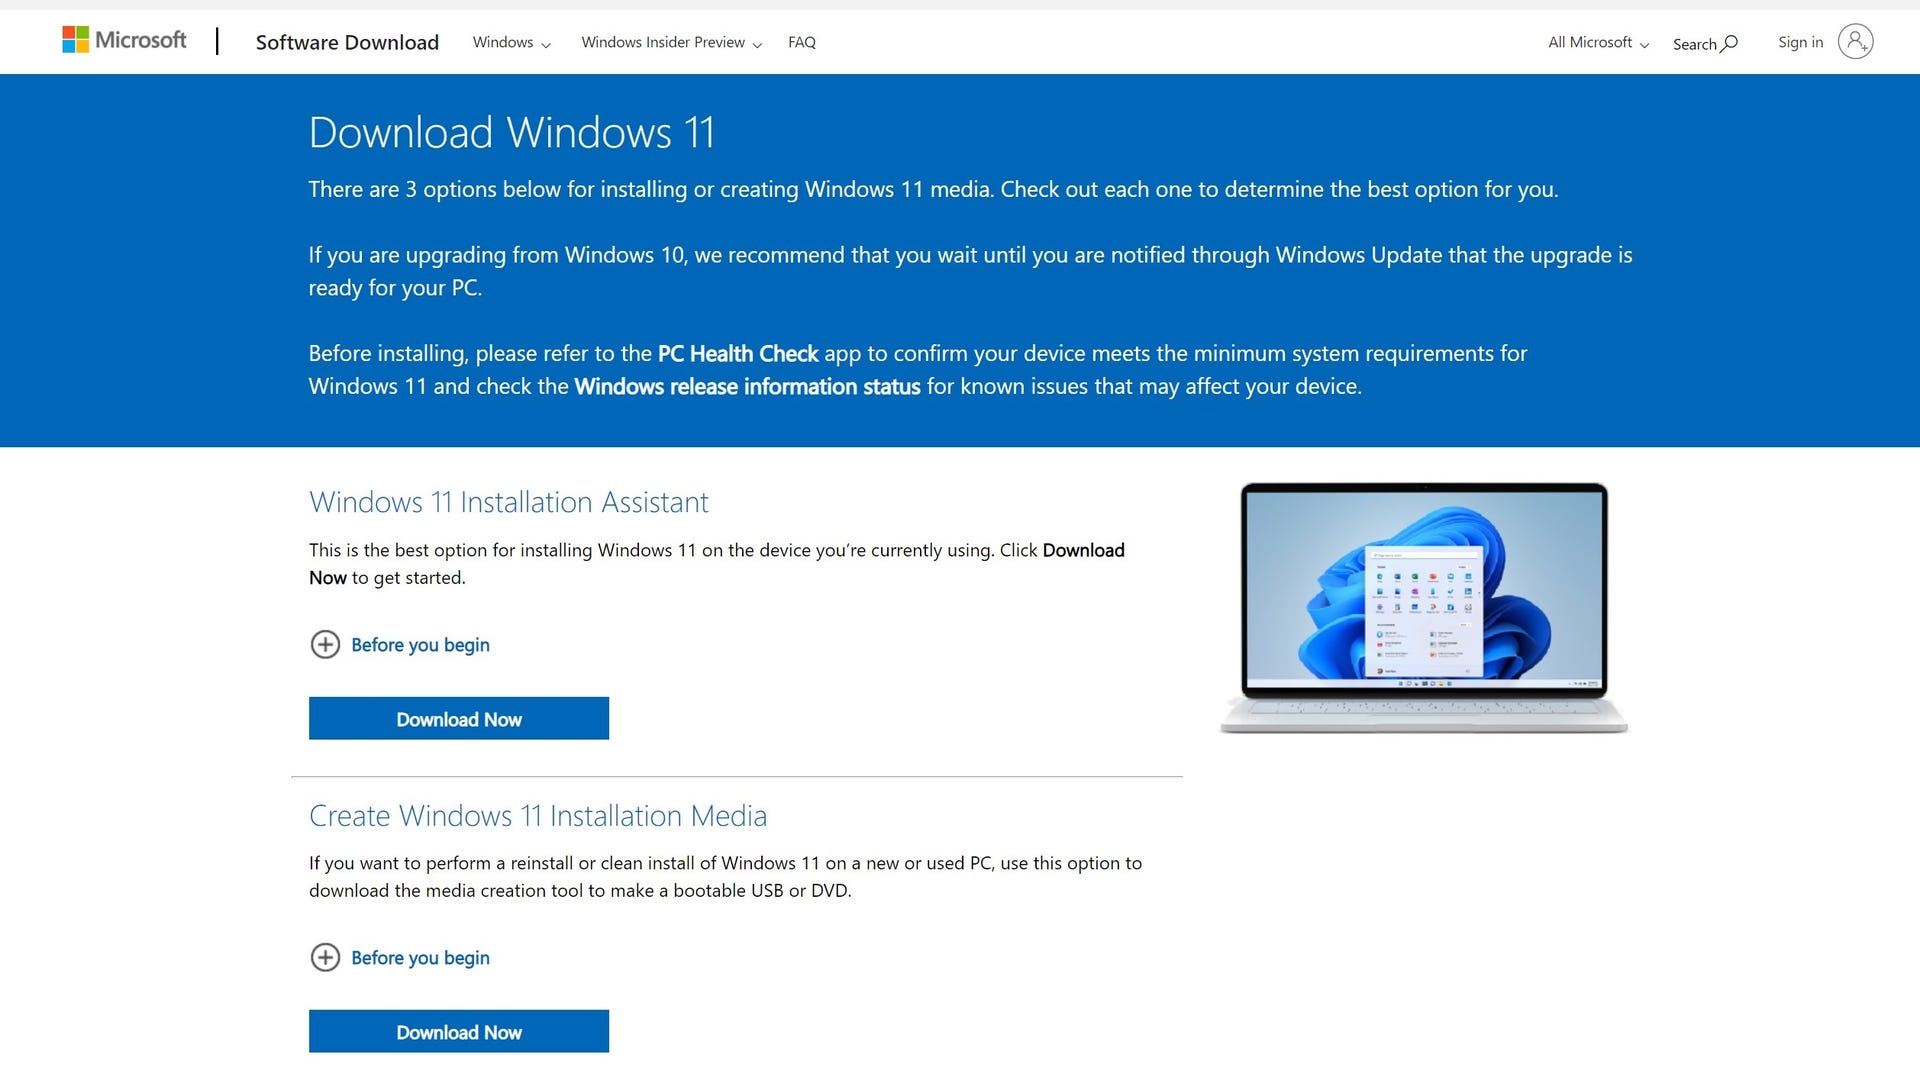
Step 2: Download the Windows 11 Installation Assistant by clicking the blue Download Now button at the top of this list. You’ll download an .exe file, so run it, and allow it to make changes when prompted.
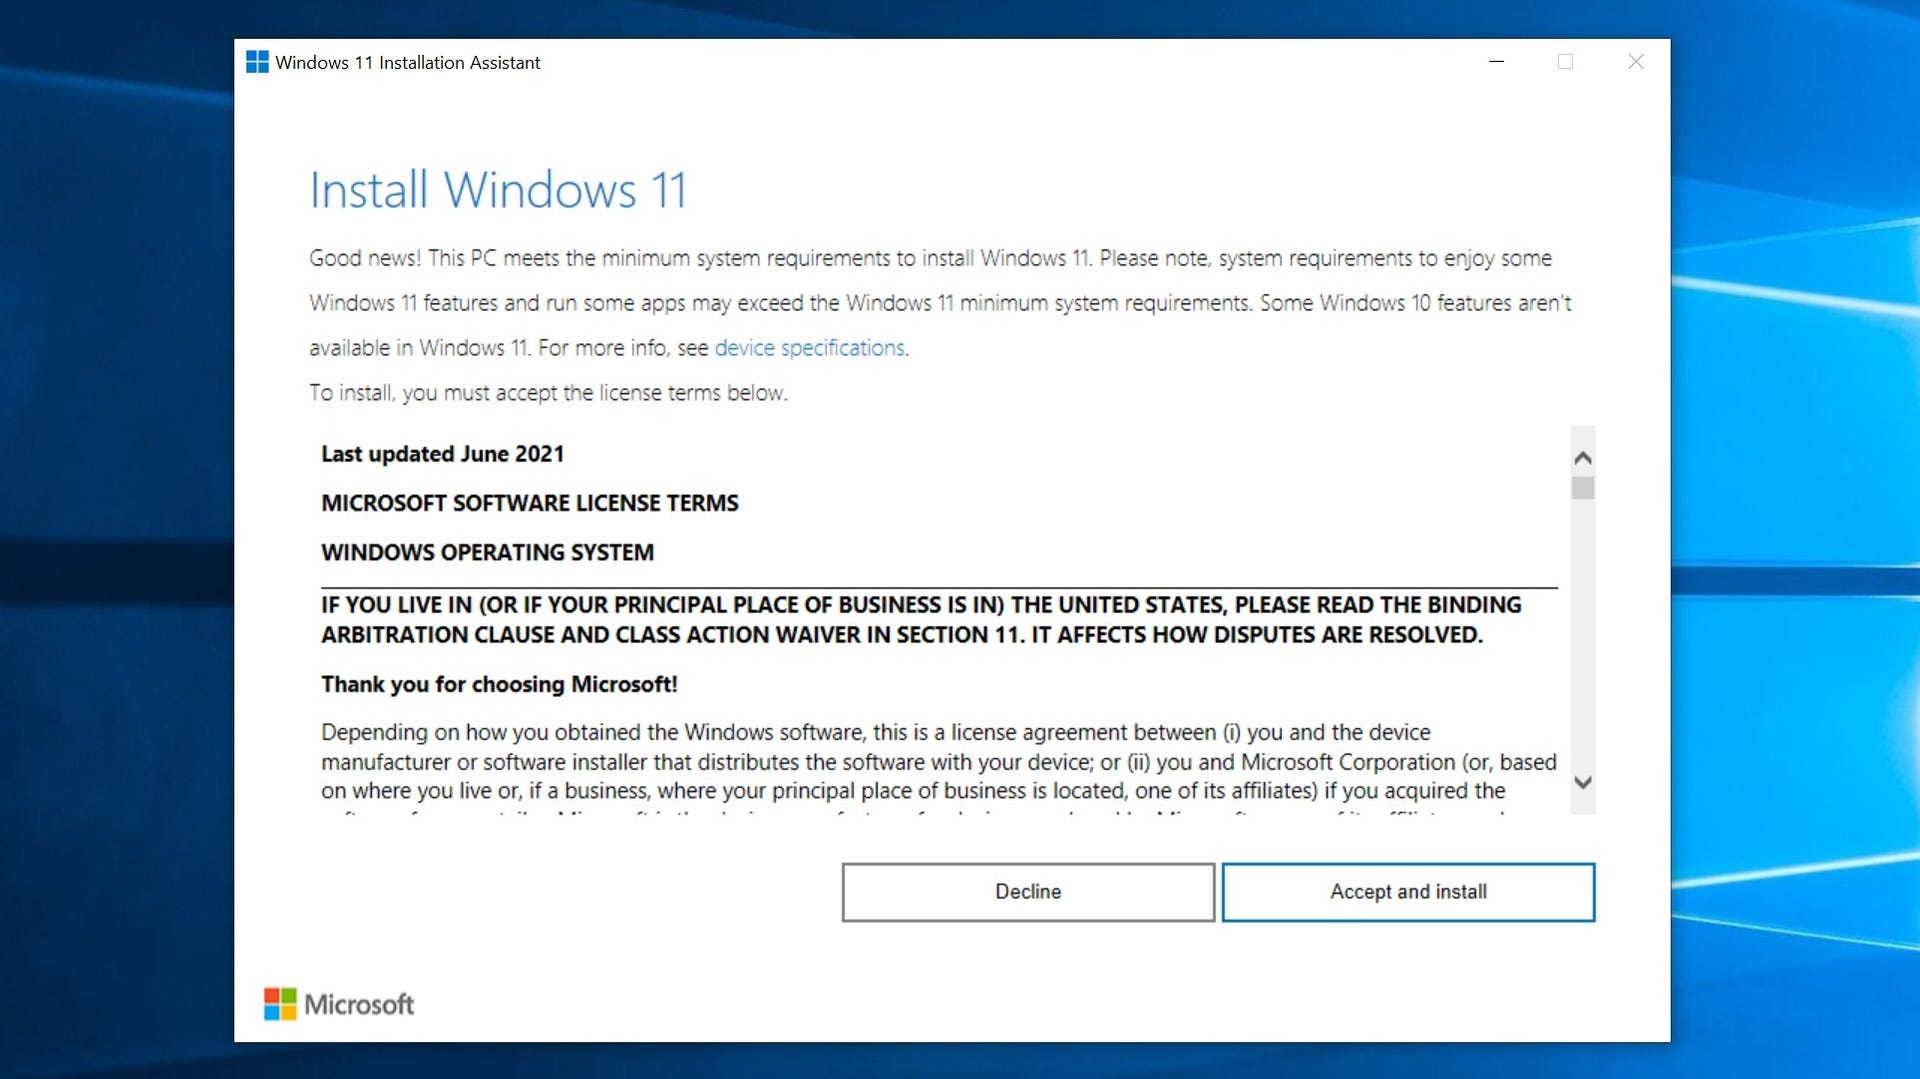
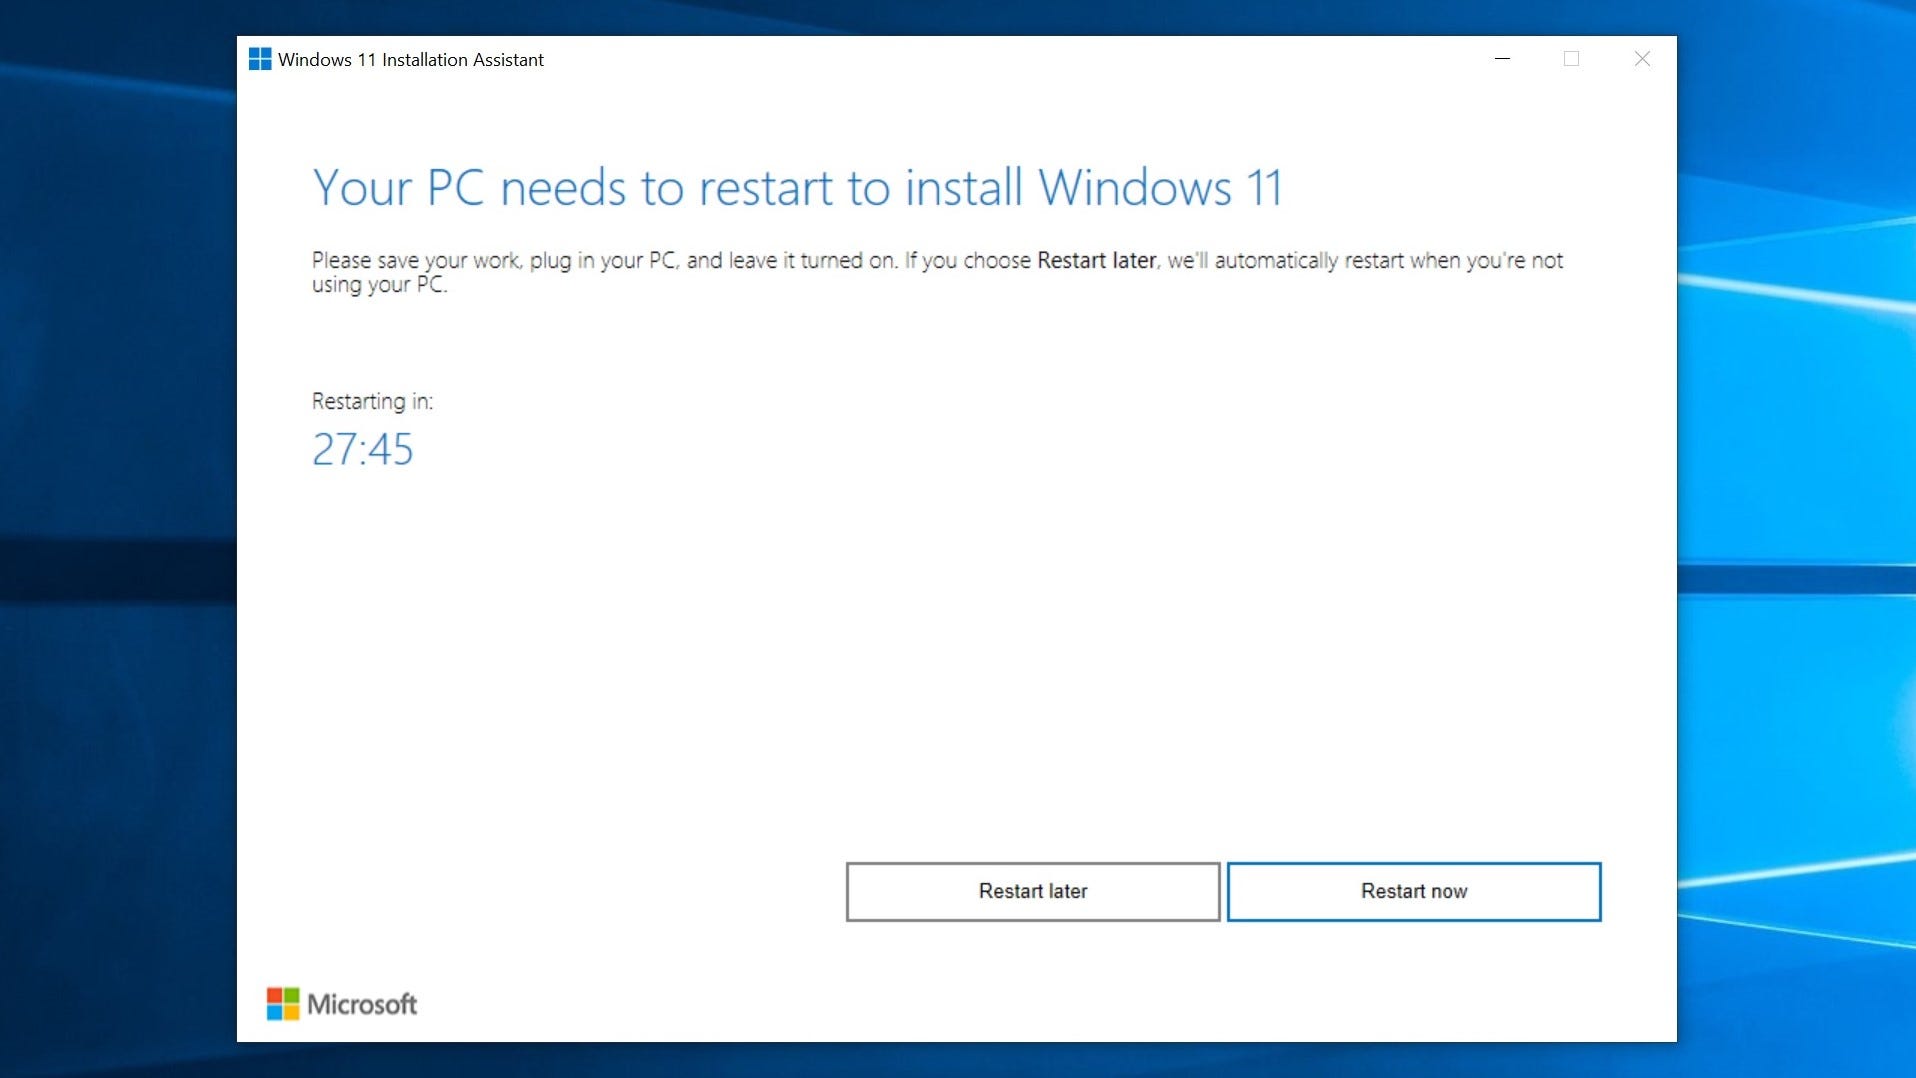
Step 3: Read the user agreement and click Accept and Install. Thus begins a lengthy download and installation process; you can still use your PC normally, but at 100% you’ll need to restart, either manually or after a 30-minute timer runs down.
Step 4: To get things underway immediately, click Restart Now. Your PC may take a few seconds to actually restart, so don’t worry if nothing appears to happen immediately.
The Installation Assistant will then set about getting Windows 11 ready, during which your PC will restart a couple of times. This part shouldn’t take as long as the previous download and installation, so soon you’ll be back on your login screen – now with a Windows 11 flavour.
Step 5: Log in as you normally would on Windows 10. There’s one more installation screen to sit through, but afterwards you’ll land on the Windows 11 desktop, ready to go.
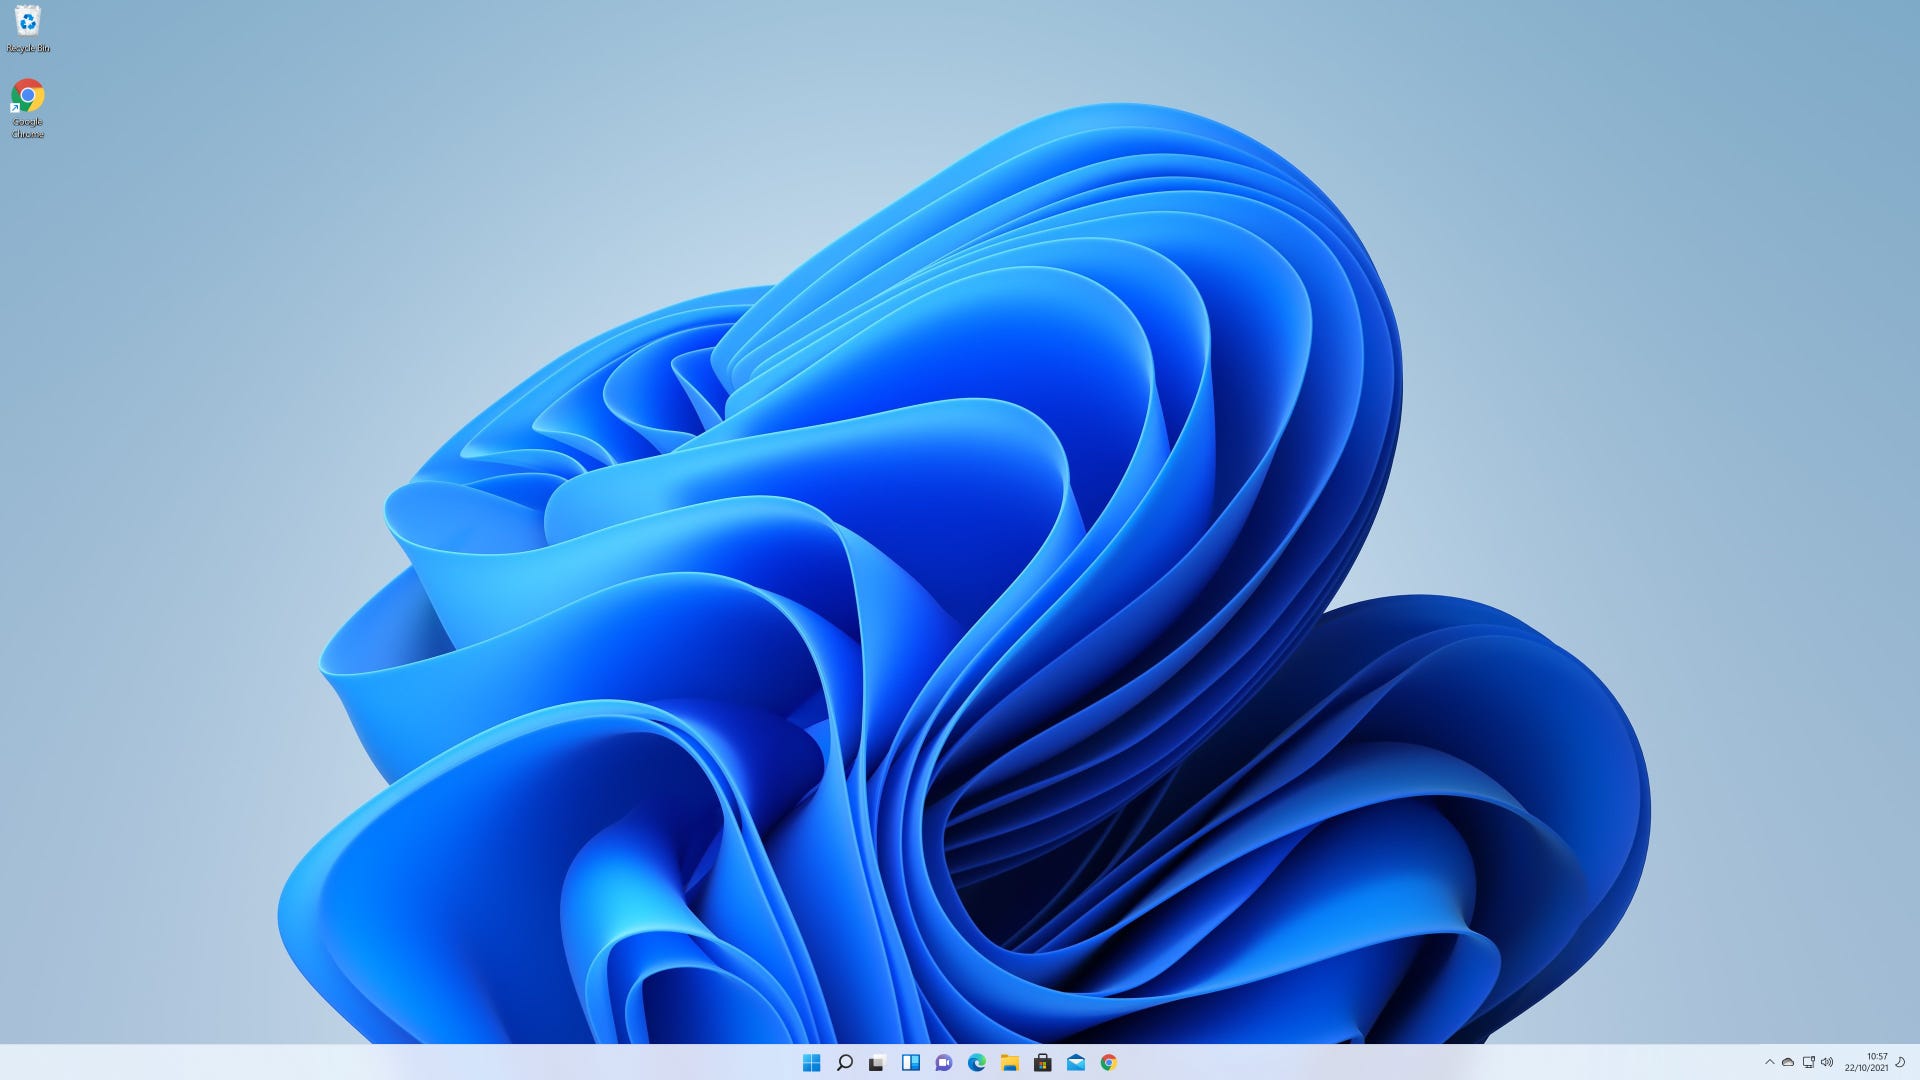
The big advantage of this direct upgrade method, as opposed to creating Windows 11 installation media and performing a completely clean install, is that all your games and files will be right where you left them. It’s still worth familiarising yourself with the new UI, including the symbol buttons that replace key options in Explorer’s context menus. They’re the bits that keep tripping me up, anyway.