Kingdom Hearts 3 Monstropolis Treasure Chests and Unversed Boss Fight
Completing the Monsters' Inc world.
Kingdom Hearts 3 features several awesome Disney worlds to explore and battle in. If you’ve made it to Monstropolis, then congratulations! You’re well on your way. The Monster Inc world of Kingdom Hearts 3 can be a little tricky to navigate, and features a genuinely tough boss fight as well. To help you get through it all, we’ve put together this Kingdom Hearts 3 Monstropolis Walkthrough. It will lead you through the Monsters Inc level of Kingdom Hearts 3 , alerting you to any points of interest that you should be checking out along the way. We’ll take a look at some Chest locations, where you can find the maps, and also give you some tips on handling the bosses.
Monsters Inc Walkthrough
There’s a lot to see and do in Monstropolis, from riding on rails, to triggering a might Boo laugh attack. The world itself can get a little repetitive though, and it’s easy to get lost. Fear not though, as this Kingdom Hearts 3 Monstropolis Walkthrough will help you reach the end.
REGARDING SPOILERS: In our Kingdom Hearts 3 walkthroughs, we will be laying out gameplay for each level, highlighting enemies and tasks. We will not be explaining or even mentioning story beats from the cutscenes, though there will be minor spoilers in boss names etc. Proceed with caution if you are trying to remain completely unspoiled.
Arriving in Monstropolis
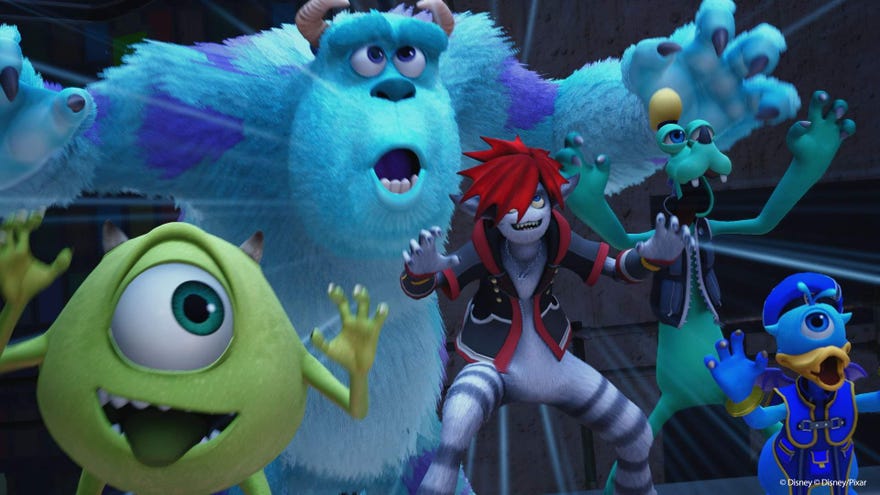
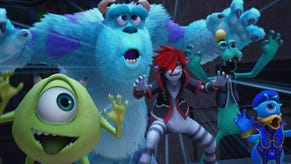
Upon arriving in Monstropolis you’ll notice that Sora and the gang have undergone quite the transformation. Into the factory they go though, where they quickly meet Sulley and Mike.
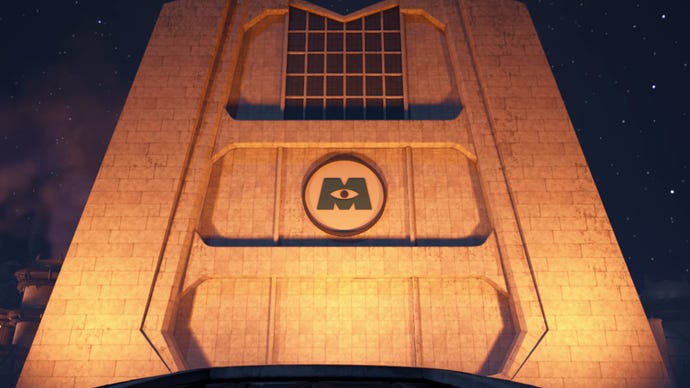
The first thing to do is kick some Unturned butt. Use Mike and Sulley to help you get through it, and be warned that the enemies here are a noticeable step up from before.
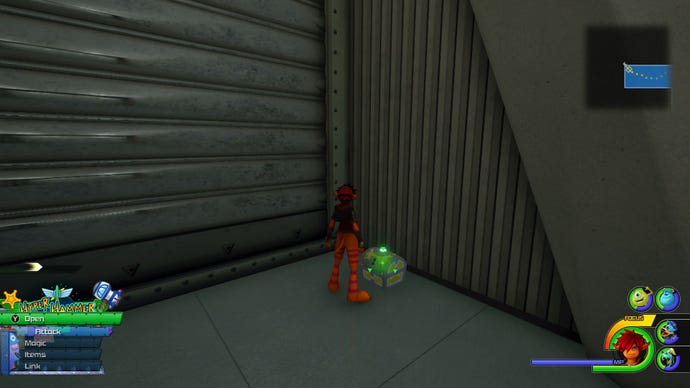
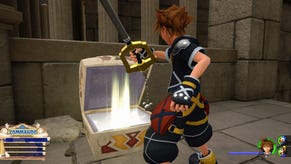
After a brief cutscene it’s off to a new area, but don’t forget to grab the Chest to your left, containing a map.
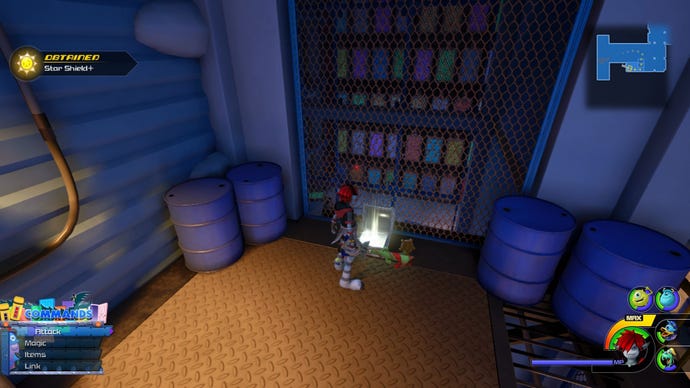
Continue and then turn left, there’s a Chest. Continue down the corridor further to trigger another cutscene.
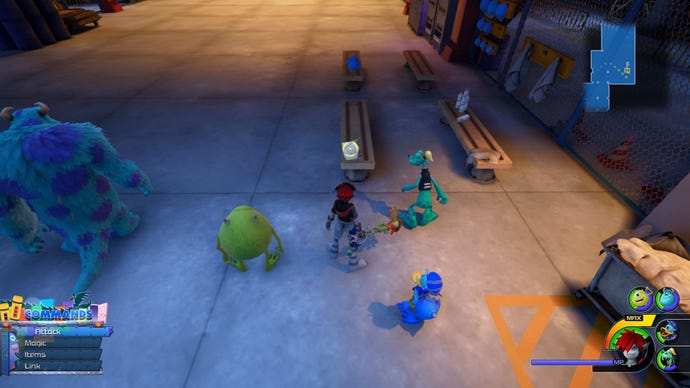
You will need to fight more Unturned, and then after another cutscene, grab the door as instructed. You’ll be whisked off to another area . and must shoot down enemies on the way. You can press triangle avoid electricity by ducking behind a door. After another cutscene there’s more enemies to pummel, and this time you need to keep them away from Sulley while he charges Boo’s laugh attack. Once it’s full, trigger it to send enemies flying.
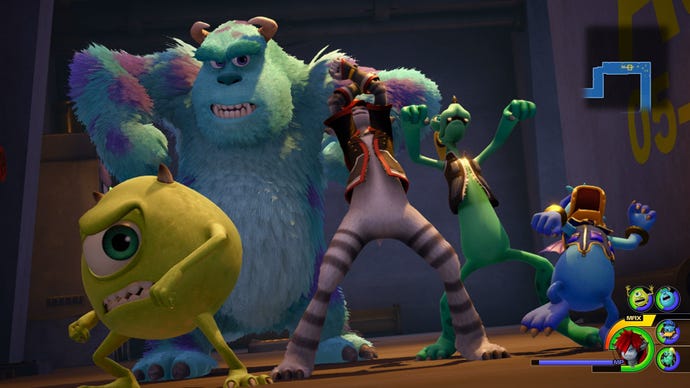
Remember to save, and then grind the rail ahead to reach the next area. Upon landing, head forward, defeat the enemies ahead and continue onwards. There is a Chest up on some scalable objects to the right. Around the corner are some tasty ingredients so don’t forget to get those.
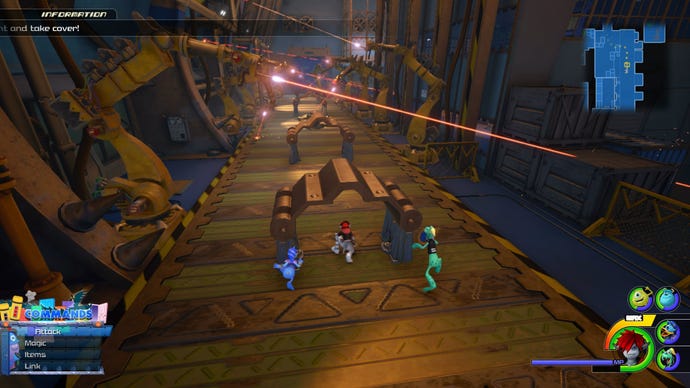
After more cutscenes, you’ll find a Save Point and a Map Chest around the corner from it. Up ahead is a laser conveyor belt area. You need to use triangle to duck under the debris to avoid the lasers. Get to the end of the conveyor and go up the stairs. There’s a machine you can smash to disable the lasers. Head back down the stairs and loop around to the right, there is a Chest here.
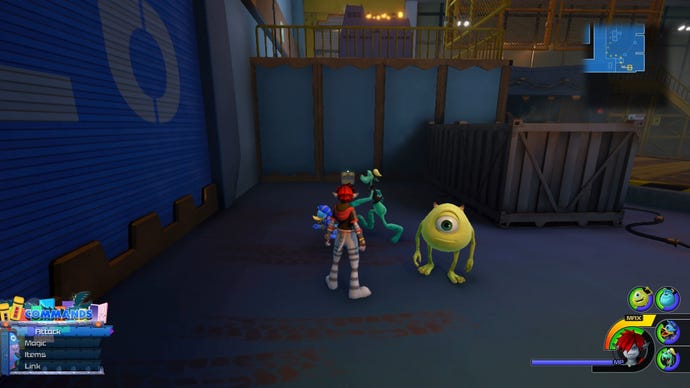
Go back to the smashed machine and follow the corridor around. There are enemies to defeat ahead, and then a save point and a Shop. Use them, and then grab the Chest to the left of the elevator. Go into the elevator and press the button.
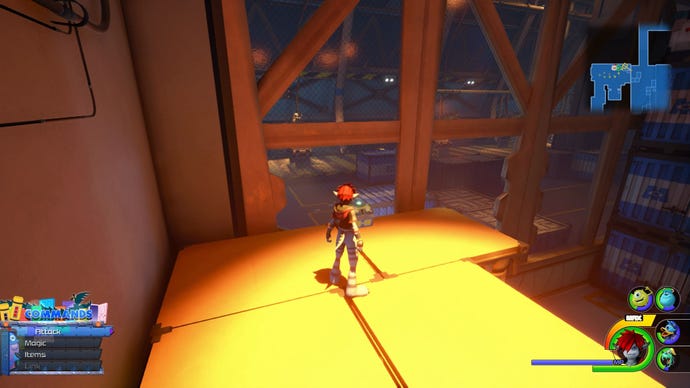
Keep moving and defeating Heartless as they come, until you get to another laser room. You just need to use the same technique as before to dodge the lasers, and then at the end of the conveyor, there’s a Chest to the left. Clear the next conveyor belt and smash the machine, disabling the lasers. There are Ingredients in this room.
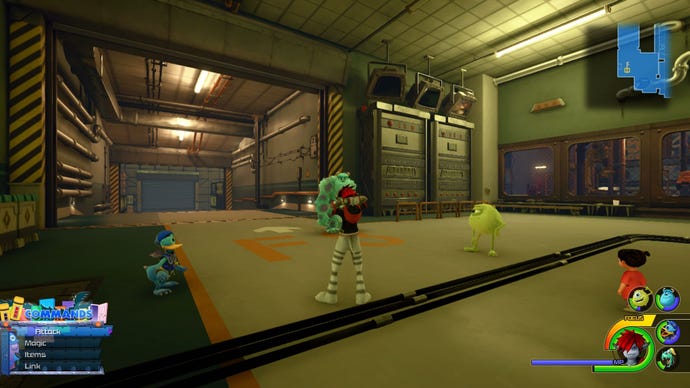
The next area will have a ton of enemies and a mini boss of sorts. The key here is to dodge when it slams down. There is a Chest up in the corner of the room, but perhaps wait until the Heartless are defeated before you grab it. Once again, protect Sulley as he charges the attack.
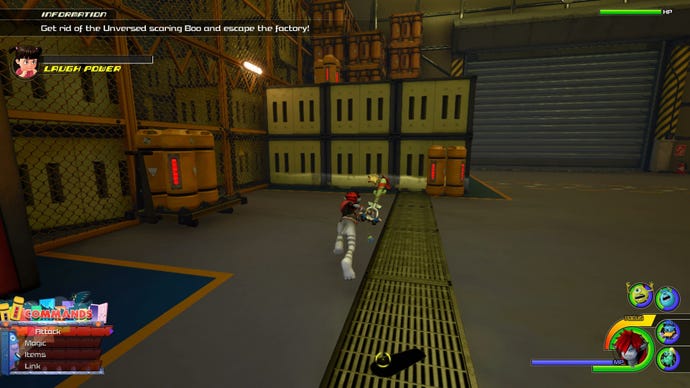
After a cutscene you’ll get the Laughter Pin and will be dropped next to a Shop and a Save Point. Continue down the corridor ahead, killing enemies as you go.
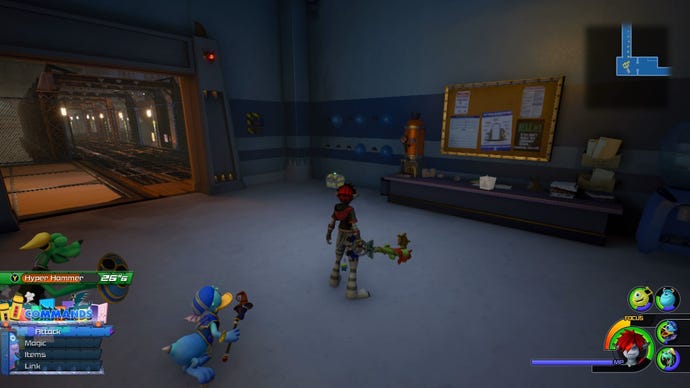
More cutscenes now, and then once you’re given back control, there’s a Chest to your left.
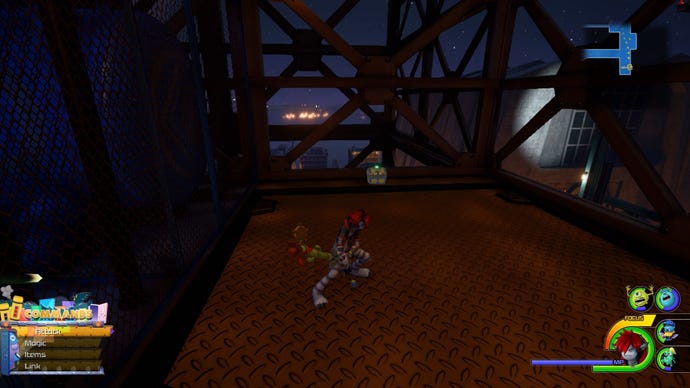
Follow the hallway down, cross the walkway, and defeat the enemies ahead. To get to the next area, grind the pipe highlighted, and and locate the nearby Chest hidden behind a group of enemies.
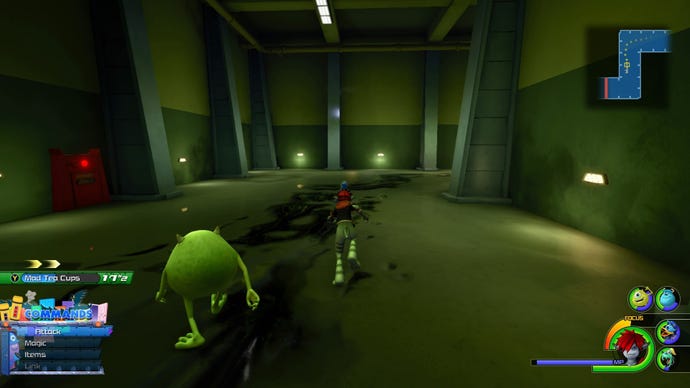
Follow the path around and jump off of the edge, you’ll need to attack on impact. The Chest that is revealed has a Gummiphone game in it called Mickey’s Circus. There are Crates in this room that you can climb, leading to a Lucky Emblem. Defeat the enemies ahead, making sure to avoid the flames. Grind the pipe ahead, and kill the new mini boss as before. Follow the black goop to the Door Vault. There is a Save Point and a Shop here, use them.
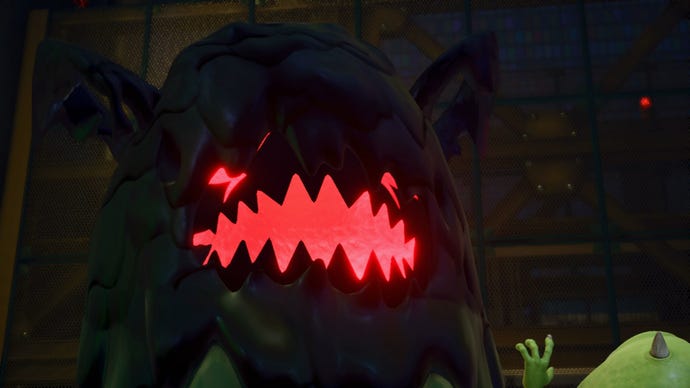
Unversed Boss Fight
Your final challenge is to take on the Giant Unversed boss. It has three stages of attack. The first involves the creature making short dashes towards you. Make sure you dodge, or stay in the air while attacking. The next state is one in which tentacles rise from the ground. Attack these and then attack the Unversed. The third stage is one where the boss rears up, putting out waves of scream energy. Dodge these attacks in time and go for the head.
Monsters Inc Treasure Chests
There are a bunch of Chests to get in the Monsters Inc level of Kingdom Hearts 3. We’ve included what we’ve found so far in the walkthrough above. Once we’ve doubled back, we’ll be sure to add more if we find them.
This Kingdom Hearts 3 Monstropolis Guide is just the tip of the iceberg in terms of our guides content, as we’ll be bringing you detailed breakdowns of every world in the game. We’ve collected it all in our Kingdom Hearts 3 Guides Hub, so head over there for more info.
That’s everything you need to know about Monstropolis in Kingdom Hearts 3. For a breakdown of all of the Lucky Emblems we’ve found so far, visit our Kingdom Hearts 3 Lucky Emblems Guide.
