Kena: Bridge Of Spirits Storehouse Door puzzle: how to activate the Power Crystals to open the Storehouse Door
Here's how to activate the Power Crystals to open the Storehouse Door
Puzzled about how to open the Storehouse Door in Kena: Bridge Of Spirits? The smallest area of the game, the Storehouse, is also one of the more confusing and puzzle-dense areas of the world - and the confusion isn't helped by the fact that you've just been given a new power and must quickly learn how it works in order to get through the Storehouse in one piece.
Below we'll walk you through exactly how to activate the two Power Crystals and open the Storehouse Door in Kena: Bridge Of Spirits. You'll find both a written and a video walkthrough of the Storehouse puzzle below, so what are you waiting for? Let's dive in.
How to open the Storehouse Door in Kena: Bridge Of Spirits
After freeing Taro's spirit in the first "act" of the game, Kena is tasked with finding and helping a legendary Woodsmith on the western side of the Kena: Bridge Of Spirits map. To get there, she first has to get through the Storehouse and open the door to the other side.
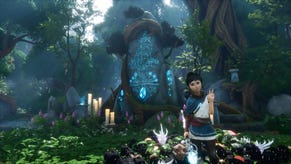
Thankfully in the Storehouse she meets a spirit called Hana, a close friend of the Woodsmith, who shows Kena how to summon and use a Spirit Bomb to activate the old technology in the Storehouse. For more information on the Spirit Bomb, check out our Kena: Bridge Of Spirits abilities walkthrough.
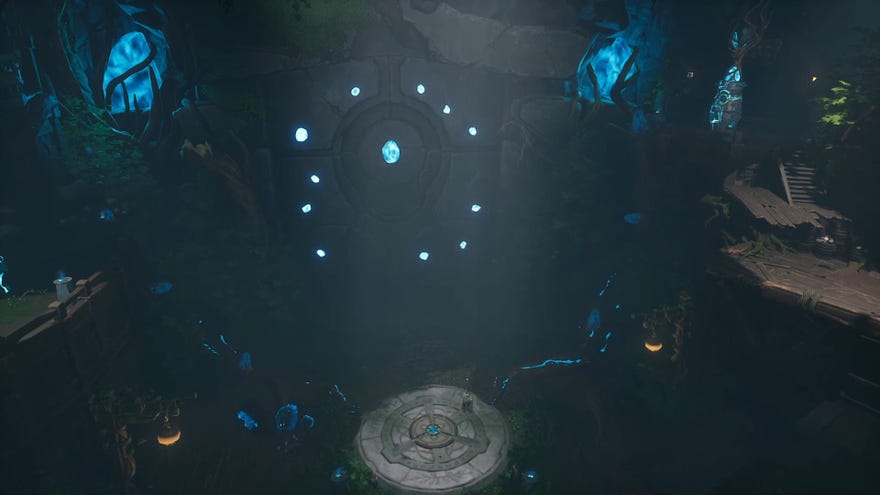
To open the Storehouse Door, you must first activate two Power Crystals on the raised platforms on either side of the Storehouse Door. Below are the steps to follow - or you can watch the video walkthrough above to see exactly how to open the Storehouse Door, and find all the area collectibles while you're at it!
Here's how to open the Storehouse Door in Kena: Bridge Of Spirits:
- Head up the stairs behind and to the left, and use a Spirit Bomb on the rocks below.
- Shoot the crystal on the largest floating piece to turn it into a walkway, then follow the path along until you reach a slope.
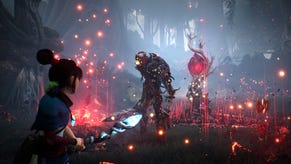
- Jump down the slope into an underground section and defeat the enemies there (use Spirit Bombs on the big ones).
- Destroy the Deadzone Heart and use a Spirit Bomb on the debris behind it.
- Climb halfway up, then use a Spirit Bomb on the chunk of rock in the corner. Shoot the crystal in the top platform, then grapple to the Flower to reach the top of the platform.
- Destroy the next Deadzone Heart and climb up to where the first Power Crystal lies.
- Spirit Bomb the Power Crystal, then shoot the crystals with your Spirit Bow to rotate the three pieces until the lines all light up bright blue.
- Head back down to where Hana is waiting, and use a Spirit Bomb on the rocks behind and to the right.
- Climb up the rocks, then use a Spirit Bomb on the next set of rocks to reach the platform and defeat the enemies there.
- Head up the stairs to the right and follow the path round until you reach a gap.
- Use Spirit Bombs on the two sets of rocks below to create a platform to the other side.
- Activate the second Power Crystal in exactly the same way as the first one.
- Head down to ground level, stand on the button in front of the Storehouse Door, and pulse to open the door.
Follow these steps exactly to activate the two Power Crystals, and you'll get that Storehouse Door open in no time, allowing you to set foot for the first time in the Fields of Kena: Bridge Of Spirits.
That's the mystery of the Storehouse Door puzzle solved! While you're here, be sure to check out our list of Kena: Bridge Of Spirits tips and tricks. If you're wondering when you'll encounter your next great adversary, be sure to consult our Kena: Bridge Of Spirits boss fights guide. Or, if you're interested in hunting down everything the game has to offer, be sure to check out our walkthroughs on all the Spirit Mail locations.
