Kingdom Hearts 3 The Caribbean Treasures and White Crabs
A guide to the Pirates section.
Depending on which worlds you chose in Kingdom Hearts 3, The Caribbean may well be your last jaunt through a Disney world. Luckily, it’s easily the best so far, with plenty of treasure hunting, boss battling and ship combat. To help you make it out alive, we’ve put together this Kingdom Hearts 3 The Caribbean Walkthrough. It will lead you through the level, step by step, and highlight certain points of interest you’ll want to check out. There’s also a new currency of sorts in The Caribbean—White Crabs. You’ll need them to progress through the level, and to upgrade your Ship, so we’ll point out the best ways to grab those as well.
The Caribbean Treasures
You start off your piratey adventures on your way to rescue Captain Jack from Davy Jones’ Locker. Well, Sora, Donald, and Goofy find him in the Abyss, and must first help him chase down the Black Pearl.
Arriving in Pirates of The Caribbean
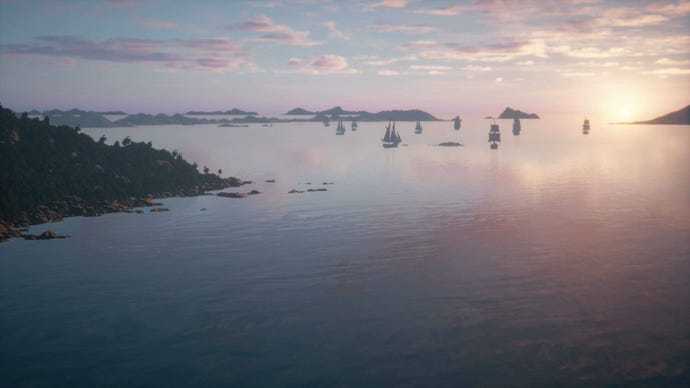
The first port of call is chasing down the Black Pearl. Just b-line towards it, ignoring the enemies in your way. Once you reach it, you’ll need to take down two Heartless.

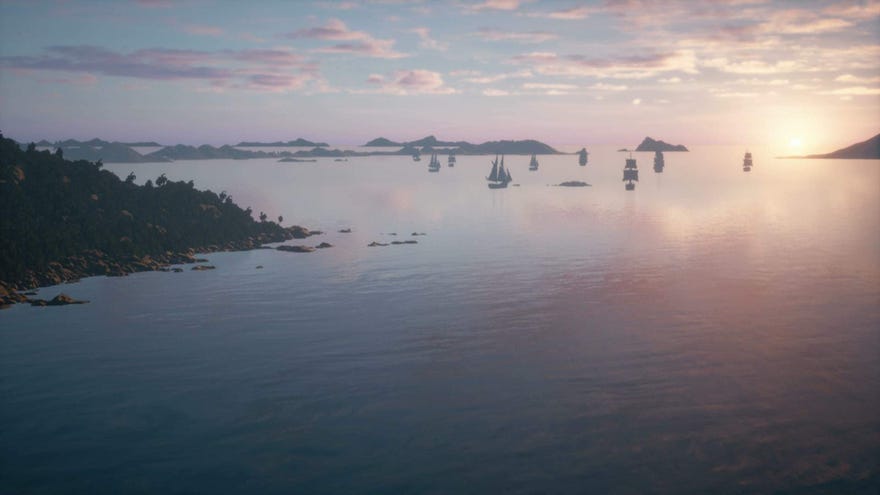
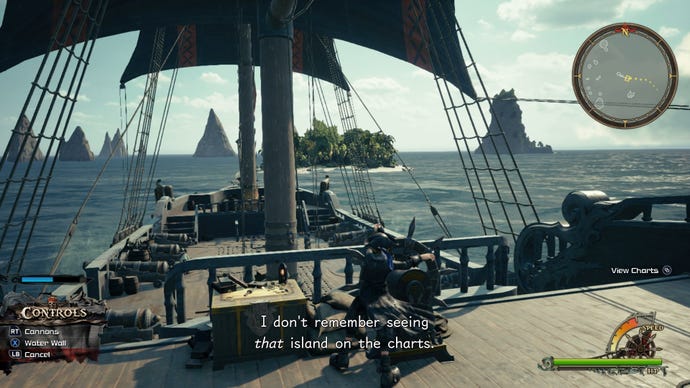
Well, what do you know, you have your very own ship now. Sail towards the island ahead.
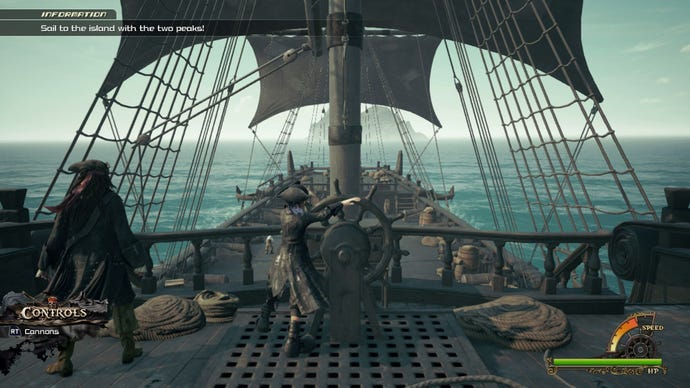
Sink the Heartless Ships ahead, and then get ready for a colossal boss battle.

Giant Bird Boss
Though it can be pretty easy to be intimidated by the giant bony bird you’re tasked with facing, you needn’t be too worried. The fight is relatively easy, you just need to fly around shooting at the bird until you’re prompted to climb aboard. Hit triangle and board the bird. Head up to its head and mash X. Be sure to shield just before it attacks, and you’ll be fine.

You’re plonked onto an island next, where you’ll find a Map Chest, and a Save Point. Use Both and then head into the waters ahead.

Defeat the Heartless that face you and then dive down to the shipwreck below. There are three Chests in here, and some ingredients.
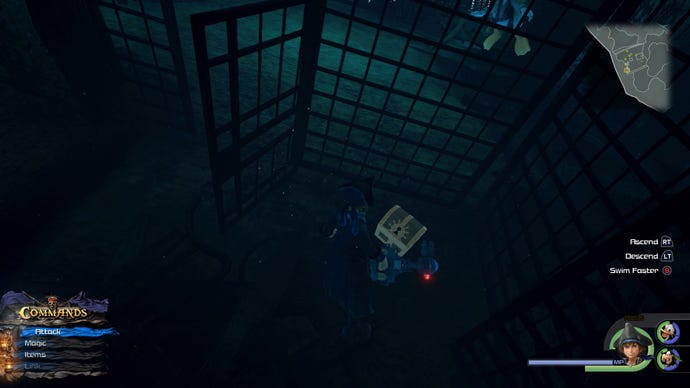
Now, you’re presented with two paths. The one on the left heads down to some scallops. The one on the right is the way forward.
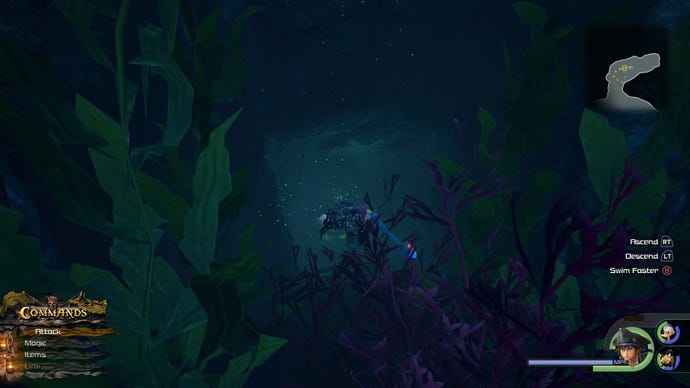
As you enter the new area smash the boxes ahead. This will lead to a Chest.
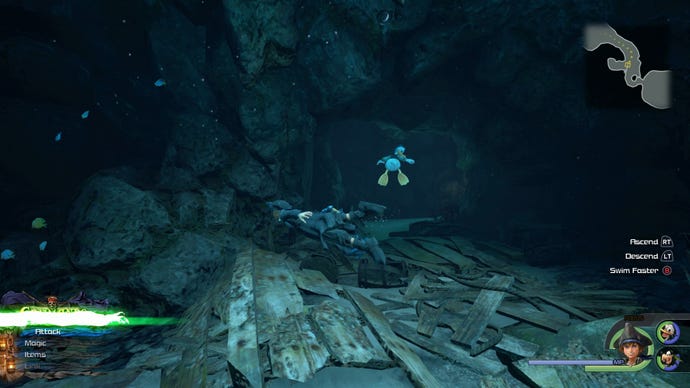
You can check out the location of the Treasure Chest below:
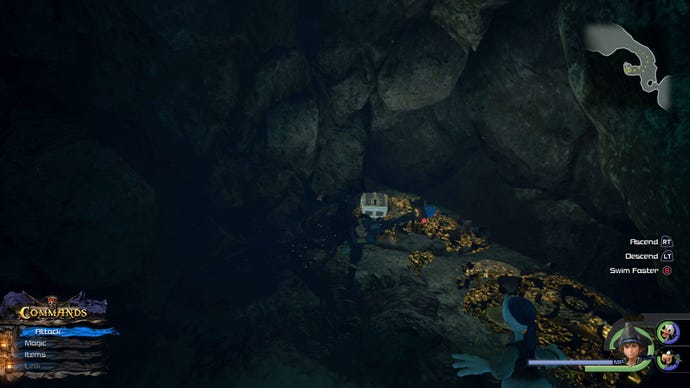
The next area is filled with Jellyfish. You can dispatch them with magic, which you’ll want to do on the swarm blocking a Chest to the left.
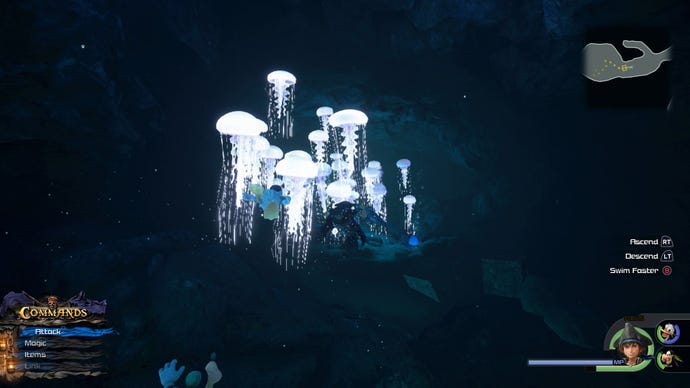
The Chest contains some rare resources handy for Keyblade upgrades.

Once again, you’re presented with two routes. The one on the left/straight heads to a Chest containing the Fishing Frenzy Gummi game. Head back around and down the other path.

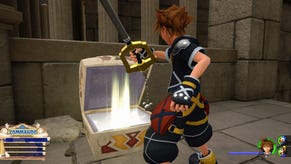
Next up is a rather suspicious looking Chest. Open it.
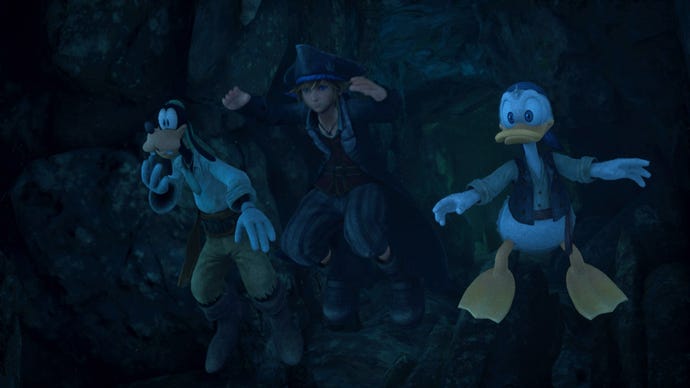
Surprise! There’s a giant aquatic Heartless waiting for you. To beat it, it’s best to focus on using magic from a distance.
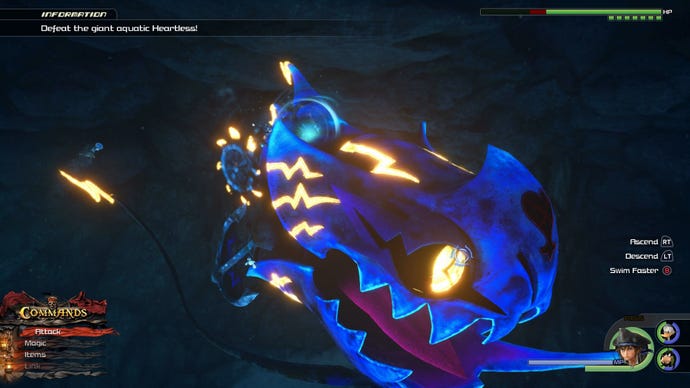
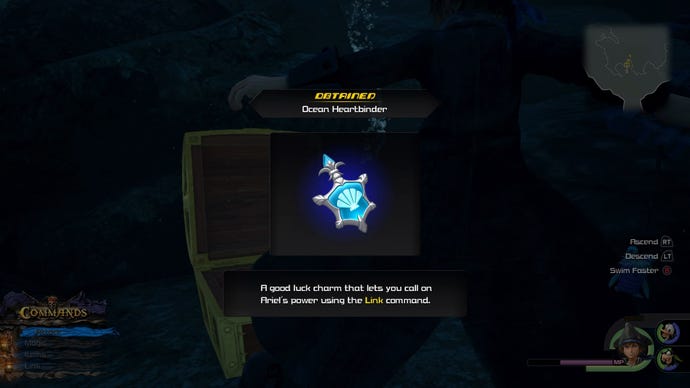
Once it’s defeated, you can finally get at that Chest. It contains Ocean Heartbinder.
Back on the Ship now and off into the open sea. Head left and towards the red ships on your map. You’ll need to race Luxford’s ship to Port Royal, taking out enemies on the way.
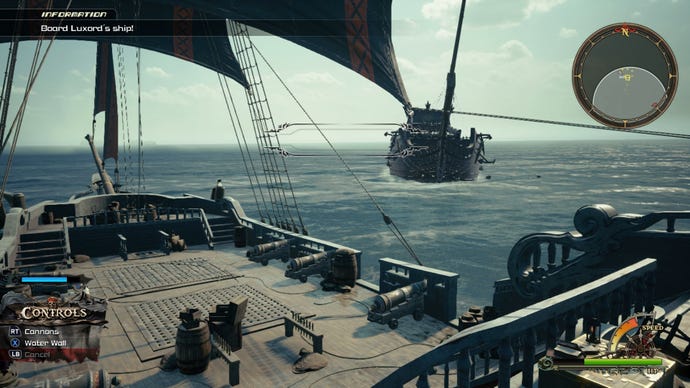
Eventually, you’ll need to destroy his ship, board it, and then take him down. Once you’ve done so, continue onwards to Port Royal.

It’s at this point that you’ll need to collect White Crabs. These are easy to find, but we’ve got a guide on the fastest ways to get them below:/
White Crab Locations.
You’ll need White Crabs to pass through Port Royal, though you’ll definitely want to be collecting as many as possible. This is because you can use the White Crabs to upgrade the Leviathan ship as well. We’ve detailed how to get White Crabs in Kingdom Hearts 3 below:
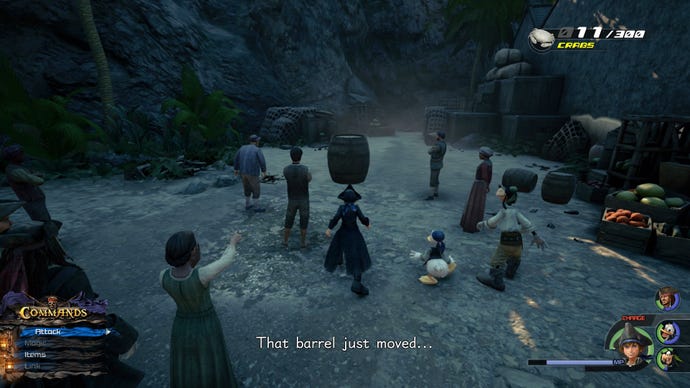
The first way to get White Crabs in Kingdom Hearts 3 is to look for moving barrels. Break them open and collect the White Crabs.
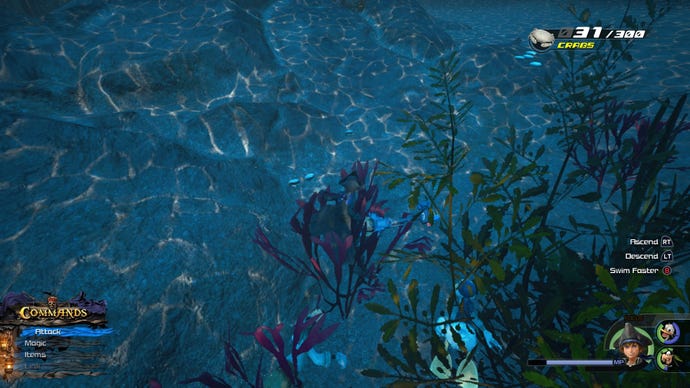
The next place to head is the ocean floor. You’ll find White Crabs scuttling around, and in breakable crates.
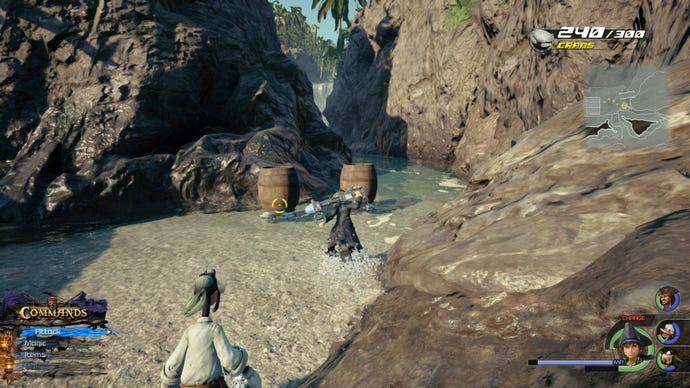
There are more White Crabs in Barrels on the way to the Fort.

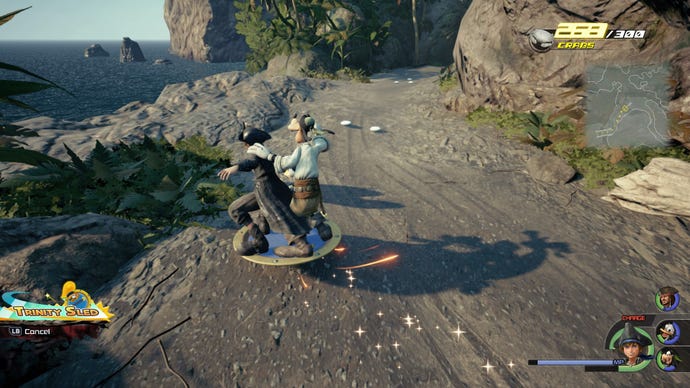
To get to the Fort, you can use Goofy’s shield to sled there. There are White Crabs on the path as you go.
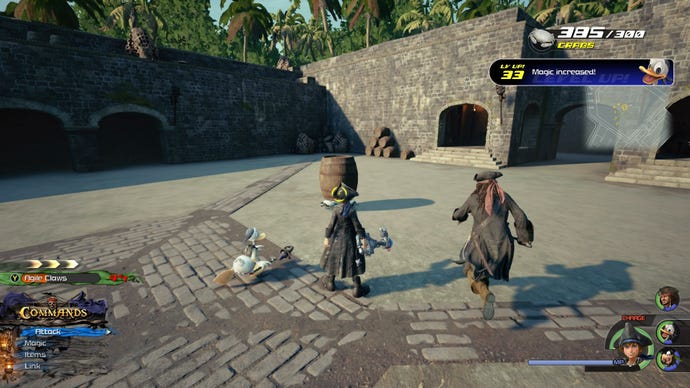
Once in the Fort, you’ll find a load of White Crabs in barrels, just waiting to be collected. There’s more to be found in this area too.
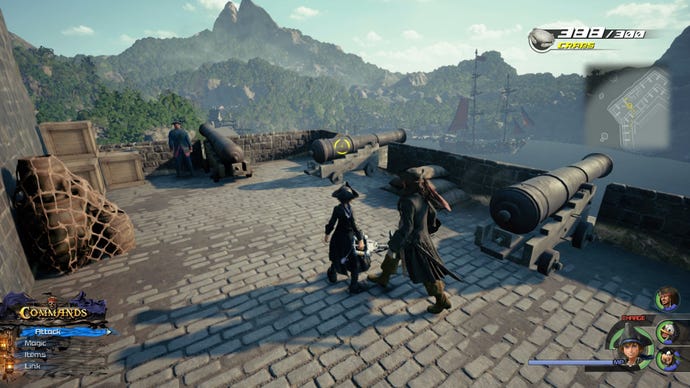
Strike the cannons to fire White Crabs into the ocean. Dive down to collect them.
Finally, while exploring the many islands of the Caribbean, you’ll come across these boxes marked with red Xs. You need to dive attack these from up high, after which a lot of White Crabs can be collected.
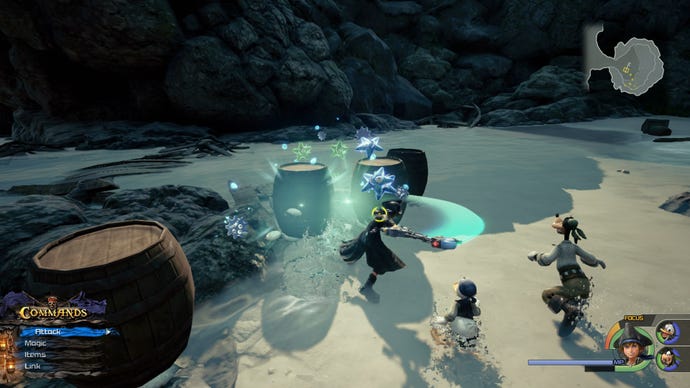
Port Royal Collectibles

Back to Port Royal now and you’ll find a Treasure Chest by heading left at the entrance. Follow the path around and then move around the corner on the right.
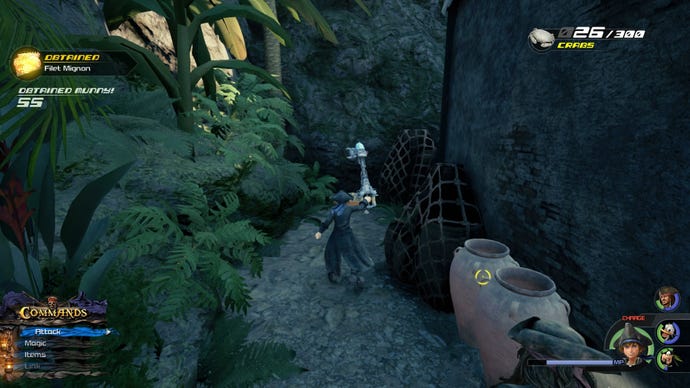
Now head to the tower area and grab the Treasure Chest at the base of them.
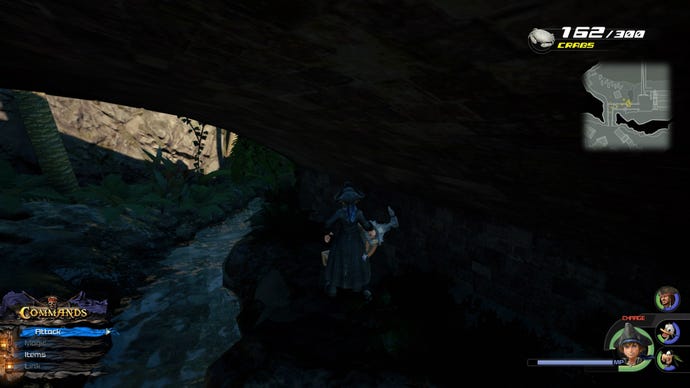
There’s also a Treasure Chest to be found under the bridge between these two areas. You can see it in the image above.

You can break the crate below by climbing the tall building ahead and diving off. There’s a ton of White Crabs in there.
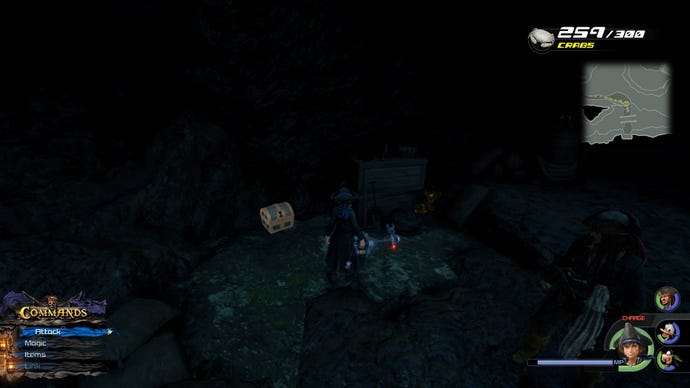
Next up, head around to the Fort. There’s a path leading to a waterfall. There are Treasure Chests behind it.
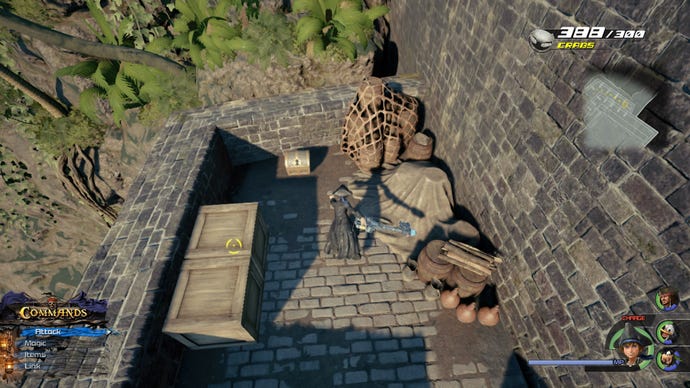
There’s a Treasure Chest at the Fort to the East as you head in. Collect more White Crabs.
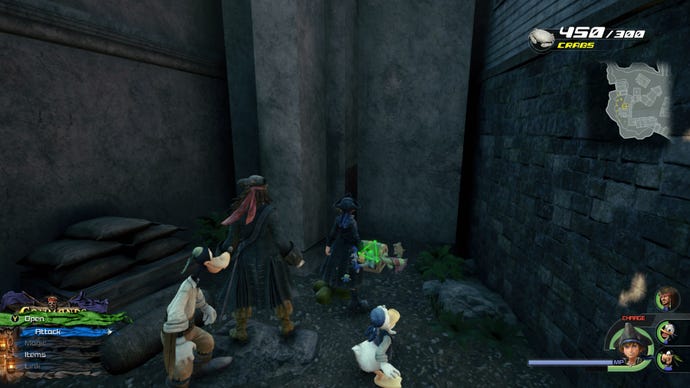
There’s also a Treasure Chest containing Mickey’s Prison Escape in the gallows area of the building. Once you have 300 White Crabs, return to your Ship.

There’s actually a Treasure Chest at the top of your ship as well. Climb up to grab it.
Caribbean Islands Treasure Chests
Now, you’re left to sail around as you wish. There’s plenty to find, so first, head to Sandbar Isle. There are two Chests on the rocks ahead.

You’ll want to grab these two Chests and then dive down underwater.
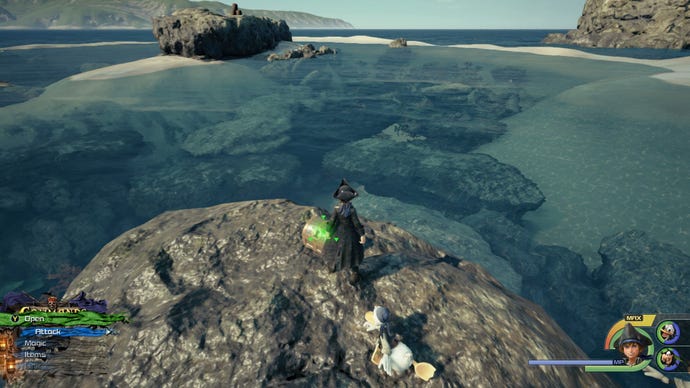
There are three Chests to pick up here.

You’ll need to fight heartless in these waters. Remember to use magic spells and keep your distance.
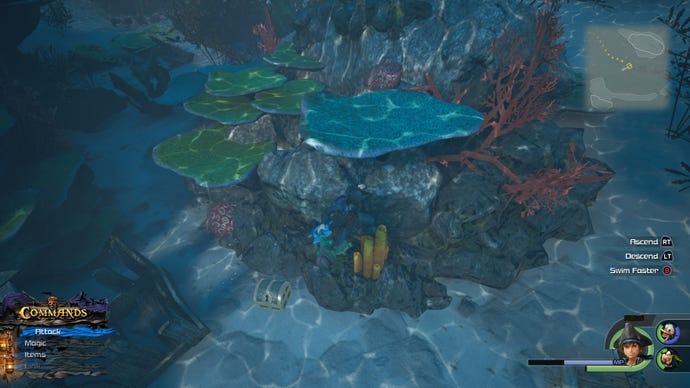
Once you’ve gotten all three, head back to your Ship. You can actually warp to your Ship from afar using the Keystep.
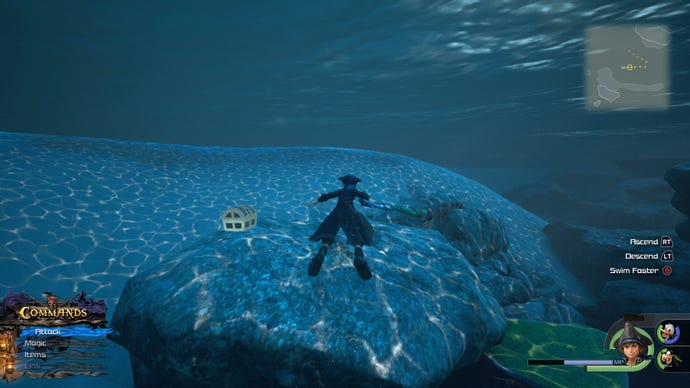
Next it’s off to Exile Island, where there’s yet more to find.
Check out the screenshot below to see where the Exile Island Treasure Chest is.

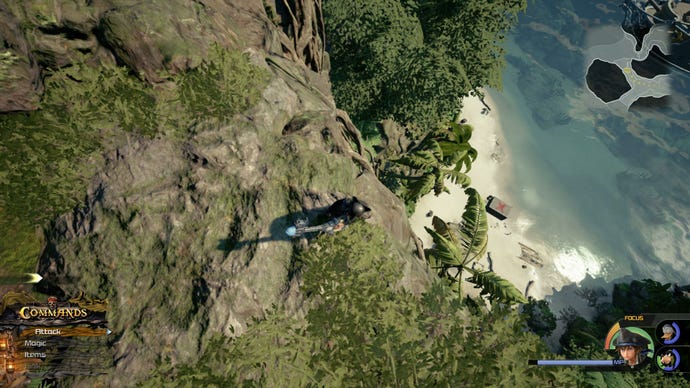
Next it’s off to Isla Verdemontana. As you head in you’ll find more White Crabs and then a crate which you can dive attack.
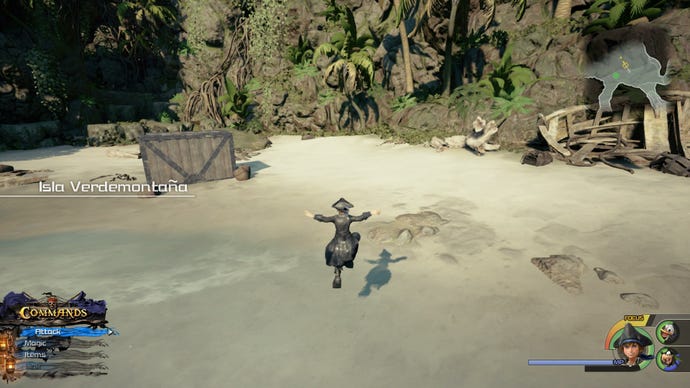
There are two Chests to collect before you jump down and break the crate.
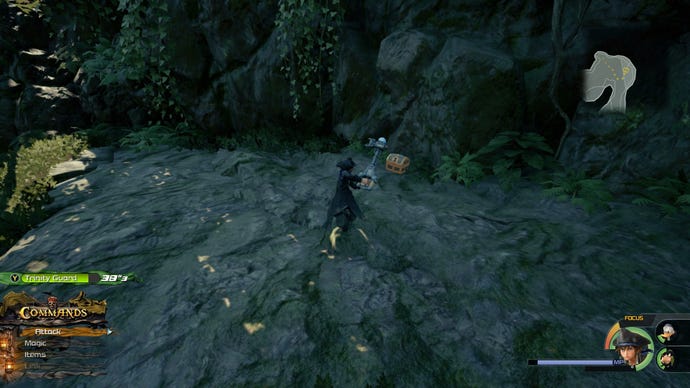
This is where you can jump from. Just be sure to hit X before you land.
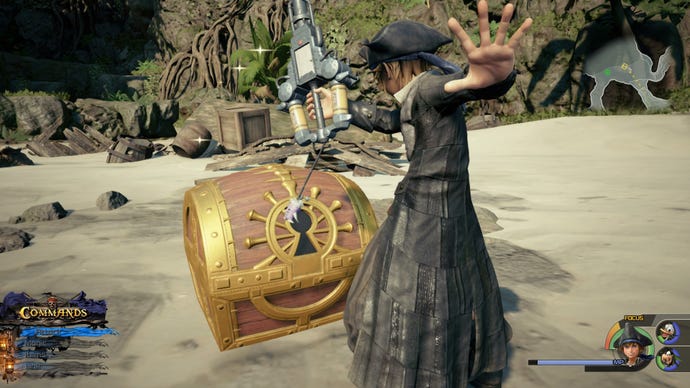
The Chest that is revealed contains the Gummi game Cast Out to Sea.
Now go to Forsaken Isle. All you’ll find here is a Moogle Shop, but it’s worth visiting to upgrade you Keyblades and buy new materials.

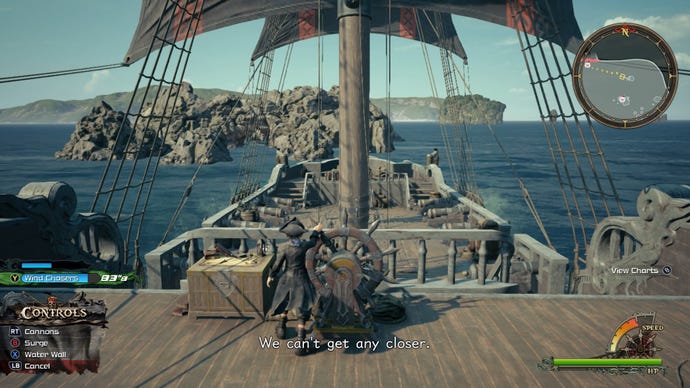
Next it’s off to Confinement Island. You’ll need to leave your ship pretty far out and swim in.
There’s a large Chest here containing a Gummi Game.
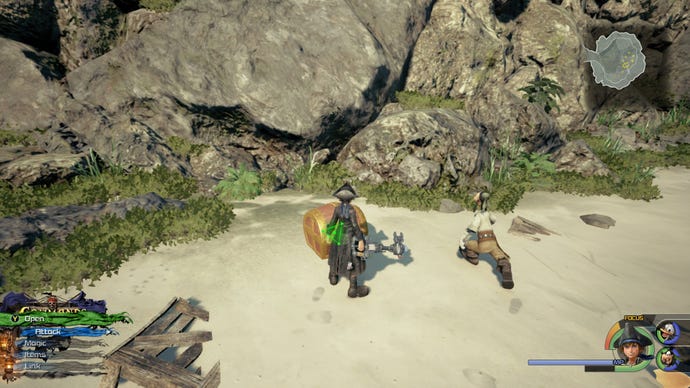
Finally, go to Ship’s End. There’s a ton to find here.
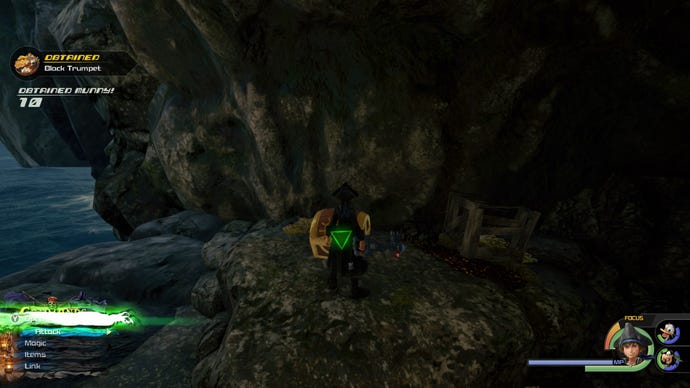
You’ll find a Chest containing a Map. This will show you that there are underwater areas to explore.
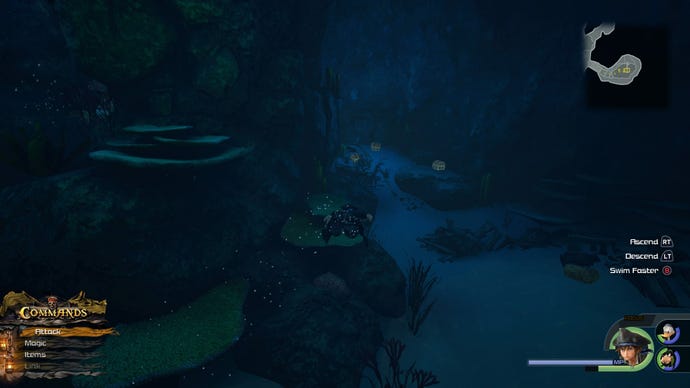
These areas will allow you to mop up the last couple of Treasure Chests.

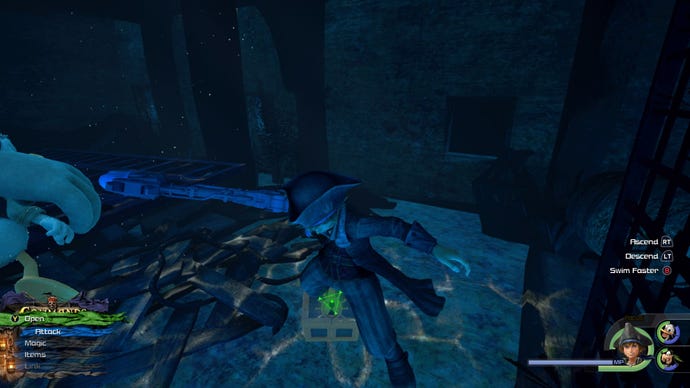
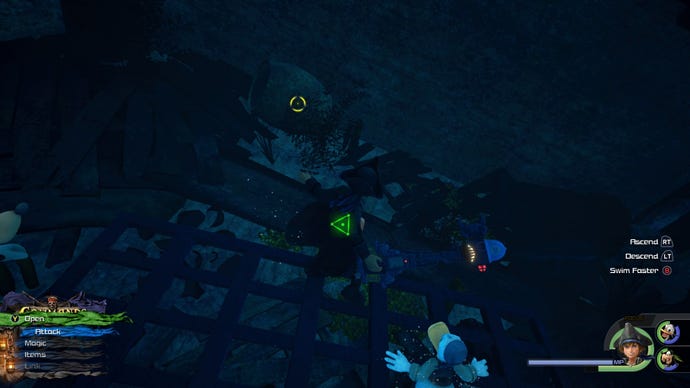
Now it’s off to Shipwreck Cove for the final battle. Collect any Treasure Chests you might have missed.
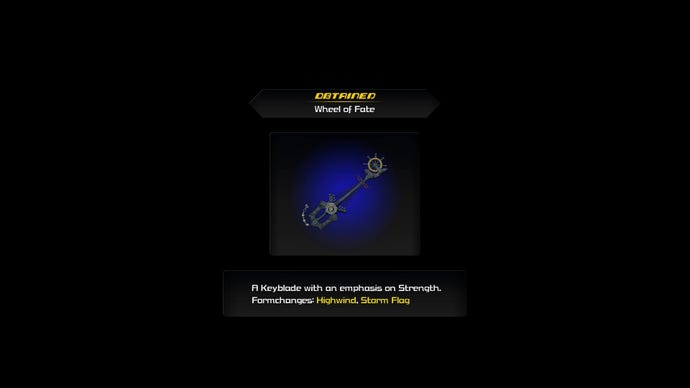
Kingdom Hearts 3 Kraken Boss Fight
The battle ahead is against the Kraken. It’s an easy fight, as all you need to do is fire at the Kraken until the Dutchman attacks. Take the Dutchman out to get the Cannon special. Unleash this to kill the Kraken.
Treasure Chests
There are a lot of Treasure Chests to collect in The Caribbean. We’ve included what we’ve found so far in our walkthrough above, so be sure to follow along and check out the screens to see if there’s any you’ve missed.
Kingdom Hearts 3 Pirates of the Caribbean Enemies
As with the rest of the Disney world in Kingdom Hearts 3, there are a bunch of world-themed enemies to take down. In the Caribbean, there's a giant bird, plenty of ship-themed baddies, and the Kraken, of all things. There's also a brief clash with Davy Jones, as well as some members of Organization XIII.
For more on Kingdom Hearts 3, be sure to check out our Kingdom Hearts 3 Guides Hub. It’s where we’ll be collecting all of our Kingdom Hearts 3 Guides content. From Walkthroughs, to a look at Lucky Emblems, we’ve got you covered.
That’s everything we have on The Caribbean so far. For more on Kingdom Hearts 3, why not check out our Kingdom Hearts 3 Lucky Emblems Guide. There’s also our look at Keyblades, as well as some info on where to get Damascus and Fluorite so that you can upgrade your weapons.
