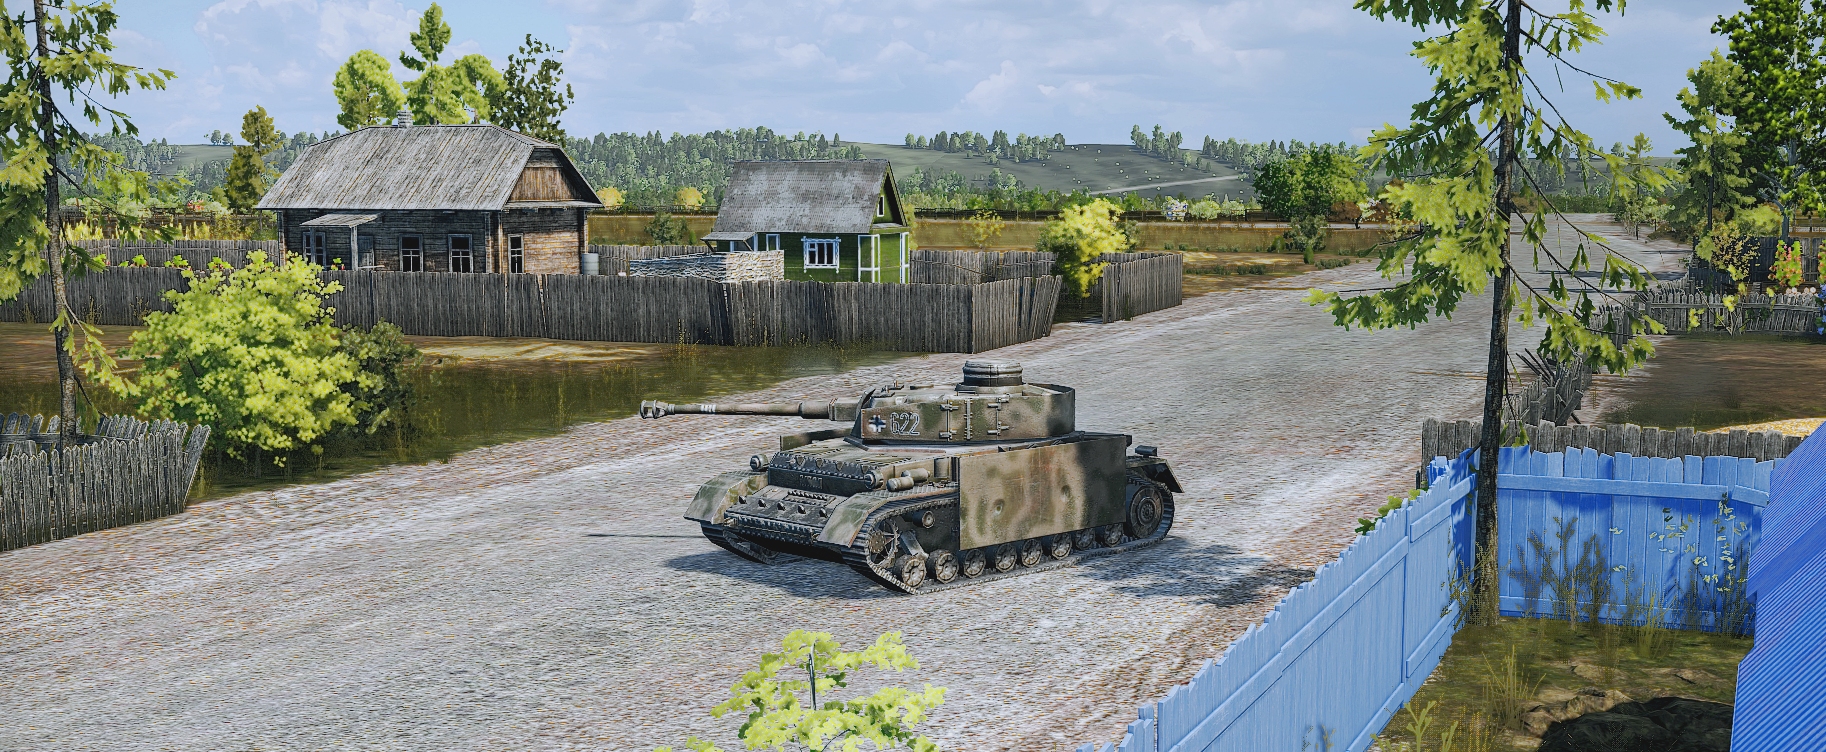
The Flare Path: Tiger Feat
A Steel Division 2 scrap described

Paks&Jabos? BirchBehemoth? BridgeOfWoe(vclose)? I was planning to base today's Steel Division II tussle tale on one of the hand-titled skirmish replays in my profile folder, but as my aide-mémoires are proving nowhere near as effective as I'd hoped, perhaps it would be better to start from scratch instead. The SD2 beta has a happy knack of producing electrifying engagements abuzz with historical echoes so I'm confident that whatever unfolds during the next hour won't be dull or far-fetched.

An Eastern Front RTS with a lot to live up to and a fair bit to live down, Steel Division II is now less than three weeks away from release. As the press beta doesn't include the dynamic campaign or any historical scenarios, and I'm not quite ready to brave multiplayer yet this will be an account of a solo skirmish tailored to suit someone who prefers Close Combat to Company of Heroes.
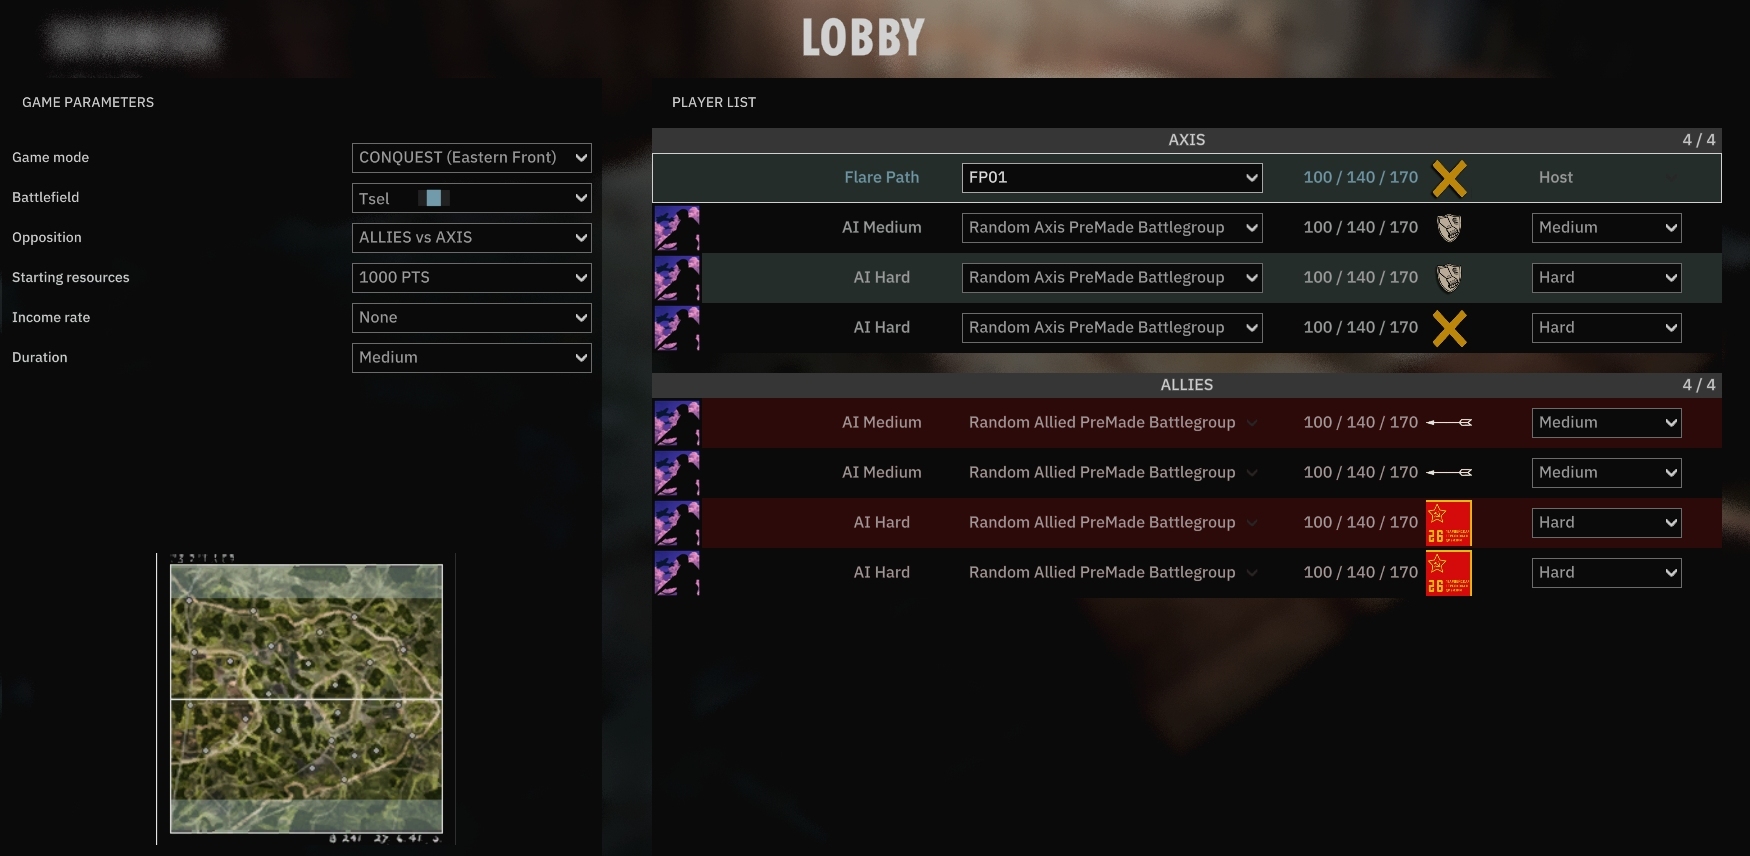
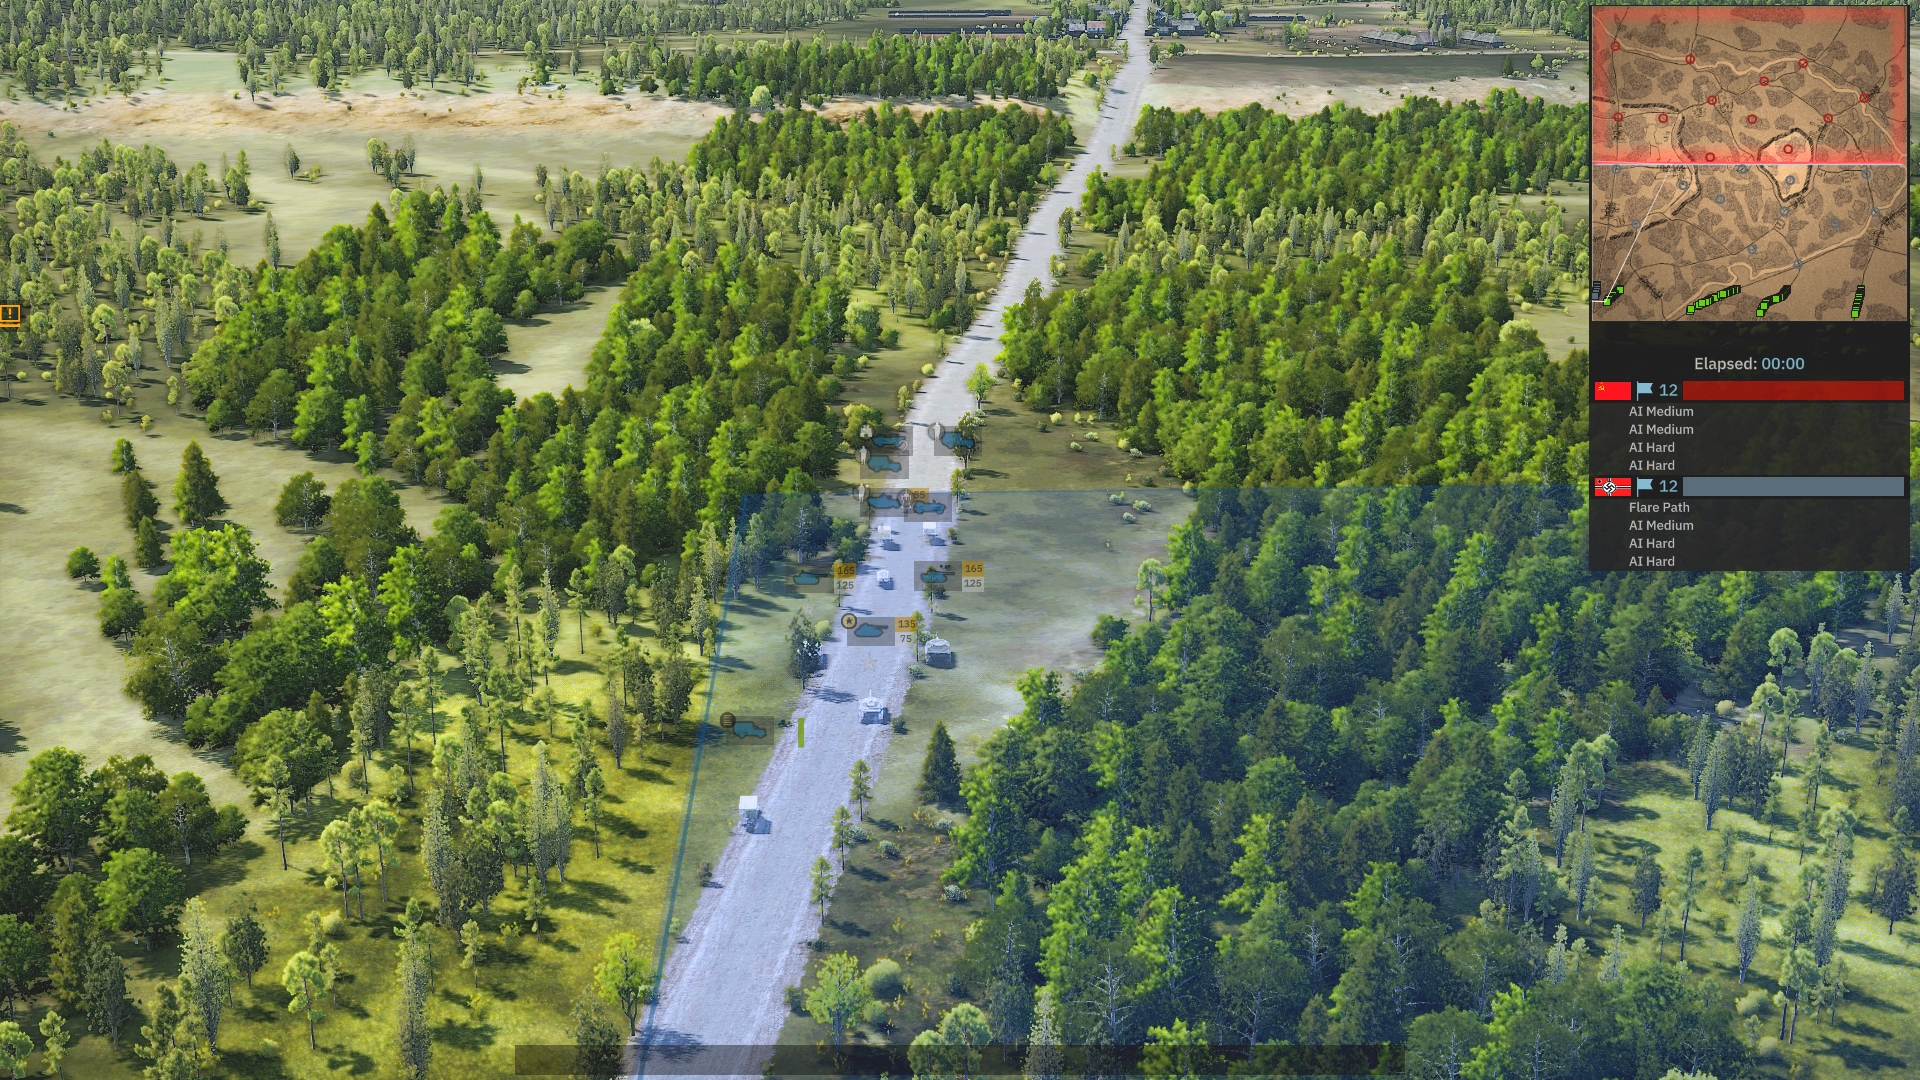
Easily wearied, I can do without choosing/combating a steady stream of reinforcements, for a start. This 4 vs. 4 'Conquest' mode battle won't involve 'income'. My initial choice of units better be sage because, assuming I spend all available requisition points at the outset, there will be no opportunity to address omissions once underway. In Conquest mode two sides fight over a map's scatter of Victory Locations. The more VL s you hold, the faster you amass the victory points necessary for success. A tad too densely villaged and symmetrical to be wholly believable, the venue I've chosen, Tsel, is dotted with 24 of SD2's crucial capturable circles. It's well-provisioned with LoS-limiting woods and villages too, a fact I'll need to bear in mind when choosing the components of my 1000-point Kampfgruppe.
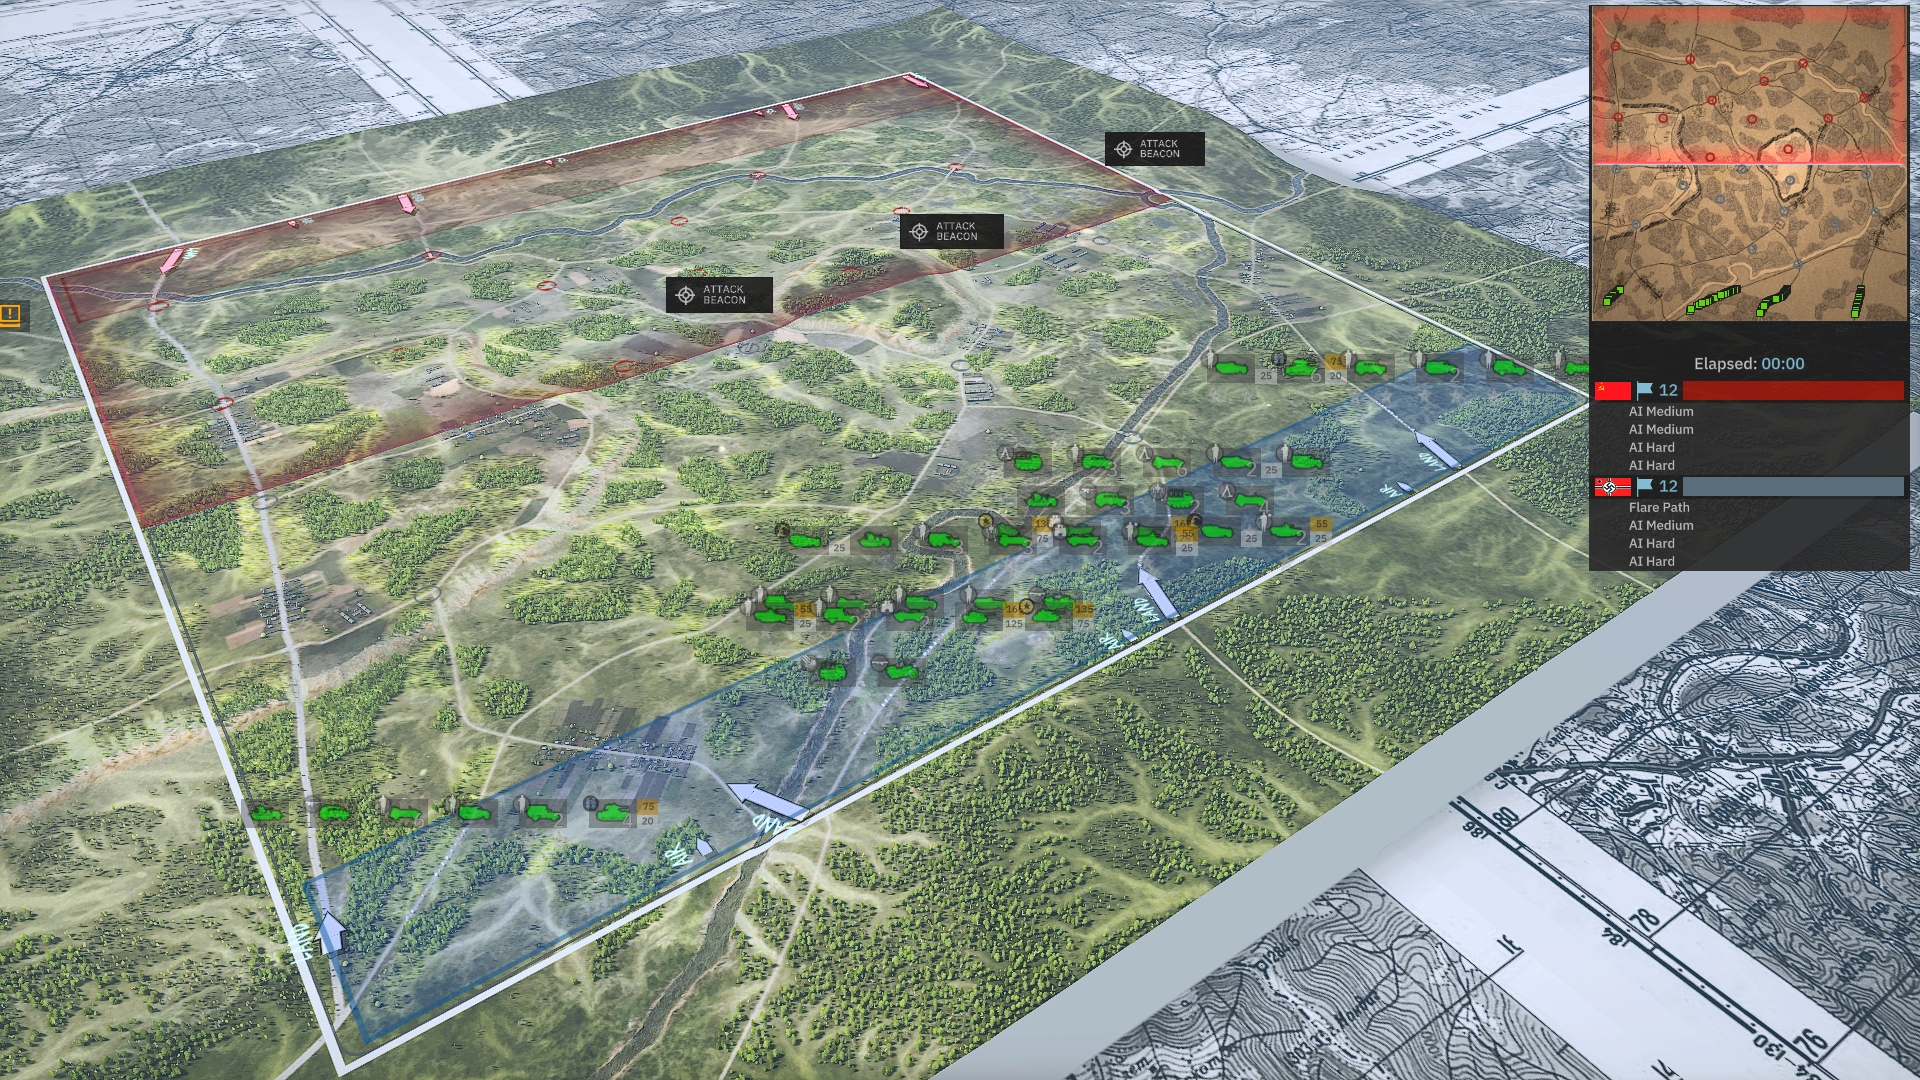
From the attack beacons and rows of green icons that stud the map moments after it appears, it's clear my silicon teammates want me to focus my efforts on the battlefield's western edge.
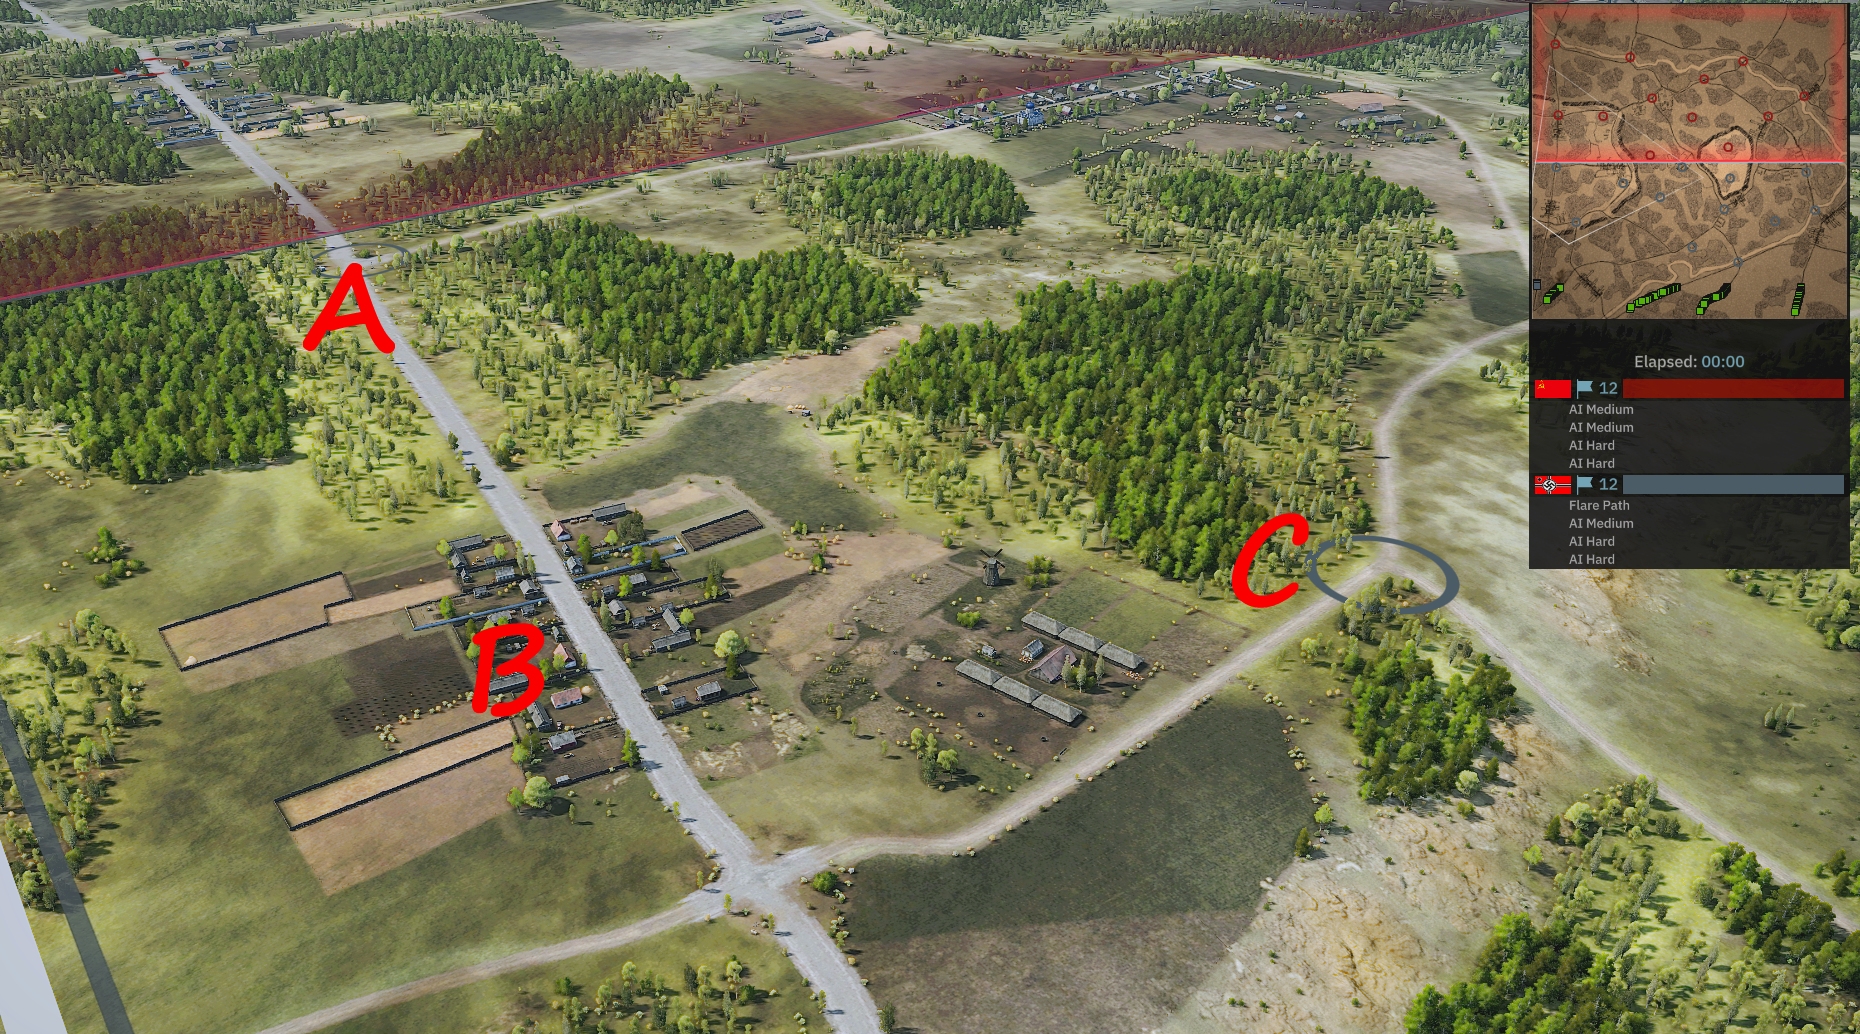
That suits me fine. Rather than rush for a road-junction VL midway along that edge (A), I think I'll accept an early territorial loss, deploying the bulk of my force in a (hopefully) defensible village (B) further south. A smaller contingent can protect my flank while guarding C. If all goes to plan, once I've stopped the Soviet steamroller in my sector, I'll go on the offensive.
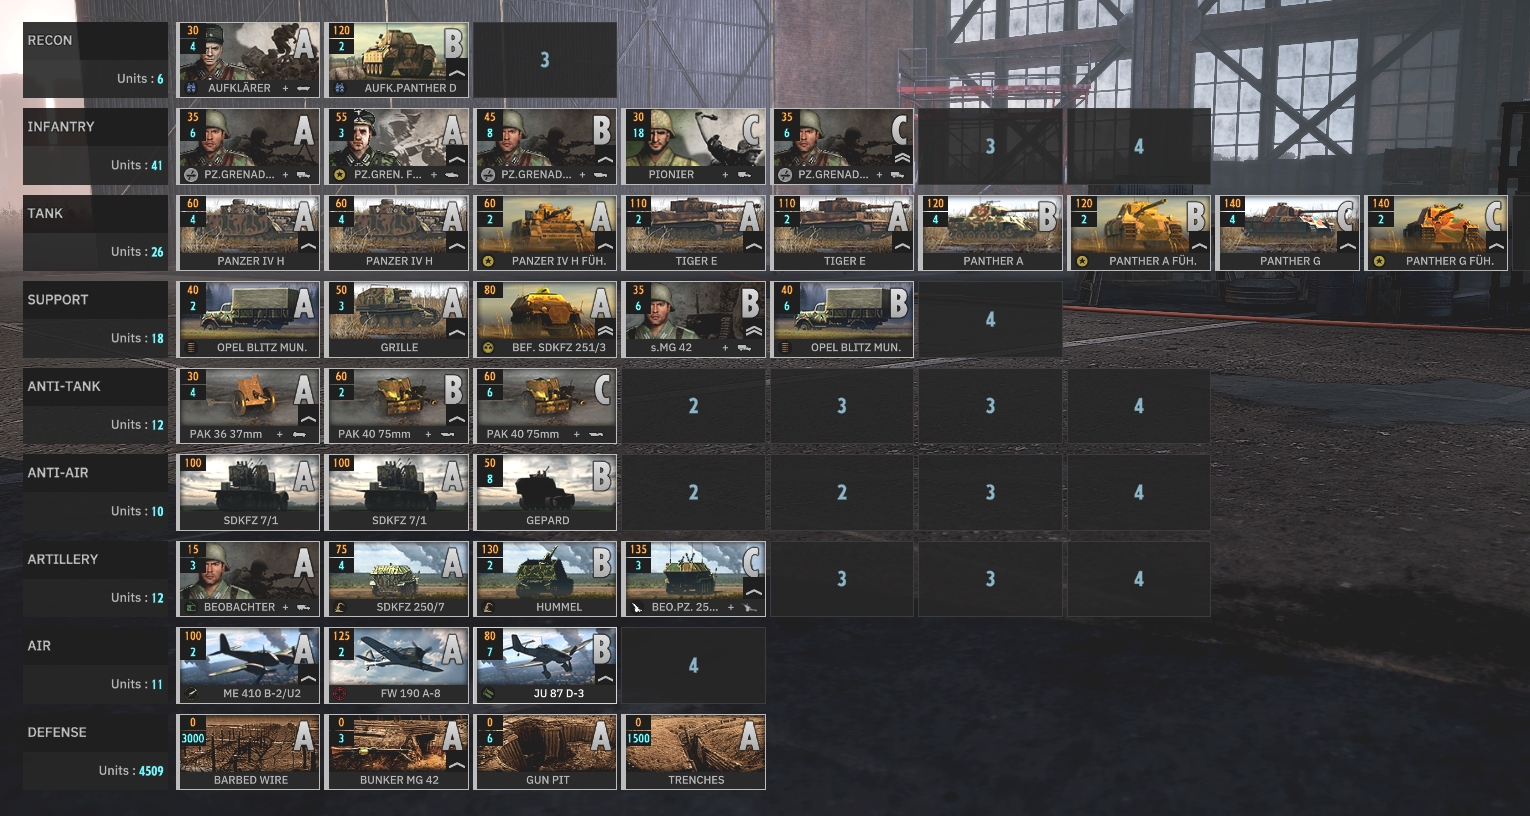
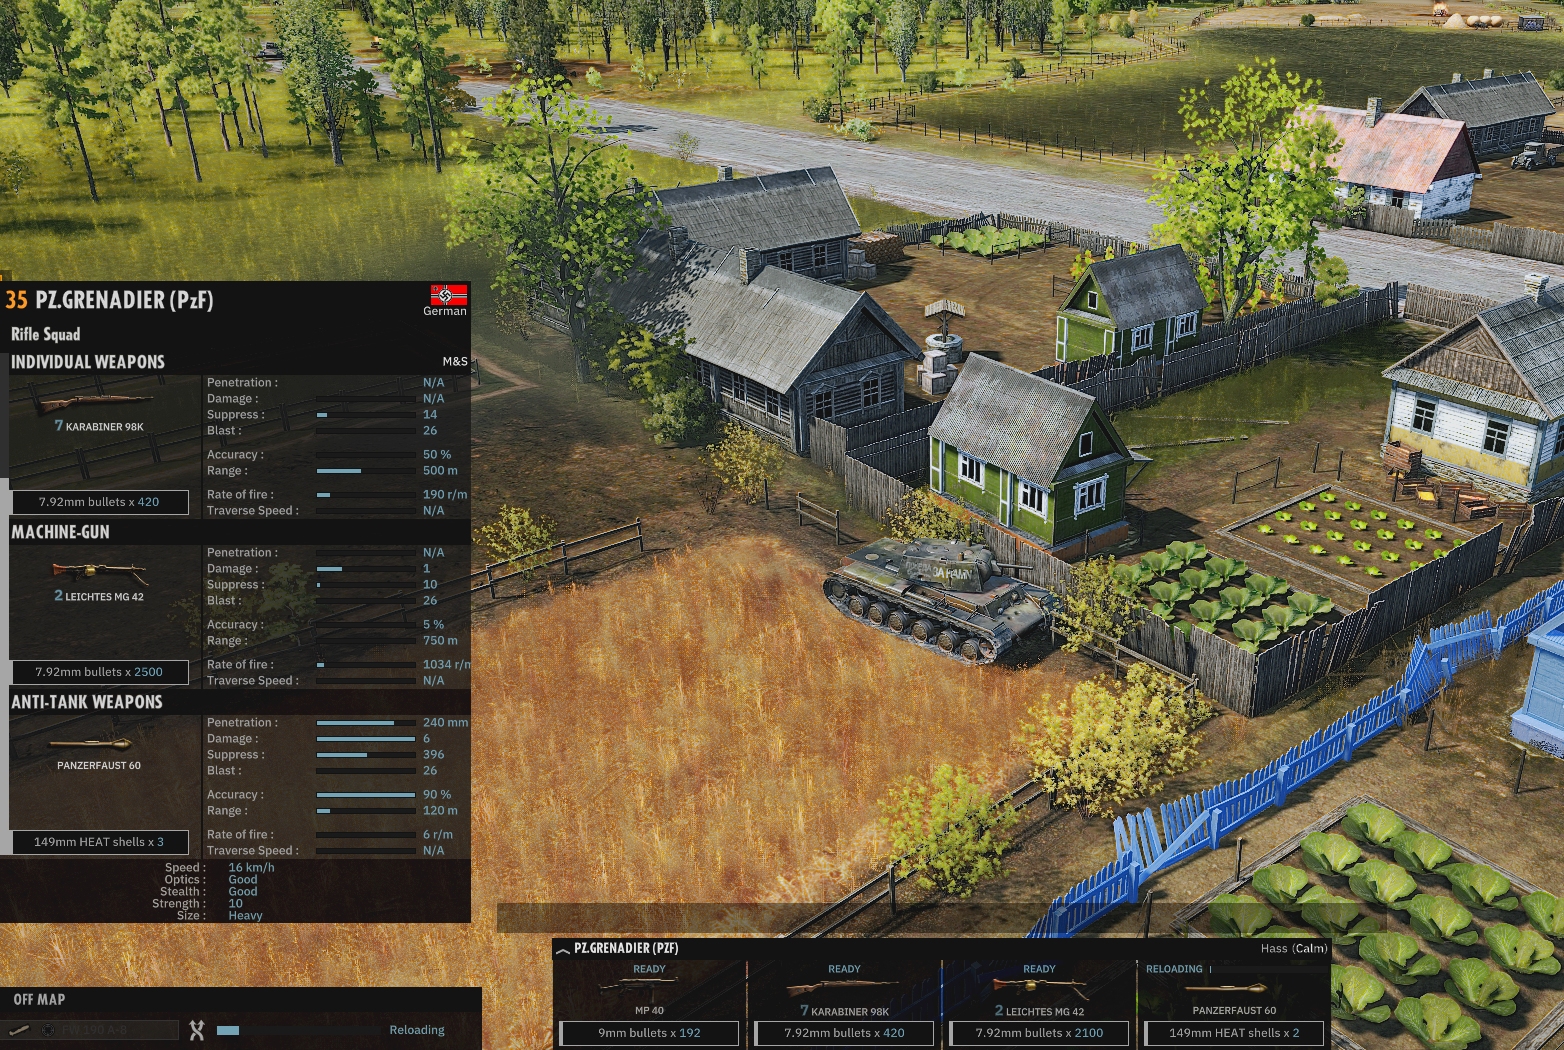
Three truck-loads of Panzergrenadiers plus a Panzergrenadier HQ discreetly dispersed around the village should prove difficult to dislodge. Especially if they can rely on a pair of Tiger tanks and a Panzer IV for fire support and a couple of Schwimmwagen-equipped scout teams for early warning. During Phase 'A' (SD2 skirmishes are split into three phases, the first two of which last ten minutes each) my hand-crafted divisional deck is not well endowed in the AT gun or artillery departments. Is a peashooting Pak 36 a worthwhile investment? Probably not, but I think I'll take one as back-up all the same. And a AAA halftrack and a lone Fw 190 leave me a couple of hundred points in the bank should I need to reinforce or reshape as the battle progresses.
That's everyone deployed and waypointed. Time to tussle.
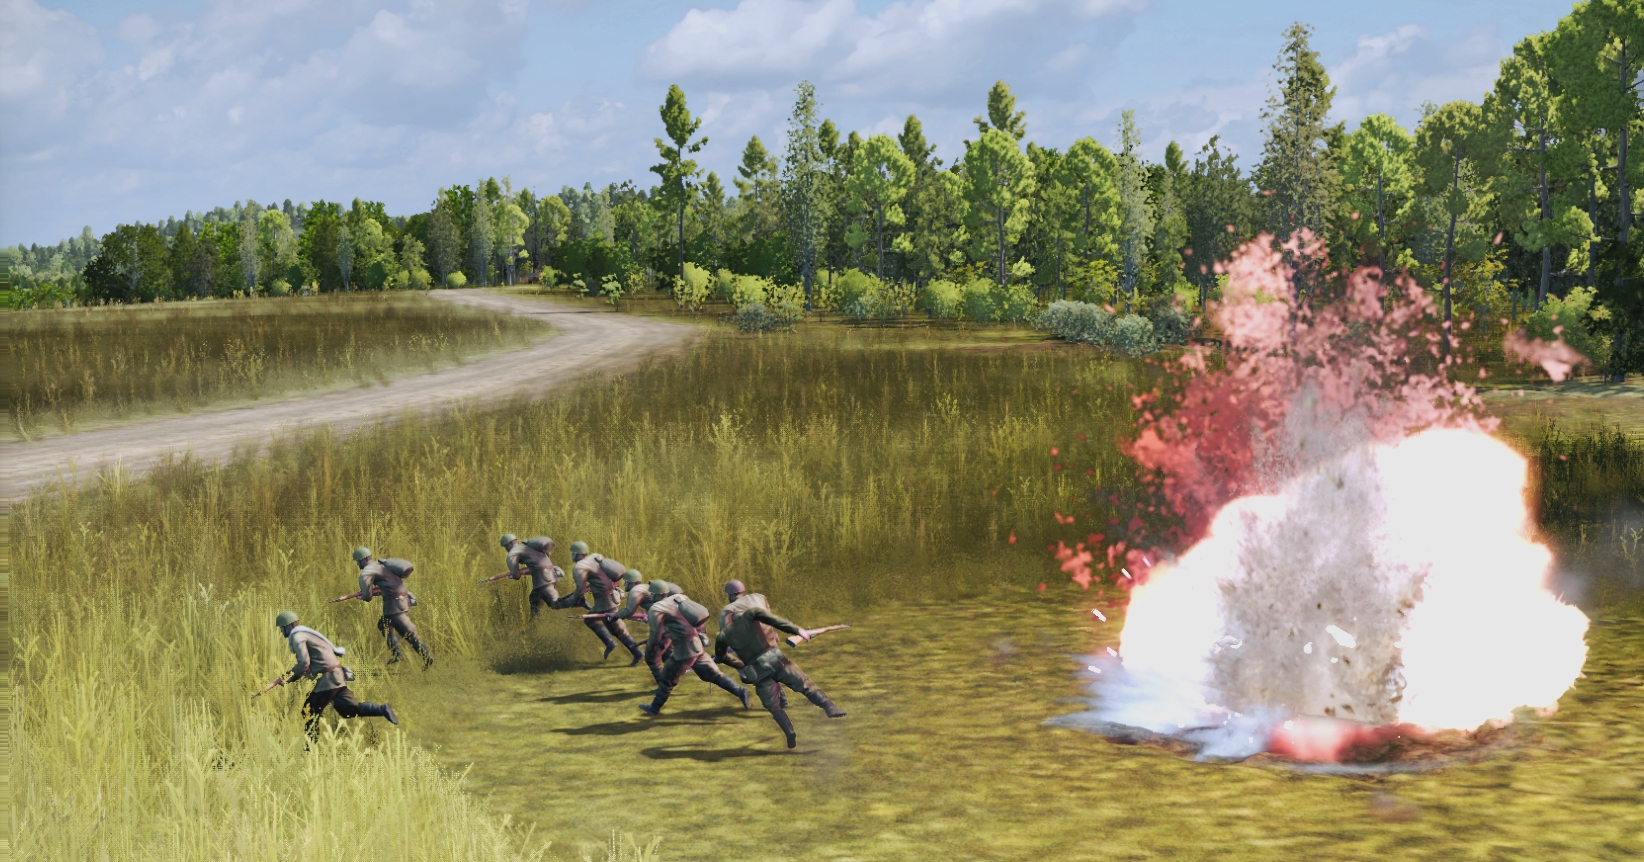
My lorries reach their destinations first. Their passengers - men toting cumbersome Panzerfausts and LMGs in addition to rifles and SMGs – are soon, in my imagination at least, smashing window panes and manhandling furniture in nearby cottages in preparation for the approaching sturm (in reality they are far too busy daubing their new billets with gallons of eyecatching blue paint to worry about nest-building). Someone is sufficiently alert to briefly clock a Soviet truck (?) on the road 1500 metres to the north.
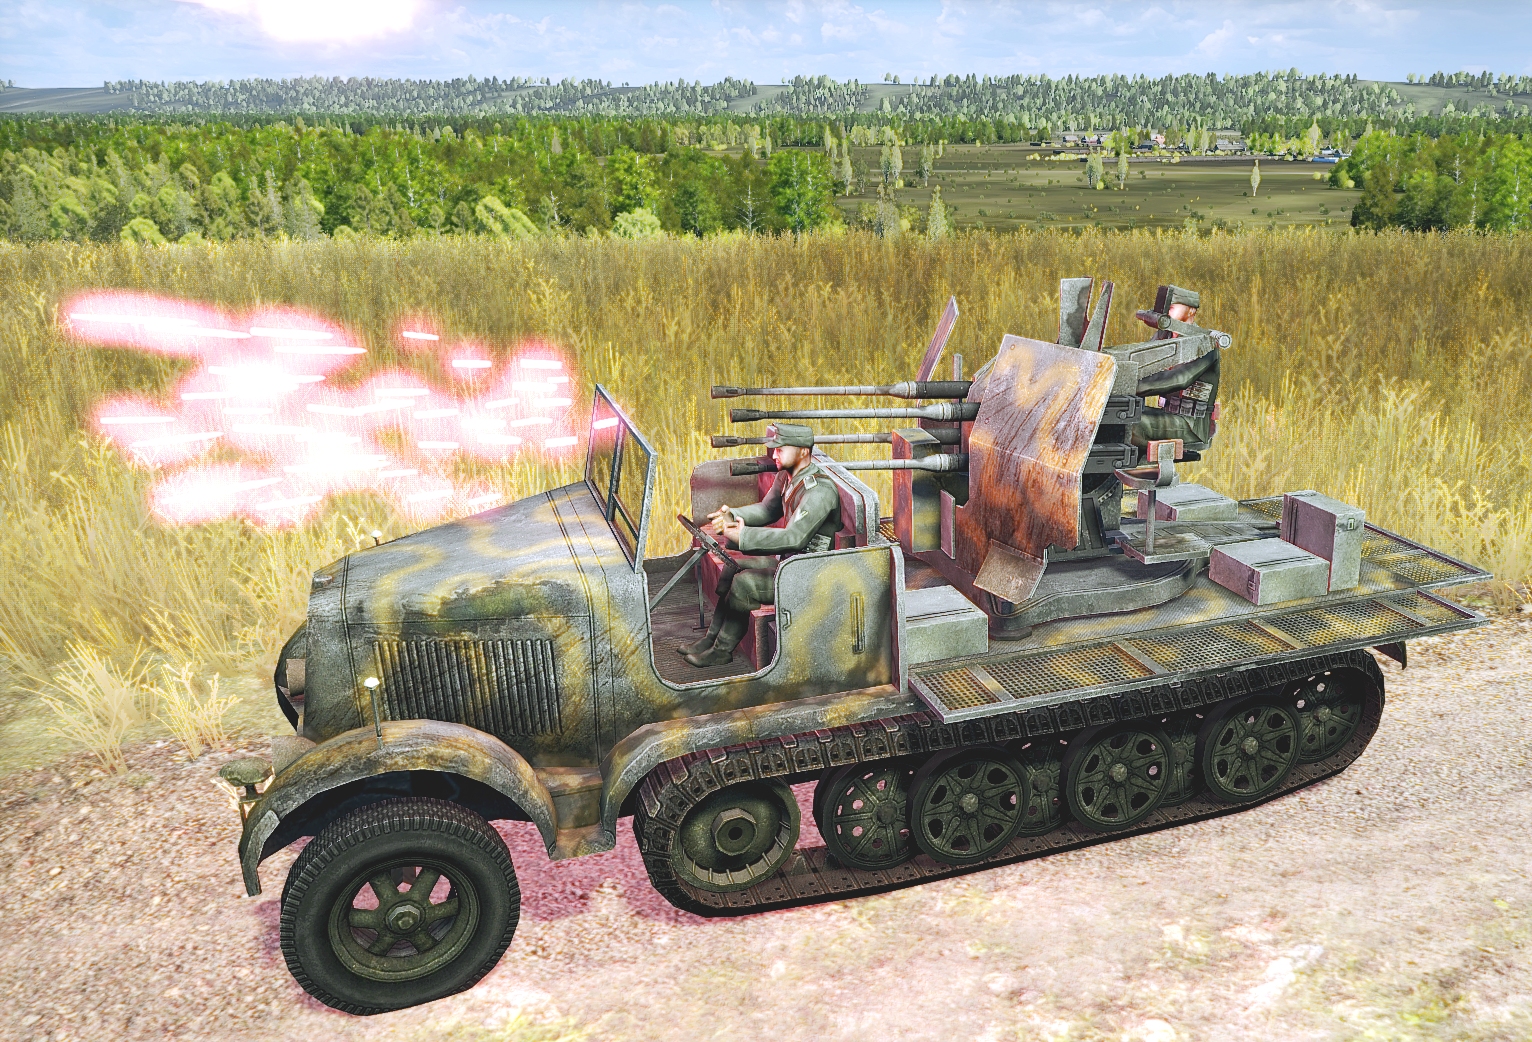
Thirty seconds later a less transient target - an ambling Po-2 biplane - coaxes the crew of my Sd.Kfz. 7/1 flak halftrack into loosing our first volley.
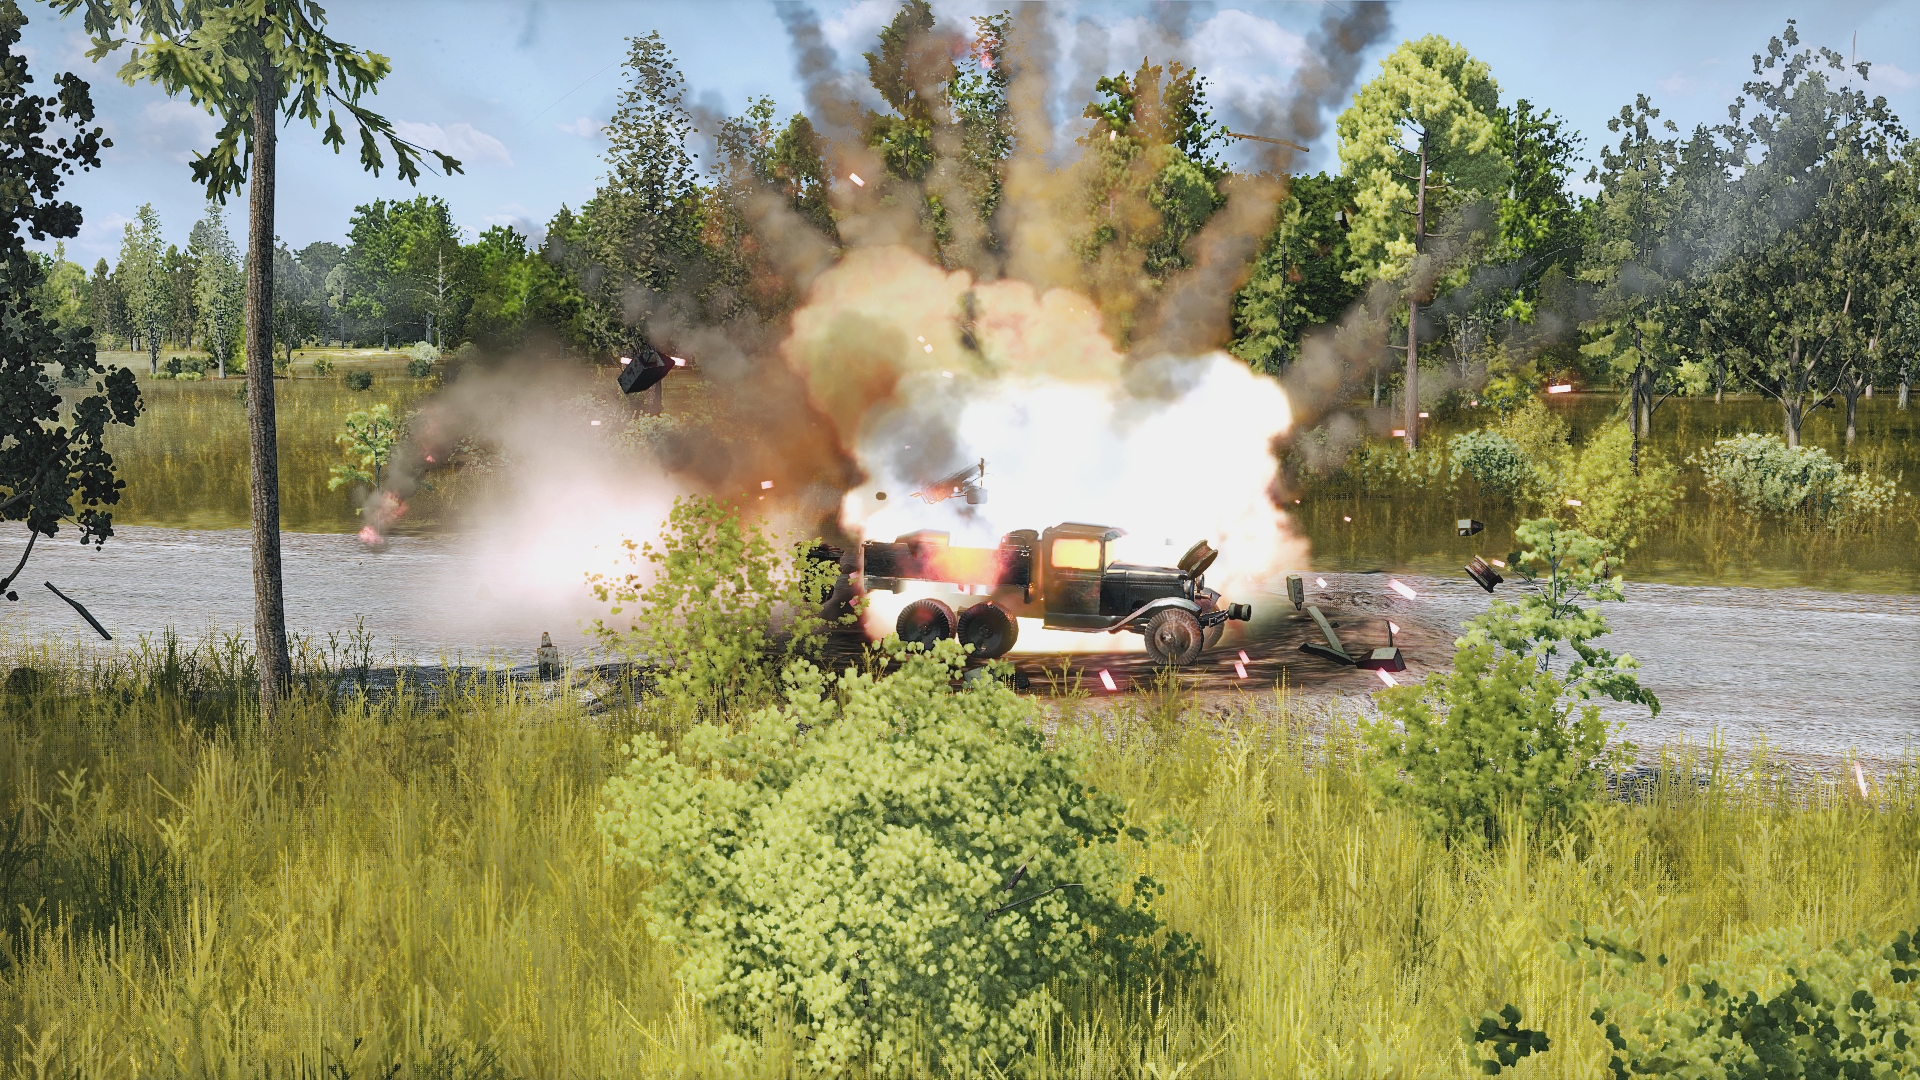
We have to wait a further minute for our first kill. Using the village's main thoroughfare as a fire lane, the pair of newly arrived Tigers make short work of a southbound AAA truck with a deathwish.
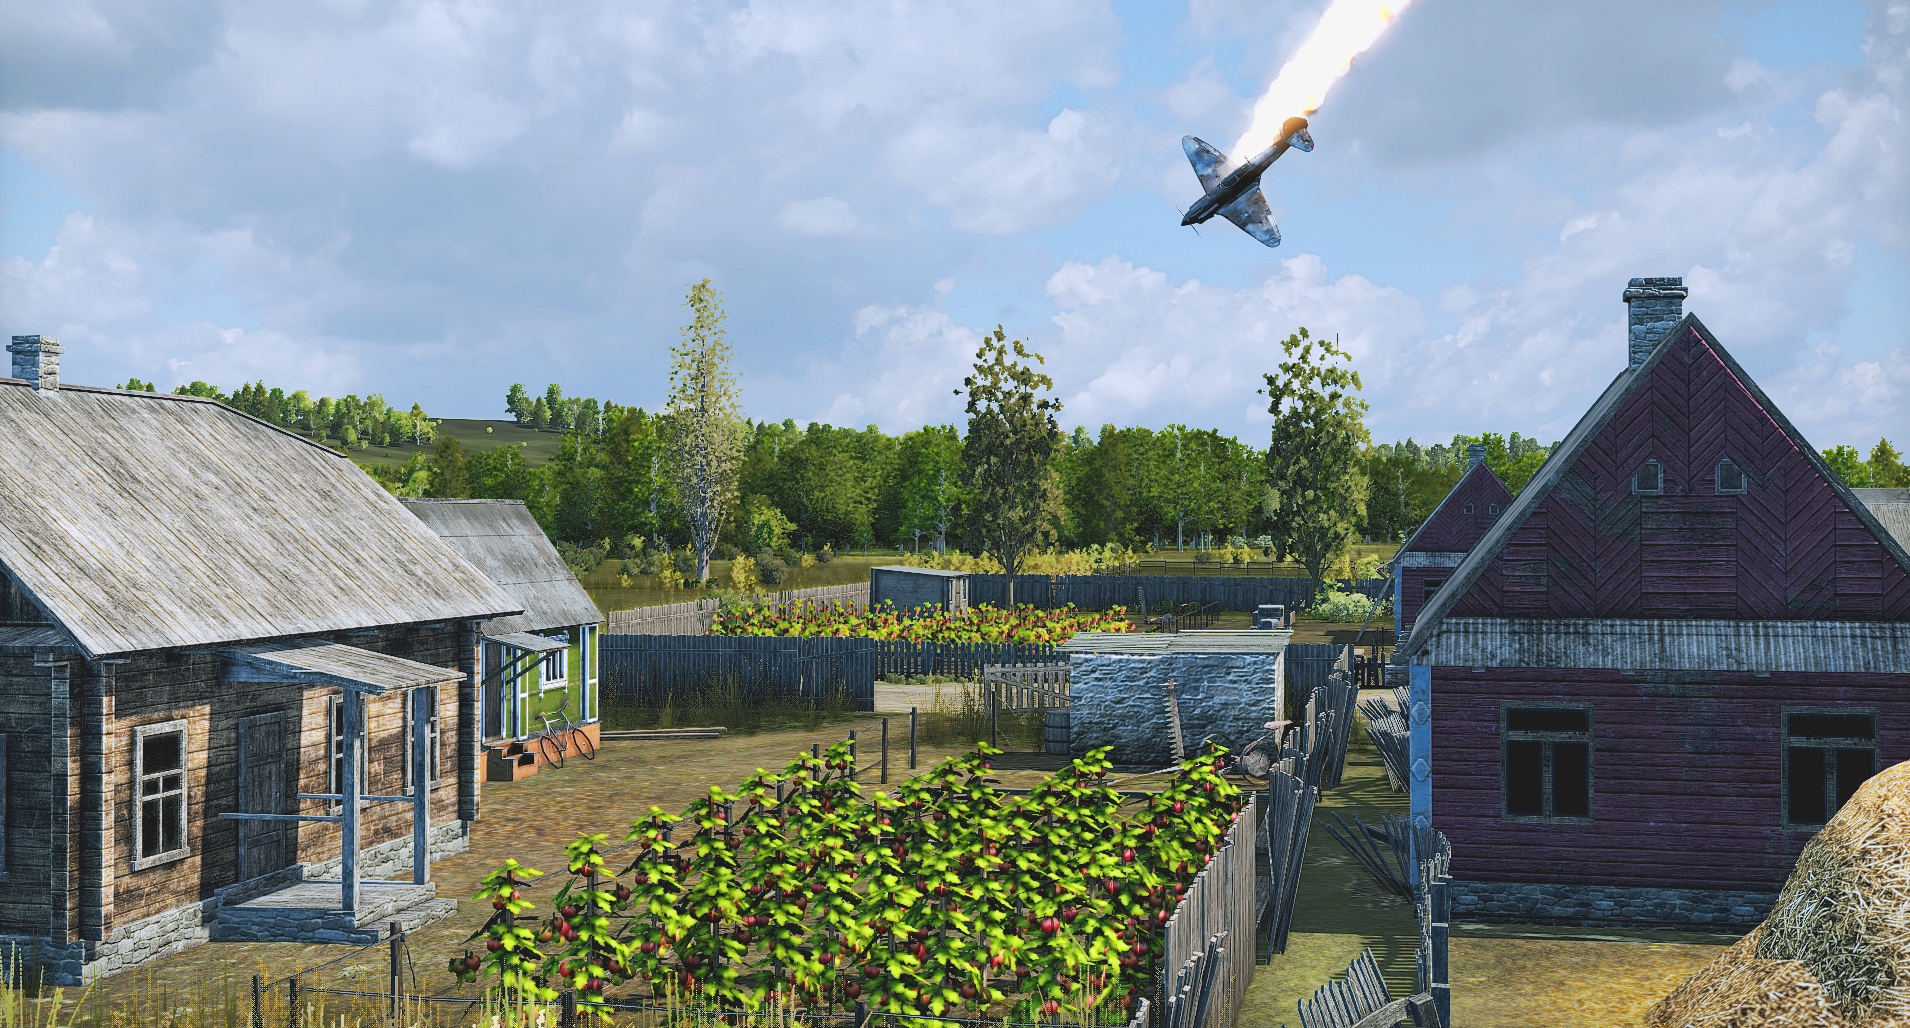
Far from home, two Gallic Yak-1s are the next foes to trespass and regret it. The first fighter escapes by the skin of its teeth, its 'stress bar' extended and its engine streaming black smoke. The second survives a scourging from my Sd.Kfz 7/1 only to fall into the merciless clutches of my hastily deployed Focke-Wulf 190.

If the AI was hoping the Yaks would shepherd the pair of spotting planes and the brace of Il-2s that appear moments later, its plans seriously miscarry. Ravaged by earthbound and aerial cannons, the unescorted quartet of VVS machines is soon in deep trouble.
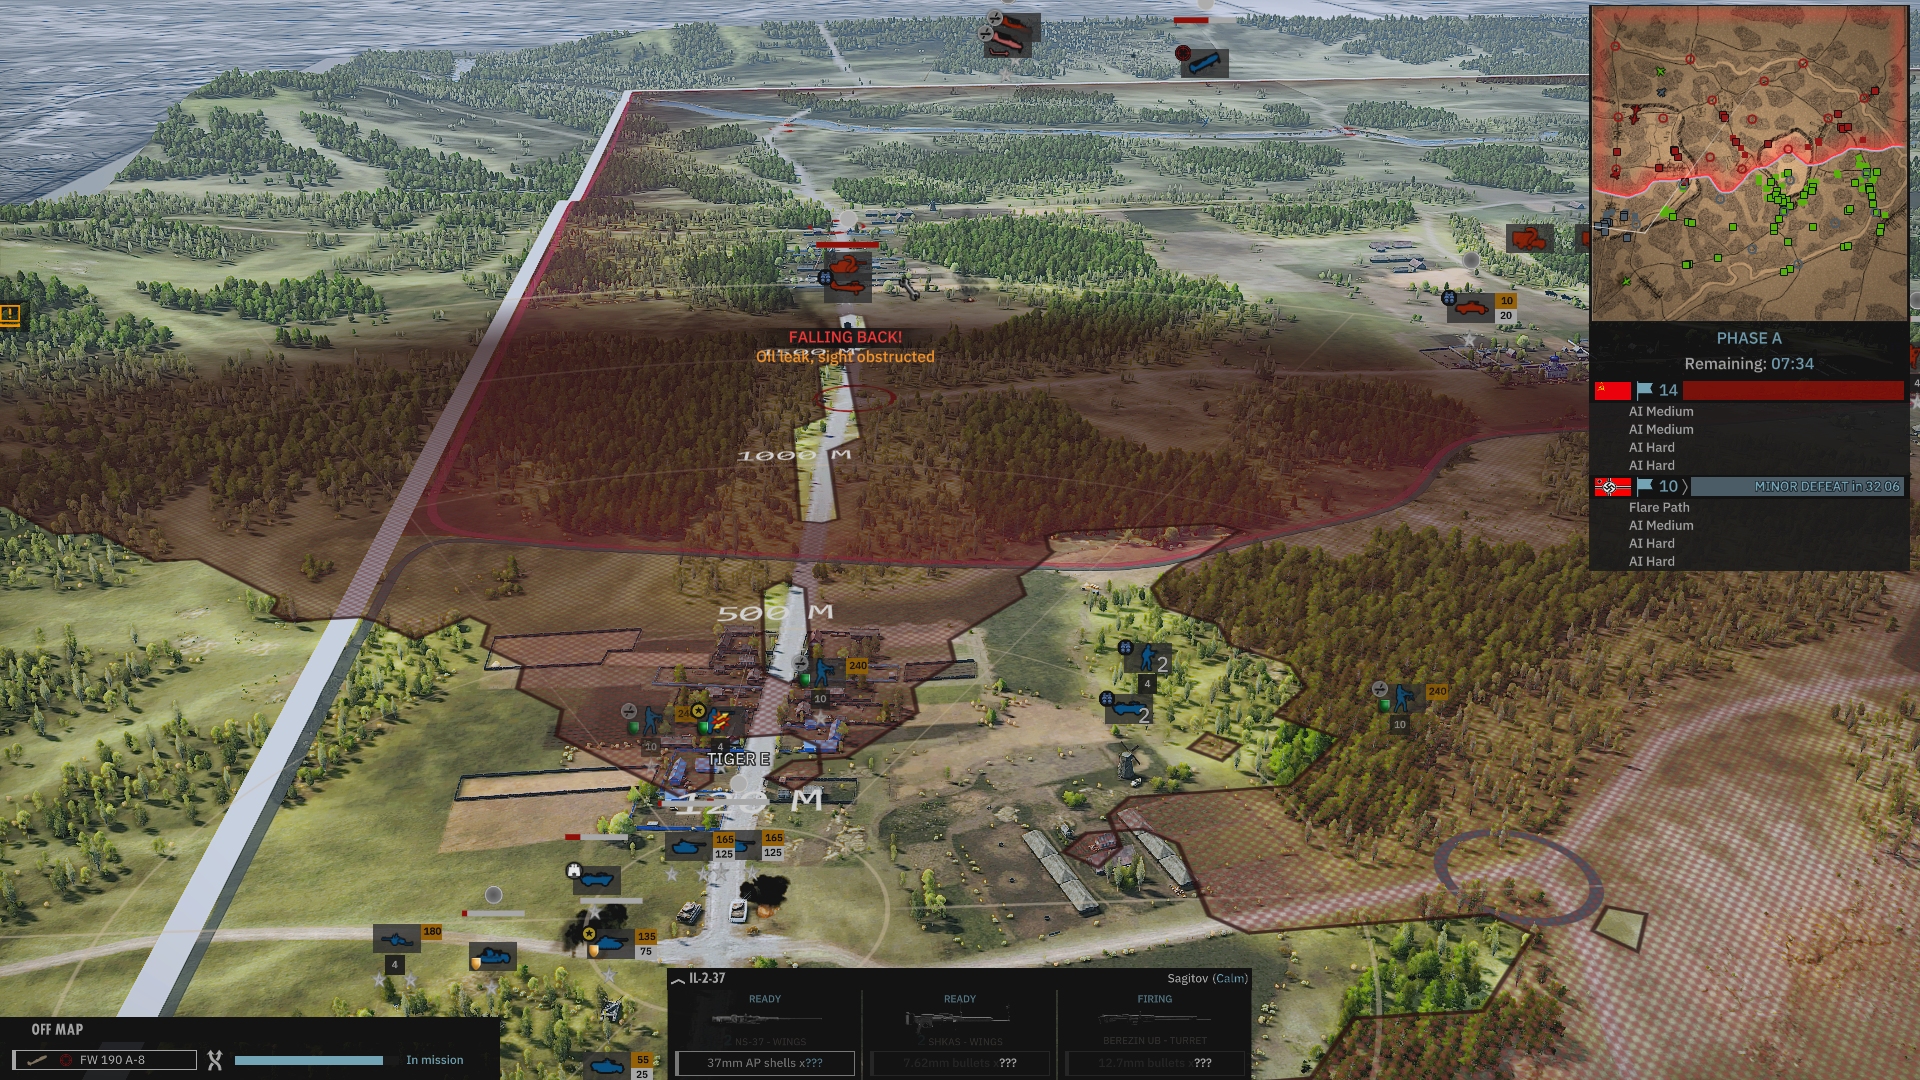
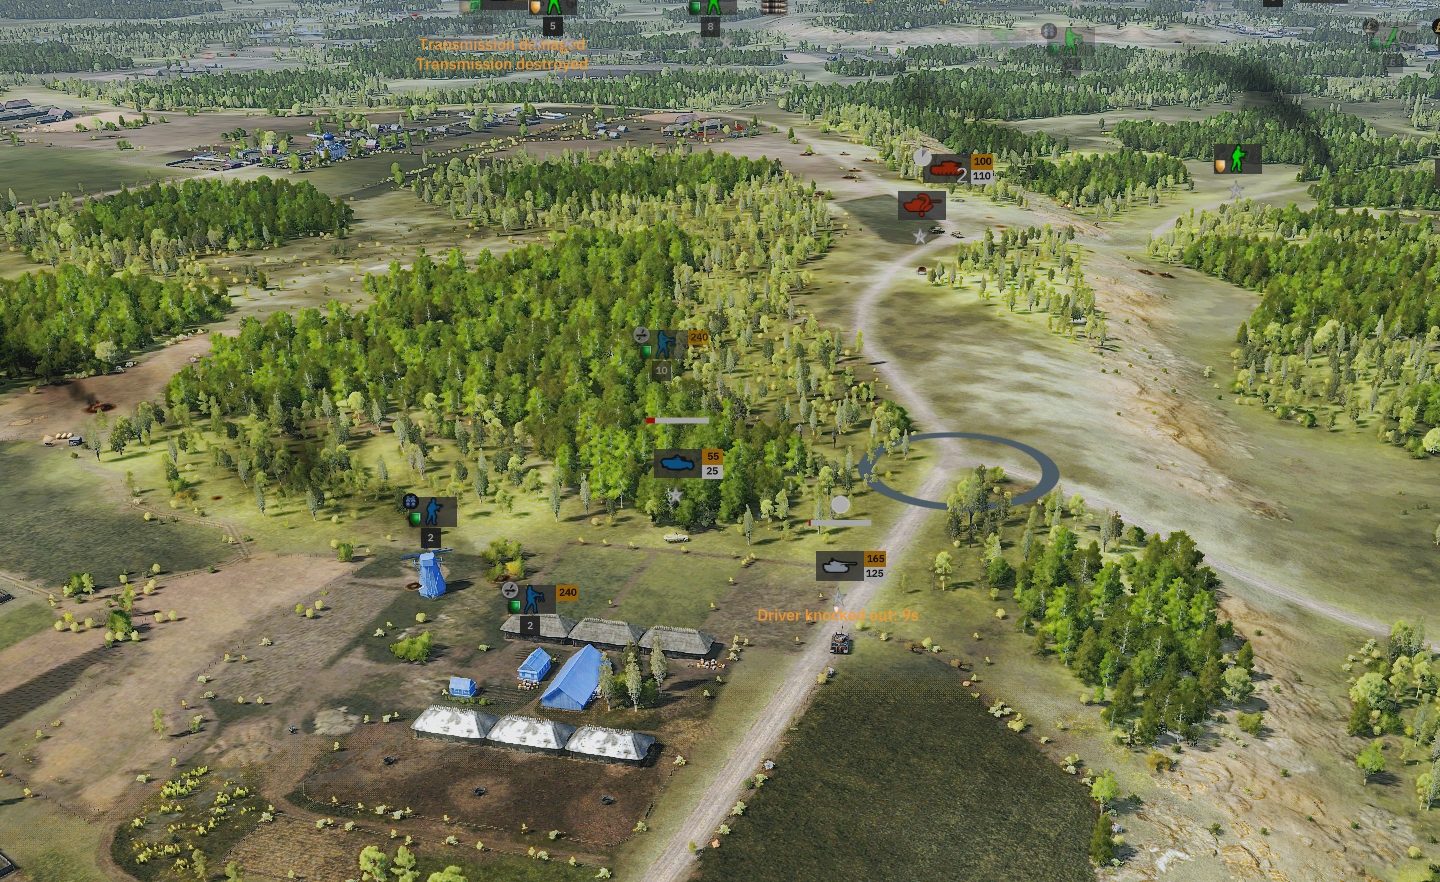
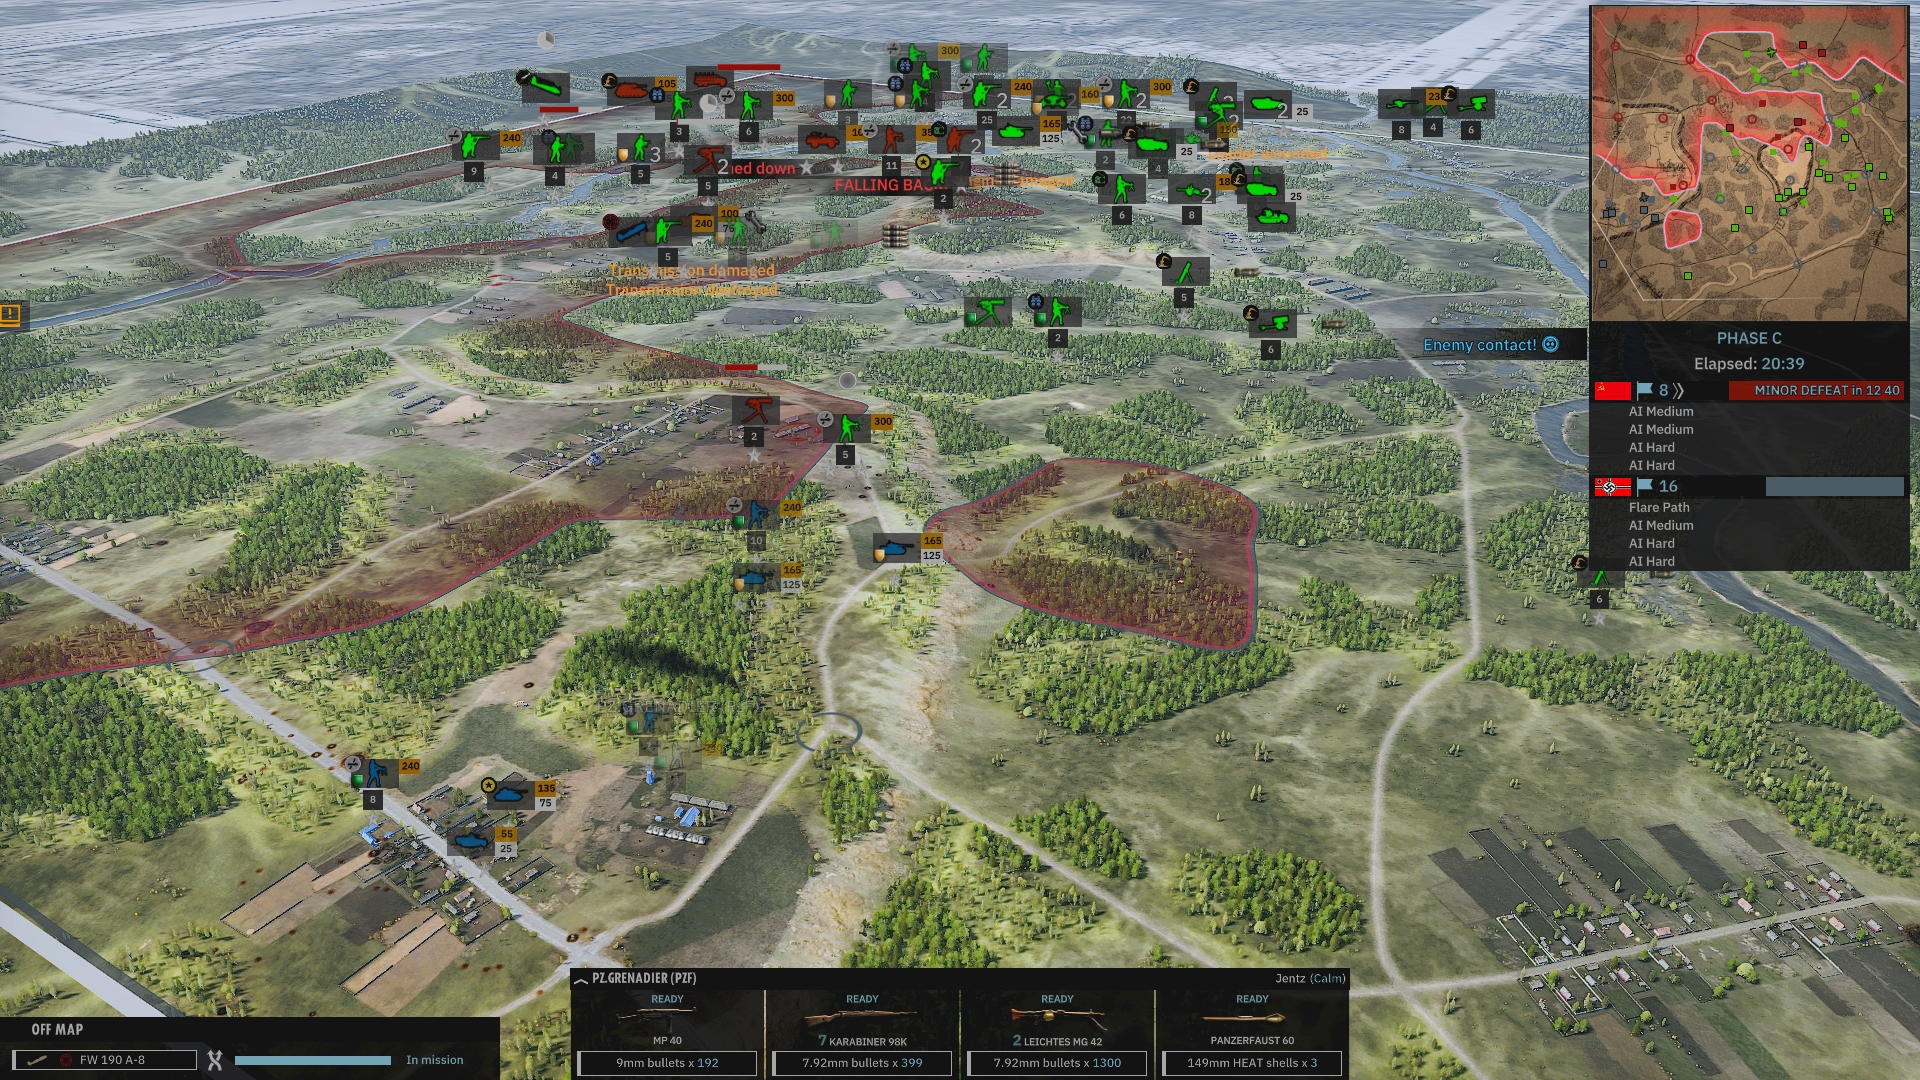
If it wasn't for the 14 VLs (Allies) 10 VLs (Axis) score quietly admonishing my caution from the top-right corner of the screen, the mortar bomb detonations rocking my Tigers, and the two red unidentified armour icons now visible in the neighbourhood of the VL to the north, I'd be rather pleased with myself at this point.
Blimey, that was a complacency curer if ever I saw one! I've just lost a hulking Panzer VIE to an AP round that travelled almost two kilometres before wreaking havoc. One of those two Soviet tanks down the road turned out to be a coolly commanded IS-1. Its first 85mm emission failed to penetrate my righthand Tiger, but stunned the gunner. Its second reduced, at a fiery stroke, my anti-tank capability by roughly 40% (I've still got the other Tiger, a PzKpfw IV and that Pak 36). Unnerved, I instinctively reached for the P key and gave my other heavyweight a reverse-behind-that-barn order. What to do now? Attempt to flank the brute with armour or close-assault it with infantry? Wait for it to push on? Perhaps I should spend my requisition point nest-egg on a crook-winged dive bomber - something capable of stopping my new nemesis in its tracks?
Minute 4 passes uneventfully. Keen to find out what the IS-1 is up to without risking an AFV in the process (when my surviving Tiger reversed into cover it lost sight of the Bolshevik bruiser) I send one of my two-man Aufklärer teams into the forest on the western side of the north-south road, and order my Tiger to move to a more useful position close to the Panzer IV.
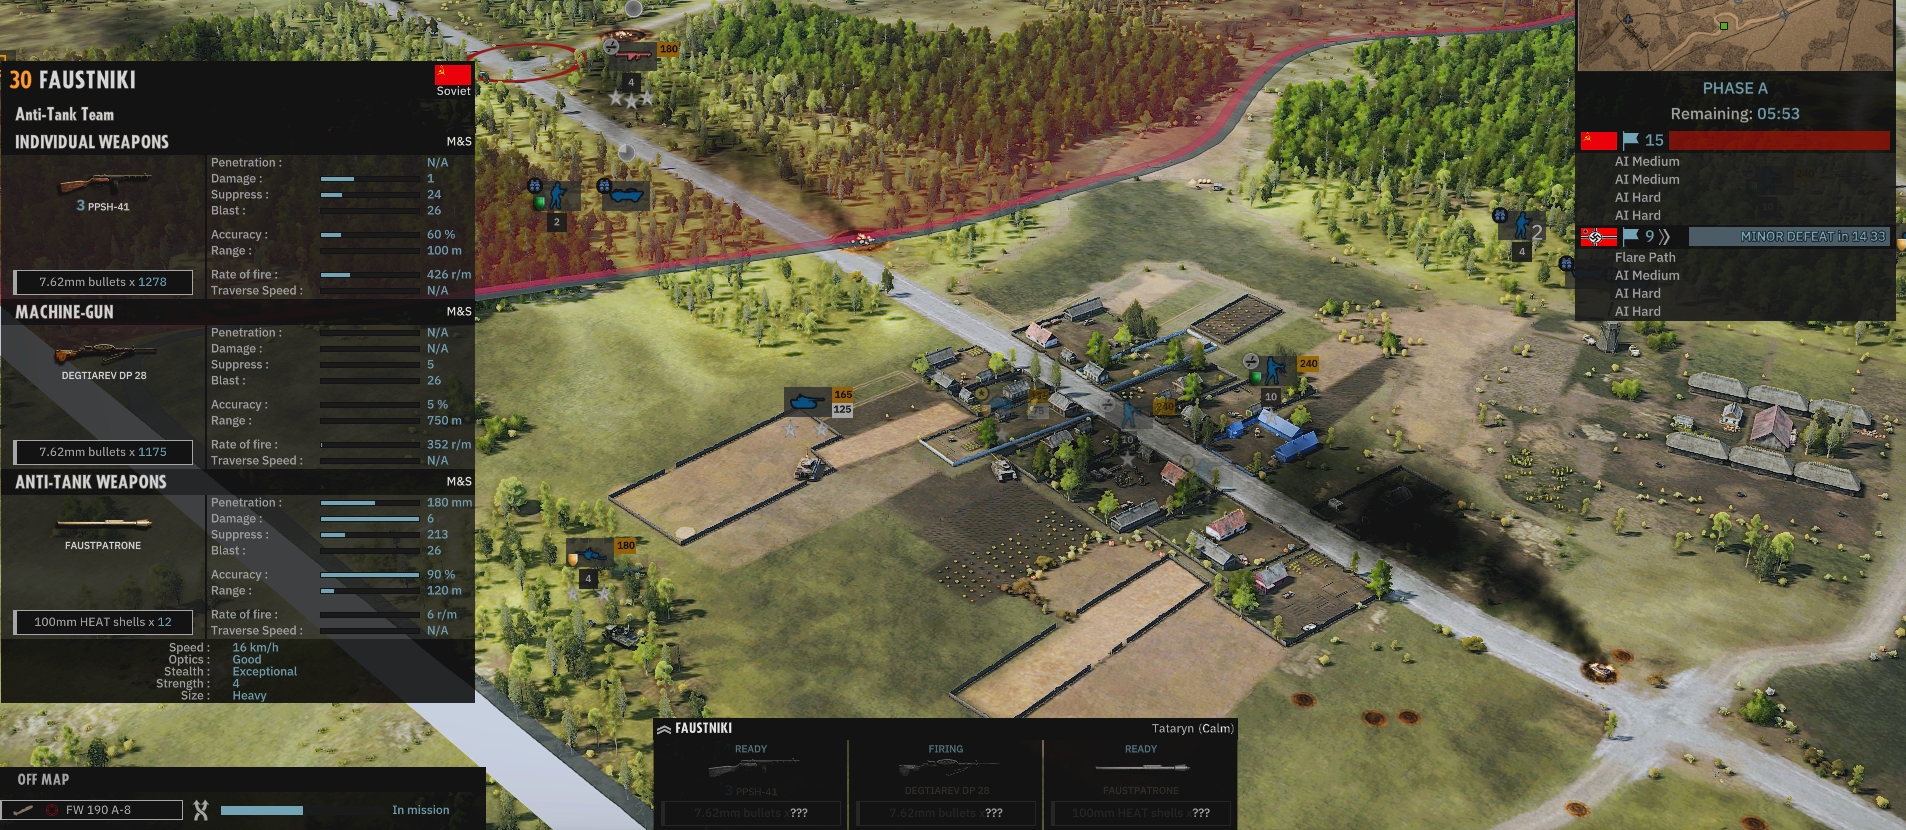
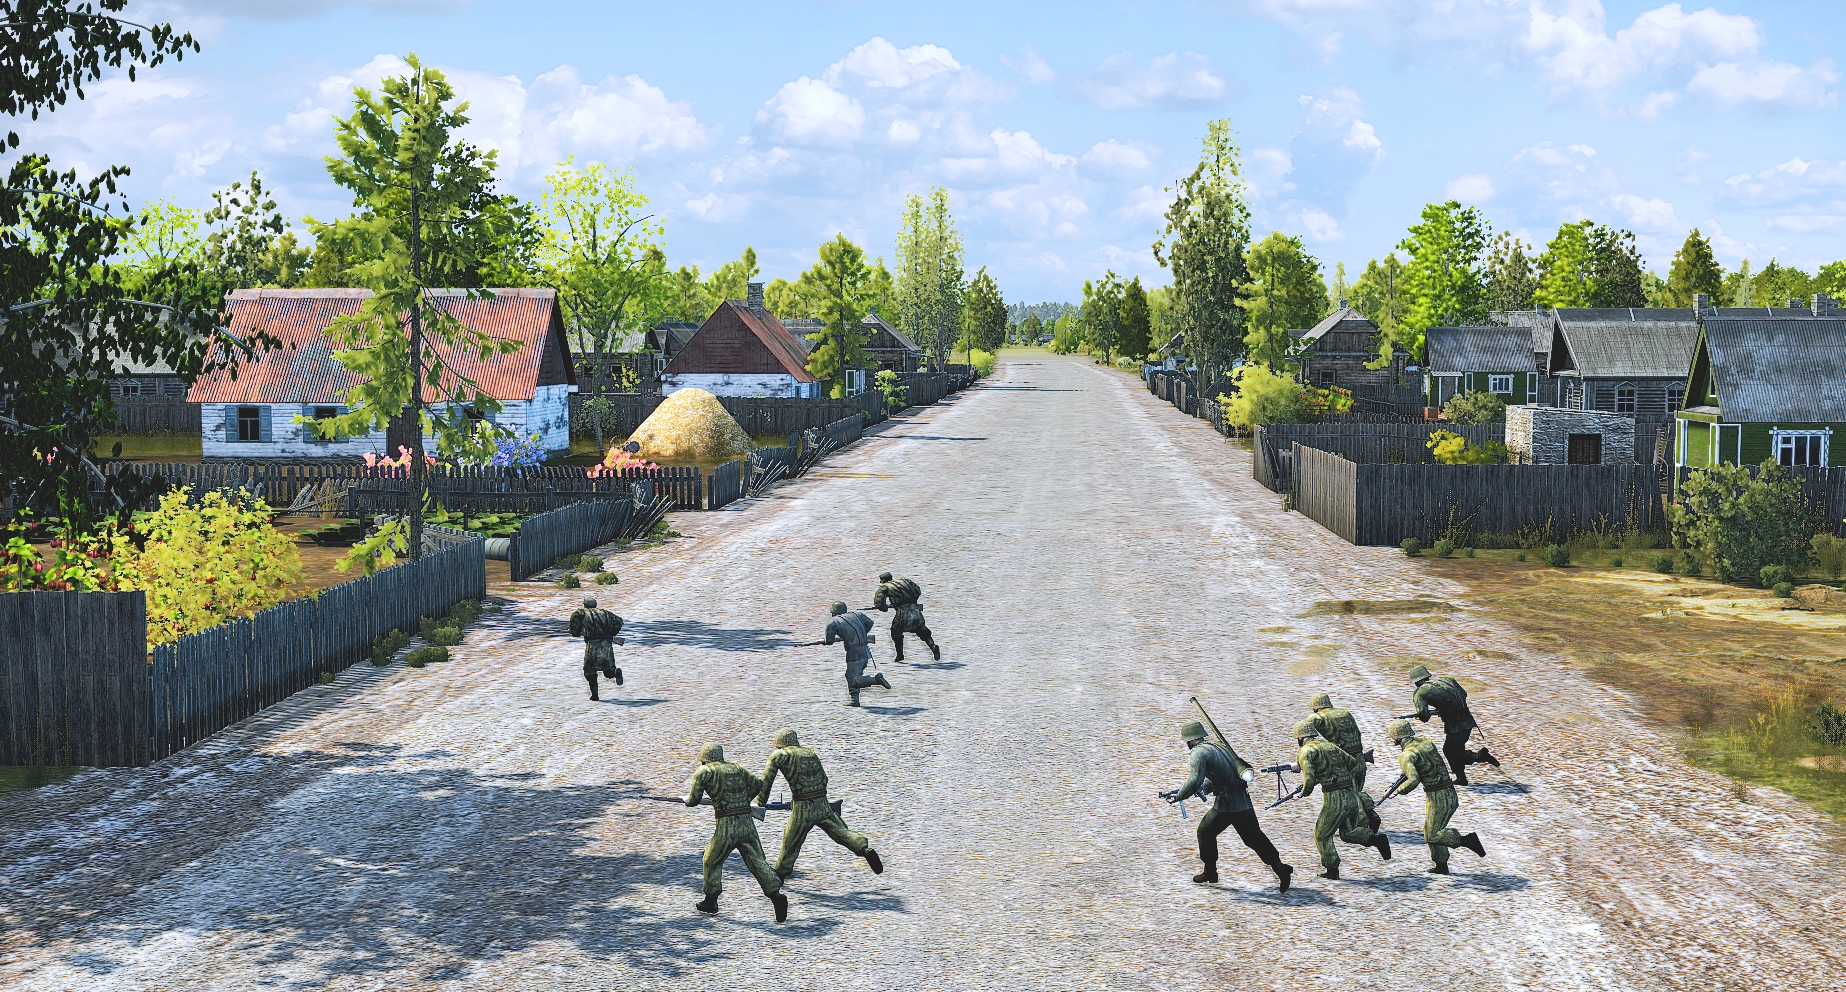
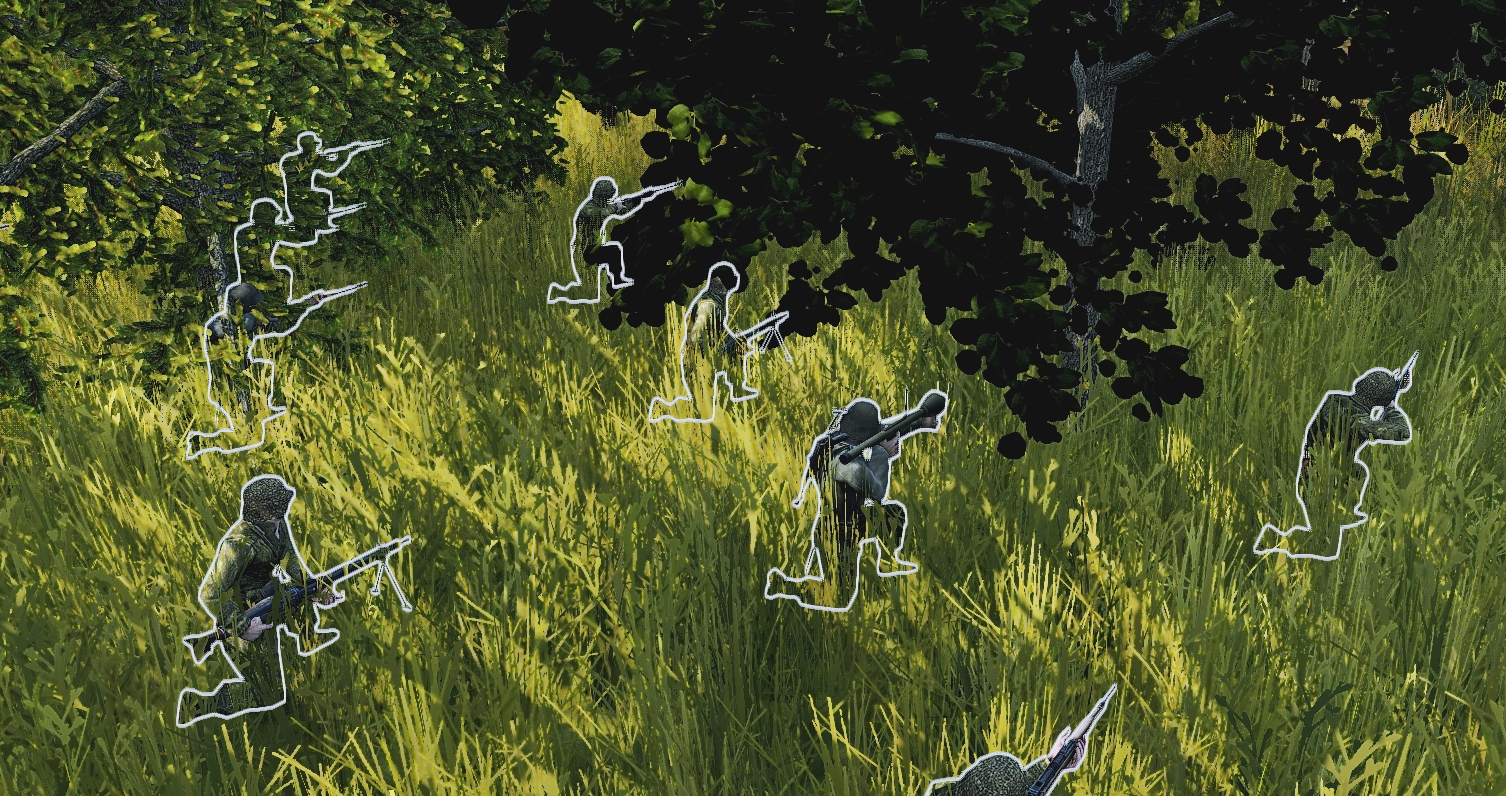
Their Schwimmwagen abandoned, the scouts are hiking northward through arboreal gloom when they run into a four-man 'Faustniki' (anti-tank) team apparently making for the village. Not fancying the odds (2 x MP 40 vs 3 x PPSh-41 + 1 x DP-28) I attempt to break contact. In most other tactical wargames there'd be corpses on the pine straw at the end of such an extrication bid, but SD2, to its credit, is sometimes surprisingly slow to slay. Surviving close-range SMG bursts, both my scouts manage to withdraw unscathed.
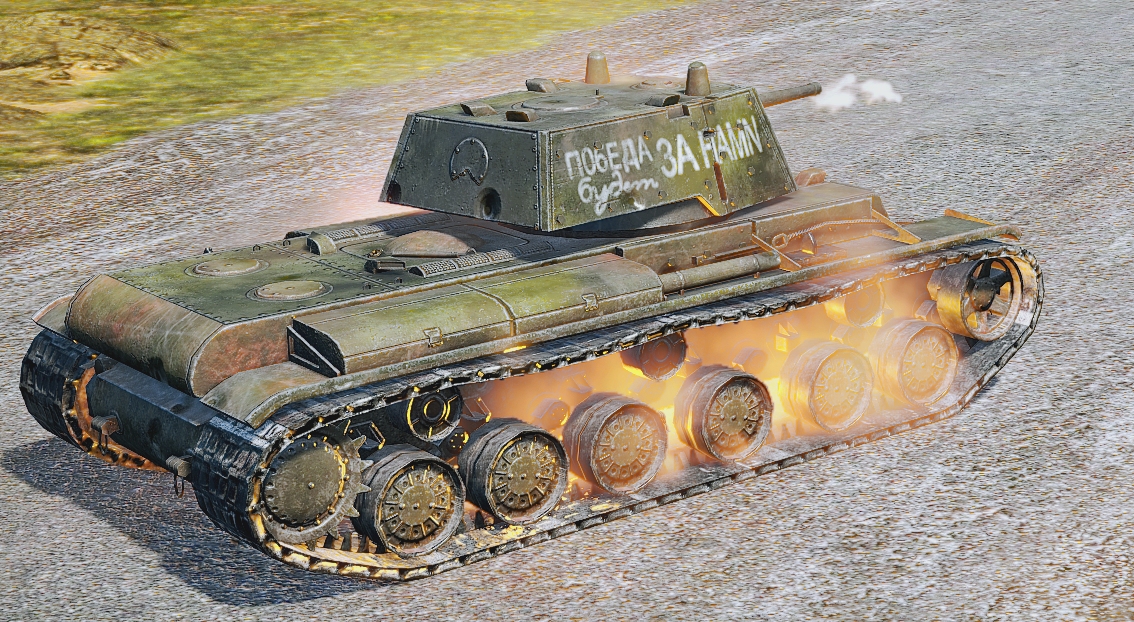
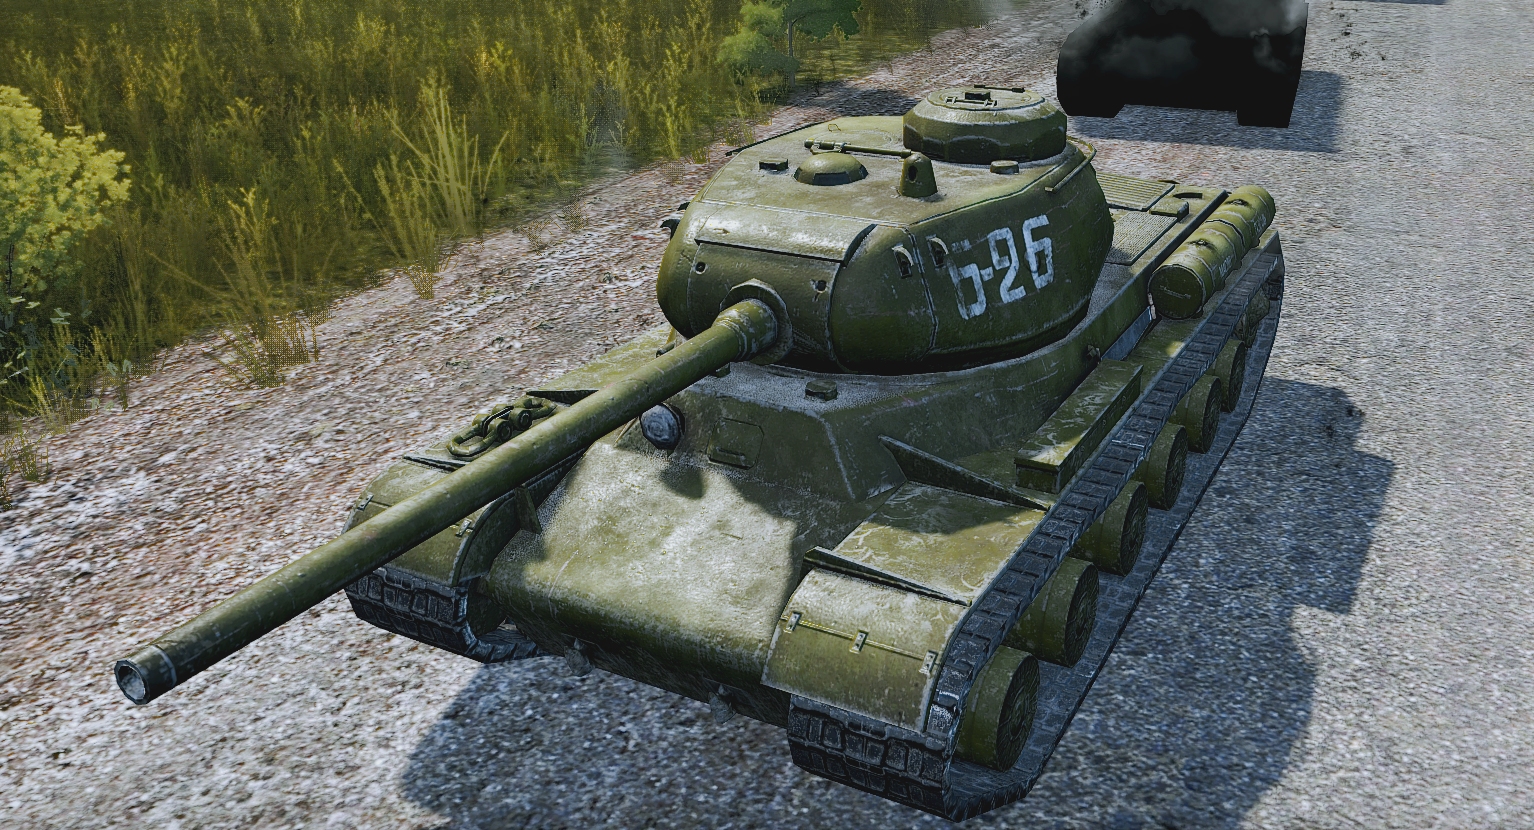
That was a serendipitous bit of carelessness on my part. Because the KV-1 that just lumbered into view on the forest road was briefly distracted by a forgotten Schwimmwagen over by the windmill, my Tiger was able to stalk and slaughter it without drawing a shot in reply. The unwitting bait wound up dead, but one kaput amphibijeep seems like a price worth paying for one less Panzer threat.
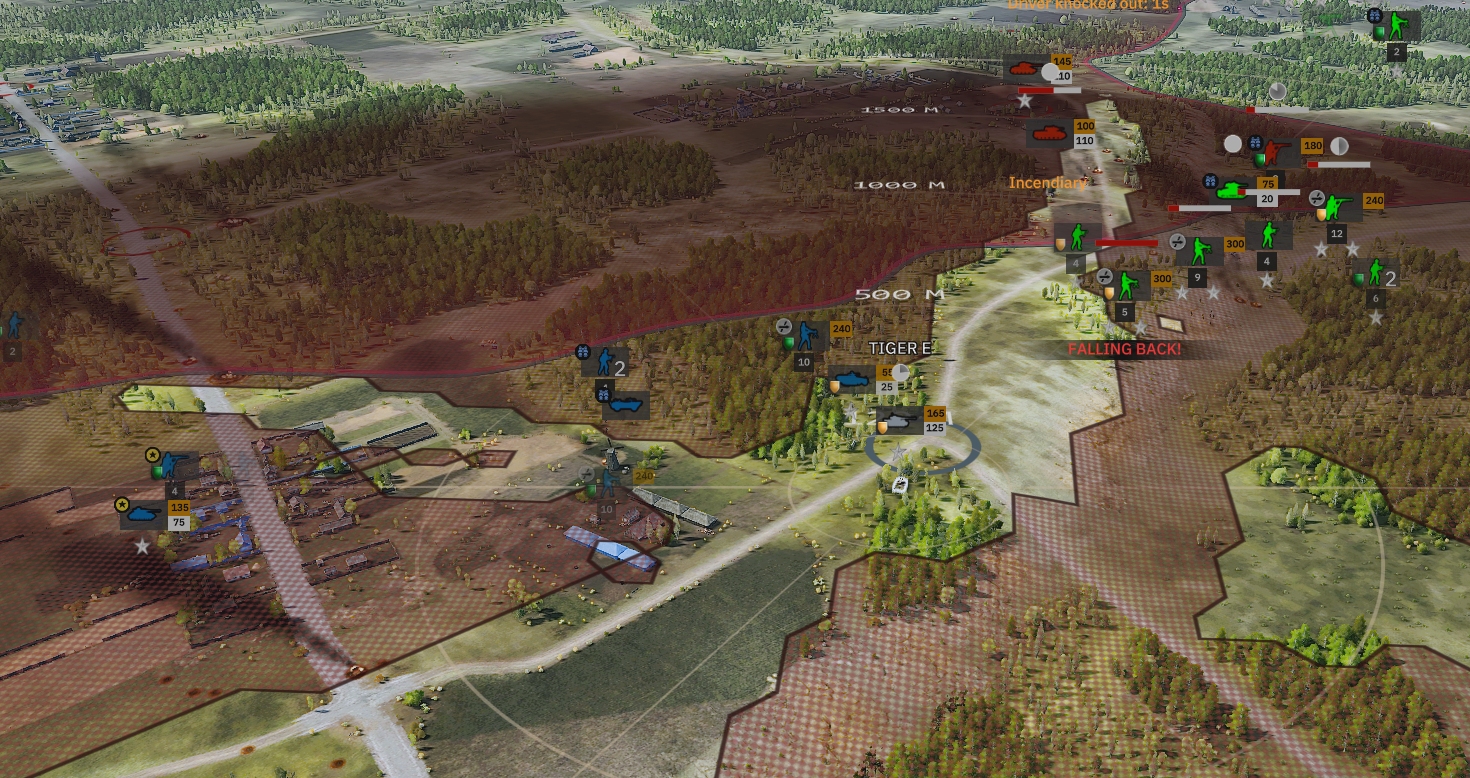
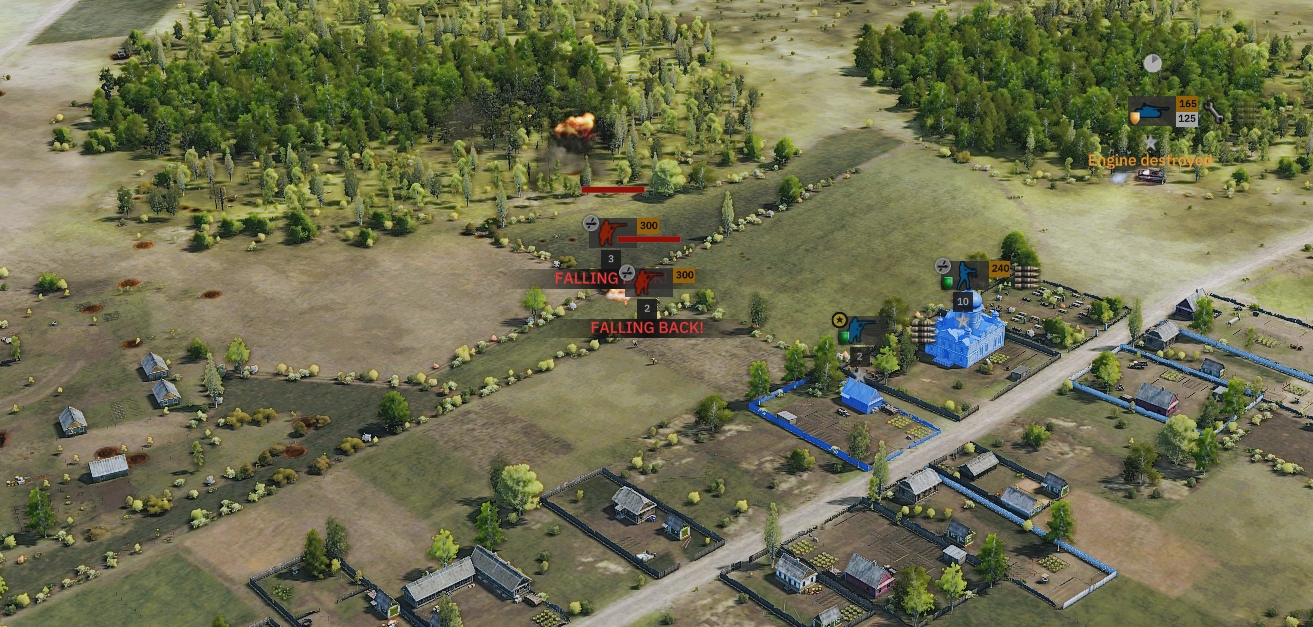
Increasingly concerned by the rash of 'PINNED DOWN!' and 'FALLING BACK!' labels appearing amongst the armour-poor green icons on my right (if my closest AI teammate crumbles I could end up surrounded) at the six-minute mark I send my Tiger scurrying eastward to aid him. The big cat reaches its destination - a birch-screened spot from which it should also be able to tackle the IS-1 if it enters the village from the north - just as a KV-1 breaks cover. The green goliath is aligning its slogan-adorned slab-sided turret with my teammate's laughable linchpin when a thistle-bothering 88mm AP shell cracks open its carapace.
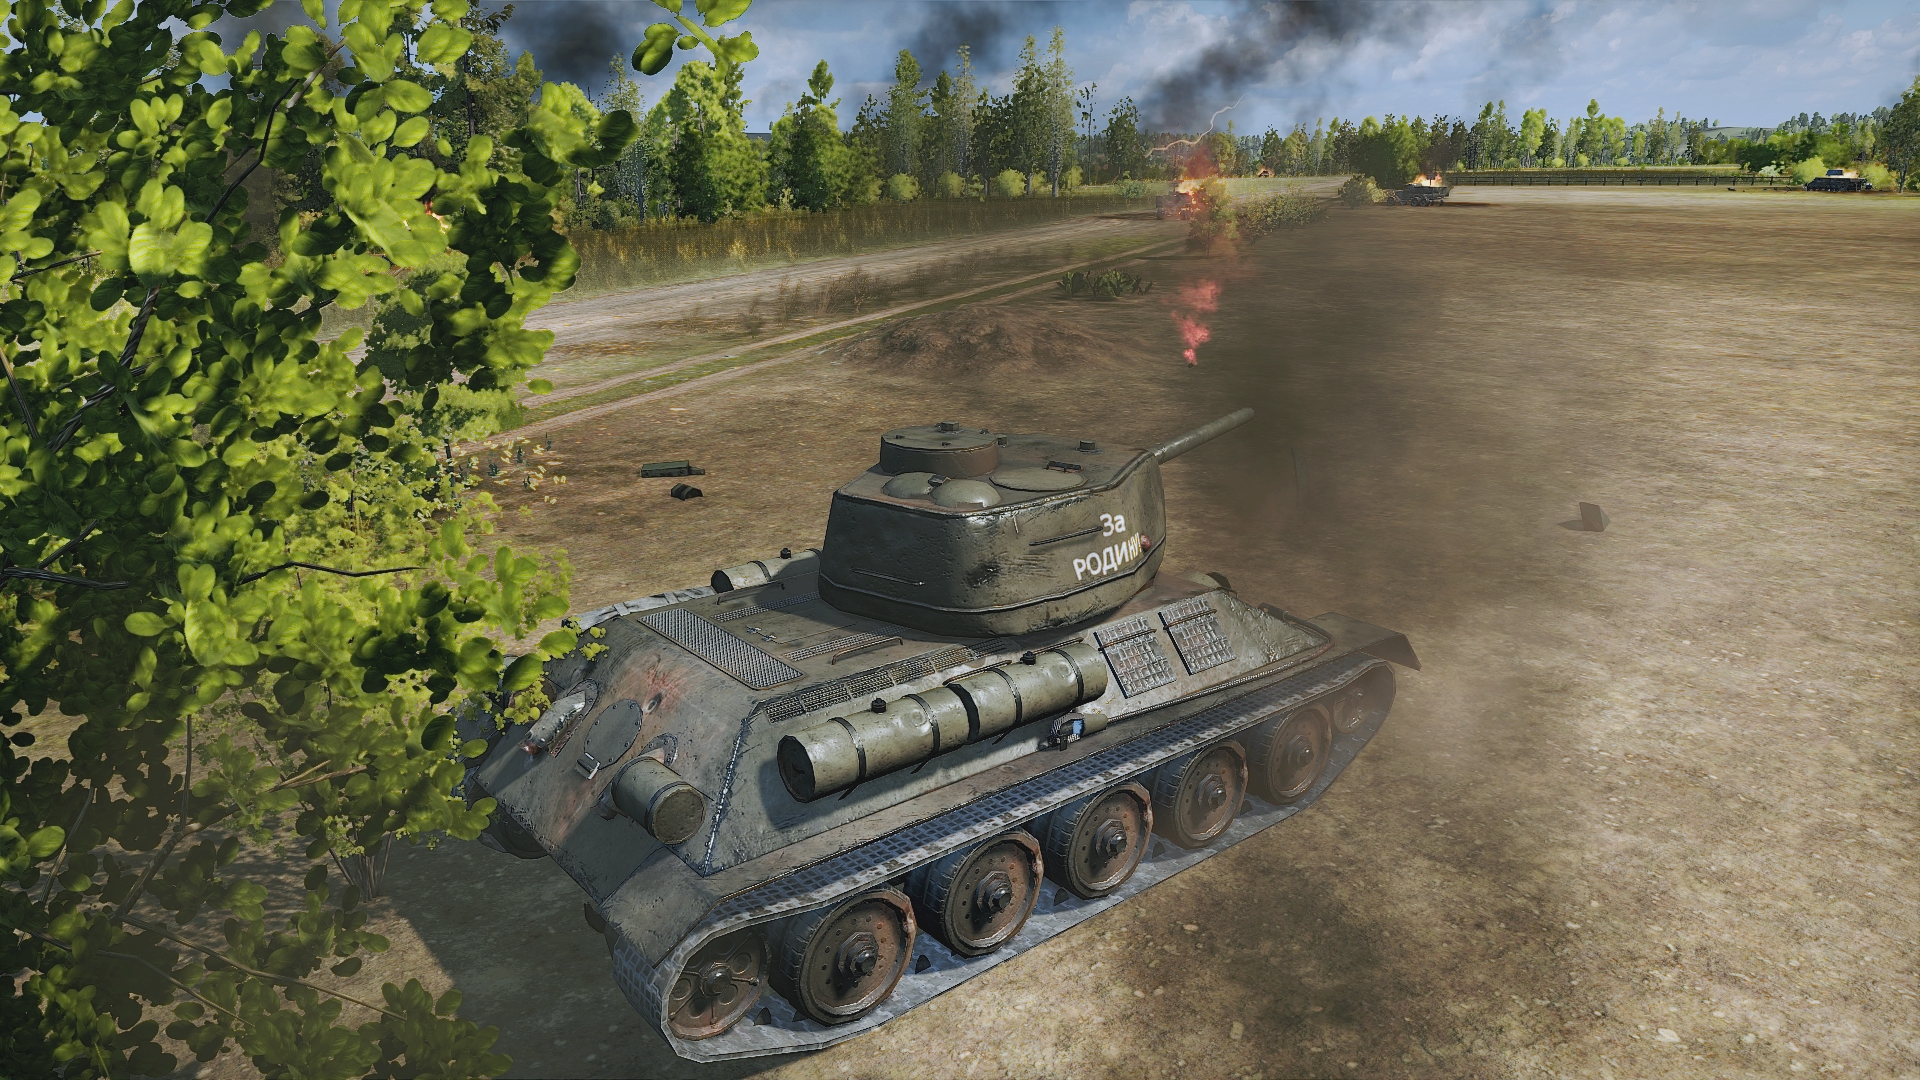
The timely intervention doesn't go unnoticed. A vigilant T-34 not far from the expiring KV-1 almost exacts swift revenge. Needle-like spall splinters are still glowing within my Tiger's crew compartment when the German apex predator fires a shot that removes one of the T-34's caterpillars. There follows a loading race that's every bit as tense as equivalents in Close Combat or Combat Mission. White progress discs gradually fill. Muzzle brakes spout smoke plumes almost simultaneously. Shells pass in mid-flight, star-bright and single-minded. The German projectile hits home. The Russian one hits... loam. The duel is over.
During the remaining seventy seconds of Phase 'A', a second scouting attempt by my northern Aufklärers ends in disaster when they run into the Faustniki team again, my peripatetic Tiger continues to contribute on the right flank by repulsing advancing infantry, and my scouts at the windmill spot an eight-man 'Shturmoviki' (engineer) squad approaching the village from the NE.
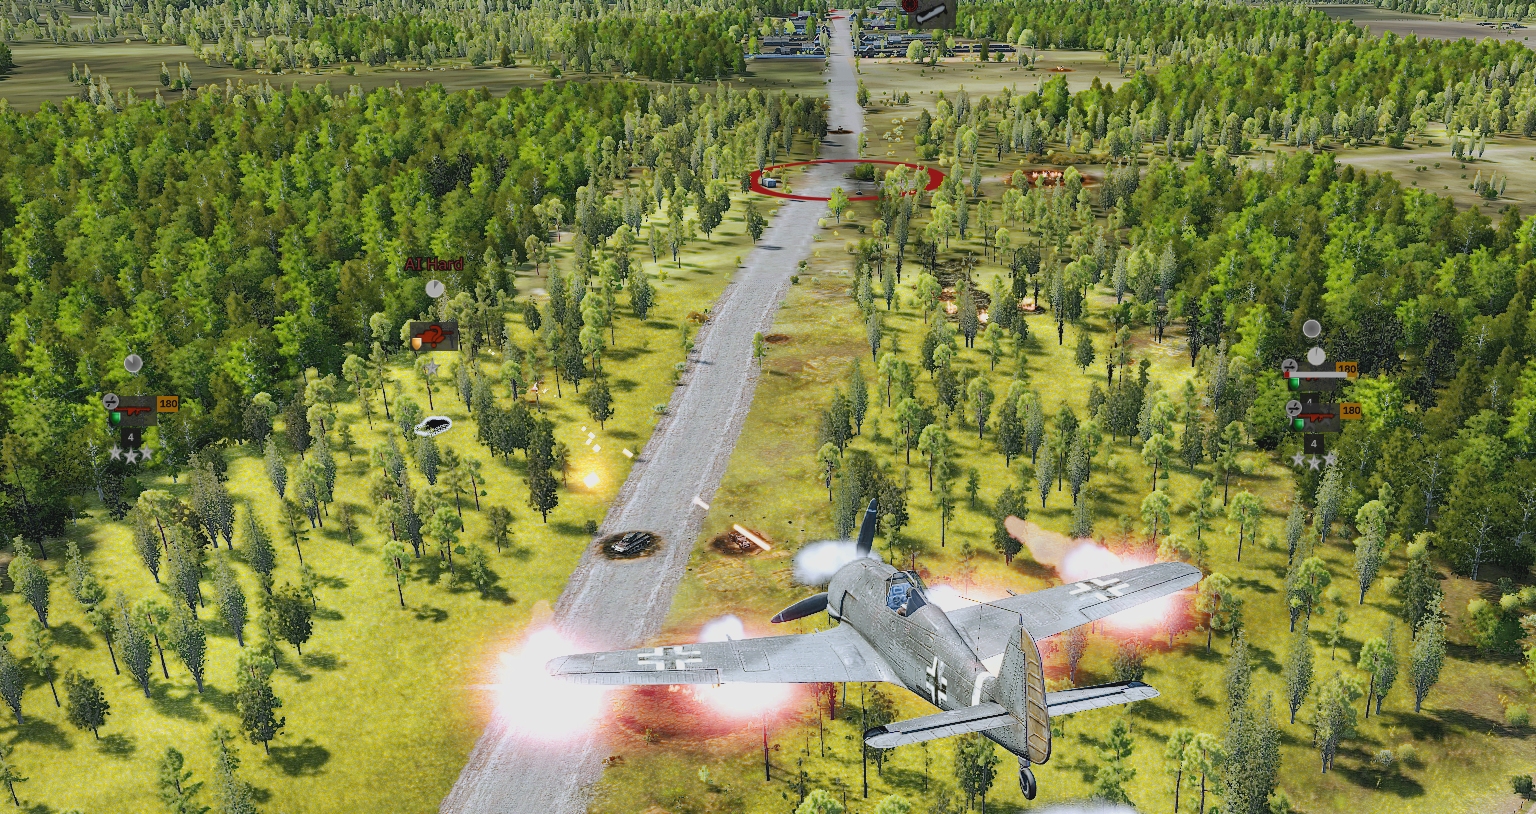
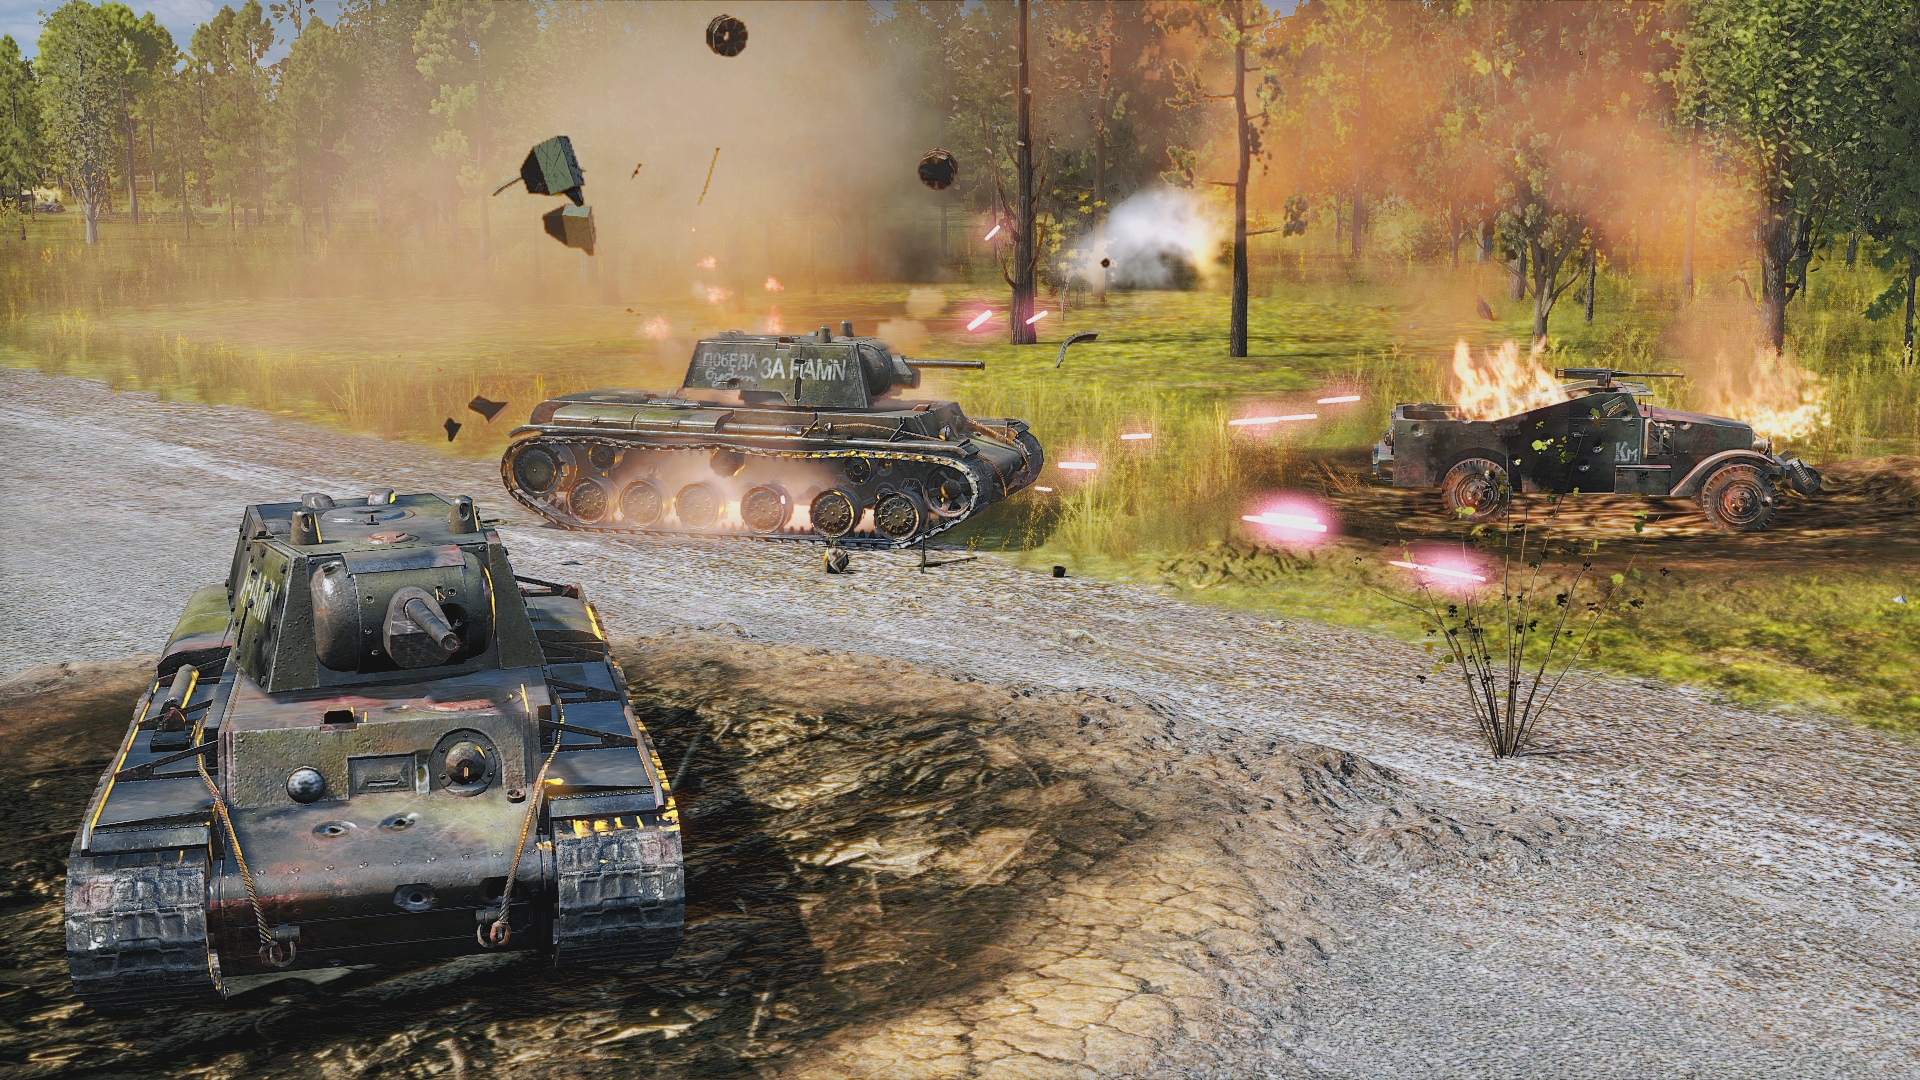
The Soviet flamethrower luggers turn out to be the left tine of an assault trident that also involves three AT teams, 2 KV-1s, a halftrack, and an AAA truck. Phase 'B' starts with a concerted attack on the village from the north. Pretty soon almost all of my units are engaged and the Panzergrenadiers are reporting their first casualties. As the Tiger pads towards the windmill looking for LoS to the KV-1s, I pull back the infantry squad that is bearing the brunt of the incoming fire and set the circling Fw 190 on one of the Russian tanks. There's no chance of a kill but every cannon shell that plinks the target reduces efficiency and makes a temporary withdrawal more likely.
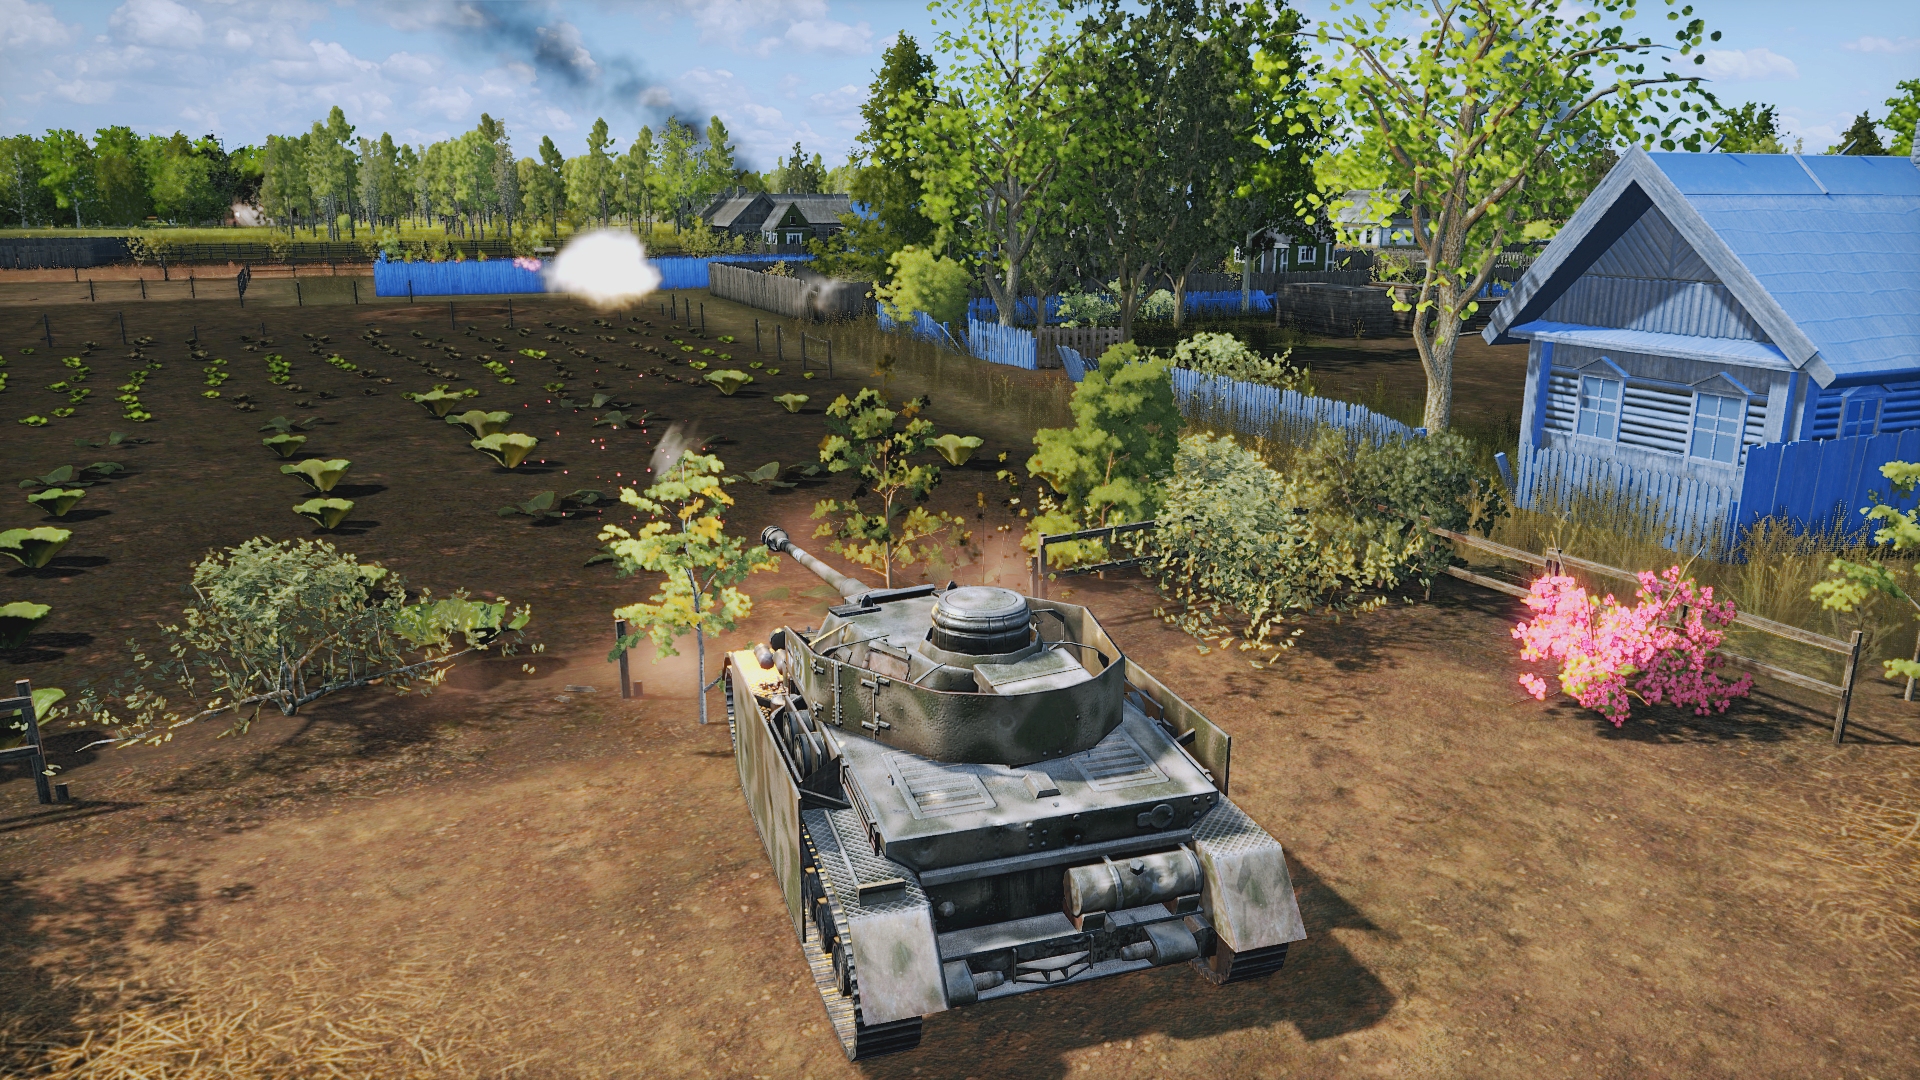
Inevitably, the onslaught begins to extinguish vulnerable blue icons. One of the Red tanks silences the Pak 36. A purloined Panzerfaust quiets a Schwimmwagen's chattering MG. But red icons are blinking out too. A Lend-Lease Scout Car brews-up as does a 1940s 'technical'. Squatting alongside occupied cottages, the Panzer IV survives a couple of near-misses and eliminates the scout-slayers.
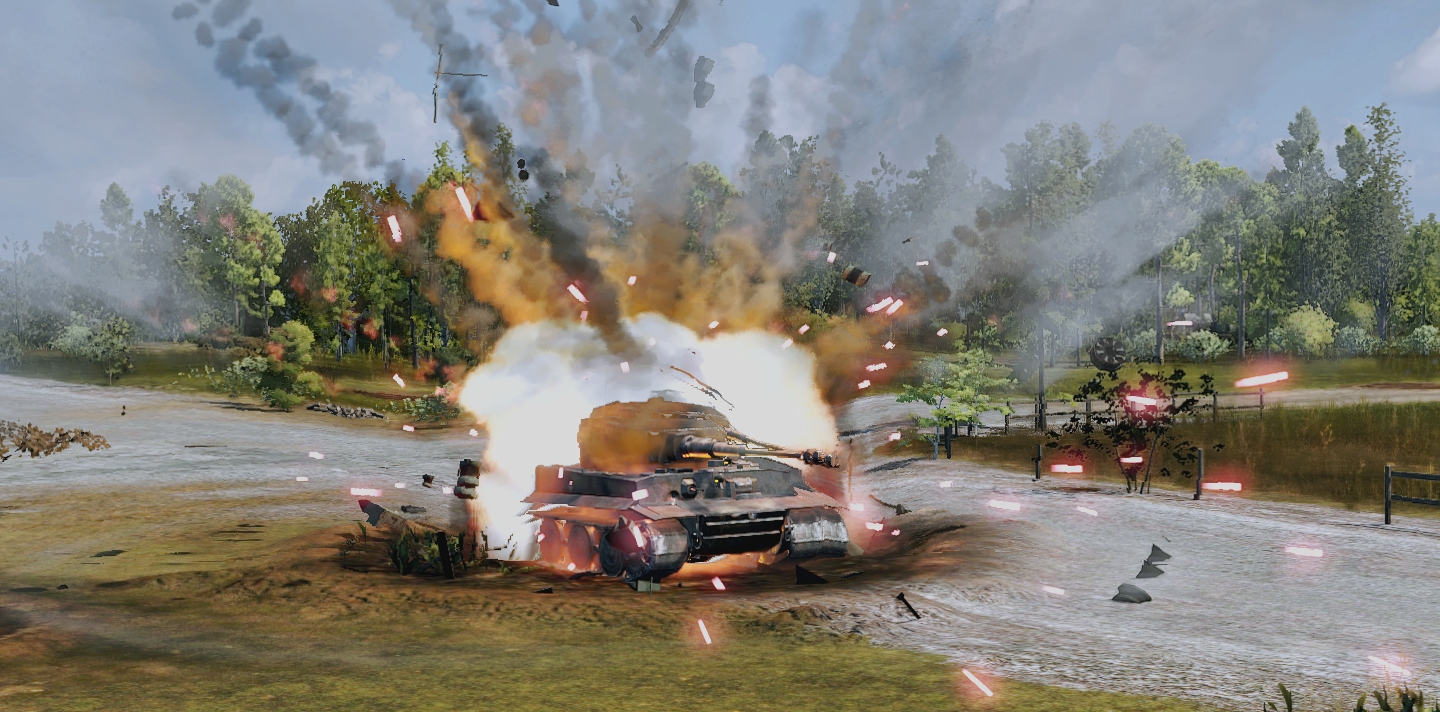
The violence reaches a mesmerising climax in minute 12. Three times I see a saffron 'BOUNCE' label appear over my Tiger. Pounded by a pair of 76mm tank guns, the PzG squad occupying the collective farm south of the windmill goes from ten men to two alarmingly quickly. If it wasn't for the pause button, the fury might induce paralysis. Because I can stop the clock to inspect and tweak whenever I please, I stick to my task and slowly, steadily, turn the tide. Spooked into reversing by the Fw 190's strafing runs one of the KV-1s fails to notice that it's being eyed by a hungry Tiger. Ivan infantry advancing east of the road are cut to ribbons by the depressed flak guns of the Sd.Kfz 7/1. When a newly arrived Soviet flame tank combusts before dispensing a single gout of napalm, I sense it might be my day.
The KV-1 that, in the fourteenth minute, slinks out of the woods and tops my hardworking AAA halftrack, clearly feels it's too early for such bold predictions. I'm attempting to pincer it with Panzer IV and Tiger when it decides it would prefer to perish in a more intimate fashion. Like AFVs in weightier wargames, SD2 tanks will occasionally venture into settlements and light woods alone - a risky practise in warzones awash with Panzerfausts, Molotovs, and the like.
Although absorbed by the village defence, the growing red bulge in the frontline to my right hasn't escaped my notice. While the Panzer IV mops up, its bruised brother-in-arms heads east once again. It's soon trading shells with three unidentified Red trundlers, one of which turns out to be an IS-1. Wavering resolve turns to barely contained panic when a non-penetrating hit stuns the Tiger's driver. In a weak moment I splash most of my remaining requisition points on another Panzer VIE, and order my battered stalwart to retreat to the shelter of the collective farm.
It's cowering amongst the sagging hay ricks and rusting ploughs when the vehicle that triggered its flight blunders into a PzG squad that has done little except wait and watch since the battle begun. In another questionable tactical choice (possibly a consequence of my 'no income' skirmish setting) the enemy routes the unaccompanied eastern IS-1 through unscouted woodland rather than using lanes and fields and is punished by Panzerfausts for its foolishness.

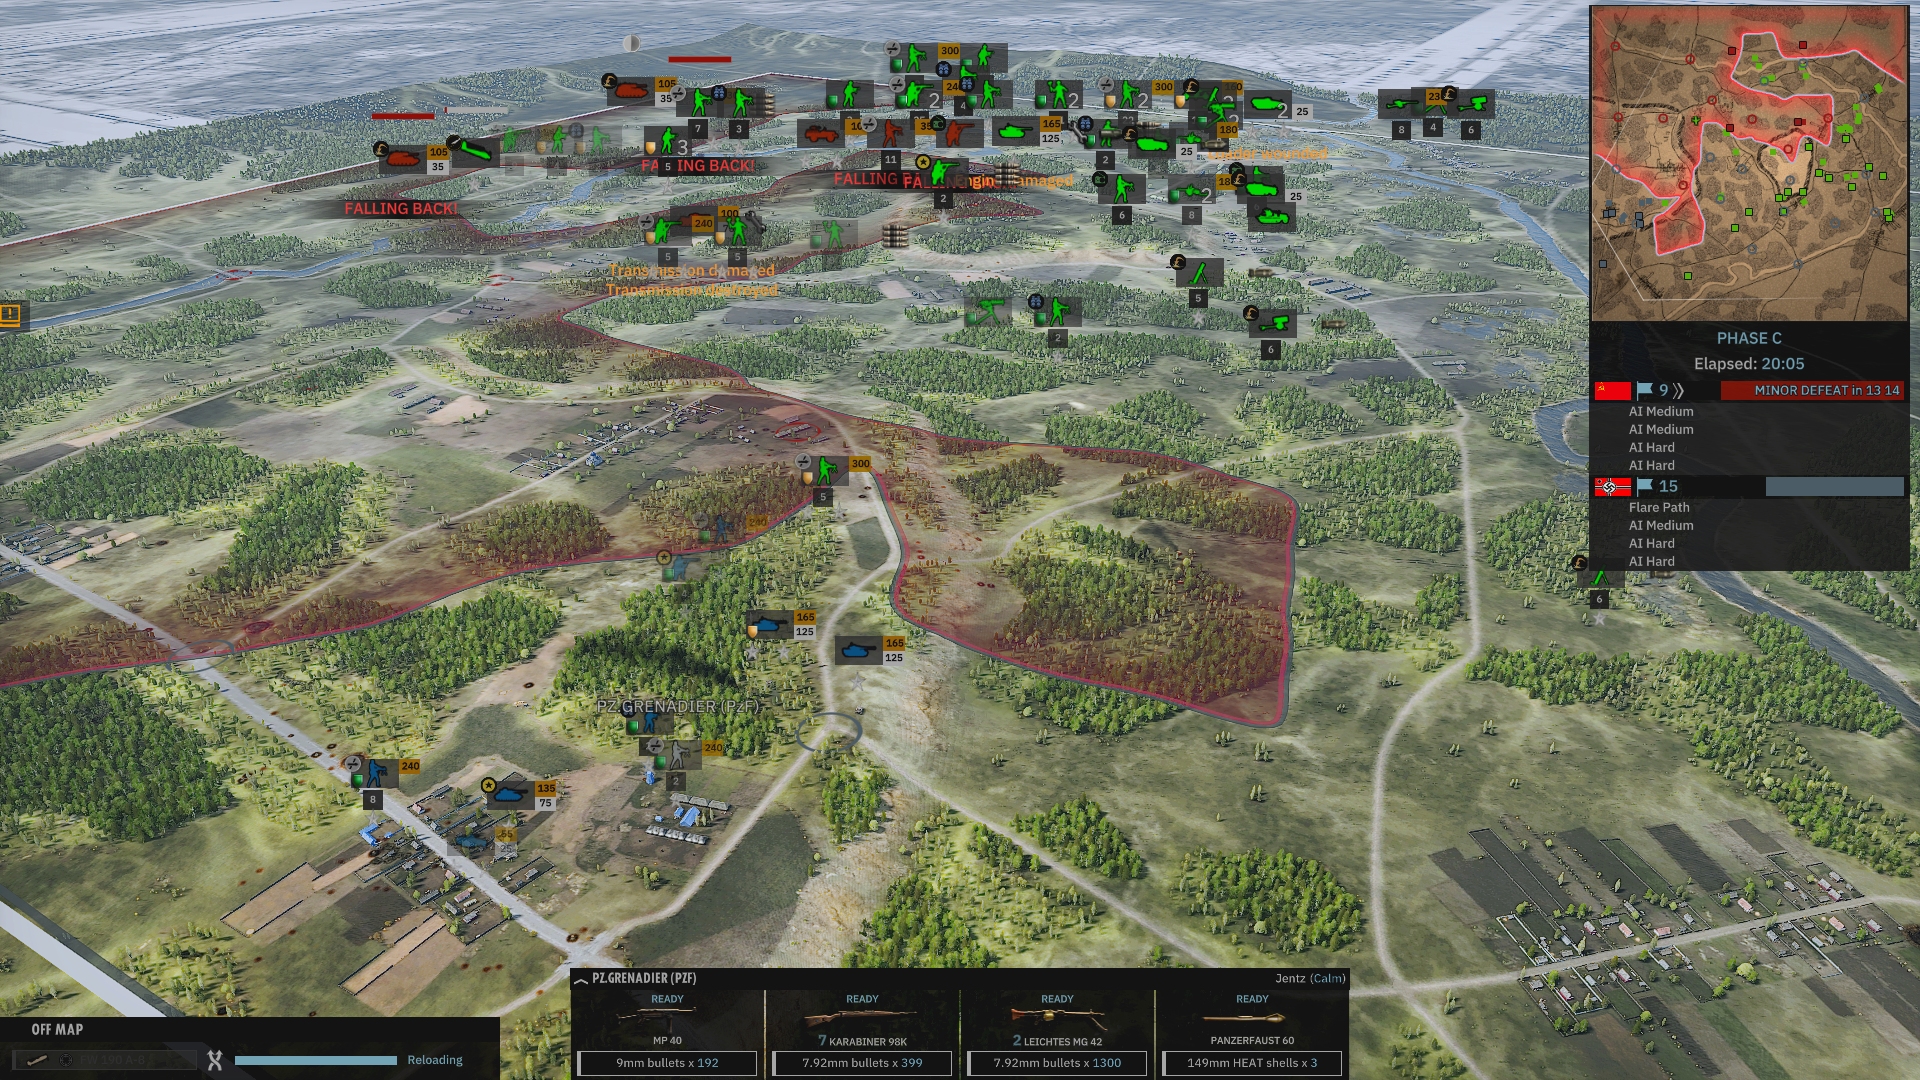
The clock claims seventeen minutes have elapsed, but regular pausing means I've been playing for significantly longer. Frustrated in the west by my village-centered, Tiger-anchored roadbock, the Reds look to be faring even worse in the east. In the top-right corner of the mini-map the dynamic front line is dominated by a jagged blue fissure that reaches almost to the upper map edge. Fourteen VLs are in German hands, ten belong to the Russians. I think it's about time I stopped turtling and started blitzkrieging cautiously advancing. Using my pair of big cats as flank protectors and an intact PzG squad and PzG leader unit as VL snatchers I begin to sally NE.
Soon the crimson bulge to my right is a crimson bubble. Any leaderless enemies cut off as the bubble shrinks to nothing should, in theory, throw in the towel shortly if close to troops willing to accept their surrender.
Apart from a scare at 23.44 when an unseen 45mm AT gun turns my star Tiger into a reluctant pillbox, and another burst of excitement around the 25 minute mark when some retreating stragglers attempt to fight their way past my VL grabbers (who, short of ammo, are waiting for resupply at the time) Phase C passes without alarums. In SD2 'Conquest' skirmishes the more territory you hold, the quicker the victory screen arrives. To stop the clock and savour the satisfaction generated by a post-aggro assessment like this one...
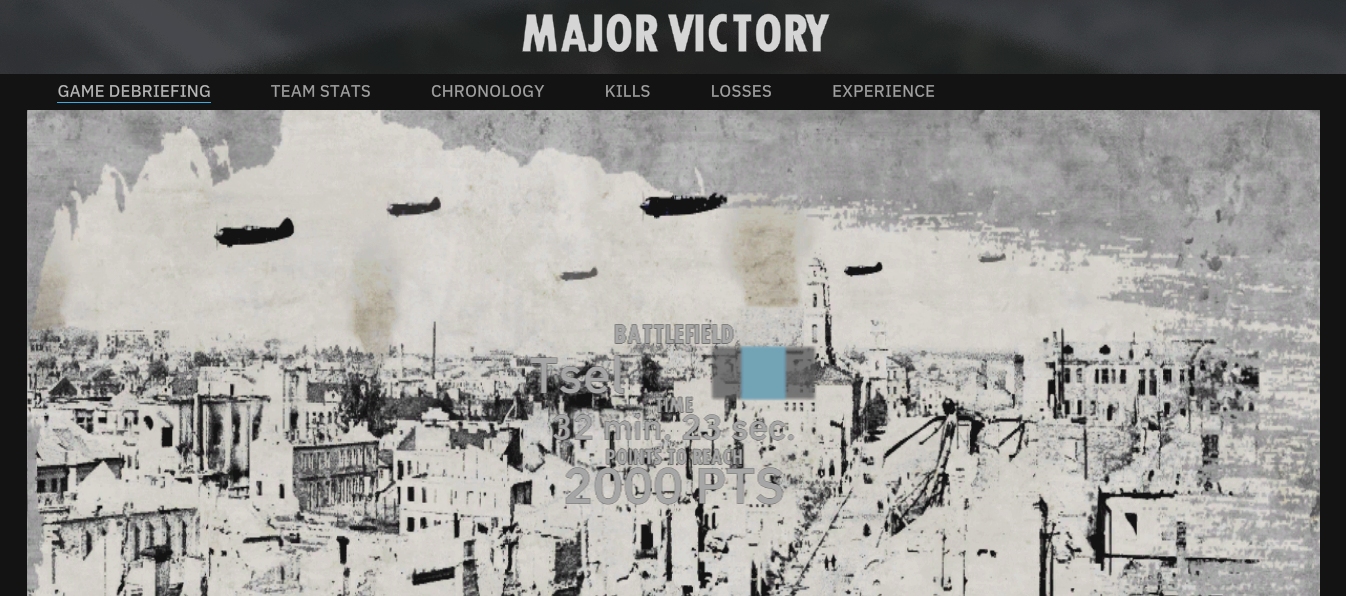
… thankfully, you don't need to comb the scenery for every last foe, or take possession of all VLs.
According to the debrief screen, my force was responsible for 28% of German kills. A respectable share, but a stat I find more pleasing is the '15%' next to 'Casualties in team'. As this rambling battlecast has hopefully proved, it's possible to approach a Steel Division II scrap - even an unscripted skirmish - in a wargamey manner. You can apply tactics learned in Close Combat, Combat Mission, and Graviteam Tactics and you won't, in single-player engagements at least, end up looking silly. Elegant, thrilling, and as realistic in its own way as Atomic's classic series, Steel Division II threatens to be a fine game.
Just how fine I won't know until I've sampled that dynamic campaign.
* * *