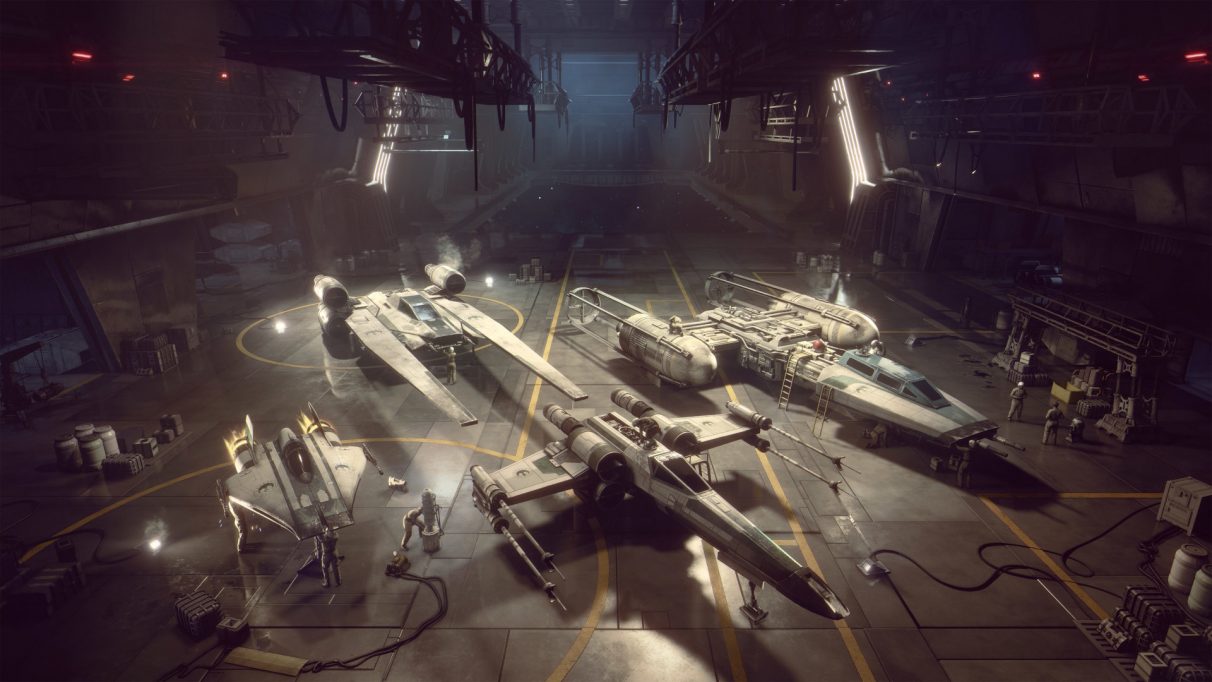
Best Y-wing loadout in Star Wars: Squadrons
Use this Y-wing loadout to turn any enemy into scrap
Whenever I see a Y-wing in Star Wars: Squadrons without the right loadout, I let out an audible groan. This is one of the strongest ships in the game if you kit it out correctly, but it seems most players haven't yet discovered this. If you've not yet given the Y-wing a proper go, follow our best Y-wing loadout guide below and see what you think. I promise you won't be disappointed.
In this Y-wing loadout guide:
Best Y-wing loadout in Star Wars: Squadrons
The Y-wing in its current state has the potential to be the strongest ship in the entire game thanks to its fantastic survivability and the ability to attach some of the strongest weapons to its hull. Below I'll walk you through a top-tier Y-wing loadout, and why it works so well against pretty much any type of ship in the Empire's fleet.
Here is the best Y-wing loadout:
- Weapons: Krupx Heavy Rotary Cannon
- Aux #1: ArMek Automatic Ion Cannon
- Aux #2: Chepat Emergency Assault Shield
- Countermeasures: ArMek H/M Seeker Warheads
- Hull: Fabritech Dampener Hull
- Engines: Quadex Jet Engine
- Shields: Loronar Ray Shield
Let's get the obvious out of the way first: the Heavy Rotary Cannon is utterly overpowered. It's by far the strongest weapon in the game, and it's the main reason why Bombers like the Y-wing and TIE Bomber are fast becoming the meta in Star Wars: Squadrons. So the weapon is a bit of a no-brainer here. But that's not the only thing going on in our Y-wing build.
Most players who have started to realise the potential of the Bomber-class ships simply slap the Reinforced Hull on it, for maximum tankiness. But there are other, better ways to ensure your survival. Our Assault Shield auxiliary power will reduce all front damage by 90% for a short time, enabling you to emerge the victor in head-to-head situations almost every time. We've also opted for the Loronar Ray Shield, which increases the damage we take from missiles but decreases damage taken from lasers (which are far more common).
To combat the vulnerability to missiles, we have our ever-reliable Seeker Warheads countermeasure, which can be fired 4 times before restocking and only has a short cooldown. Additionally, the Dampener Hull makes it much harder for enemies to lock on with their homing auxiliaries, allowing you to use your Warheads more sparingly.
The Automatic Ion Cannon auxiliary component is unique to the Y-wing, and it has proven a menace to enemies that attempt to tail me while I'm using this loadout, stripping away their shields (if they have any) and disabling them if they're not careful. And the icing on the cake is the Jet Engine, which drastically increases Boost charge. This is a must-have in my opinion, because you'll want to spend as little time as possible maxing out your engines so you can concentrate instead on topping up your shields.
To view this Y-wing loadout in full detail, be sure to check out the Squadrons Toolkit Loadout Builder where I've recreated the build exactly.
How to use our Y-wing loadout
A Y-wing kitted out as above is a very tough ship to destroy. With its Assault Shield and resistance to lasers, you should look for any opportunity to engage an enemy head-on, because you'll pretty much always be able to withstand whatever your adversary can throw at you.
You should stay on the move as much as possible, using your fast boost charge to quickly reposition. If you stay in one place for too long, you're likely to get locked and have missiles thrown in your direction. If this happens, you can always use your countermeasures - but since your Warheads are limited, you should look to avoid this situation as much as possible.
In terms of power generation, shields are your first priority. Try to keep your shields overcharged as much as possible, and take advantage of the fact that your overcharged shields deplete very slowly by switching to engines to top up your boost. This way, you'll stay agile and capable of escaping dangerous positions.
The rest is fairly straightforward. Track enemies to the best of your ability, and blast them to dust using the phenomenal power of your Rotary Cannon. If you find you have a tail, set your Automatic Ion Cannon going while attempting to escape their lock. Stay on top of your shield and boost charge levels, and there's really not much that can challenge you in this Y-wing.
Alright, that's a good place to stop and just let you try out this Y-wing loadout for yourself. But if you're looking for other top-tier builds for different ship types, look no further than our Best Star Wars: Squadrons loadouts page!


