The best Star Wars: Squadrons loadouts for each ship class
These Squadrons loadouts are top of the meta right now


Star Wars: Squadrons, we can all agree, has a pretty steep learning curve. Particularly once you jump into multiplayer matches and realise that your ship loadouts have an enormous impact on your success, and the outcome of a match. But if you're finding yourself constantly at the bottom of the scoreboard, don't despair. I was you once: and now I'm the top fragger in nearly every lobby I enter. After dozens of hours of playing and experimenting, I've put together some of the best Star Wars: Squadrons loadouts that exist right now - and today I want to share them with you.
In this Star Wars: Squadrons loadouts guide:
- How to make the best Star Wars: Squadrons loadouts
- Empire ships: TIE Fighter | TIE Bomber | TIE Interceptor | TIE Reaper
- Republic ships: X-wing | Y-wing | A-wing | U-wing
How to make the best Star Wars: Squadrons loadouts
You can customise your ship loadouts in Star Wars: Squadrons from the Customisation panel on the main menu. From there, you can switch between the Galactic Empire and the New Republic hangars, and customise each of their four ships by clicking the button over the ship in front of you in the hangar. As you earn more experience, you'll unlock more loadout slots for each ship, and you'll also earn two resources: Requisition (the square icon), which is used to unlock new ship components; and Glory (the spiky icon), which is for unlocking cosmetics.
You can spend your Requisition at any time by clicking on a particular component for a ship and unlocking it. Doing so will unlock that same component for every available ship. Once you reach Level 40, you'll have earnt enough Requisition to unlock every component for every ship. After that, subsequent levels will only grant you Glory.
I've played Star Wars: Squadrons enough now that I'm nearly always at the top of the scoreboard by a long way, and it's thanks in no small part to these extremely powerful, top-tier ship loadouts I've put together. Below I'll walk you through all 8 ships in Star Wars: Squadrons, and the very best loadout for each one.
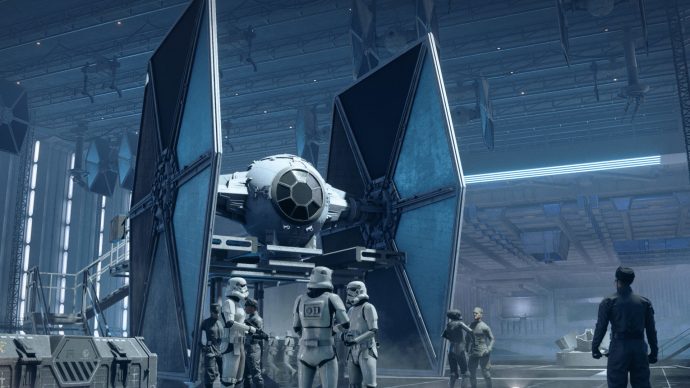
TIE Fighter loadout
The TIE Fighter strikes a balance between speed, aggression, and survivability, which means it doesn't excel in any particular area. It's too often overlooked in favour of the TIE Interceptor's extreme mobility, and the TIE Bomber's high damage potential. But the TIE Fighter is far from obsolete - it just needs a bit of fine-tuning.
I've found that what this ship really needs is a big boost to its manoeuvrability. You trade in a bit of speed, acceleration, and health, but in exchange what you get is essentially a tanky Interceptor. A very nimble and powerful ship with disabling and healing properties, capable of going toe to toe with A-wings and other ships that would normally make short work of a TIE Fighter.
Check out our Best TIE Fighter loadout in Star Wars: Squadrons page for full details.
TIE Bomber loadout
The TIE Bomber is my favourite ship in Star Wars: Squadrons, and after you've tried out this build it'll likely be your favourite ship too. You might expect a Bomber to be great against Capital Ships but fairly terrible against smaller ships. That would make sense, right? Well it's not the case. The Bomber has access to the strongest weapon in the game: the Sienar Rotary Cannon. With this beast of a blaster, it can melt any enemy in a matter of seconds.
There's more to our Bomber loadout than just a great weapon though. Lots of players like placing the Reinforced Hull on the Bomber, but a good opponent can punish you for choosing such low mobility. I've spent a lot of time in various configurations of this ship, and the one I keep returning to strikes a balance between power and survivability, without trading too much mobility either. I almost always get over half the kills for my team in a Dogfight with this build, with perhaps one or two (or even zero) deaths.
Check out our Best TIE Bomber loadout in Squadrons page for full details.

TIE Interceptor loadout
The Interceptor is the most popular Empire ship in Star Wars: Squadrons, and it's easy to see why. Everyone's still getting used to the controls and navigating the maps, and it makes sense to pick the fastest, most mobile ship in the fleet for this. What's more, the Interceptor is packed with great weaponry that can quickly down a larger ship, as long as you stay alive long enough.
My favourite Interceptor loadout is not what you might expect. It requires a fair amount of skill and a decent team alongside you, but if you have both those things, there's simply no better build for an Interceptor. You may not earn top fragger with this build thanks to its use of Ion Cannons over regular lasers, but with the addition of Onslaught Rockets you'll still have more than enough firepower to finish off any ship the Republic sends your way.
Check out our Best Interceptor loadout in Star Wars: Squadrons page for full details.
TIE Reaper loadout
The TIE Reaper is the Empire's support-class ship - so, of course, it's criminally underutilised in Dogfights and Fleet Battles alike. Most players prefer to go for high DPS builds, throwing themselves at the enemy again and again, looking for the highest number of kills. For those who only care about doing a good job, I've got one hell of a TIE Reaper loadout to show you.
You won't be doing too much killing with this Reaper build, but you'll certainly be leading your team to victory thanks to the extreme survivability you'll offer with your Tactical Shield and Supply Droid abilities for healing up and protecting your squadmates. Your aim with this build should be to look for allies in danger, get them back on their feet, then disable the enemy ship and leave, allowing your ally to turn the tables on their attacker. It's an extremely satisfying ship once you get used to your role as a supporter, and with a decent team by your side you can almost ensure a victory in any lobby.
Check out our Best TIE Reaper loadout in Squadrons page for full details.
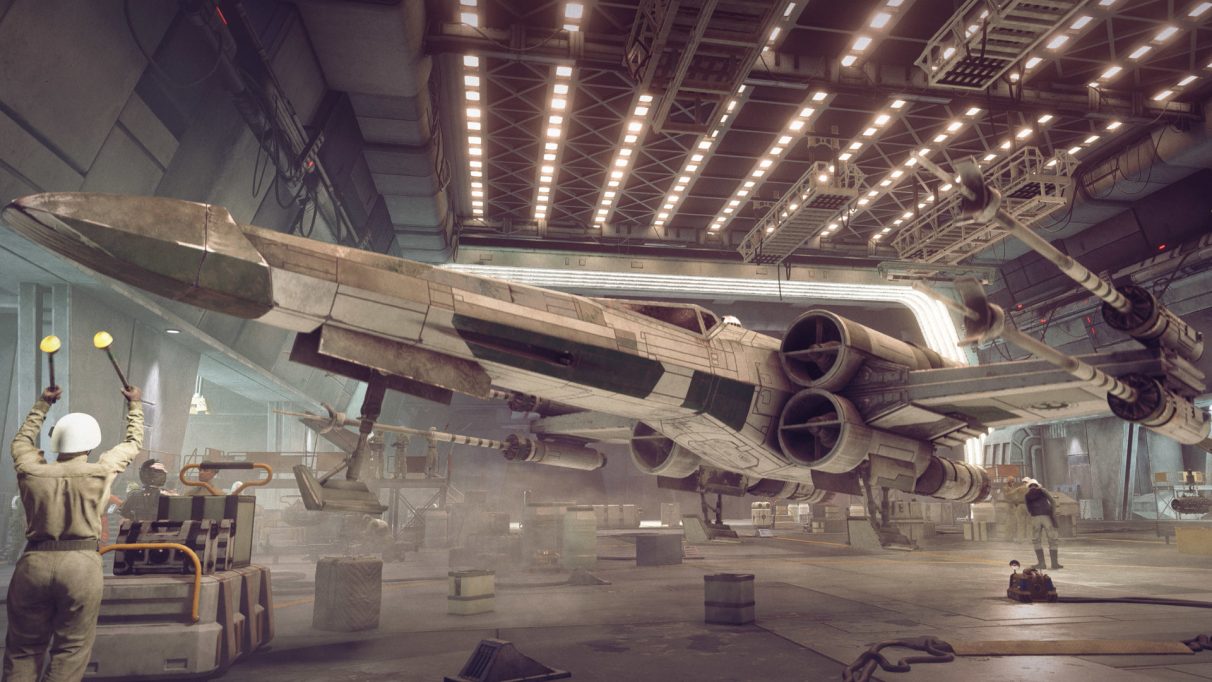
X-wing loadout
The X-wing is the Republic's counterpart to the TIE Fighter, and fills the same role of being the most versatile and balanced ship in the fleet, capable of battling both starfighters and capital ships with great success. Thanks to the Republic's tendency to slap shields onto every ship in their fleet, the X-wing is far more durable than the TIE Fighter, and the unique shield-based components available to you gives you even more scope for customising the ship however you'd like.
My strongest X-wing loadout doesn't actually put much into survivability at all, because once you've mastered shield manipulation you can survive a lot of damage in any Republic ship regardless of its setup. So instead I've opted for high mobility and passive Boost generation, allowing you to track enemies with ease, and lose tails in the blink of an eye.
Check out our Best X-wing loadout in Star Wars: Squadrons page for full details.
Y-wing loadout
The Y-wing is possibly the only ship that can meet the extreme potential of the TIE Bomber. The strengths and weaknesses of the two ships are much the same (extreme DPS and very survivable, but low mobility), but the Y-wing is even more protected thanks to its shields, while the TIE Bomber can make use of the Empire's patented emergency power converter to be more versatile.
As with the TIE Bomber, the key to the Y-wing's power is the Rotary Cannon, which delivers unbelievable amounts of damage to enemies in a short space of time. An Assault Shield keeps us even more protected while engaging head-on, while the Automatic Ion Cannon on the back of the ship disrupts potential tails.
Check out our Best Y-wing loadout in Star Wars: Squadrons page for full details.
A-wing loadout
The A-wing is a startlingly powerful little craft, and probably my favourite ship in the Republic fleet to use. It's surprisingly tough for such a small, fast ship thanks to its shielding (which can be overcharged with ease to offer double protection), and of course it's mobile enough that you can tail most larger Empire ships with ease.
The key to my best A-wing loadout is staying off the radar and away from danger, even when you're dishing out damage left and right. The Targeting Jammer auxiliary is fantastic for breaking locks, while the Nimble Deflector shields allow us to regenerate and even overcharge our shields in the blink of an eye. Meanwhile you'll be dishing out consistent damage with your regular old Laser Cannons, and keeping yourself topped up with overcharged shields and the Repair Kit. I can guarantee a world of frustration for anyone who attempts to lock you down in this ship.
Check out our Best A-wing loadout in Star Wars: Squadrons page for full details.
U-wing loadout
Finally we come to the Republic's support craft, the chunky U-wing. Because the TIE Reaper is the only Empire ship which also goes down the Republic route of shields instead of the emergency power converter, there's really not much difference between these two ships. They're bulky and slow, but hard to kill and fantastic at saving allies and disabling enemies.
My favourite U-wing loadout is pretty much a carbon copy of the best TIE Reaper loadout featured above. It's a low-kill setup, but you'll be saving a great many lives with the combination of Supply Droids and Tactical Shields to place over your allies while they're healing up or charging at the enemy squadron. Your Auto-Aim Cannons are great against Empire ships as they mostly have no shields and therefore can't easily regenerate the health you chip away.
Check out our Best U-wing loadout in Star Wars: Squadrons page for full details.
And there you have it: eight absolutely top-tier current-meta loadouts for Star Wars: Squadrons. No matter your choice of ship, if you follow the above guidelines you'll be the MVP of your squad time after time. If you want to take your skills even further, be sure to also check out our Star Wars: Squadrons tips page.