Colonel Croesus: Turn 5

The paths and waypoints assigned by the Comment Commanders this turn, radiate into the darkness like a toadstool's mycelium. Conscious that the clock is ticking, Croesus and Co. are out to secure one subterranean chamber ('LEAD') and inspect/subdue another ('ZINC') from multiple angles.
(Colonel Croesus is an open-to-all game of Combat Mission: Fortress Italy in which Allied forces are orchestrated by commenters while German units are computer controlled. Each daily turn covers one minute of WeGo action. For a scenario outline and accounts of earlier turns, click here)

The infantry assault at LEAD makes Big Joe proud (not that he shows it, of course). One grenade neutralises what remains of the Pak crew...

...another deals with a prone rifleman half-hidden by equipment crates. Corpse-strewn and reeking of cordite, LEAD is ours!
At the other end of the column ff tunnel, things don't go quite as smoothly.
Remember the foe spotted last turn near the ZINC shack, moments after Crabmeat 2's close shave with a Panzerfaust? Corporal Wood glimpses him through the murk at T+8, fires, and misses. Nemchik, now unbuttoned, would love to join in, but, for the moment, the billowing dust cloud prevents him.

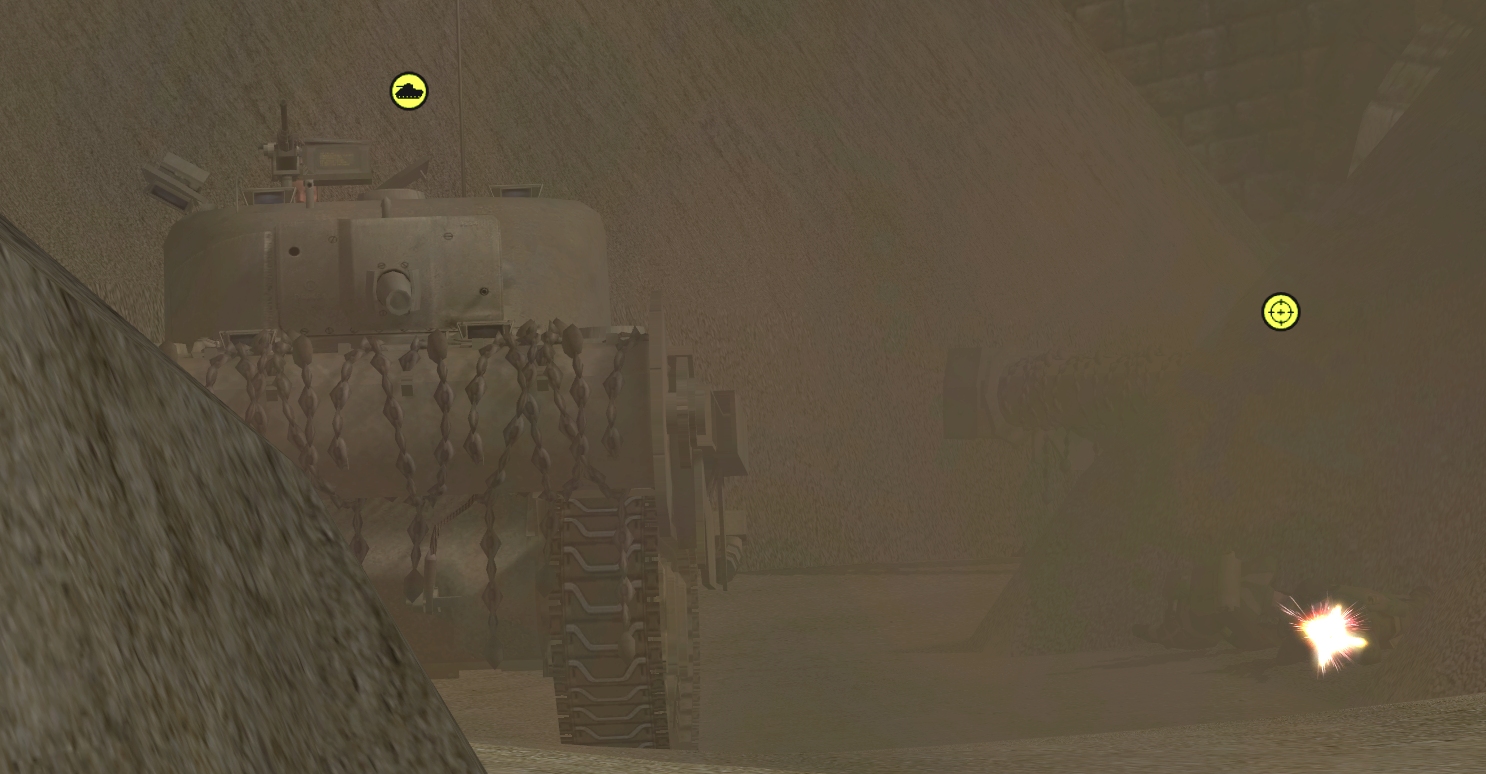
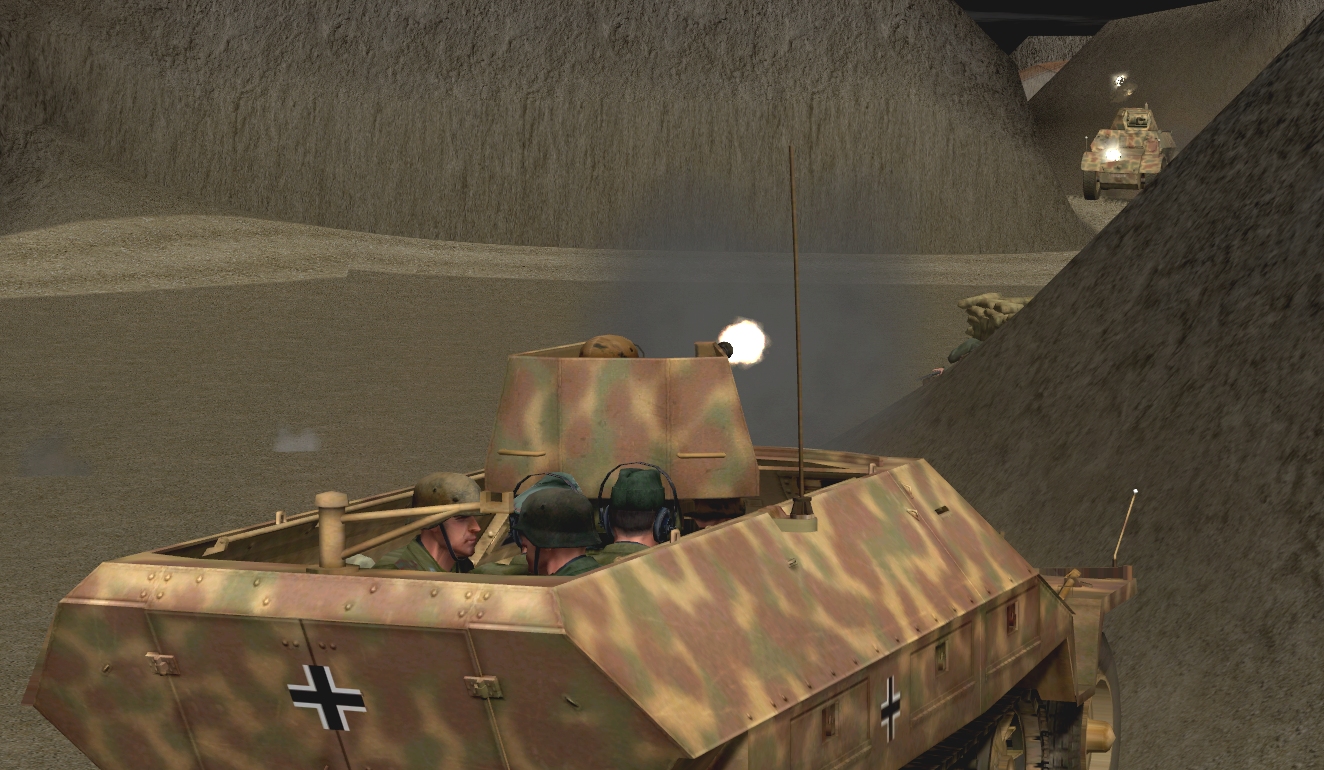
Obscurants aren't an issue for the Autoblinda 41. As Belinda turns the corner into the ff tunnel, her commander, Count Casari, spots both the presumed Panzerfaustist and something a little bulkier. Immediately, the halftrack starts reversing and the main guns of both vehicles twitch into alignment. Which angry abode will fire first?

Neither! At T+30 the duel is rudely interrupted by a Panzerfaust launch. The warhead's origin is indicated with an asterisk on the above image. The goon on the right wasn't involved.

For a moment it appears Belinda has got away with it. Launched at too low an angle, the shaped charge misses armour plate, and detonates under the Count's conveyance. The crew are totally unscathed. Unfortunately, the same can't be said for the Autoblinda's wheels and drive shaft. Our armoured car is now a steel pillbox.

Vengeance for this act of vehicular vandalism is swiftly dispensed. Crabmeat 2 notices Belinda's attacker and fells him with a burst of MG fire.
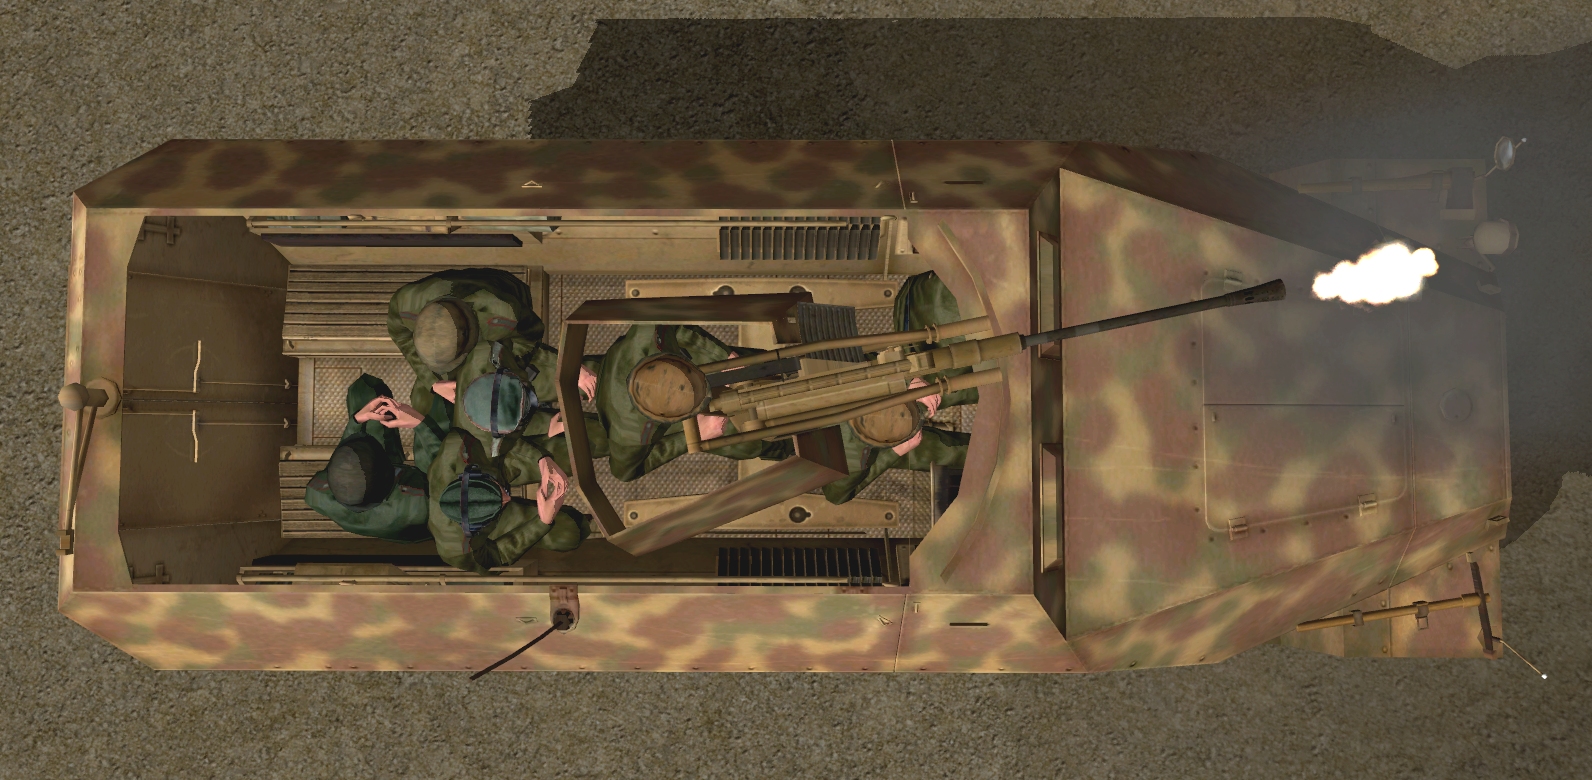
Smoke is still curling from the muzzle of the coaxial Browning when the halftrack gunner decides to finish the job the slain tank hunter started. 20mm cannon shells glitter Belinda's bow, killing the forward driver and gunner instantly, and wounding the rear driver and Count Casari.

With no LoS to the Sd.Kfz, Crabmeat 2 does what she can to assist the Italians. She eliminates the enemy grunt near the westernmost sandbag wall with a well-aimed 75mm HE shell.

Daubing the Autoblinda's turret flank with a vivid crimson stripe as he bails, the rear driver joins the Count on the ground next to their stricken mount. Unexpectedly, the pair then decide to head eastward rather than northward. The chosen escape route means the Italians break LoS with the halftrack quickly, but unwittingly put themselves in the Line of Fire of another enemy unit...

...two submachinegunners lurking in the shadows circa gg18. The pistols versus Maschinenpistolen gunfight ends predictably.
The situation at the end of Turn 5:
The Comment Commanders have lost an armoured car but gained a tank destroyer, a tracked flamethrower, a halftrack, and an infantry squad.

LEAD appears to be enemy-free.

Belinda's killer was last seen reversing in a south-westerly direction.