Dragon's Dogma 2 beginner's tips and tricks
Here's everything you need to know for delving into Dragon's Dogma 2


Looking for Dragon's Dogma 2 tips for beginners? With so many dungeons to explore and so many monsters to defeat in Dragon's Dogma 2, it's fair to feel slightly overwhelmed at the onset of Capcom's expansive action RPG.
Luckily, we're here to help your first hours as a resurrected Arisen feel a little smoother. Read on to learn ten pivotal tips and tricks that'll help you in a wide variety of areas, from making the most of your trusty pawn companions to fighting oversized beasts on the many roads of Dragon's Dogma 2.

- You can switch your vocation easily
- Recruit pawns at Riftstones to find favourites
- Your main pawn carries out Pawn Quests during inn visits
- Make use of pawn commands regularly
- Cast magick faster with pawn assistance
- Regain full health by sleeping at an inn or making camp
- Use Ferrystones or oxcarts for fast travel
- Always try combining inventory items
- Learn enemy weaknesses and resistances
- Remember, bosses have multiple health bars
You can switch your vocation easily
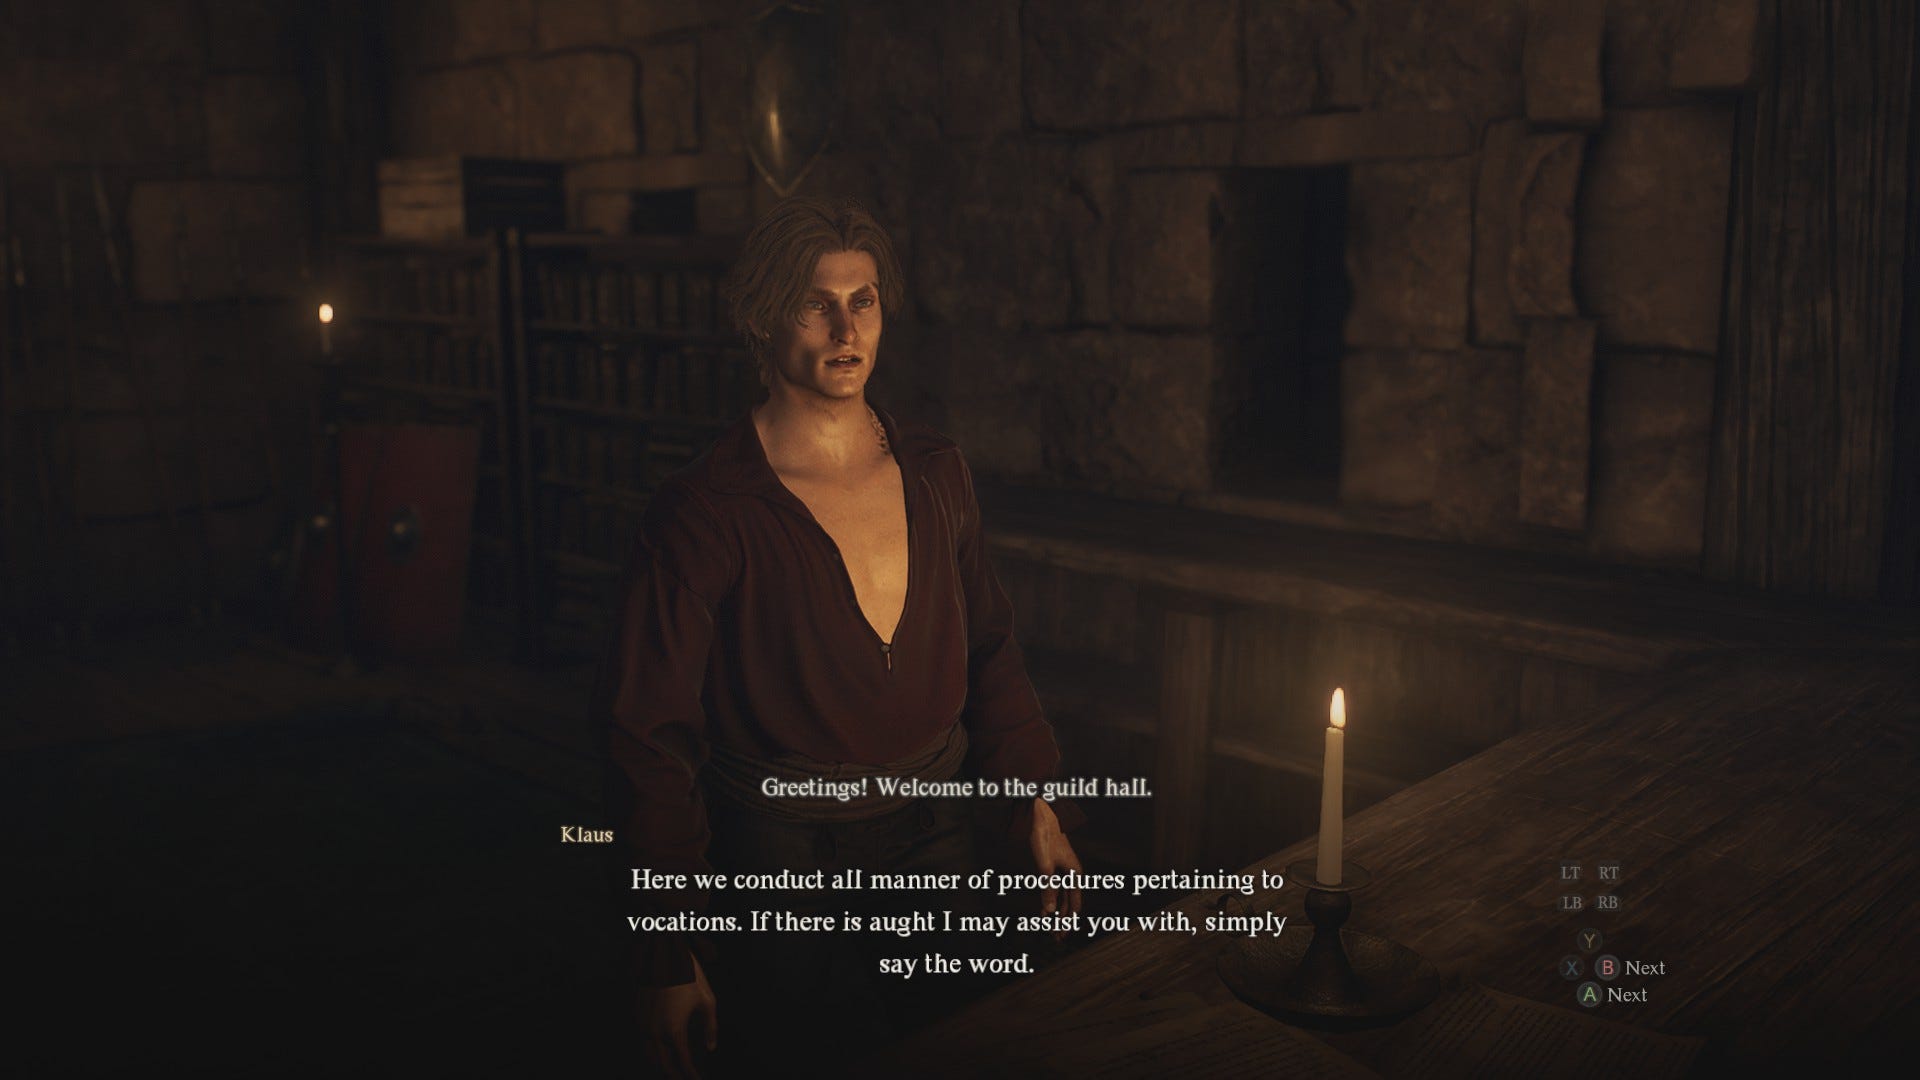
Unlike some other RPGs, you aren't stuck in your starting vocation in Dragon's Dogma 2. In fact, swapping vocations is as easy as visiting your nearest vocation guild in a big city. (In a smaller town, the vocation guild is often combined with the local inn). There, you can change both your Arisen and your main pawn's vocation as long as you have enough Discipline Points, abbreviated in-game as DCP. Four basic vocations - Fighter, Archer, Mage, and Thief - are available at the start of the game, and six more - Warrior, Sorcerer, Magick Archer, Mystic Spearhand, Trickster, and Spearhand - open up as you progress the story.
We've got an extensive guide on the best vocations in Dragon's Dogma 2, but in a nutshell, don't feel afraid to experiment and switch to whatever class you prefer. I myself started with a Mage before finding that I enjoyed the Fighter's skillset more. It's also important to note that Magick Archer, Mystic Spearhand, Trickster, and Spearhand are Arisen-exclusive vocations unavailable for pawns.
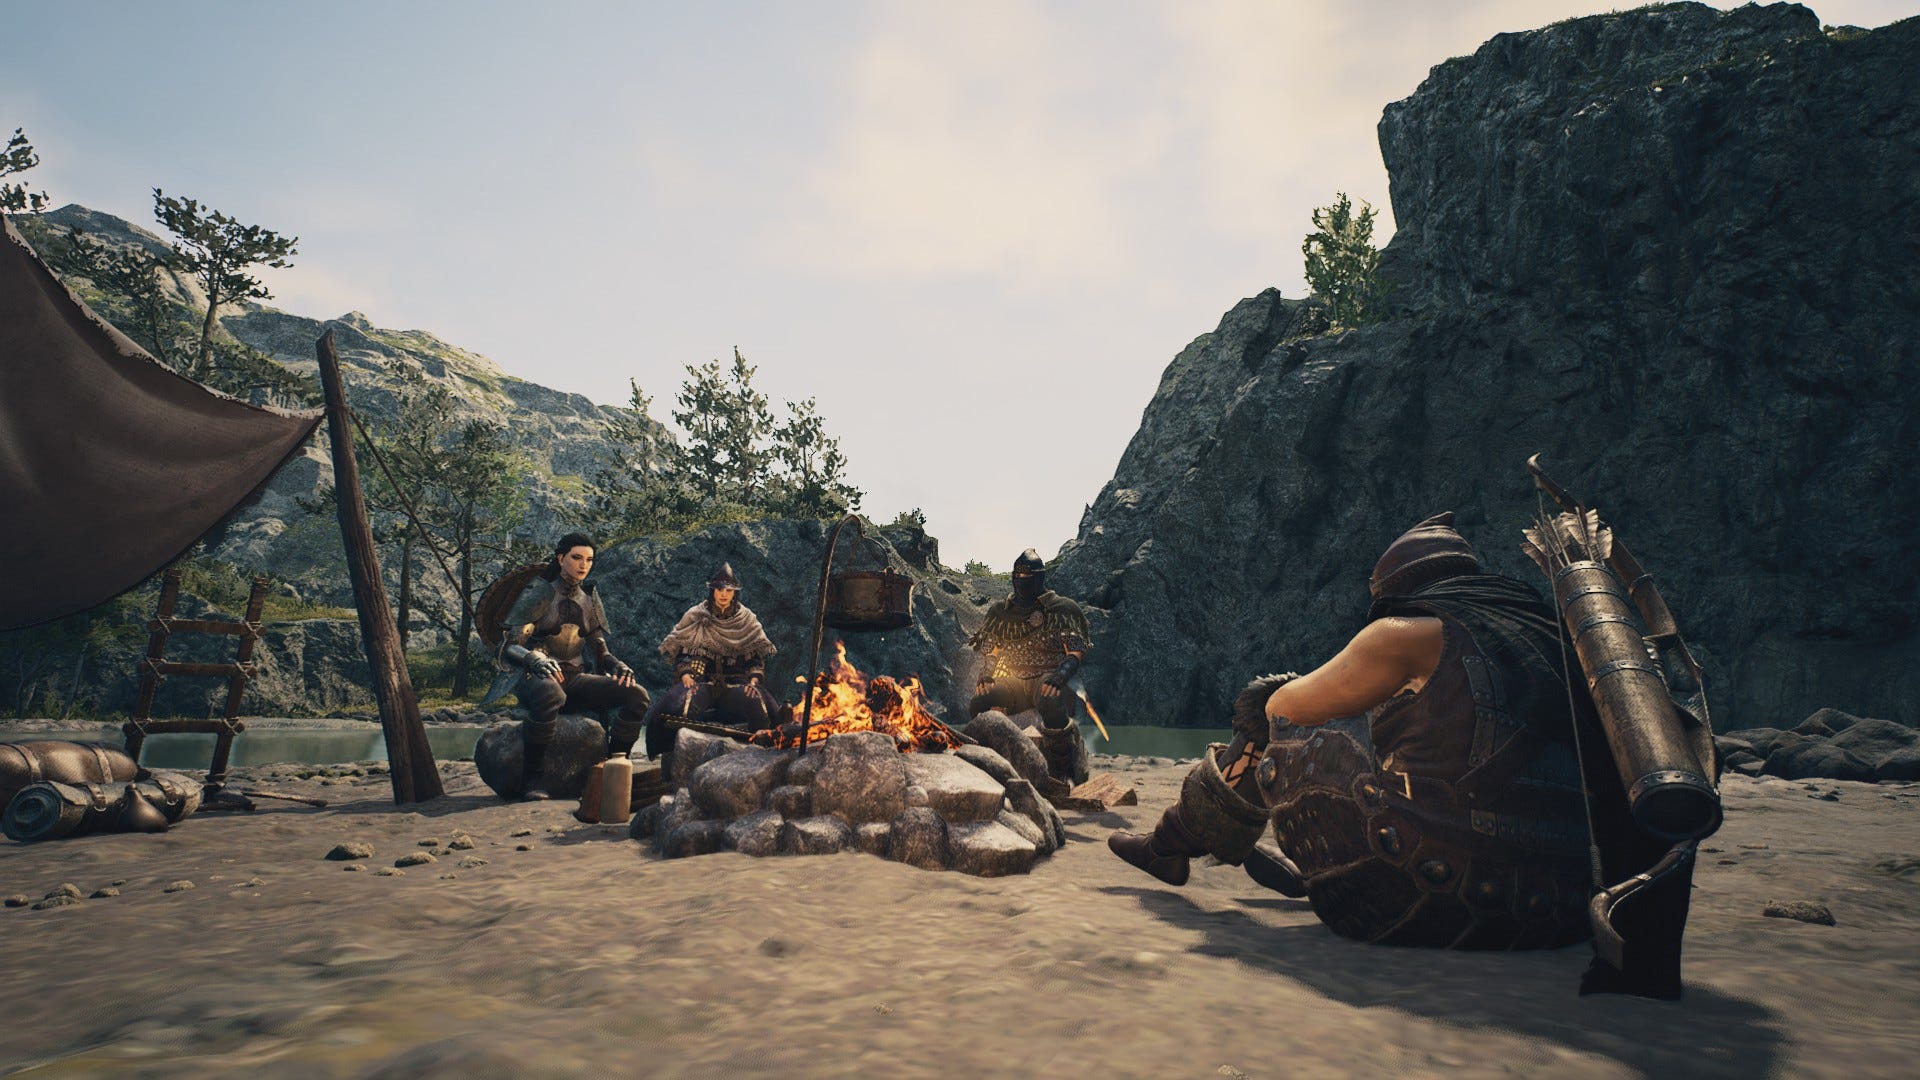
Recruit pawns at Riftstones to find favourites
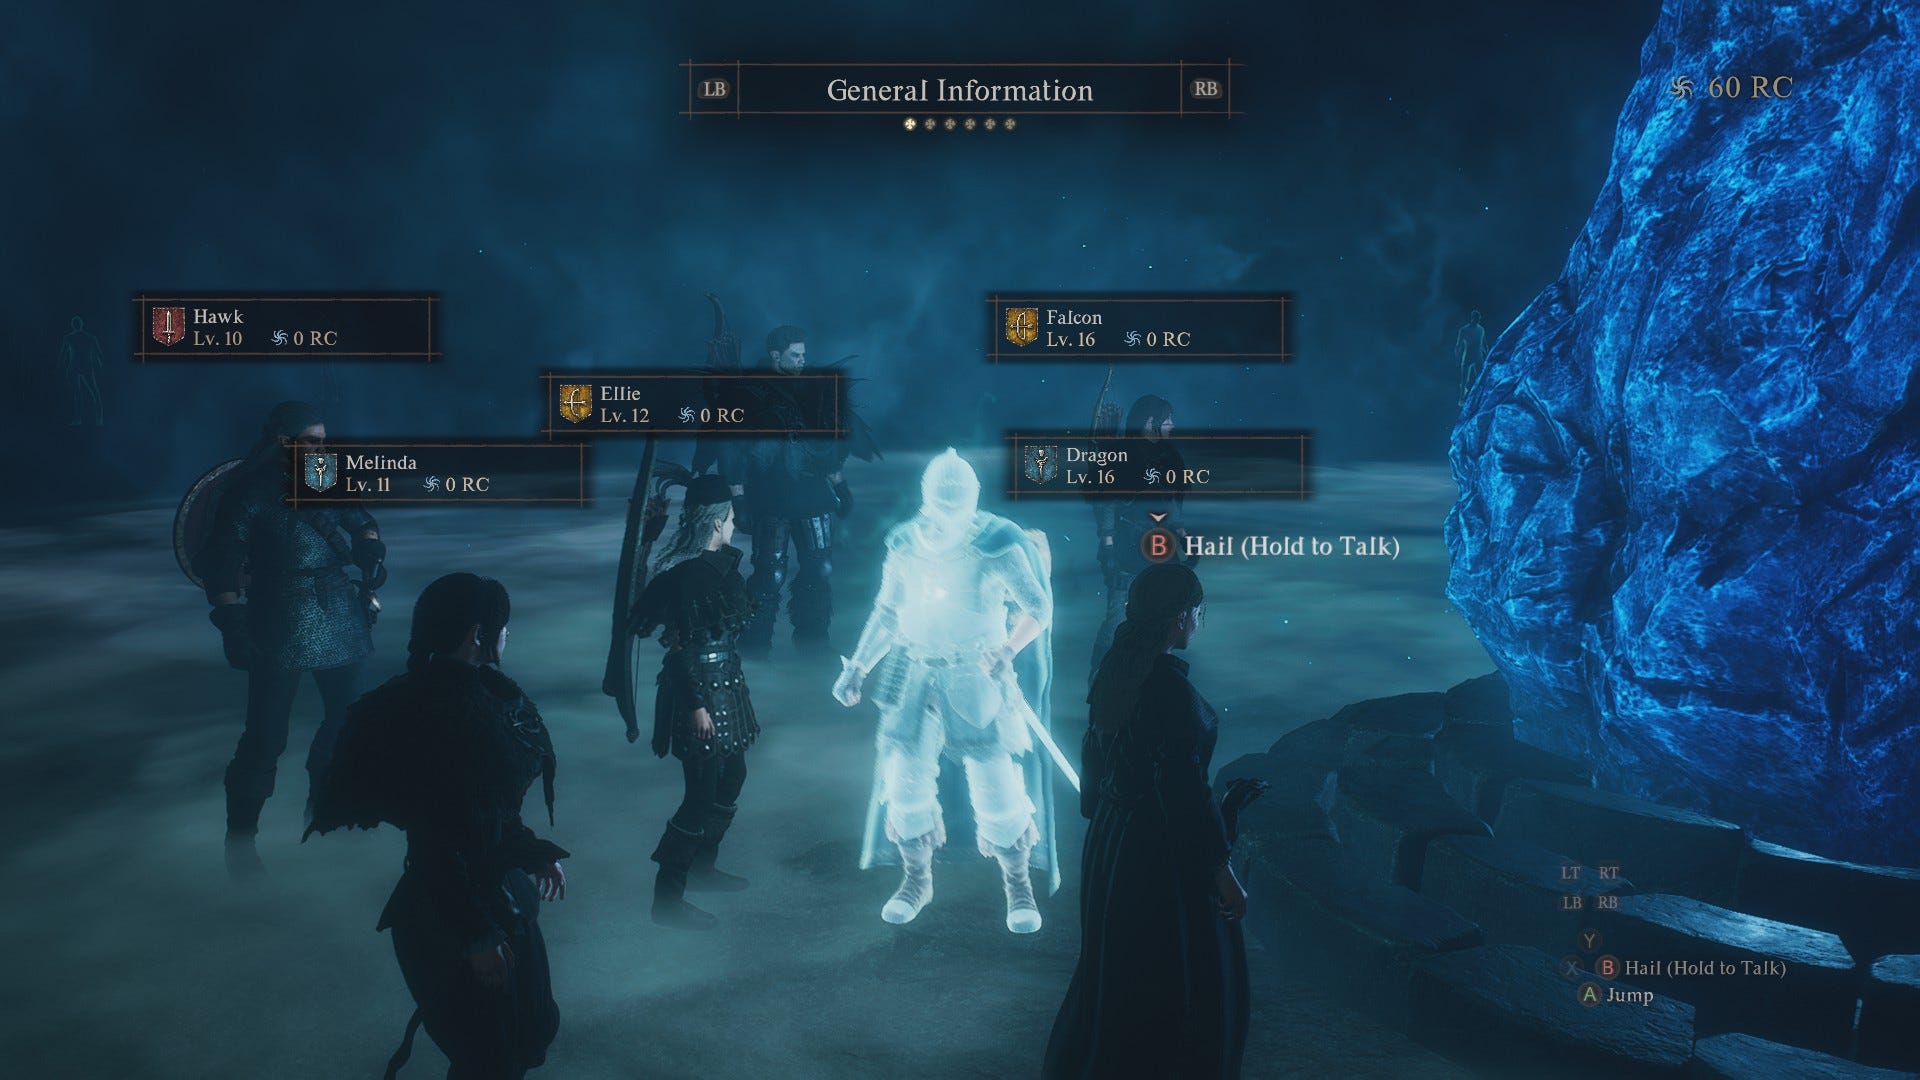
Dragon's Dogma 2 is focused on the single player experience, but emulates the feel of working alongside others by allowing your Arisen to recruit AI companions dubbed pawns. Aside from your main pawn, recruitable pawns are either NPCs created by Capcom or by other players using the game's online functionality.
You should take advantage of this unique system and always be recruiting pawns from your nearest Riftstone, or when you randomly encounter them in the wilderness. Many pawns created by other players might be a few levels higher than your current party, making them vital allies in monster battles, and some who have the Quest Guide ability will literally be able to lead you to your priority quest's final destination.
Keep in mind that pawns will not level when they're in your party, so it's good practice to recruit pawns who are roughly your level to two levels higher, dismissing them when you surpass them. That said, you can favourite a pawn you like at any time by speaking with them. This will allow you to specifically search for that pawn in the future the next time you're at a Riftstone - meaning that as long as their Arisen has leveled them up recently, you can recruit their leveled up form to your side!
Your main pawn carries out Pawn Quests during inn visits
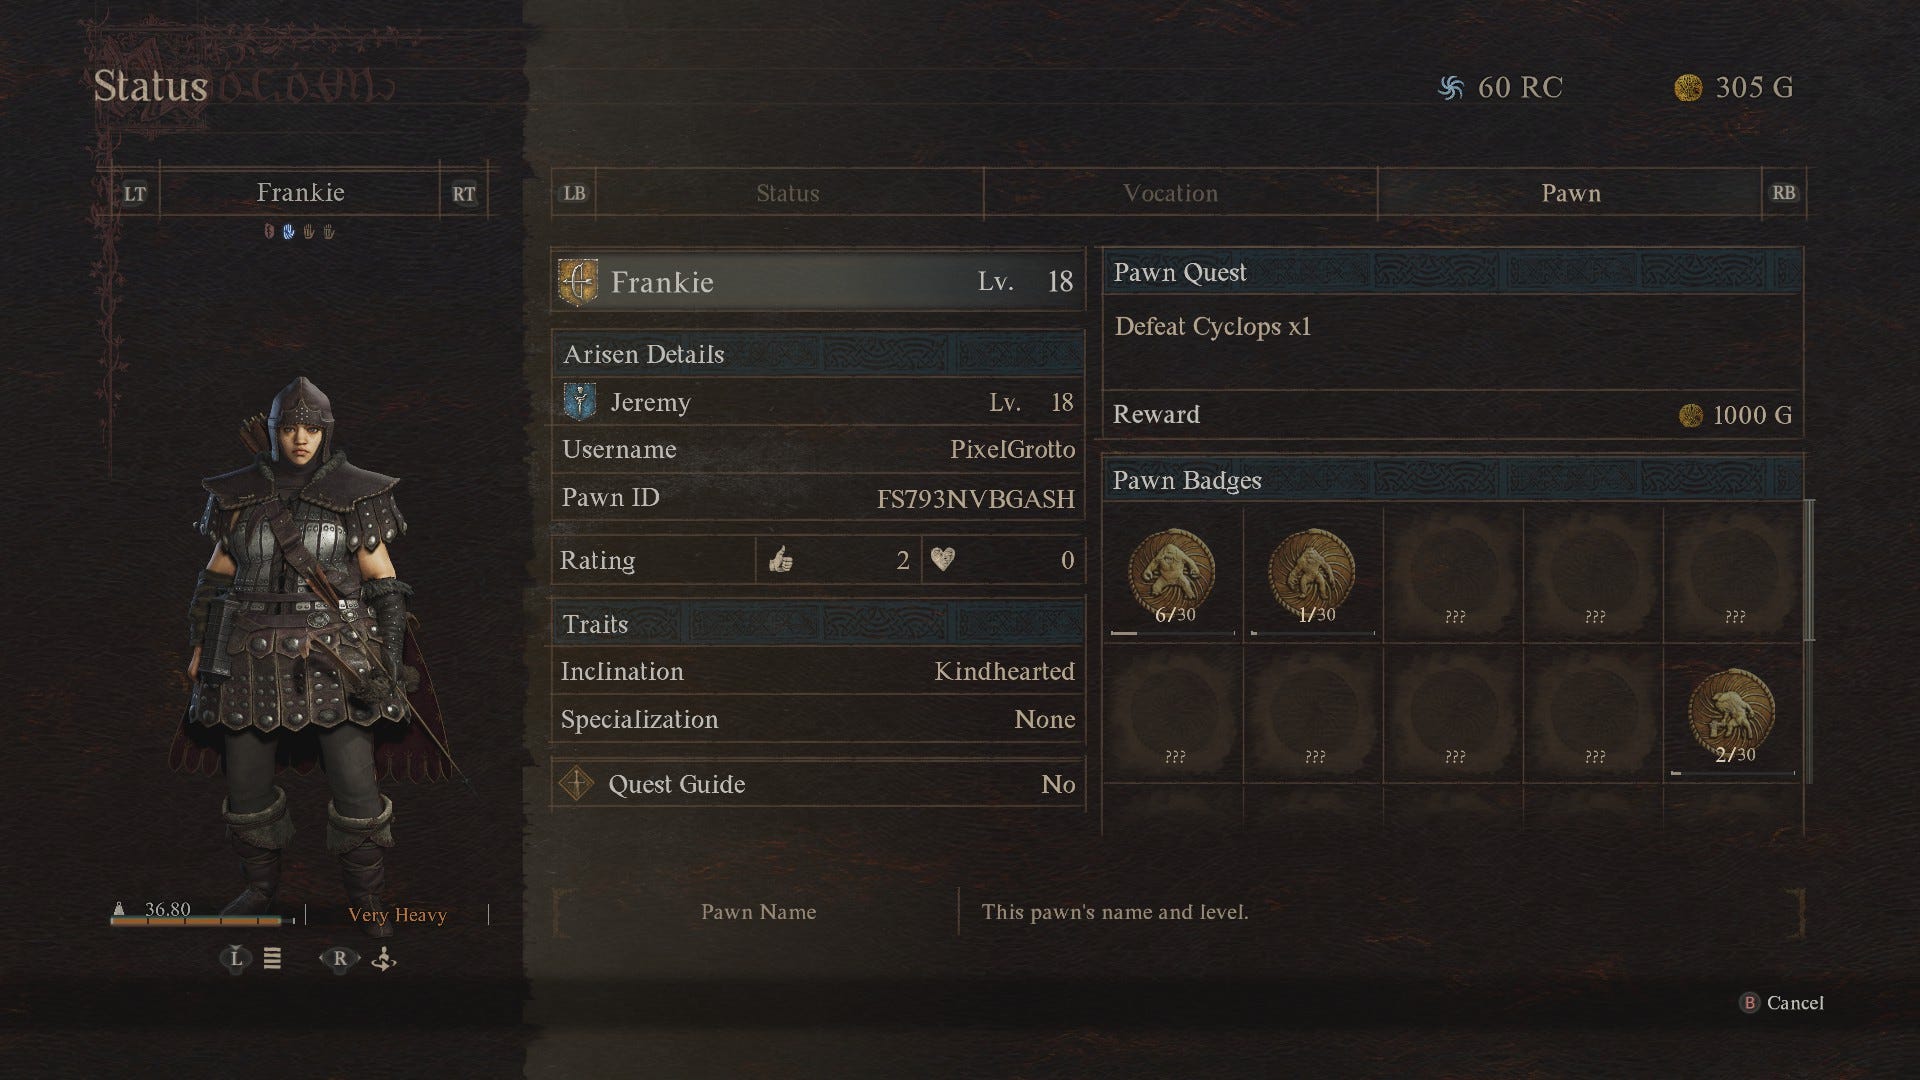
Your main pawn is just as capable of venturing into worlds beyond - AKA the games of other players - as any of the other pawns you might have recruited to your cause. They only do so when you rest at an inn, however.
To take full advantage of your pawn's otherworldly adventures, set a Pawn Quest by interacting with a Riftstone. This is a special mission that will appear alongside your main pawn when they pop up in another player's game, and the default option is "Travel together for a day and night," with a Wakestone Shard as a reward. As you progress through Dragon's Dogma 2, you'll be able to choose other Pawn Quests, with most typically revolving around killing monsters. You can choose what sort of reward you'd like to obtain from the successful completion of these quests, as long as those rewards already exist within your inventory.
Essentially, you should think of Pawn Quests as the bartering system of Dragon's Dogma 2, with your main pawn serving as a handy delivery person who carries out tasks while you snooze. Don't overlook these Pawn Quests, as they're a great way to get items ranging from extra gold to hard-to-find Ferrystones.
Make use of pawn commands regularly
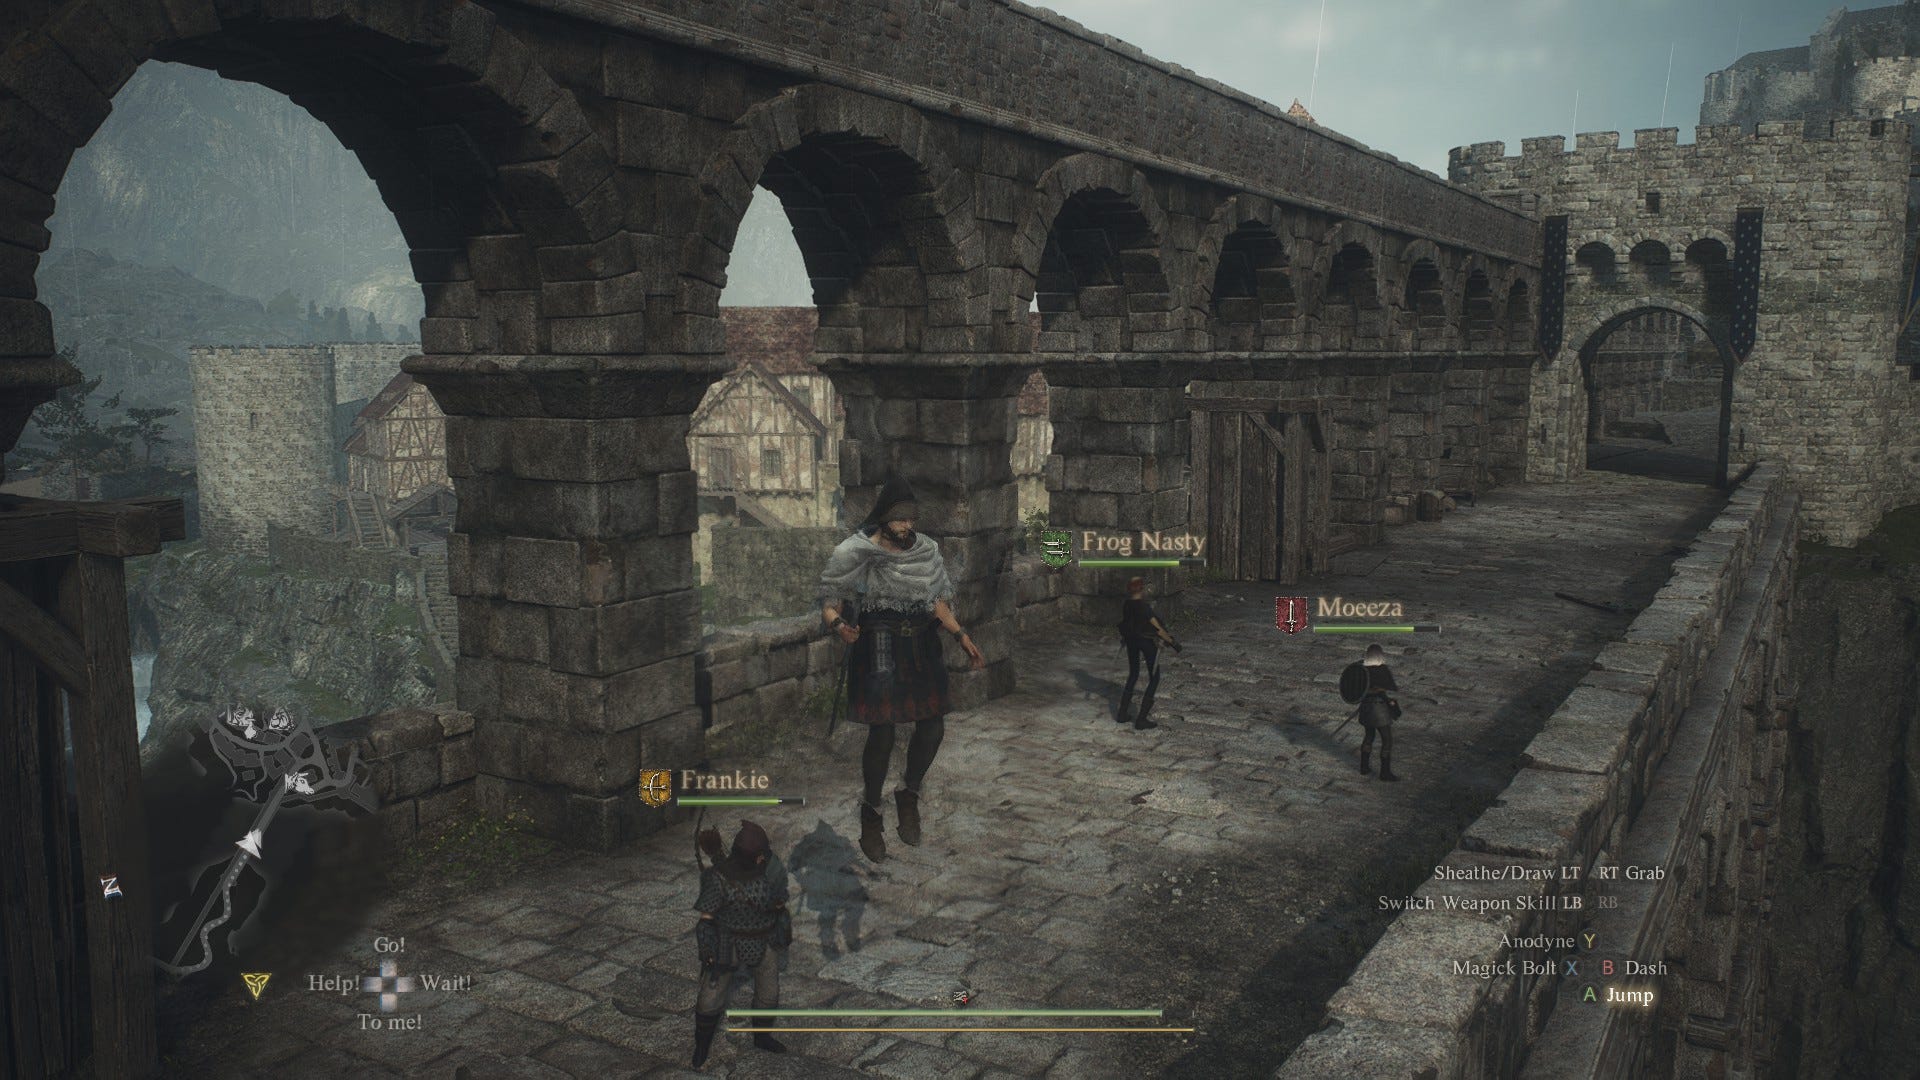
In the bottom left corner of your screen, you'll see a few vital commands - "Go", "Help", "To Me", and "Wait". These are orders that you can issue to pawns during your adventures to have them take particular actions.
"Go" should be used when one of your pawns suggests a course of action - for instance, denoting the location of a nearby treasure chest or explaining that they're able to lead you to your quest objective. If you don't select "Go," your pawn will assume you didn't like their idea, so be sure not to inadvertently shoot them down. Meanwhile, "Help" and "To Me" are useful commands in combat and when traversing the wild to call for your pawns to heal you or rush to your side. Last but not least, "Wait" keeps your pawns put, kind of like unruly children who need to be told to sit still. Remember, you're their Arisen! Don't be afraid to order 'em around!
Cast magick faster with pawn assistance
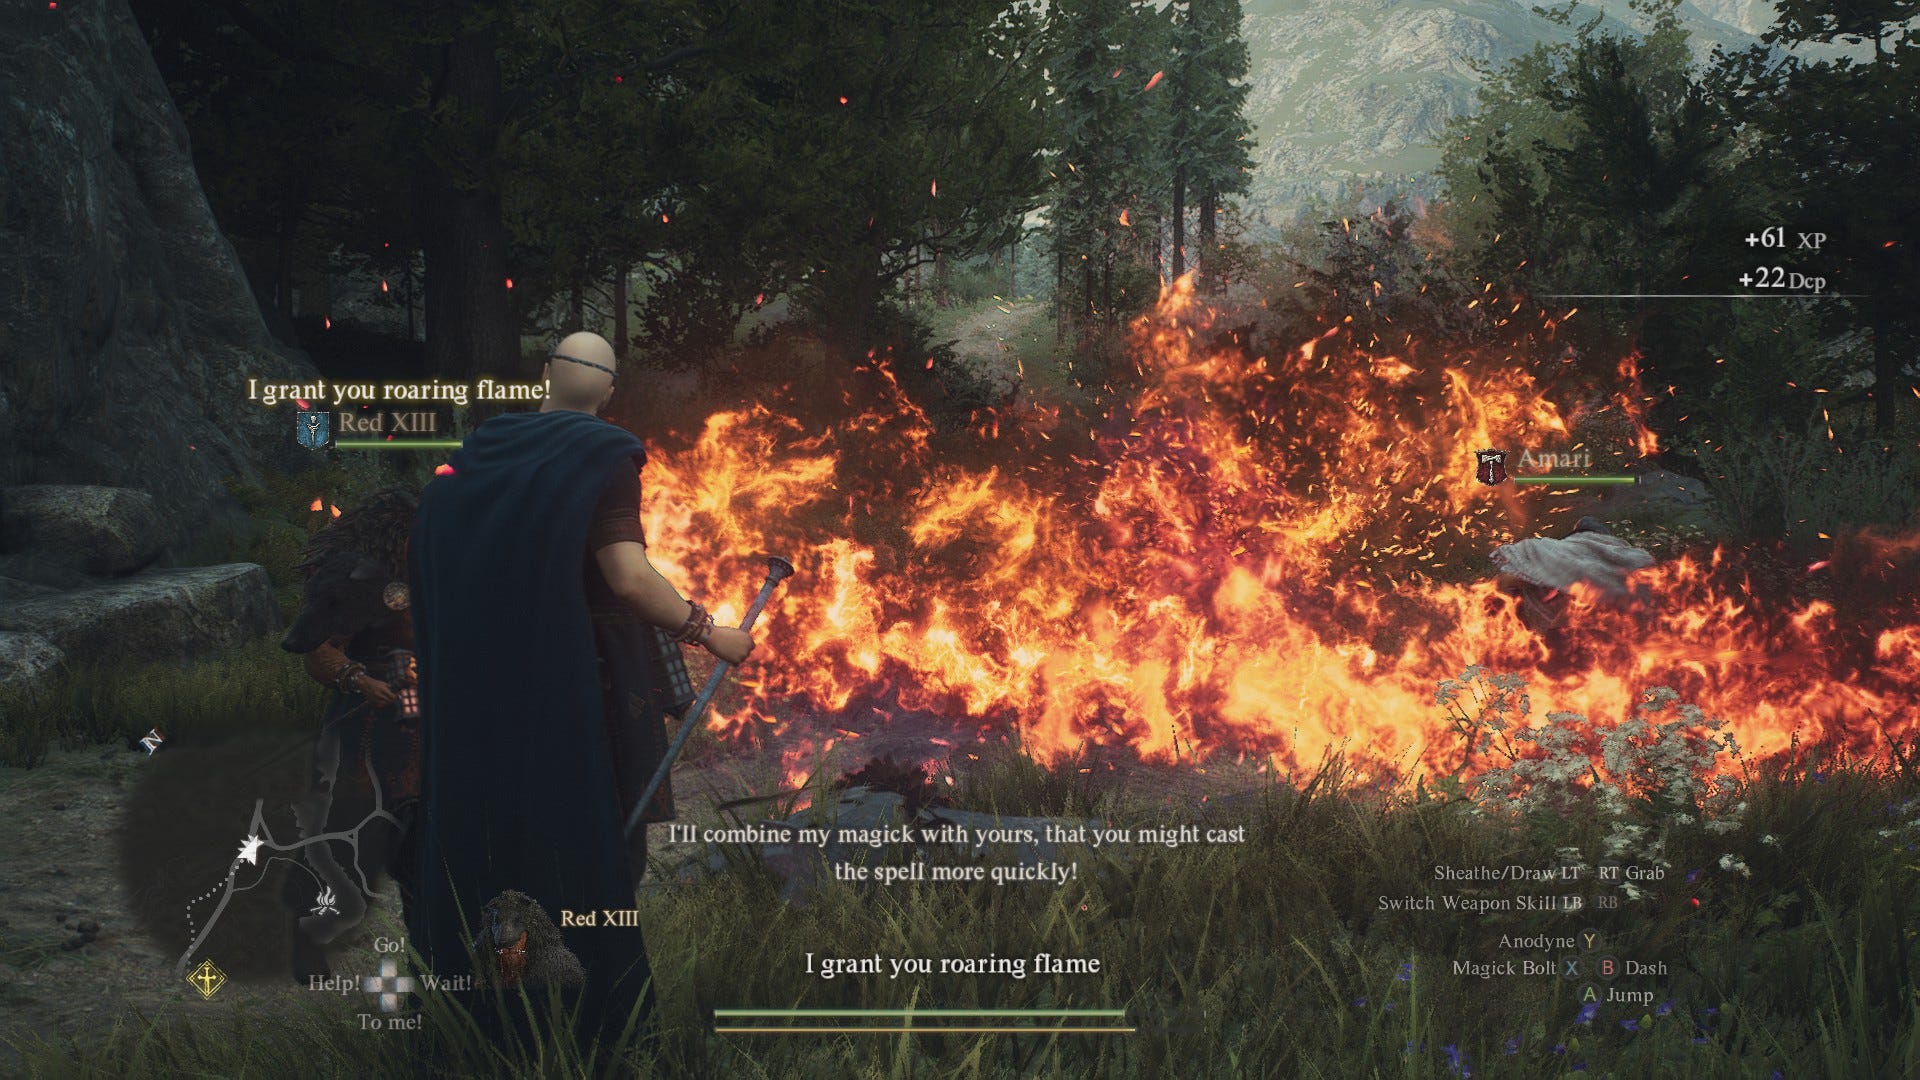
Playing as a Mage or Sorcerer in Dragon's Dogma 2 means that you'll have to sit through some lengthy casting animations before you can pop off with your big spells, and it's sometimes a drag. Luckily, pawns can help with this if they also have the same spell skill in their arsenal. This process is called Auxiliary Incanting, and when combined with the Quickspell skill, works wonders in lessening those length incantation times.
You can perform Auxiliary Incanting just like a pawn, by the way. If you see them casting a spell that you know, go up beside them and cast the same thing. With both of your magickal powers combined, all challenges can be conquered.
Regain your full health by sleeping at an inn or making camp
In Dragon's Dogma 2, when you take repeated amounts of damage over and over again without healing in between, your remaining health is not only reduced, but so is the maximum health you can recover. This temporary reduction in health, represented by a grey area on your health bar, is known as the Loss Gauge, and when you're travelling a long distance and encountering multiple cyclopes and ogres along the way, you're bound to start feeling its terrible effects sooner rather than later.
To remove the Loss Gauge and get back to full health, sleep at an inn or pitch camp by a campsite fire. Do not attempt to tackle tough foes if your Loss Gauge is too immense. It'll only result in your remaining health bar becoming smaller and smaller.
Use Ferrystones or oxcarts for fast travel
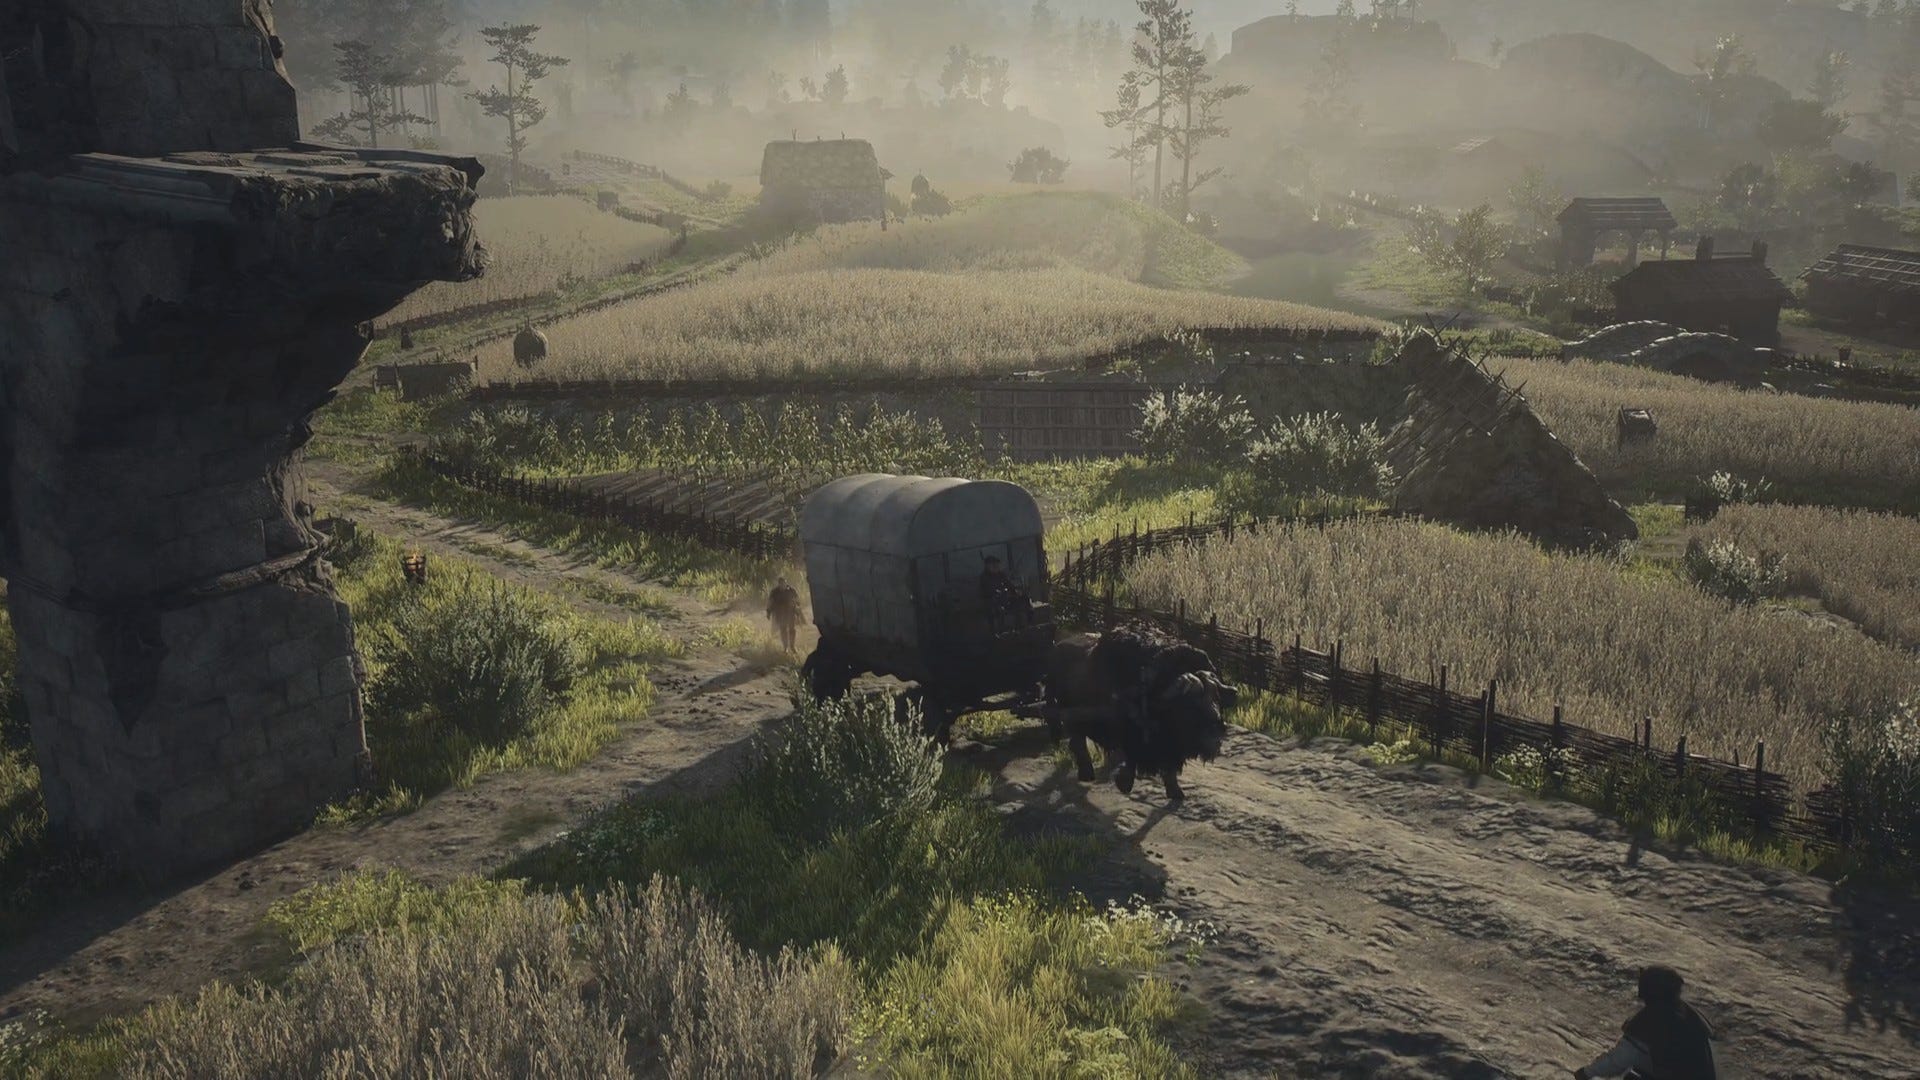
Fast travel as it exists in other open world titles isn't really a thing in Dragon's Dogma 2, and the game's director even went so far as to point out that fast travel is "only an issue because your game is boring." Bold words, for sure! That said, while teleporting from point A to point B isn't really possible, you can move about the expansive map a little quicker than usual by using a Ferrystone or an oxcart.
Ferrystones are very pricey commodities (usually sold for around 10,000 gold per stone) that are available from vendors. Using one will teleport you to a Portcrystal, which are large crystal markers that can be found in cities.
Your cheaper alternative, if you can't afford a Ferrystone, is to hop on an oxcart. These oxcarts travel specific routes - for instance, from the city of Vernworth to the village Melve - for affordable prices, such as 200 gold. Travelling them is an amusing experience, since your Arisen can either doze off in the cart or walk alongside it. It's entirely possible for monsters to attack the cart along the road, leading to dramatic confrontations where you'll be shaken out of sleep only to contend with a small invasion. It's all about the journey, not the destination!
Always try combining inventory items

Dragon's Dogma 2 has a fairly forgiving item combination system where you're able to mix and match all of the stuff in your inventory simply by selecting the Combine action. Once you've successfully created something - for instance, a Salubrious Drought from a Greenwarish and an Apple - that combination will be added to your recipe list, allowing for easy reference at any time.
You're likely to accumulate a vast supply of odds and ends simply by running through the wilds of Dragon's Dogma 2 and picking up materials here and there. This means that your Arisen will be weighed down in due time, which leads to slower movement and faster depletion of Stamina. Always be combining excess items, both to create handy healing potions and similar curatives, but also to decrease the weight of all of the things in your pack.
Learn enemy weaknesses and resistances
All enemies in Dragon's Dogma 2 have elemental weaknesses that you can exploit. For instance, ogres tend to be a bit susceptible to fire, and if you lay into them with a sword enhanced with the Mage skills Fire Boon or Fire Affinity, that ogre is going to fall a lot faster than he would otherwise. Other enemies will be resistant or even immune to certain elements, and it's a matter of trial and error to figure out which enchantments work best.
Pawns can ease the burden of keeping track of enemy weaknesses and resistances, and if they've faced a foe in the past and won, they'll shout "the enemy is weak to fire" or similar odes when battle commences. As we already mentioned, you should always be recruiting more and more pawns whenever possible, and taking advantage of their collective encyclopedic knowledge of the world's monsters is only one more reason to do so.
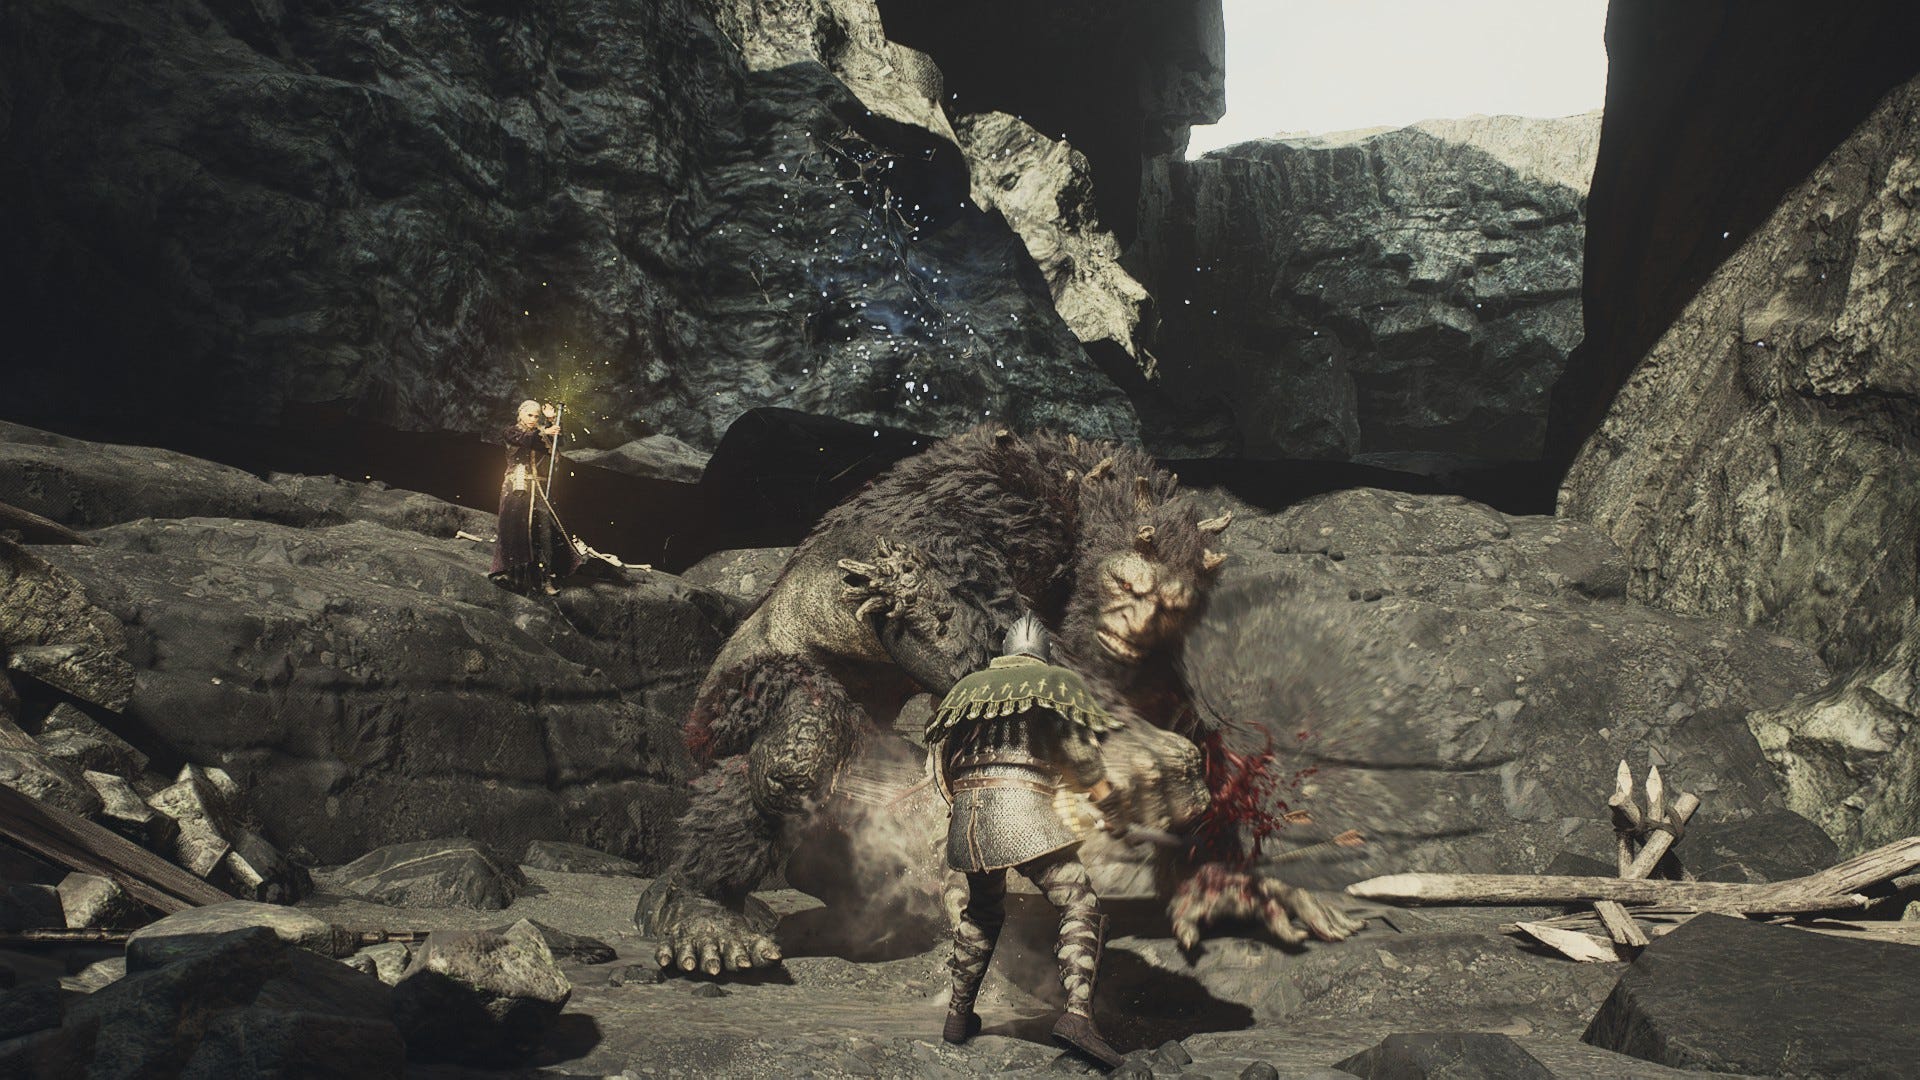
Remember, bosses have multiple health bars
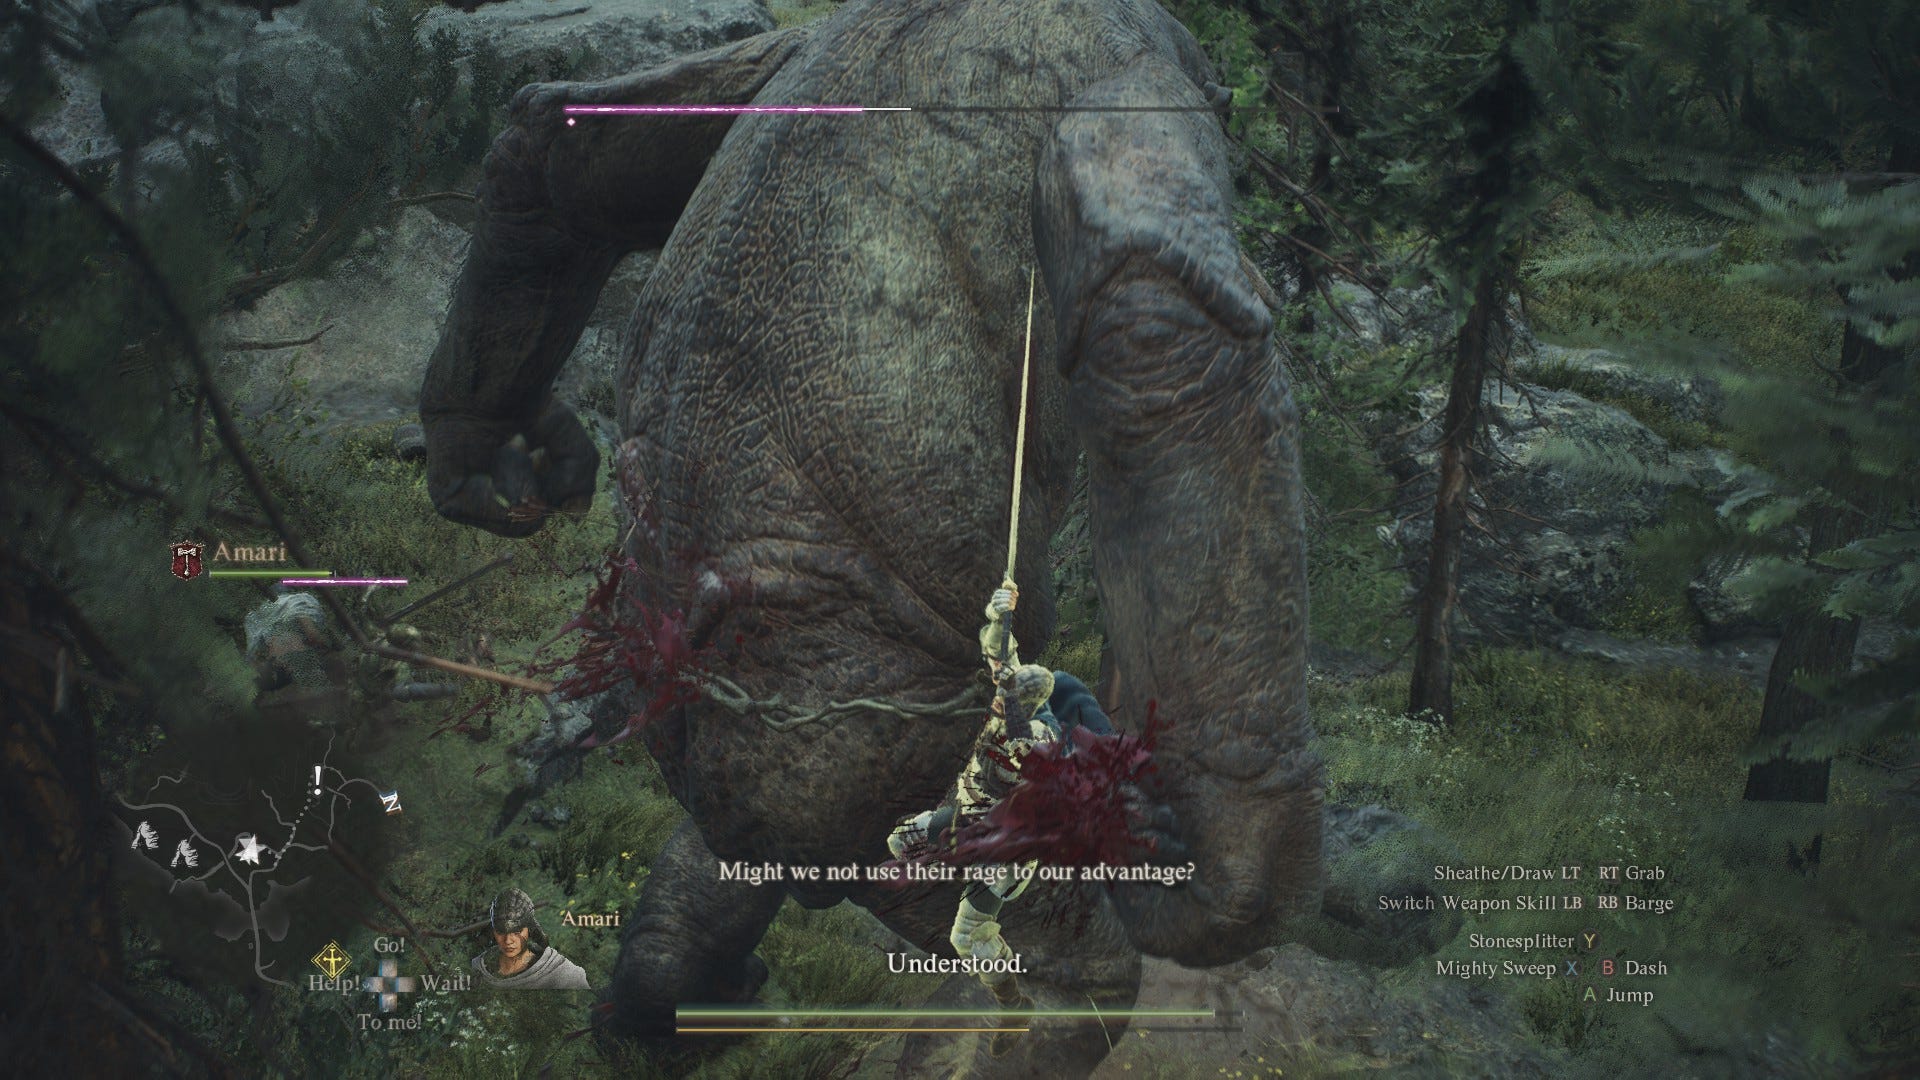
In the early hours of Dragon's Dogma 2, you'll probably run into tonnes of huge enemies, ranging from ogres to cyclopes to minotaurs. It's a rush to battle these massive foes whether you hack away at their feet, climb their backs, or stand to the side to deliver spells. But it might also be an exercise in frustration when their health bar at the top of the screen decreases, only to reveal that there's yet another health bar waiting in the wings!
The fact is, major enemies in the game have multiple health bars, and you can tell if you have more bars to go through if you can see small dots below their current health bar. In fact, I personally don't pay attention so much to the health bar as I do the music of the fight, as well as my pawns' exclamations. When the foe is on its final bar, the music will change to a triumphant medley, similar to Capcom's Monster Hunter franchise. Your pawns will also shout that the enemy is on its last legs, or that it looks as exhausted as they feel. That's when it's time to deliver your biggest strike and bring your quarry to its knees!
With these tips at your disposal, your Arisen should be able to rise up and defeat the dragon with great gusto. For more detailed information on all the nuances of Dragon's Dogma 2, get started by choosing the class that's right for you with our best vocations guide.