Dragon's Dogma 2: A Scholarly Pursuit quest walkthrough
Here's how to kill off a draconic jar in A Scholarly Pursuit

Looking for a walkthrough for the main quest A Scholarly Pursuit in Dragon's Dogma 2? As you take on the Purgener Dragons in the endgame of Dragon's Dogma 2, you might notice that Bakbattahl doesn't have a true dragon threatening it. As befitting a nation that conducts somewhat shady experiments in its Forbidden Magick Research Lab, Bakbattahl is instead attacked by a draconic jar that summons monsters throughout the city.
You'll have to team up with your old frenemy Phaesus to smash this jar in a quest that's not too lengthy, but nevertheless can be tricky especially as mobs attack you from all sides in Bakbattahl's crowded streets. Read the following A Scholarly Pursuit quest walkthrough to find out what to do.

For our full walkthrough of the entire game or to find a different quest, visit our Dragon's Dogma 2 walkthrough guide!
A Scholarly Pursuit quest walkthrough
A Scholarly Pursuit objectives:
- Use the Godsbane Blade on the beacon in Bakbattahl.
- Follow Phaesus to get closer to the draconic jar.
- Defeat the summoned monsters along the way.
- Smash the jar.
"A Scholarly Pursuit" is technically part of a larger quest chain that tasks you with evacuating the main cities throughout the world, so it's worth referring to our guide on "Halls of the First Dawn" for more information on clearing out Vernworth, Sacred Arbor, the Volcanic Island Camp, and the Excavation Site.
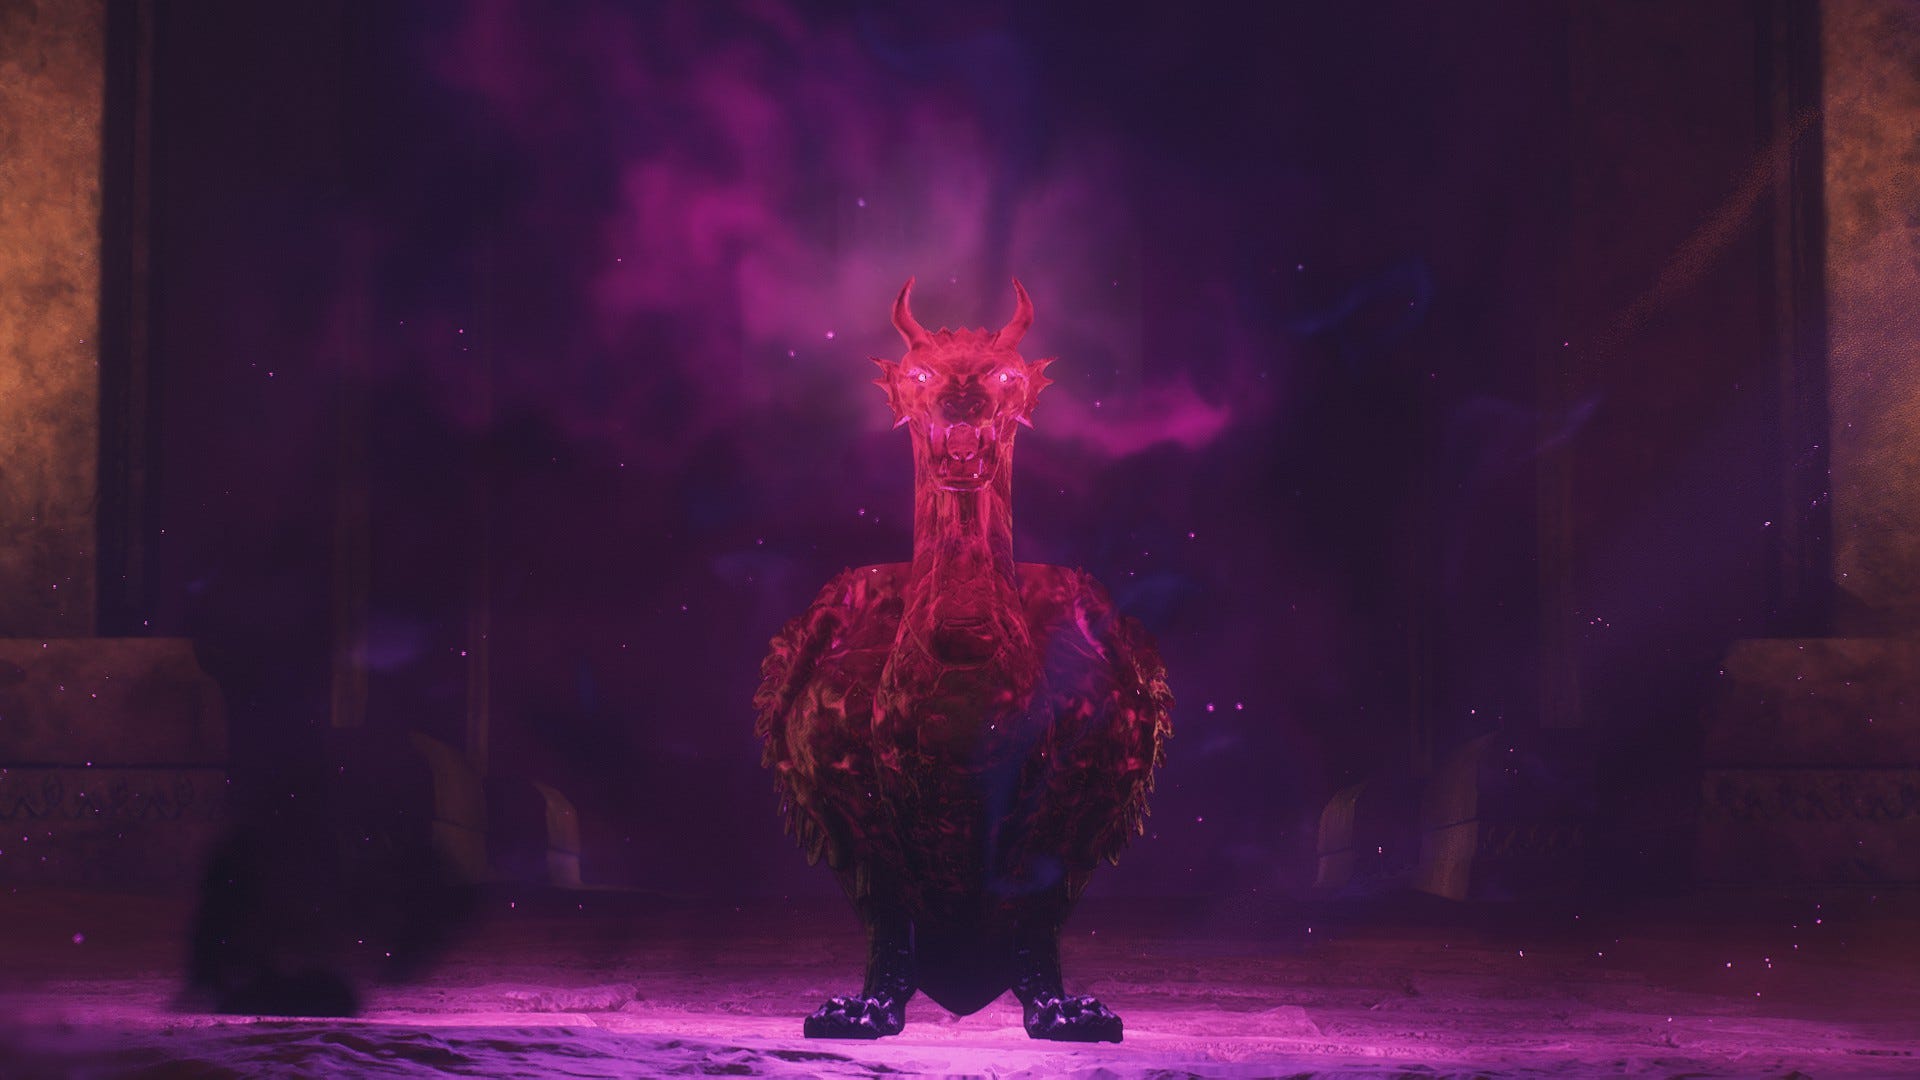
Bakbattahl is a little different from these locations, as there's really no major boss to fight. Instead, go up to the red beacon in front of the city's palace and activate the Godsbane Blade. Storm clouds will appear above and a dragon-shaped jar (or urn, if you prefer) falls from the heavens. Phaesus appears by your side and goes to investigate it, but the thing immediately starts shooting off Brine tentacles, which you'll want to avoid at all costs.
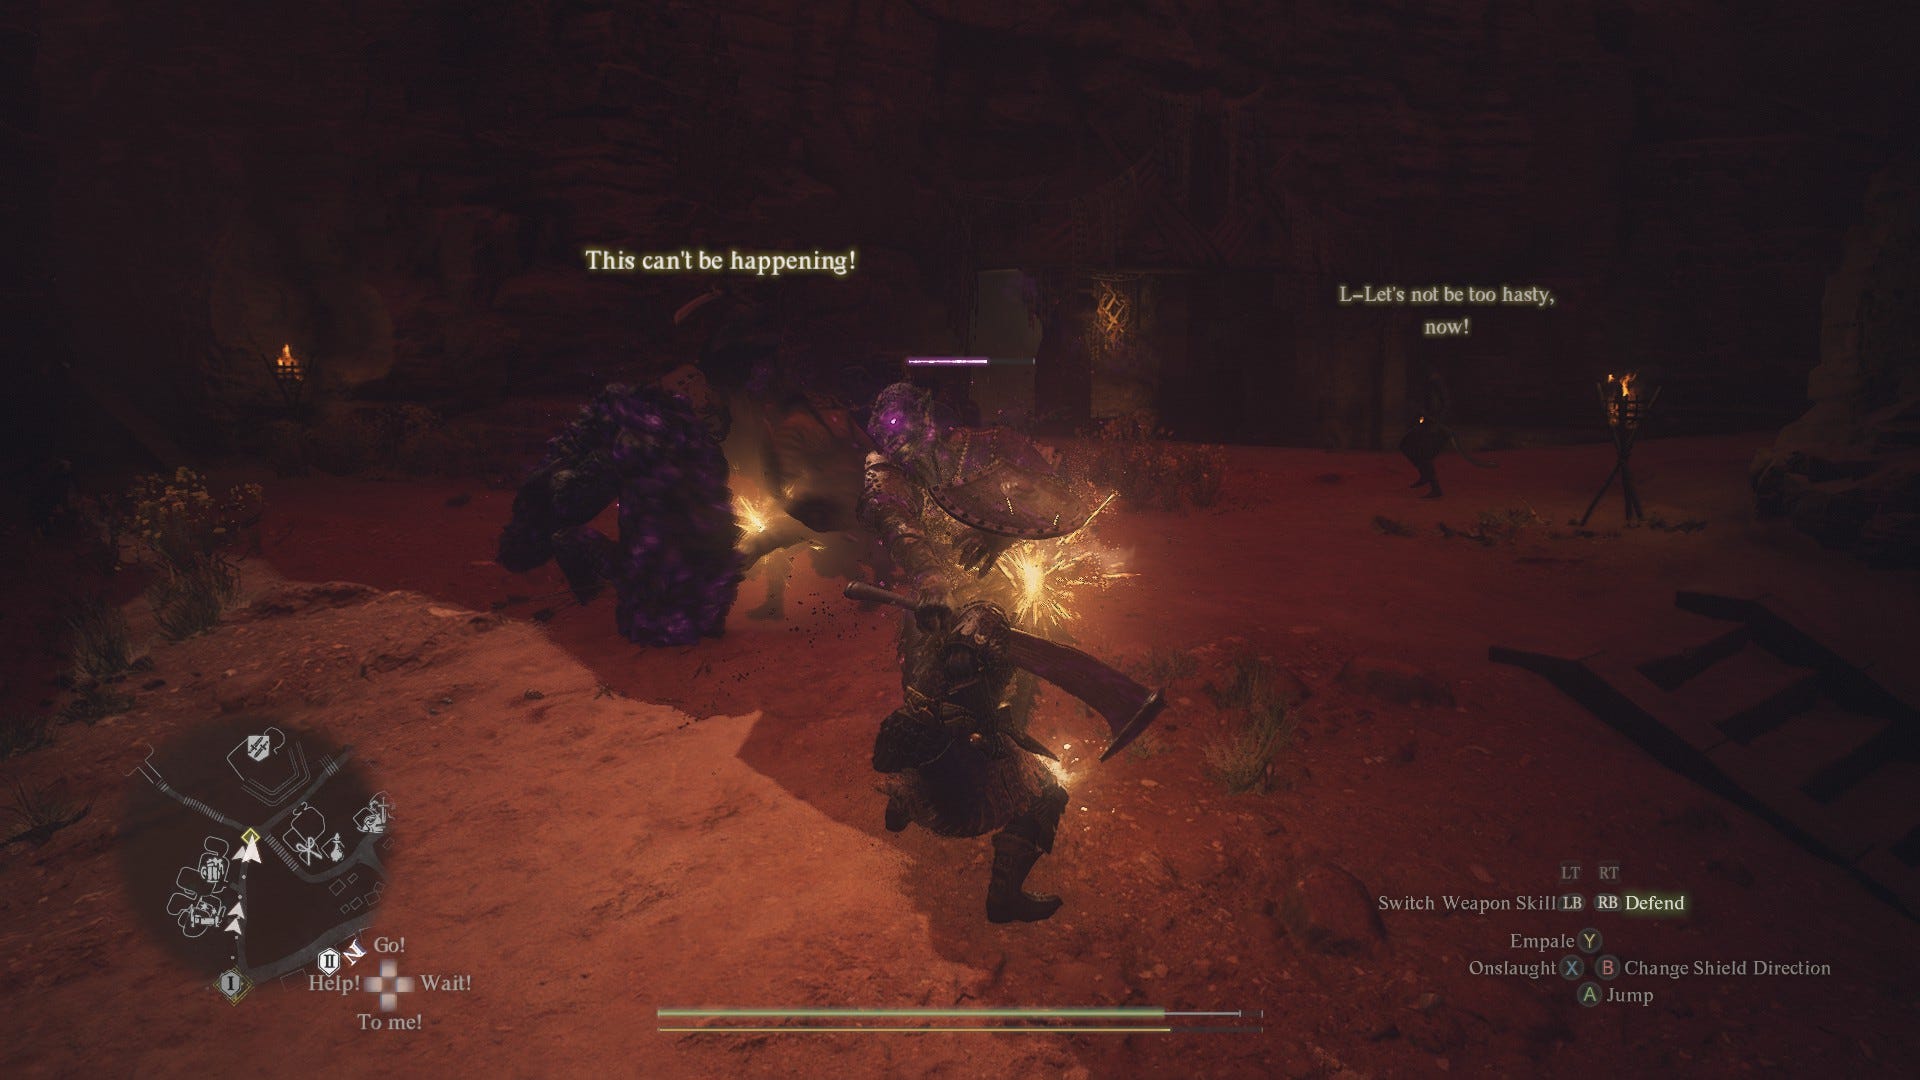
Since the tentacles and lots of fallen wreckage block easy access to the jar, Phaesus will lead you on a mad dash through Bakbattahl's markets towards an alternate route. Follow him, and contend with the glowing purple monsters that the jar summons. These mobs aren't too difficult to kill, but like all enemies in Battahl, they can gang up on you in the narrow streets and easily stunlock your Arisen into submission. The jar will also summon meteor showers from the sky, which are easily avoidable as long as you pay attention to the impact markers on the ground.
Eventually, Phaesus will lead you through the palace to the jar. Defeat the last of the creatures protecting it, go up to the jar, and break it with a single well-timed weapon attack. The quest will conclude shortly afterwards. By the way, Phaesus doesn't have to survive to successfully finish this quest, though he's a decent enough ally with a few powerful spells at his disposal.
Next quest: When Wills Collide
It's a good idea to stay equipped with your strongest vocation as you face the Unmoored World's Purgener Dragons. For tips on the best skills and augments, check out our guides to the Archer, Fighter, Mage, Magick Archer, Mystic Spearhand, Sorcerer, Thief, Trickster, Warrior, and Warfarer. We've also got full rundowns of the best weapons and best armor in Dragon's Dogma 2.