Dragon's Dogma 2: Dreams Apart quest walkthrough
Here's how to navigate the beginning stages of the Unmoored World in Dreams Apart

Looking for a walkthrough for the main quest Dreams Apart in Dragon's Dogma 2? If you're reading this guide, you've made the choice to unlock the secret endgame of Dragon's Dogma 2. The map you've been traversing for so many hours has transformed into a dark and apocalyptic place that lives up to its name as the Unmoored World. On the plus side, it's way easier to get from point A to point B now. This is what you wanted all along - right?!
There's a lot of busywork to complete in The Unmoored World, but before you can get around to it there's the pressing matter of finding your main pawn. Read the following Dreams Apart walkthrough to figure out exactly what to do.

For our full walkthrough of the entire game or to find a different quest, visit our Dragon's Dogma 2 walkthrough guide!
Dreams Apart quest walkthrough
Dreams Apart objectives:
- (Optional) Familarise yourself with the Unmoored World.
- Visit the Forbidden Magick Research Lab.
- Speak with Phaesus.
- Reunite with your main pawn.
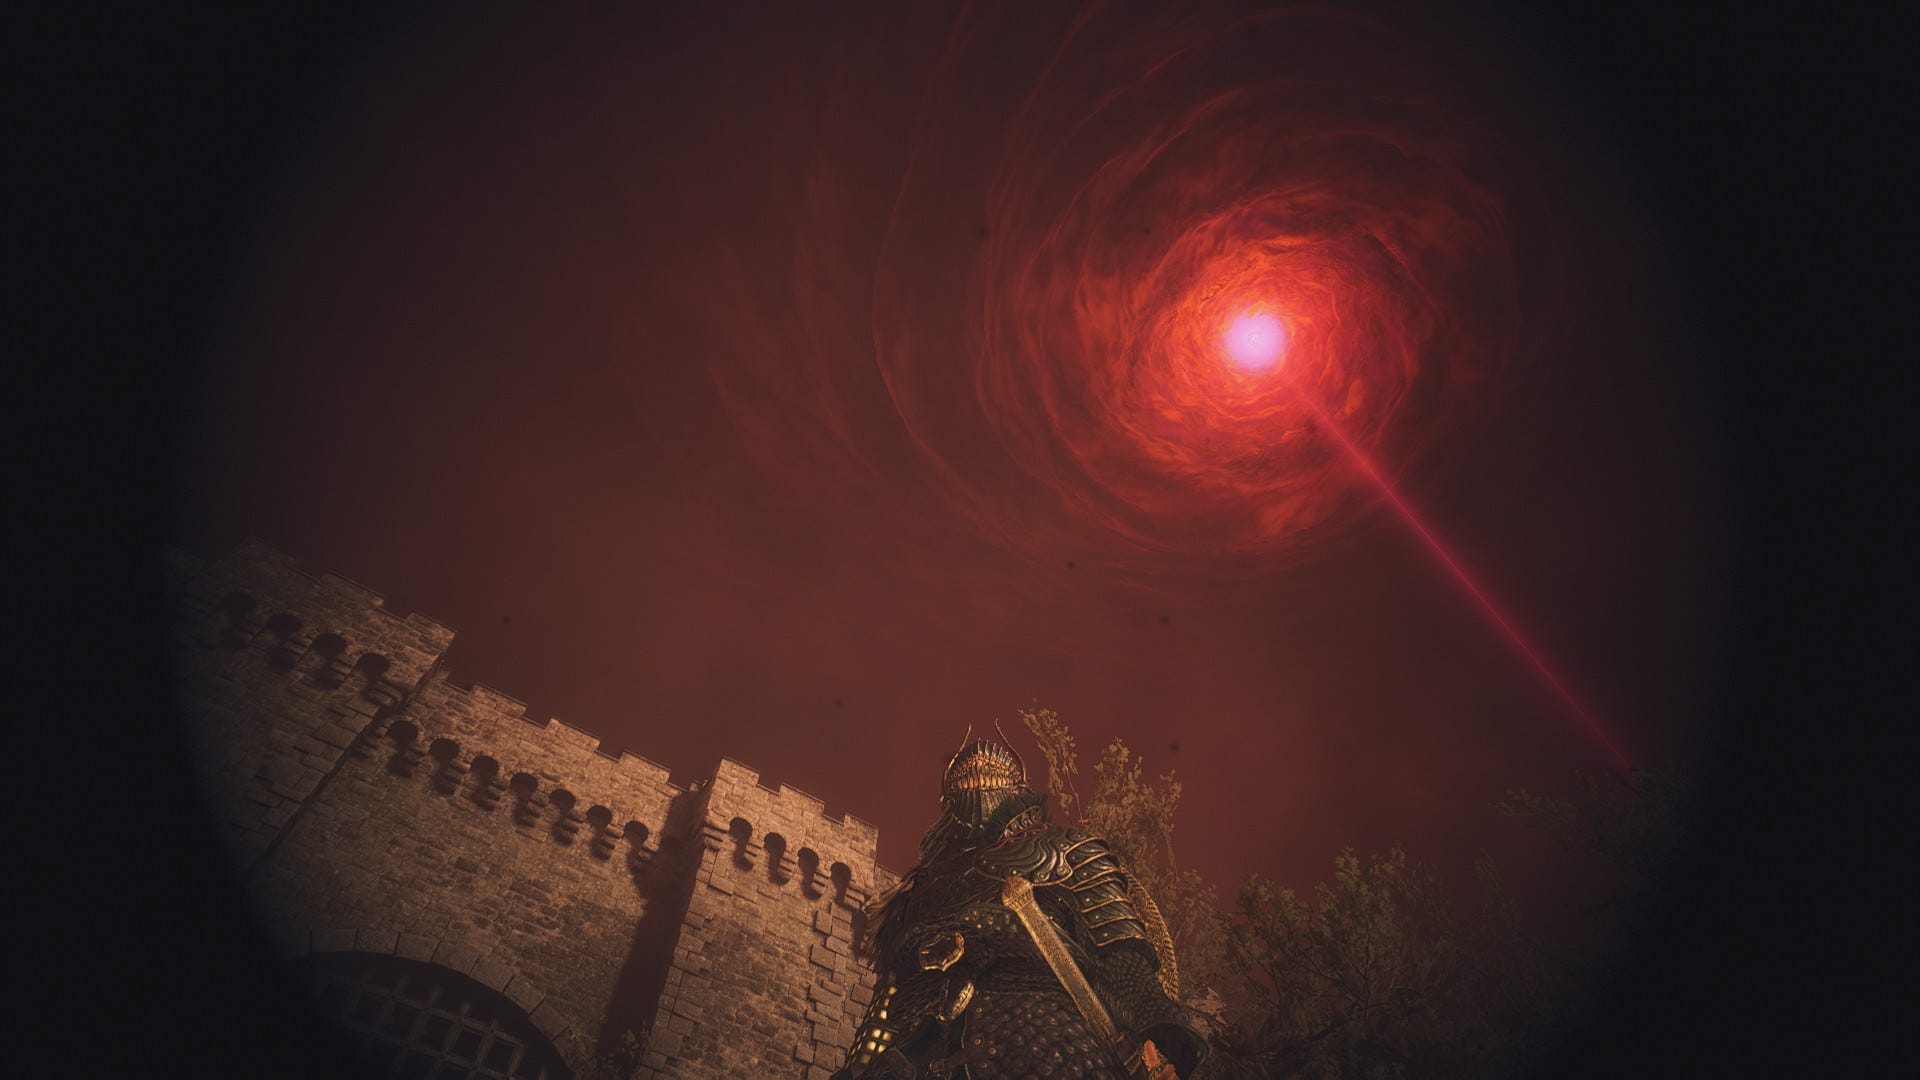
You'll awaken in the Unmoored World near the Bay Wayside Shrine north of Bakbattahl. Apparently, you've been out cold for a long while, and your main pawn is nowhere to be found.
While you could just forge ahead, it's important to gather your bearings, open your map, and familiarise yourself with the limits of the Unmoored World. The following bits are critical:
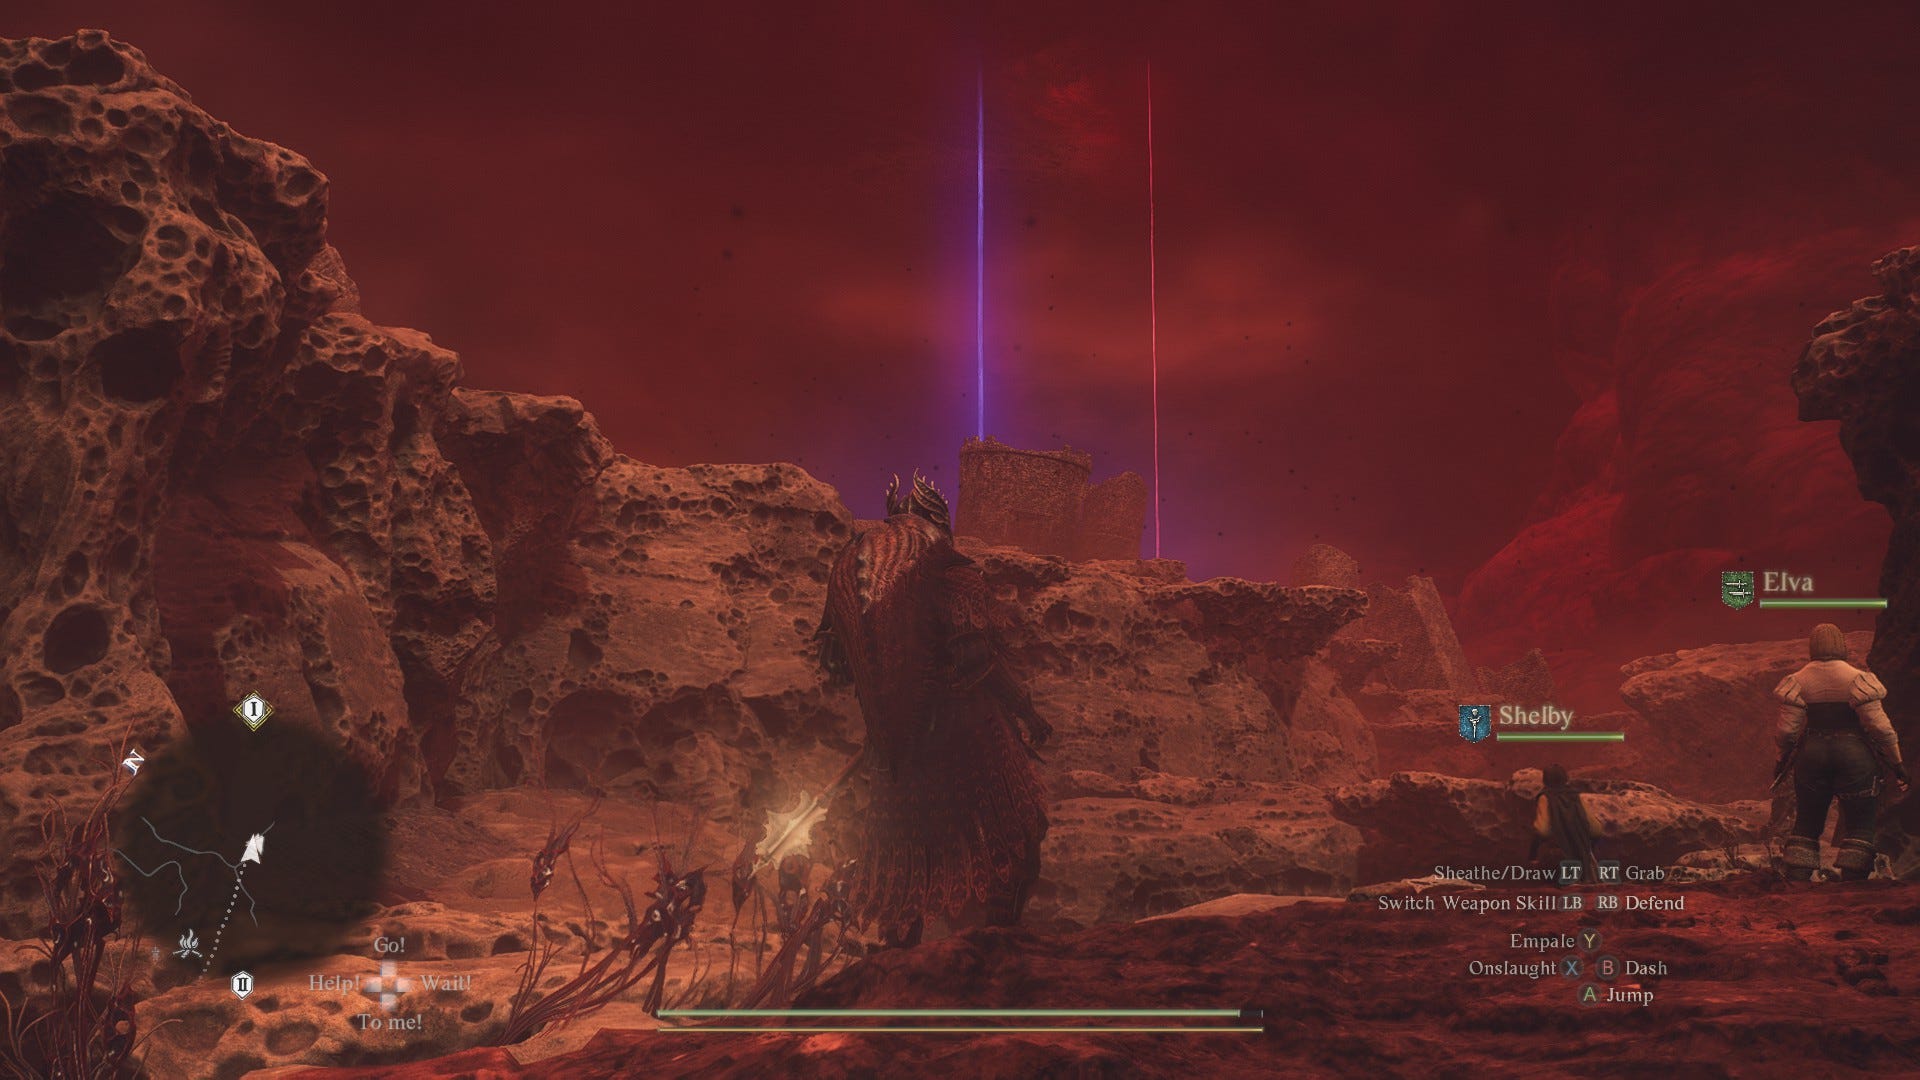
- There are four red beacons on your map keyed to major areas - Vernworth, Sacred Arbor, Bakbattahl, and Agamen Volcanic Island. These beacons are the locations of major boss battles. Once you venture to them and activate the Godsbane Blade, Brine-infused draconic creatures known as the Purgener Dragon will fall from the sky.
- You'll have to defeat these bosses to save the towns in each location (that includes both the Volcanic Island Camp and the Excavation Site on Agamen Volcanic Island) from eradication.
- The Unmoored World functions on a time limit, and you only have 12 days to defeat the bosses before the towns and everyone in them begin disappearing. However, time only passes when you rest at an inn.
- Camping will not progress the timer. Alas, it won't restore your health either, though you can still use campsites to eat food or change your vocation skills.
- Once you defeat all bosses and save the towns, you can explore the Unmoored World at your leisure. However, once 12 days are up, you won't be able to rest at inns any longer.
- If you die without a Wakestone to revive you, you'll awaken back at the start of the Unmoored World with your progress erased. This almost makes the Unmoored World into a roguelike, if you will.
- You can still save your game as normal. If you ever return to the title screen after having saved your game, it'll prompt you if you'd like to return to the point of your last battle, or at the day of awakening in the Unmoored World. In most cases, returning to the point of your last battle makes more sense, unless you really want to start from the beginning all over again.
- Travelling is much easier in the Unmoored World, because there's no water in the ocean. You can now technically walk all the way across the map, from Vermund to the Volcanic Island Camp. Teleporting to Portcrystals is also a snap, since Unmoored World enemies drop Ferrystones on a regular basis.
Whew, that's a lot to take in! But rest assured that while this endgame seems intimidating upon first impression, it's actually quite doable once you stock up on Ferrystones, Wakestones, and other curative items to keep yourelf from dying, like Allheal Elixirs. Also, if the lack of relatively accessible fast travel systems in Dragon's Dogma 2 previously bugged you, well, your prayers have been answered. All it took was an apocalypse.
With all those factoids out of the way, let's get on to the main stuff of this quest, which is actually shockingly easy. Simply make your way back to Bakbattahl and enter the Forbidden Magick Research Lab. Go downstairs to speak with Phaesus, and he'll tell you about the changes the world has experienced in your absence. He'll also reveal that he's found your main pawn.
Talk to your main pawn to trigger the end of the quest and receive a hefty amount of gold and experience. Welcome to the endgame - reality might be on the verge of extinction, but quest rewards are handed out like free candy.
Next quest: Halls of the First Dawn
Enemies are more plentiful and hit harder in the Unmoored World. This is the endgame, after all! It helps to stay prepared with the right vocations, and we've got guides for everything you could possibly need. Start with our guide to the Archer, Fighter, Mage, Magick Archer, Mystic Spearhand, Sorcerer, Thief, Trickster, Warrior, and Warfarer. We've also got full rundowns of the best weapons and best armor in Dragon's Dogma 2.