Dragon's Dogma 2 walkthrough: How to beat all the main quests
A full walkthrough of every main quest in Dragon's Dogma 2
Looking for a full walkthrough of Dragon's Dogma 2? The sprawling world of Dragon's Dogma 2 can be pretty daunting at first - as is so often the case with massive open-world RPGs. At times, we know it can be hard to keep track of where you're going and what must be done to fulfil your destiny as the Arisen in a land teeming with threats and mysteries.
In this guide, we aim to present you with a focused, concise walkthrough of all 20+ main quests in Dragon's Dogma 2, so that you always know how to progress to the next chapter of the story. Whether you're stuck on a particular main quest or you're just not sure what to do next, we've got you covered with our dedicated Dragon's Dogma 2 walkthrough.
Dragon's Dogma 2 walkthrough: Every main quest
Dragon's Dogma 2 is filled to the brim with side quests and activities that are just begging to sidetrack you from the main story for the next several hours. We've foregone all those side activities in our Dragon's Dogma 2 walkthrough. Instead, we'll show you exactly how to get through each of the main quests in the game in order, so you know exactly how to progress the story no matter where you are in the game.
Here are all the main quests in Dragon's Dogma 2:
- Gaoled Awakening
- Tale's Beginning
- In Dragon's Wake
- Seat of the Sovran
- Monster Culling
- The Caged Magistrate
- Disa's Plot
- The Stolen Throne
- The Nameless Village
- An Unsettling Encounter
- Feast of Deception
- Nation of the Lambent Flame
- Flickering Shadows
- Convergence
- A New Godsway
- The Guardian Gigantus
- Legacy
- Dreams Apart
- Halls of the First Dawn
- A Scholarly Pursuit
- When Wills Collide
Read on for a handy walkthrough of each of the quests in Dragon's Dogma 2, but beware - while we've tried our best to keep story spoilers to a minimum, there will be certain unavoidable spoilers below!
1. Gaoled Awakening

Gaoled Awakening objectives:
- Complete character creation.
- Follow Fiska outside.
- Meet and converse with Rook.
- Retrieve a stone block from the mine and place it next to Rook.
- Fight the gorgon outside.
- Run to the cliff with Rook and jump off the edge.
Your journey in Dragon's Dogma 2 begins as do many of the best RPGs: in a jail cell. Your first order of business is to escape. To learn how to complete this task, check out our Gaoled Awakening quest walkthrough.
2. Tale's Beginning
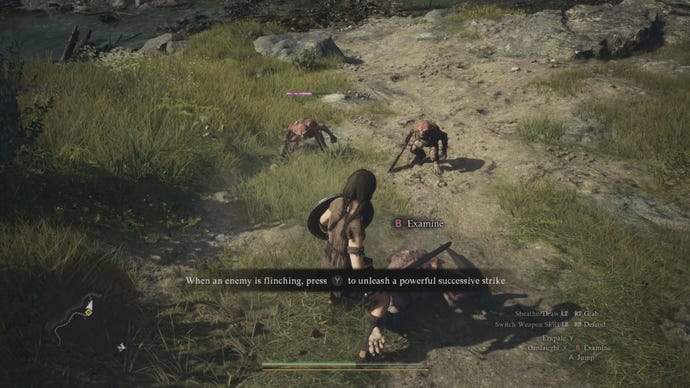
Tale's Beginning objectives:
- Follow Justinn to the nearby outpost.
- Defeat the goblins along the path.
- Summon your first pawn at the outpost Riftstone.
- Rest at the Borderwatch Lounge.
Tale's Beginning starts once you (unwillingly) depart from the back of your faithful Griffin mount, and (unwillingly) part ways with your friendo, Rook. Your aim is, quite simply, to reach and rest at the nearby outpost. For a full guide to this mission, check out our Tale's Beginning quest walkthrough.
3. In Dragon's Wake
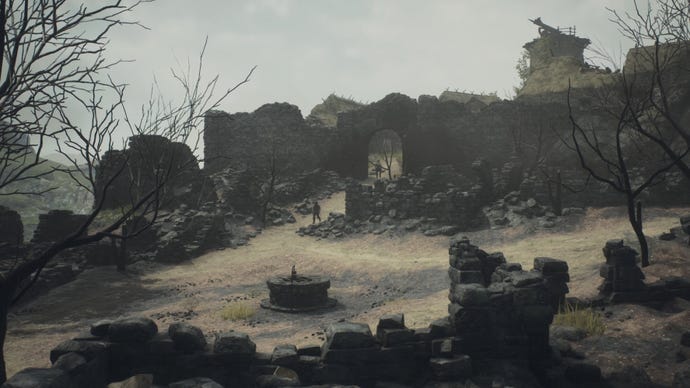
In Dragon's Wake objectives:
- Head to the soutwest gate of the outpost.
- (Optional) Complete the side-quest "Ordeals of a New Recruit".
- Reach the razed stronghold of Melve.
- Proceed through the memory.
- Speak to Ulrika and then Gregor.
- Head to the nearby building and speak to Lennart.
- (Optional) Complete the side-quest "Medicament Predicament".
- Accompany Gregor towards Vernworth, defeating the goblins/harpies on the road.
- Activate the Forgotten Riftstone.
- Defeat the cyclops in the ravine.
- Climb aboard the oxcart OR reach Vernworth on foot.
Prepare to meet your first dragon (kinda but not really). From the outpost where you rested in the previous mission, you must head to Melve to explore your past, and then journey onward to the capital of Vermund. For full details, consult our In Dragon's Wake quest walkthrough.
4. Seat of the Sovran
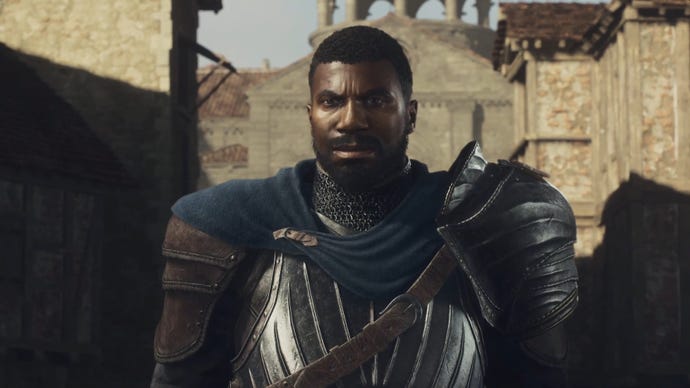
Seat of the Sovran objectives:
- Speak to Brant.
- Speak to Norman outside about the fleeing urchin.
- Meet Brant in the Stardrop Inn at night.
- Obtain all three quests from Brant.
Seat Of The Sovran sees you arrive at last in Vernworth, the capital of the country of Vermund. There to meet you at the gates is Captain Brant, who will become your touchstone for the next several quests. This is a very quick quest that consists mostly of dialogue, but those looking for more details will find them in our Seat Of The Sovran quest walkthrough.
5. Monster Culling
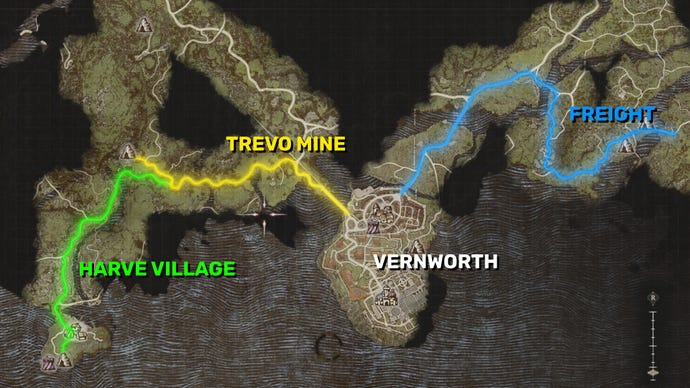
Monster Culling objectives:
- Reach Trevo Mine west of Vernworth.
- Clear out Trevo Mine and obtain the Greatsword and Archistaff.
- Receive and complete the "Vocation Frustration" side-quest in Vernworth.
- (Optional) Obtain the Wakestone Shards from Vermund Charnel House.
- Reach Harve Village and talk to Dylan.
- Clear the nearby cave of saurians and lead the guards inside back out.
- (Optional) Defeat the saurians overrunning the village in the "Scaly Invaders" side-quest.
- Head east of Vermund to the final quest marker.
- Defeat the goblins attacking the guards.
- Return to Captain Brant at night in the Stardrop Inn.
There's a spate of monster-related incidents around Vernworth, and it's going to look quite good if you, the true Arisen, were to take care of them. This is the first fairly lengthy main quest in Dragon's Dogma 2, so it's a good idea to know where you're going and what you're doing ahead of time. To help with that, check out our Monster Culling quest walkthrough.
6. The Caged Magistrate
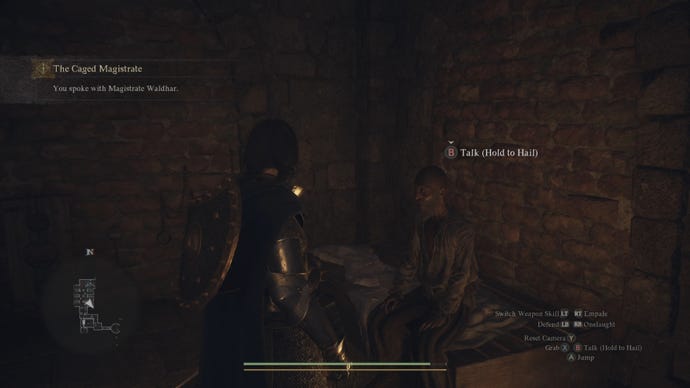
The Caged Magistrate objectives:
- Obtain the Gaol Key and Eventide Mask from Brant.
- Enter Vernworth Castle.
- Meet Otto at the base of the Gaol Tower.
- Open the first cell on your right and speak to Waldhar.
- Speak to Brant.
- Give food to Kendrick twice.
- Speak to the three children near Kendrick.
- Speak to Kendrick again.
- Find Malcolm inside the Gracious Hand's Vaults.
- Follow Malcolm to the library.
- Report news of the library to Waldhar.
- Lead Waldhar out of the Gaol Tower.
- Report back to Brant.
The Caged Magistrate is one of several quests Brant gives you which will involve donning a delightfully devilish (Seymour) disguise and breaking into Vernworth Castle - this time, to free an old magistrate who could be one of your staunchest allies. For details on this rather confusing quest, check out our The Caged Magistrate quest walkthrough.
7. Disa's Plot
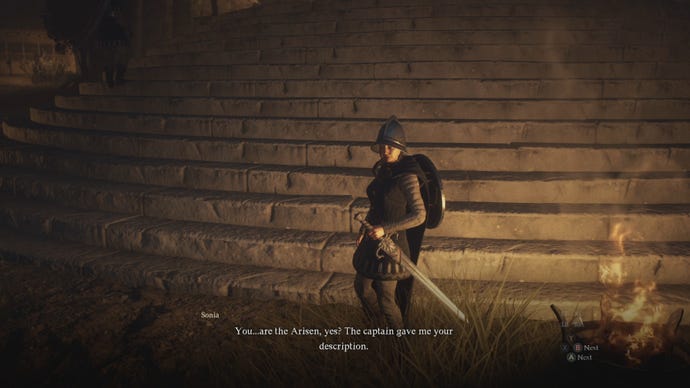
Disa's Plot objectives:
- Obtain the Eventide Mask from Brant.
- Meet Sonia at the Vernworth Castle entrance.
- Follow Sonia to the Guardhouse.
- Head to the top floor of the Guardhouse.
- Obtain the Torn Letter.
- Escape through the window.
- Report back to Brant.
Disa's Plot is another Vernworth Castle-centric quest, one which asks you to break into the Guardhouse and do away with some important paperwork that may uncover the titular Disa's plot. If you're unsure of where to go, consult our Disa's Plot quest walkthrough.
8. The Stolen Throne
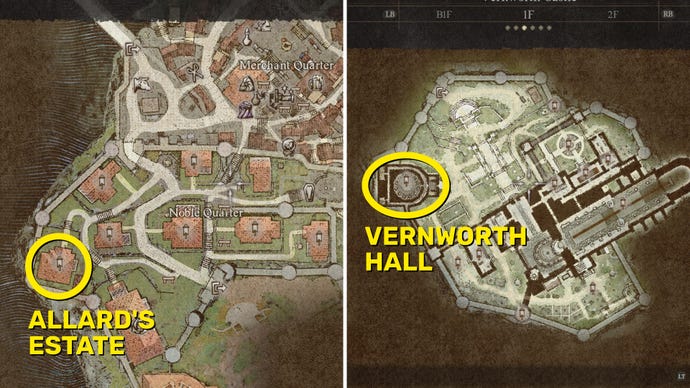
The Stolen Throne objectives:
- Take (and wear) the clothing items from Allard's Estate.
- Enter Vernworth Hall and join the Masquerade.
- Go through the hidden passage at the back of the Hall.
- Reach the Rose Chateau Bordelrie via the balcony.
- Spy through the peephole.
- Report back to Brant.
The Stolen Throne is - yes, you guessed it - another Vernworth Castle sneakathon, but at least this time you get to dress up fully and pretend to have been invited to a masquerade in order to gain some interesting intelligence on the false Arisen. For full details, check out our The Stolen Throne quest walkthrough.
9. The Nameless Village
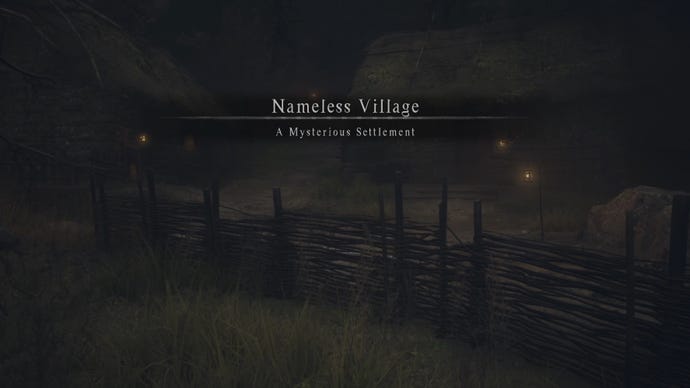
The Nameless Village objectives:
- Head northeast to the quest marker on the map.
- Before the landslide, take the right-hand path.
- Climb the rocks just past the minotaur.
- Speak to Srail outside the Nameless Village.
- (Optional) Rest at the inn.
- Speak to Flaude in the Old Noble Manor.
- Descend the ladder outside the manor into Nameless Village Depths.
- Complete the obstacle course.
- Speak to Flaude.
- Loot the 5 chests in the next room.
- Report back to Brant.
The Nameless Village is probably the most confusing main quest so far in Dragon's Dogma 2. Even just getting to said village is quite a challenge if you don't know where you're going. You'd best check out our The Nameless Village quest walkthrough to see you through it.
10. An Unsettling Encounter
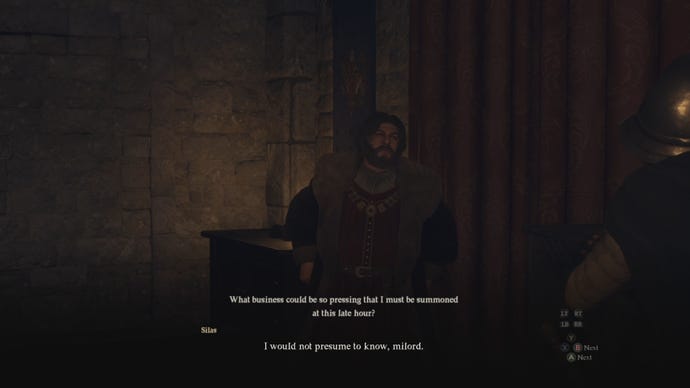
An Unsettling Encounter objectives:
- Enter Vernworth Castle and follow Sonia to the Guardhouse.
- Go up the spiral stairs to the upper floor.
- Wait for Allard and Silas to leave.
- Enter the secret room inside Allard's Chambers.
- Pick up the Battahli-Crested Letter.
- Escape via the window.
- Sneak past the guards and meet Wilhelmina.
- Report back to Brant.
We're nearing the end of the Vernworth questline now. An Unsettling Encounter requires you to, once again, sneak into the Guardhouse in Vernworth Castle, this time to snoop around the chambers of one Allard, a powerful member of the royal household. Learn how to navigate this quest with our An Unsettling Encounter quest walkthrough.
11. Feast of Deception

Feast Of Deception objectives:
- (Optional) Begin "The Arisen's Shadow" side-quest.
- (Optional) Capture Bermudo but don't kill him.
- (Optional) Talk to Brant about Bermudo.
- Tell Brant you are ready for the coronation.
- Wait for the results of Brant's investigation.
Feast Of Deception is an incredibly simple quest - in fact, it's mostly just cutscenes and dialogue. But we strongly urge you first to complete The Arisen's Shadow side-quest, because it sets you up nicely for the future. We'll explain why, and how to complete both quests, in our Feast Of Deception quest walkthrough.
12. Nation of the Lambent Flame
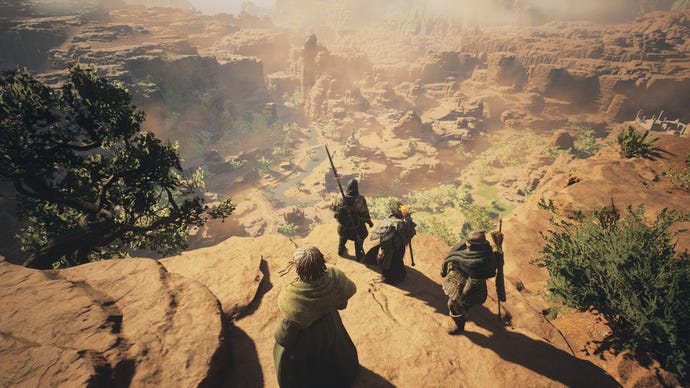
Nation of the Lambent Flame objectives:
- Journey to the Checkpoint Rest Town.
- (Optional) Obtain a Beastren Mask.
- Enter Battahl.
- Travel to Bakbattahl.
- Speak with Menella outside the Rockmouse's Burrow.
After spending many hours traversing the green wilds, finally it's time to head to the orange desert. Nation of the Lambent Flame sees your Arisen venturing to Battahl, the southern nation on the world map that's dominated by Beastren. Enemies are going to get tougher from here on out, so we recommend you prepare for some hard battles before heading south. Check out our Nation of the Lambent Flame quest walkthrough for more details on the trek through Battahl.
13. Flickering Shadows
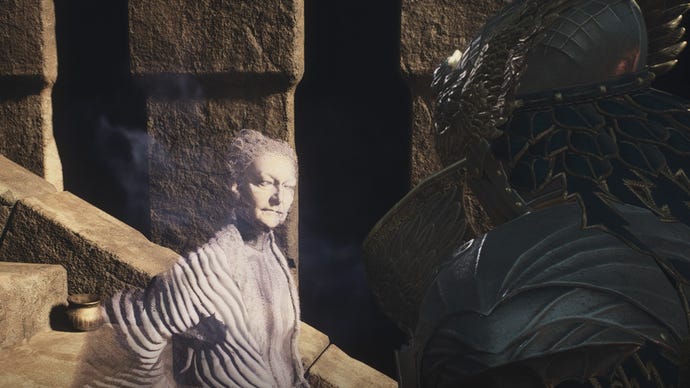
Flickering Shadows objectives:
- Explore Bakbattahl.
- Exit the city via the northern road.
- Speak with Ambrosius by the beach.
- Gather Small Blue Crystal Shards.
- Visit the Bay Wayside Shrine to speak with the Dragonforged.
- Visit the Reverent Shrine to speak with the Oracle Luz.
- Return to Harve Village.
- Speak with the Rivage Elder.
Now that you're in Bakbattahl, a whole new vibrant capital city is open for exploration. You're also on the verge of encountering some vital characters who'll clue you into your destiny as the Arisen, and you might pick up a tricky vocation along the way. Our Flickering Shadows quest walkthrough contains all that you need to know.
14. Convergence
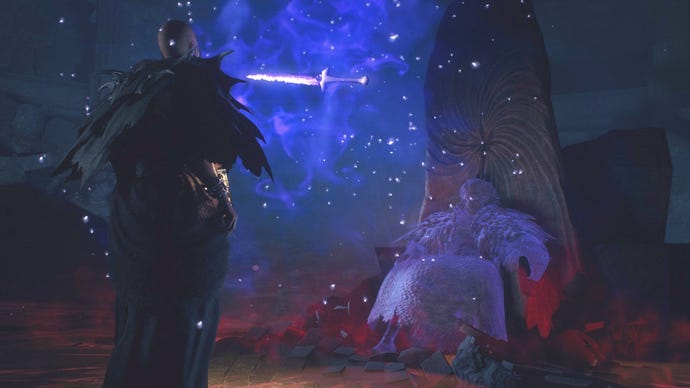
Convergence objectives:
- Explore the Seafloor Shrine.
- Speak with Rothais.
- Obtain the Dulled Godsbane Blade.
Convergence is a snap compared to the previous quests you've had to endure in Battahl - merely explore a shrine, speak with a Beastren ghost, and obtain a sword that was once all-powerful. But in case you get lost along the way, we've written up the full details in our Convergence quest walkthrough.
15. A New Godsway
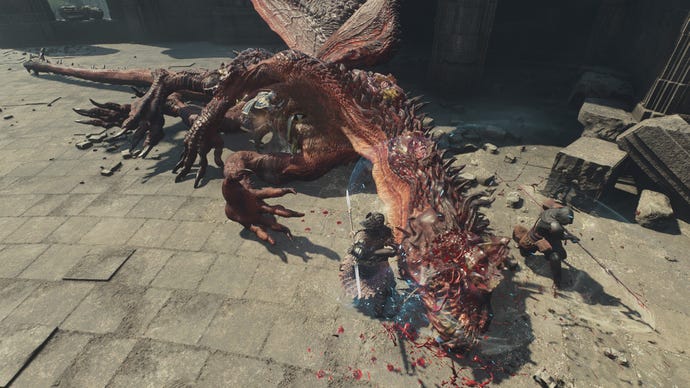
A New Godsway objectives:
- Deliver the Dulled Godsbane Blade to Ambrosius.
- Slay drakes for 15 Wyrmslife Crystals.
- (Optional). Visit Dragonsbreath Tower.
- Deliver the 15 Wyrmlife Crystals to Ambrosius.
- Speak to Ambrosius after a day passes.
A New Godsway's a little different when compared to other quests in Dragon's Dogma 2, as it requires you to get your hands dirty and farm drakes for their crystalised blood. For many players, this will be your first time going up against fearsome draconic enemies in Dragon's Dogma 2. We've detailed the best way to fight these tough but surmountable lesser dragons in our A New Godsway quest walkthrough.
16. The Guardian Gigantus

The Guardian Gigantus objectives:
- Pursue Phaesus and his lackeys through the Spellseal Door.
- (Optional) Fight the Guardian Gigantus.
- (Optional) Explore Agamen Volcanic Island.
- Enter Moonglint Tower.
As you've progressed through Dragon's Dogma 2, you may have heard tales of a magnificent statue of monumental height lurking underwater. Here's the quest where it makes its full appearance and rampages halfway across the map. Our The Guardian Gigantus quest walkthrough has everything you need to know when it comes to slowing down its destructive march.
17. Legacy

Legacy objectives:
- (Optional) Explore the Excavation Site.
- Climb Moonglint Tower.
- Survive against Phaesus' lackeys.
- Consider the critical decision that the Dragon gives you.
- (Optional) Use the Empowered Godsbane Blade while riding the Dragon's back.
- (Optional) Defeat the Dragon.
Legacy is either the final quest of Dragon's Dogma 2, or the opening that ushers in the game's hidden finale. Whatever decision you make, an epic showdown between Arisen and Dragon awaits. See how to vanquish your foe in our Legacy quest walkthrough.
18. Dreams Apart
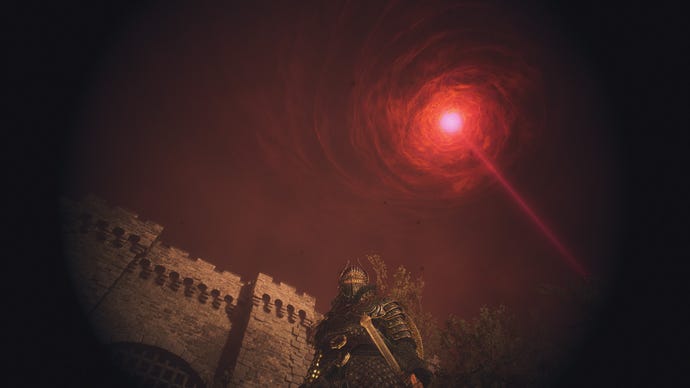
Dreams Apart objectives:
- (Optional) Familarise yourself with the Unmoored World.
- Visit the Forbidden Magick Research Lab.
- Speak with Phaesus.
- Reunite with your main pawn.
The true endgame of Dragon's Dogma 2 kicks off with Dreams Apart, which is actually a very simple quest. Since the quest itself isn't that hard, this is the perfect chance to get used to the unusual nature of the Unmoored World, where the oceans have dried up, deadly Purgener Dragons lurk in the skies, and one wrong death can send you spiraling back to the beginning. Get the complete rundown via our Dreams Apart quest walkthrough.
19. Halls of the First Dawn
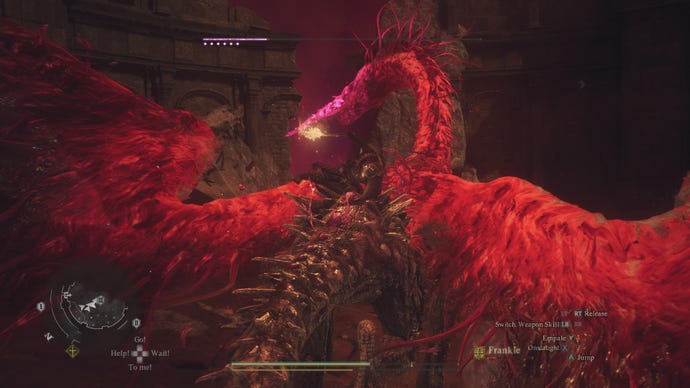
Halls of the First Dawn objectives:
- Go to the Seafloor Shrine.
- Speak with Rothais and Luz.
- Visit Bakbattahl and complete the "Civil Unrest" sidequest.
- (Optional) Defeat the Bakbattahl Purgener Dragon.
- Visit Vernworth and complete "The Regentkin's Resolve" sidequest.
- (Optional) Defeat the Vernworth Purgener Dragon.
- Visit Sacred Arbor and complete the "Wandering Roots" sidequest.
- (Optional) Defeat the Sacred Arbor Purgener Dragon.
- Visit the Volcanic Island Camp and complete "The Importance of Aiding Ernesto" sidequest.
- (Optional) Defeat the Volcanic Island Camp Purgener Dragon.
- Visit the Excavation Site and complete the "Shepherd of the Pawns" sidequest.
Halls of the First Dawn is a long quest that sees you visiting nearly ever major community on the Dragon's Dogma map and convincing people to evacuate to the Seafloor Shrine. We also recommend that you fight the Purgener Dragons as you visit each area to save time. This part of the Unmoored World can be a bit of a slog, but we've detailed the most efficient way to go about things in our Halls of the First Dawn quest walkthrough.
20. A Scholarly Pursuit
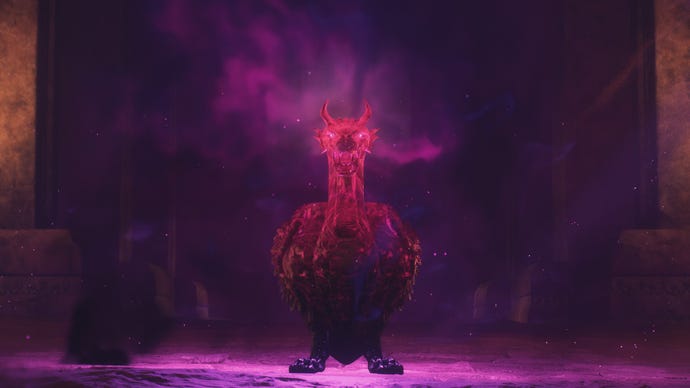
A Scholarly Pursuit objectives:
- Use the Godsbane Blade on the beacon in Bakbattahl.
- Follow Phaesus to get closer to the draconic jar.
- Defeat the summoned monsters along the way.
- Smash the jar.
Technically part of the quest chain in Halls of the First Dawn, A Scholarly Pursuit sees you facing a draconic jar that appears in Bakbattahl and manifests hordes of deadly monsters. Check out our A Scholarly Pursuit quest walkthrough for the full details on destroying this piece of cursed pottery.
21. When Wills Collide

When Wills Collide objectives:
- Return to the resting place of the Guardian Gigantus.
- Watch the ensuing battle between the reanimated Gigantus and the Purgener Dragon.
- Go to last red beacon by the Seafloor Shrine.
- Use the Godsbane Blade on the beacon.
- Avoid the Dragon's attacks.
When Wills Collide is the final quest to complete in the Unmoored World, unlocking the last red beacon on the map and the point of no return. If you're ready to finish Dragon's Dogma 2, go ahead and read our When Wills Collide quest walkthrough.
That's a wrap on all the main story quests in Dragon's Dogma 2! If you'd like more advice in preparation for New Game +, why not take a peek at our best vocations guide? We've also got comprehensive guides of the best weapons and best armor in Dragon's Dogma 2, and even a selection of mods that are worth your time if you decide to replay this monumental action RPG. Enjoy, and congrats on making it to the end.
