Dragon's Dogma 2: Monster Culling quest walkthrough
How to clear each location of enemies in the Monster Culling quest

Stuck on the Monster Culling quest in Dragon's Dogma 2? Monster Culling is the first main quest in Dragon's Dogma 2 that tasks you with journeying to various different areas in any order you like, to complete the objectives you find there. It may take some time travelling to and fro, so it's a good idea to know what to expect at each location, to save you having to make multiple trips.
In this guide, we'll provide a full walkthrough of the Monster Culling quest, covering what needs doing at each of the three marked quest locations on your map - starting with the finnicky and sometimes-perilous Trevo Mine.
For our full walkthrough of the entire game or to find a different quest, visit our Dragon's Dogma 2 walkthrough guide!
Monster Culling quest walkthrough
Monster Culling objectives:
- Reach Trevo Mine west of Vernworth.
- Clear out Trevo Mine and obtain the Greatsword and Archistaff.
- Receive and complete the "Vocation Frustration" side-quest in Vernworth.
- (Optional) Obtain the Wakestone Shards from Vermund Charnel House.
- Reach Harve Village and talk to Dylan.
- Clear the nearby cave of saurians and lead the guards inside back out.
- (Optional) Defeat the saurians overrunning the village in the "Scaly Invaders" side-quest.
- Head east of Vermund to the final quest marker.
- Defeat the goblins attacking the guards.
- Return to Captain Brant at night in the Stardrop Inn.
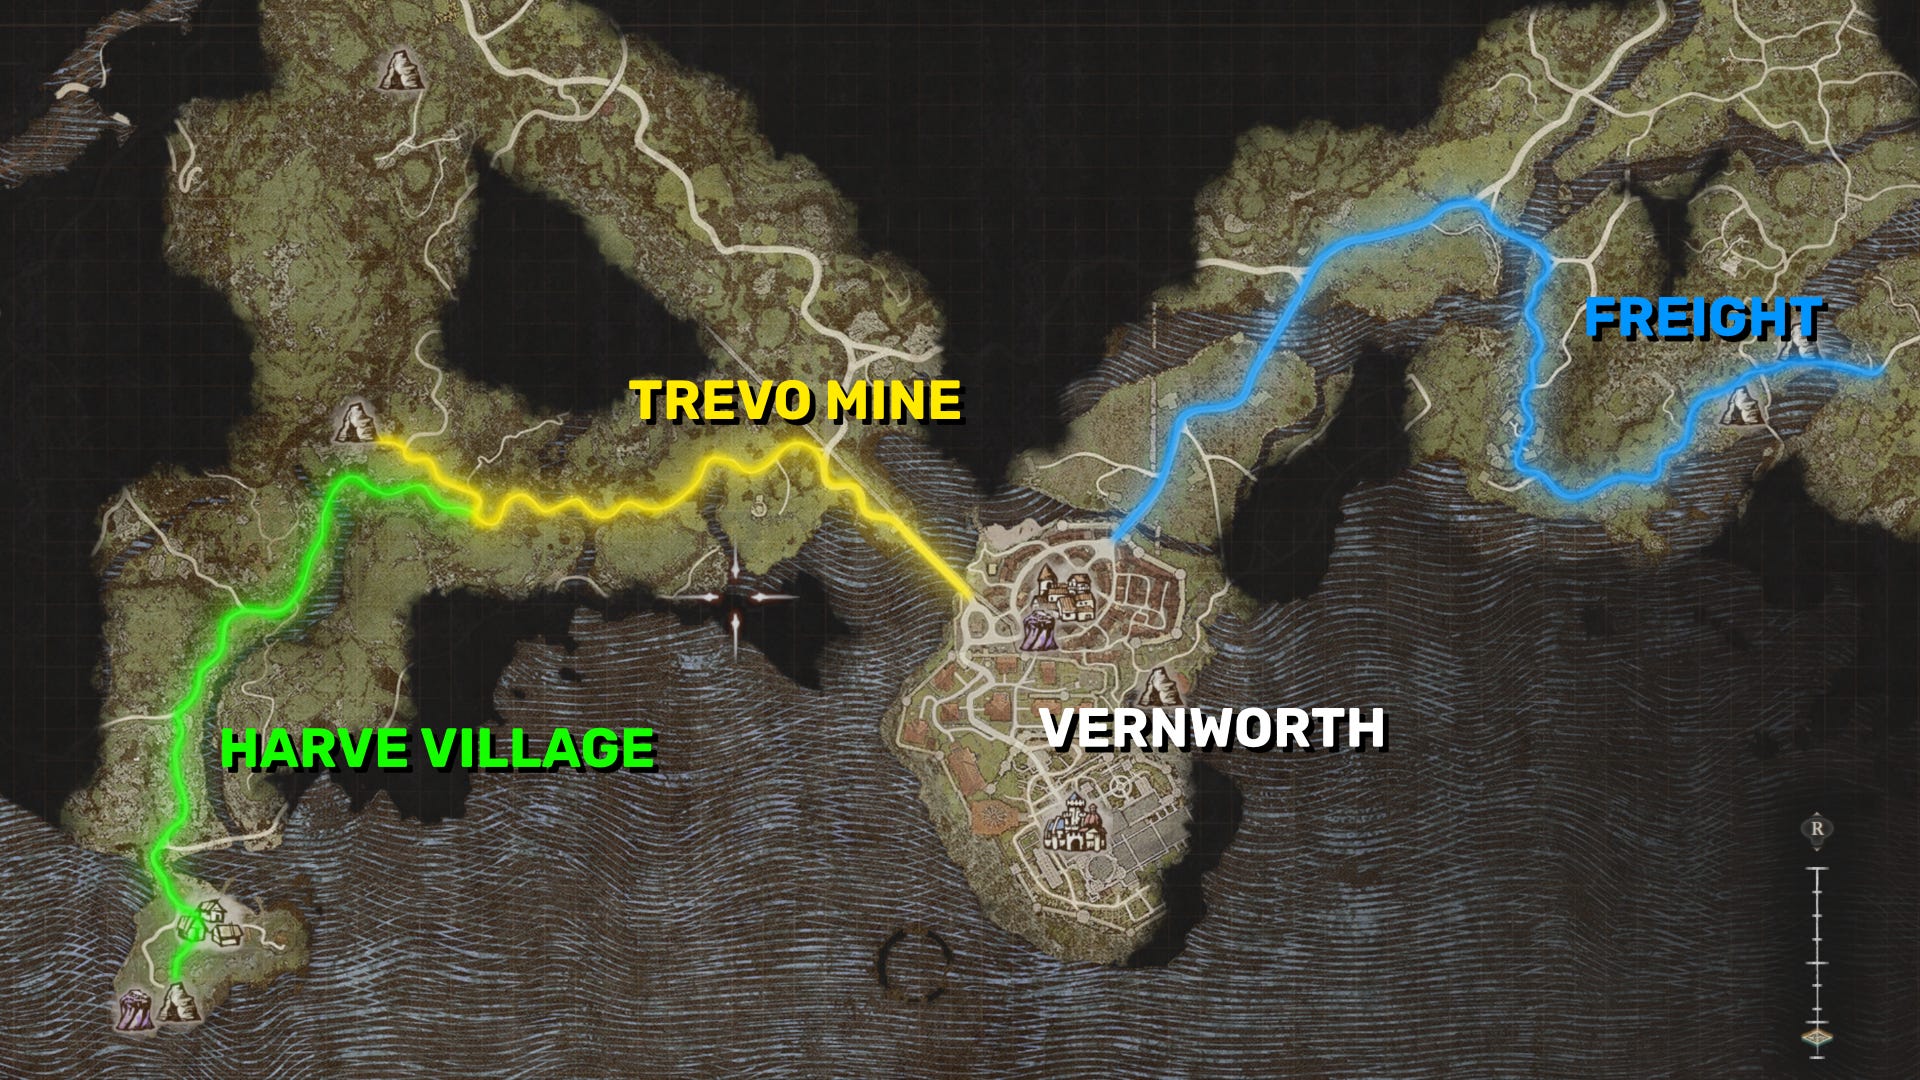
Monster Culling is a three-part quest which tasks you with visiting various areas in the lands surrounding Vernworth, and, well, culling the monsters there. It doesn't matter which order you take these objectives in, but we'd recommend starting with Trevo Mine to the west.
Exit through the west gate of Vernworth and follow the road to the quest marker on the map. Along the way you'll see some goblins and perhaps skeletons if you chose to travel during the night, but otherwise it's smooth sailing.
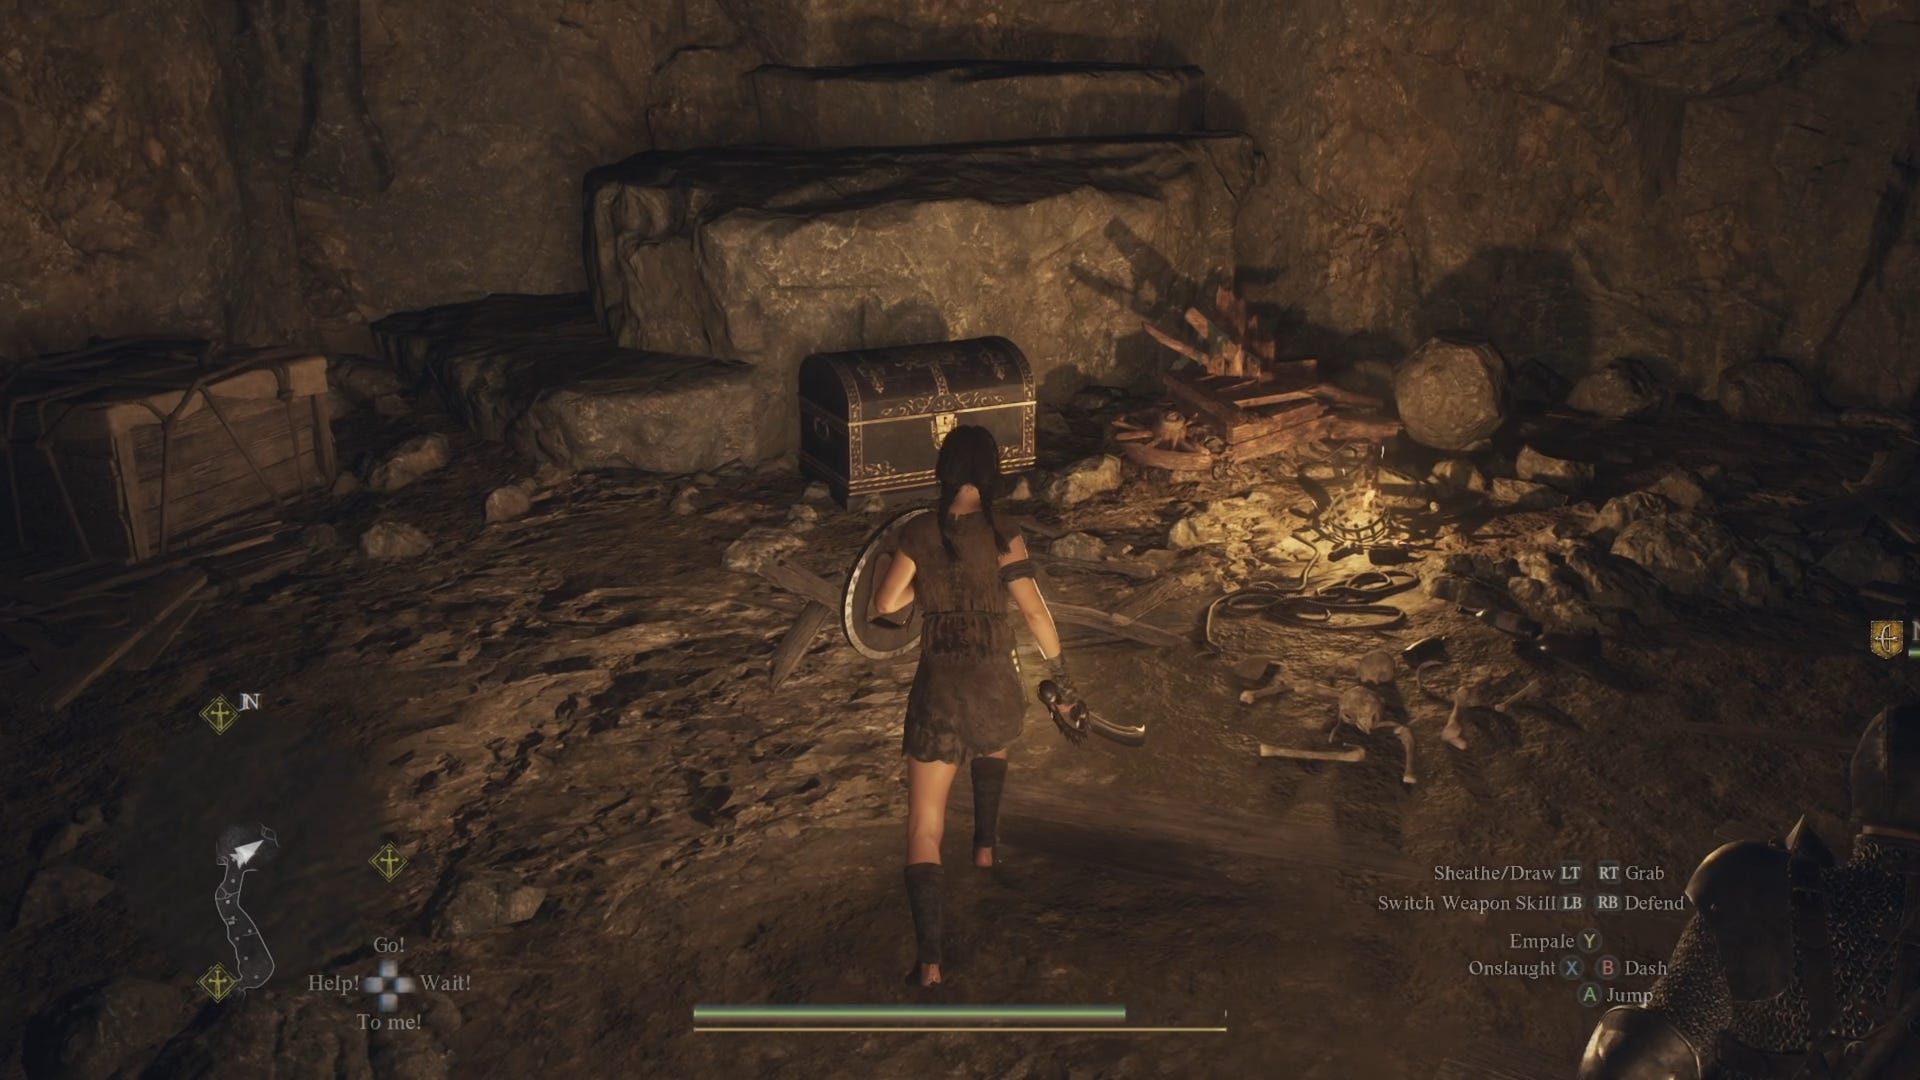
When you arrive at Trevo Mine, it's filled with goblins of varying sizes. Clear them all out, and make sure you take the time to explore every nook and cranny, because there are two important chests in this place. One of them gives you a Greatsword, and the other gives you an Archistaff. Bring these back to the Vernworth Vocation Guild and you'll unlock two new advanced vocations.
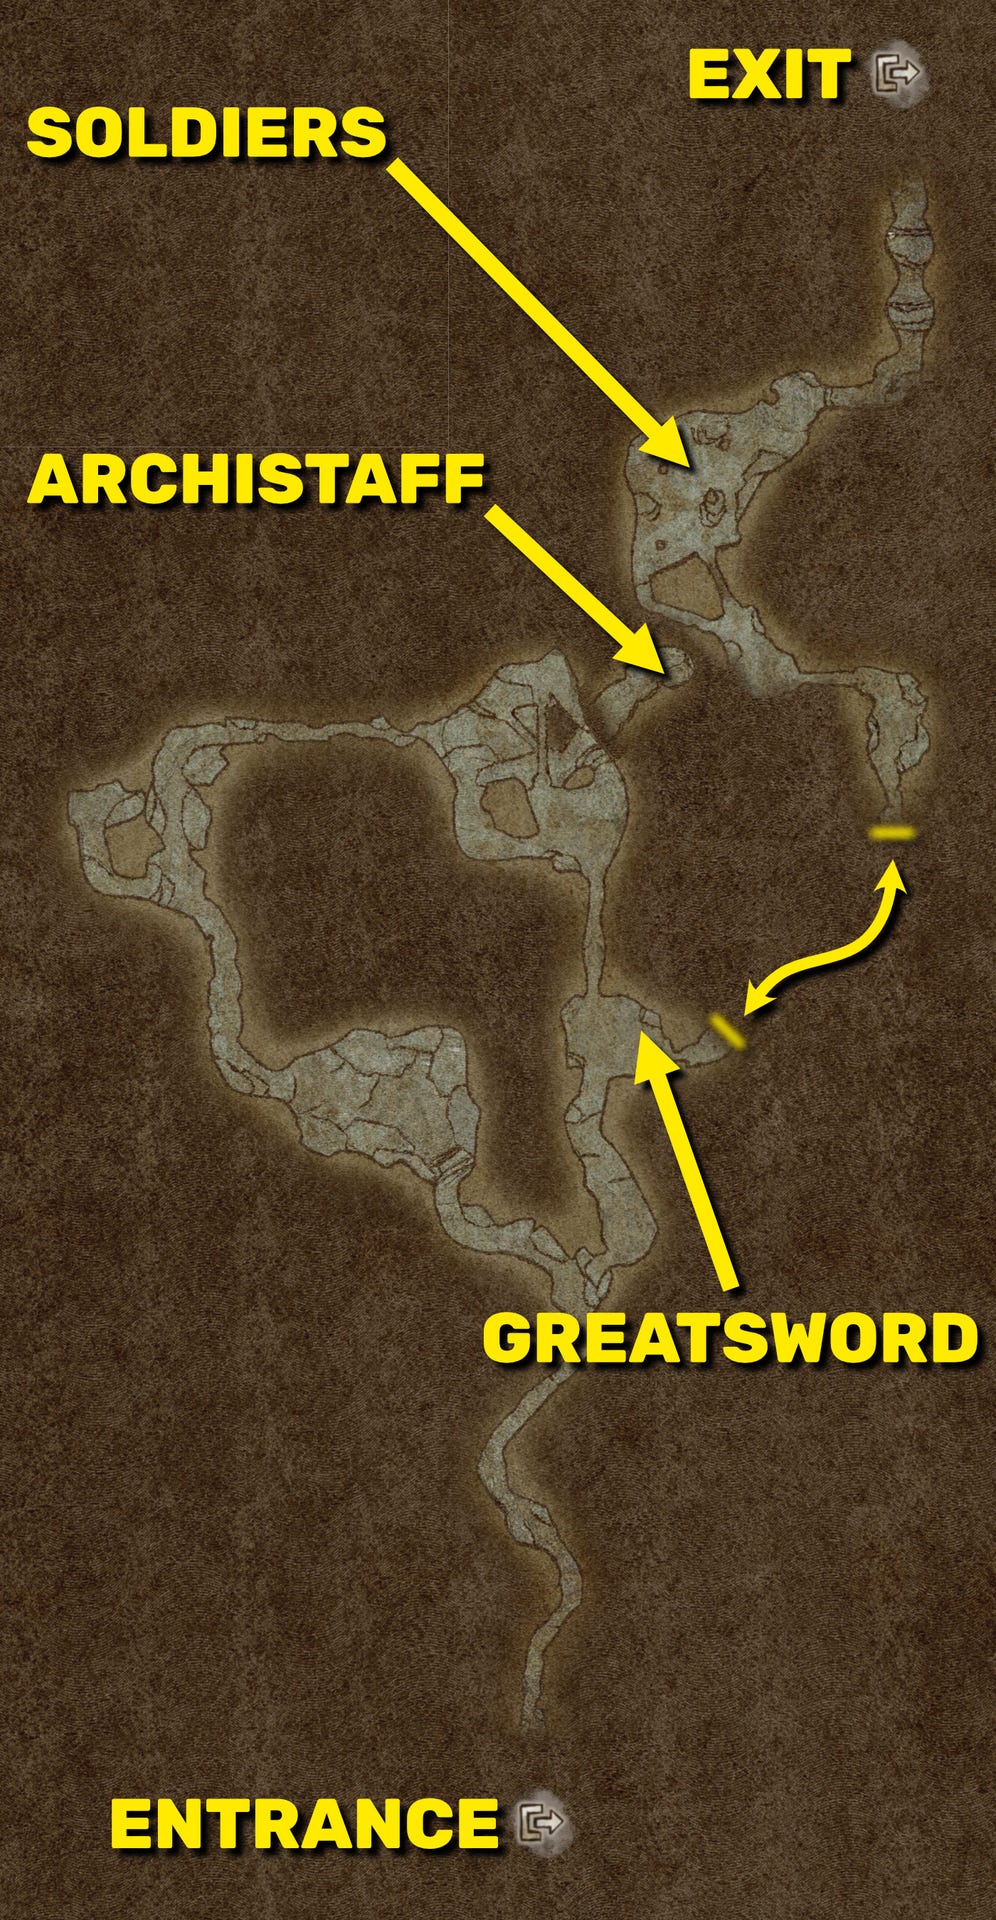
To find the Greatsword, take the right-hand path in Trevo Mine when it splits off, and a short way in you'll reach a room with a chest on the floor. Open the chest to get the Greatsword.
To find the Archistaff, you should backtrack after getting the Greatsword, and this time take the left path. Keep going until you reach the room that has the multiple holes in it on the map. From the very bottom of this room, you can head into a small alcove to the northeast where you'll find the Archistaff.
To complete Trevo Mine's part of the Monster Culling mission, you need to rescue the soldiers fighting there. They can be found by taking the eastern path from the Greatsword room, and following it to the end. Kill the goblins there, and then keep going forward to uncover a secondary exit to Trevo Mine once you're done.
Once Trevo Mine is dealt with, make the trek back to Vernworth and visit the Vernworth Vocation Guild. Speak to Klaus to receive the side-quest "Vocation Frustration", then speak to him again and give him the Greatsword and Archistaff you picked up from Trevo Mine. Hey Presto! You've unlocked the Warrior and Sorcerer advanced vocations. Two quests for the price of one.
Before venturing west again to the next location (Harve Village), we'd recommend stopping by the Vermund Charnel House south of Vermund's main square. In this place you'll find three chests dotted about, each of which gives you a Wakestone Shard. With those 3 Shards you'll gain a full Wakestone, which you might end up needing to use at Harve Village.
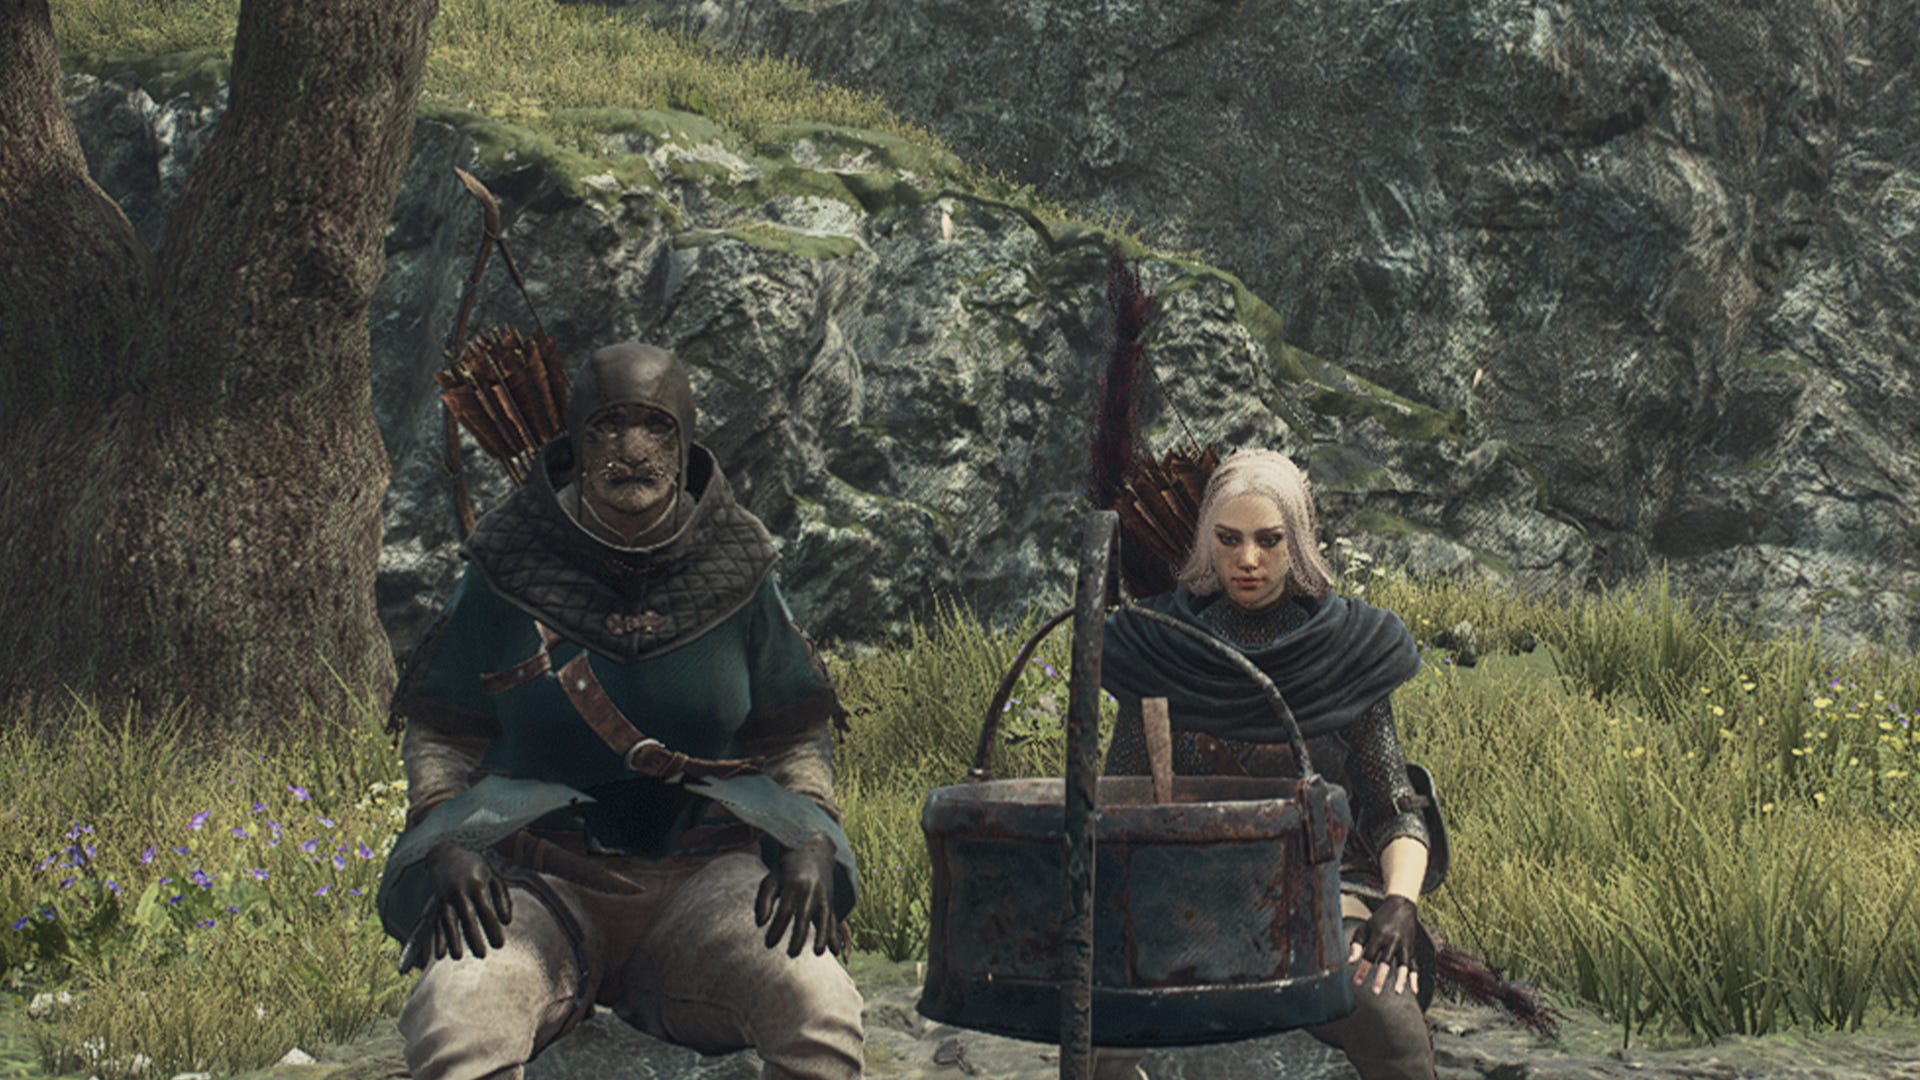
Proceed west again, but head past Trevo Mine and south towards Harve Village. At the end of the village, on the shore, you'll meet a guard named Dylan, who tells you that the other soldiers are in the cave he's standing beside. Enter the cave and clear out its groups of saurians (aim for their tails!). If you see a fallen guard, you can use that Wakestone you obtained to bring them back to life, granting you the Savior achievement in the process.

After you've rescued the guards inside, lead them back to Dylan outside the cave. A few steps back towards Harve Village will prompt a short side-quest called "Scaly Invaders", where you fight yet more saurians. After that, return to Vernworth ready for the final section of this lengthy quest.
When ready, proceed to the north exit of Vernworth and head towards the final marker. The roads mostly consist of goblins still, but you should be wary of ogre or griffin sightings and avoid them unless you're feeling brave.

At the quest marker, all you need to do is defeat the small pack of goblins attacking the guards there. Much simpler than Trevo Mine!
When you're done, return to Captain Brant at night in Vermund's Stardrop Inn once more to get your 7,000g reward and a couple of new main quests: The Nameless Village, and The Stolen Throne.
Next quest: The Caged Magistrate
That wraps up this walkthrough on the Monster Culling quest in Dragon's Dogma 2. By now you should have an idea of whether your character and pawns are prepared for the dangers ahead, or if they're feeling a bit underlevelled. To make yourself as powerful an Arisen as possible, check out our guides on the best builds for the Archer, Fighter, Mage, Magick Archer, Mystic Spearhand, Sorcerer, Thief, Trickster, Warrior, and Warfarer!