Dyson Sphere Program Belts: how Belts and Splitters work, correct ratios, useful tips, and more
Everything you'll ever need to know about belts in Dyson Sphere Program
Ah, the conveyor belt. Such a reliable staple of the factory-building game genre, and Dyson Sphere Program is no different. The belt's function is pretty clear, but there's a lot of useful information to know about how to use them properly. This Dyson Sphere Program belts guide will explain how belts work and how to use them effectively, along with useful tips and information on Splitters, ratios, throughputs, and much more.
On this page:
- Dyson Sphere Program Belts overview
- Belt Throughputs & Ratios
- How to use Splitters
- Some useful Belt tips
Dyson Sphere Program Belts overview
If you've played more than a couple of minutes of Dyson Sphere Program, you'll likely have come across Conveyor Belts. These belts are an essential logistic cog in your ever-expanding factory, and required for you to move from manual construction to automation.
The function of the belt is extremely simple: it transports items from one place to another. Most buildings which mine or harvest raw materials, such as Mining Machines, Oil Extractors, and Water Pumps, can be directly connected to a belt, so that whatever the building produces will automatically be placed on its attached belt. But for other buildings that produce intermediate and complex component items - such as Smelters, Assembling Machines, and so on - you'll need to attach them to belts using Sorters, because they can't connect directly to a belt.
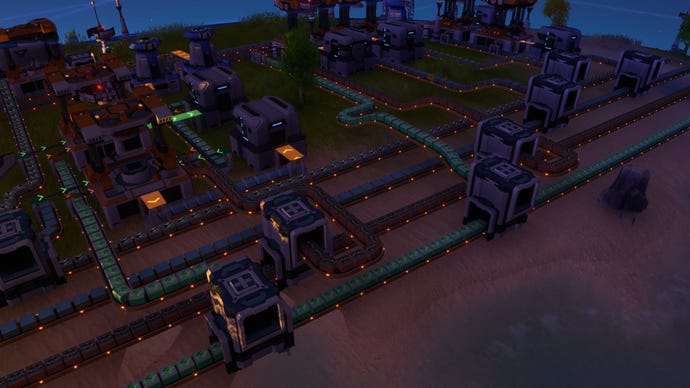
To place a belt, you need to click on a tile corner (or a building) where you want the belt to start, and then click where you want the belt to deliver items towards. A belt can be as long as you like, it can turn as many corners as you want, and you can even raise or lower its elevation, allowing you to pass over or under other belts or obstacles. If you want some handy tips on belt placement, then check our tips section below.
There are three types of belt in Dyson Sphere Program. There's the Mk1 belt (yellow), the Mk2 belt (green), and the Mk3 belt (blue). Each one is more expensive than the last, but transports items at much greater speeds.
Belt Throughputs & Ratios
If you want to master the use of belts in Dyson Sphere Program, you'll need to know things like how many items it can transport per second, how many buildings and sorters it takes to empty or fill a belt, and so on.
Here's the throughput of each Dyson Sphere Program belt:
- Mk1 (Yellow) Belt: 6 items per second
- Mk2 (Green) Belt: 12 items per second
- Mk3 (Blue) Belt: 30 items per second
Knowing these three values allows us to make some useful deductions. For example, because a Mining Machine produces 30 ore per minute per covered node, we know that it takes 2 Mining Machines, each covering 6 ore nodes, to completely fill a Mk1 belt to maximum capacity.
Likewise, you'll need 6 Smelters to empty a Mk1 belt of, say, Iron Ore, and fill another Mk1 belt with Iron Ingots.
4 Mk1 Sorters can empty a Mk1 belt of materials, as long as all the Sorters only cover a 1-tile gap.
Knowing the throughput of each tier of belt will enable you to place down exactly the right number of buildings, sorters, and so on. No wasting of materials on unnecessary buildings.
How to use Splitters
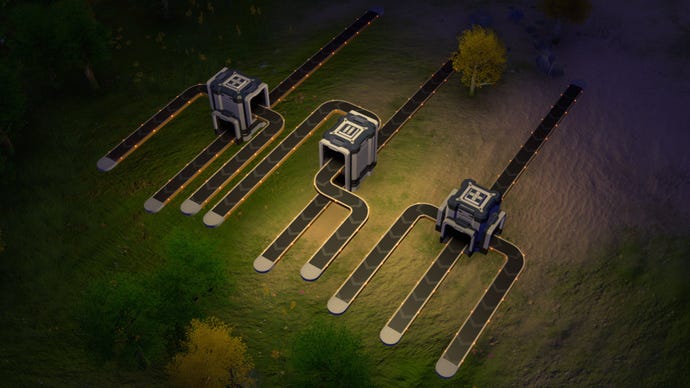
It's worth talking about Splitters here as well, because they're an incredibly useful tool for manipulating belts in Dyson Sphere Program. Splitters have four points where you can attach a belt. By default, a Splitter will take in all items offered to it through the input belts, and evenly distribute them between its output belts.
If you click on a Splitter, you can also set priority input and output belts, which becomes useful for routing materials to exactly where they're needed. I use priorities with Splitters in my Hydrogen and Oil Cracking build, to make sure the build keeps supplying itself with enough Hydrogen to continue working, before sending the remaining Hydrogen off to where it's next needed.
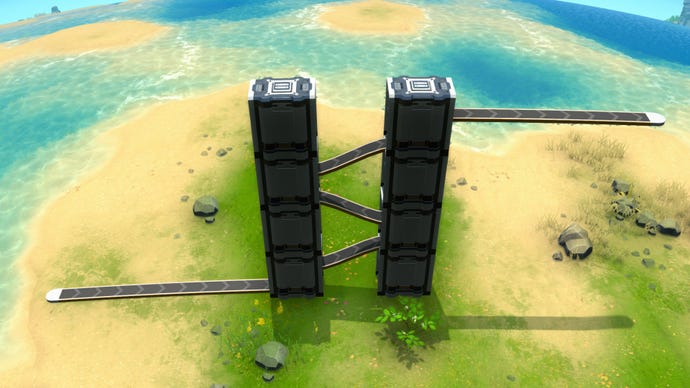
While placing a Splitter, you can hit "Tab" to cycle between different Splitter layouts, each of which is very useful for different situations. You can also stack Splitters, which makes for a useful (and aesthetically pleasing) tool for elevating belts.
Some useful Belt tips
Let's finish up with some useful and practical tips and tricks when it comes to using belts in Dyson Sphere Program:
- You can create extra-small slopes using half-elevations. Deconstruct the second half of a belt's slope upwards, then add a new section from the centre sloping downwards to create a smaller slope.
- While placing a belt, the cursor will automatically snap to buildings that can directly attach to belts, like Mining Machines. To avoid this snapping, hold "Shift" while placing.
- Tap "R" as you create a "corner joint" while placing a belt, and you'll change the orientation/position of the corner joint.
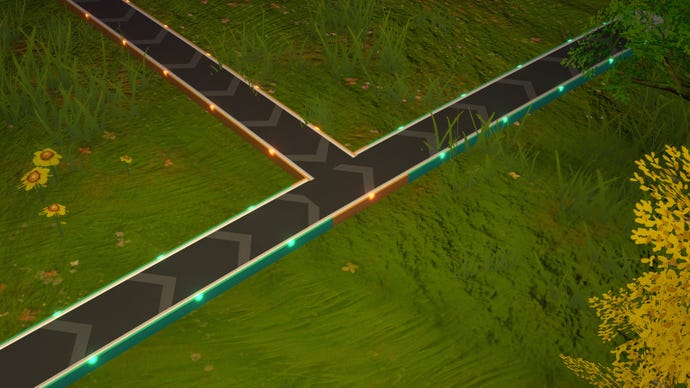
- Different tiers of belts will attach to each other, but bear in mind that attaching a new tier of belt in a T-junction will overwrite the connecting tile. This can sometimes cause a bottleneck by having one slower belt tile in the middle of a faster belt. To fix this, just go over the offending tile again with the correct tier of belt.
That's probably enough belt talk to be getting on with, and no doubt you'll want to get back to your factories now. I certainly do. But might I suggest first you take a look at our in-depth page on Dyson Sphere Program Logistics Stations? They're like belts, but bigger and more interstellar-y.
