Immortals Fenyx Rising Vault of Aphrodite walkthrough
How to recover Aphrodite's Essence from her Vault


Looking for some help with the Vault of Aphrodite in Immortals Fenyx Rising? The Vault of Aphrodite is one of the first major Vaults you'll encounter in Immortals Fenyx Rising. Forming part of a main quest involving - you guessed it - the Goddess Aphrodite, you'll have to make your way through several puzzles and a boss fight in order to complete this Vault.
To help you on your way, the below Immortals Fenyx Rising Vault of Aphrodite walkthrough will show you exactly how to complete every part of this Vault in record time.
Note: Spoilers follow, obviously. You've been warned.
On this page:
- Vault of Aphrodite walkthrough video
- First few seeds
- Left Path
- Right Path
- Final puzzle area
- Boss fight: Ozomene the Hurricane
Vault of Aphrodite walkthrough video

I've included a written walkthrough for the Vault of Aphrodite below, but if you're more of a visual learner, check out this video walkthrough I made. I played it through in New Game+, which is why I have extra abilities. But it still shows you exactly how to do everything in the Vault.
First few seeds
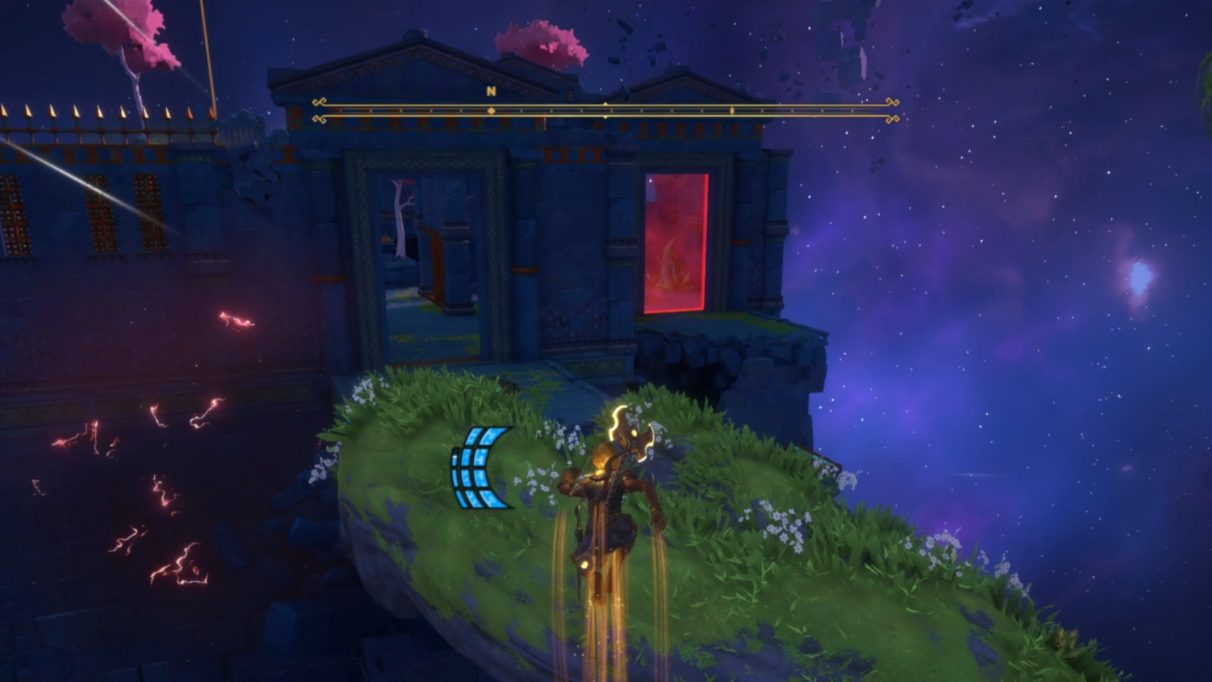
From the start, head across the floating platforms and turn left through the doorway. Kill the harpies there, and then stand on the circular plate in front of the stairs to light the torch in front of it. You'll hear that Typhon has used Aphrodite's seeds to poison the area, and you'll have to burn each seed to allow passage through to the end of the level. This is the central mechanic of the entire vault. Shoot an arrow through the flames into the seed in front of you to burn it away (Apollo's Arrows are useful here).

Follow the giant vine path along to the next area where you'll see lots of tiles rising from the ground in front of you. Don't go below onto the floor, because it's poisoned. Tap the button to the left to spawn a wooden cube which you should carry over and place down on the pressure plate to the right. This will light the torch on the tallest largest tile.
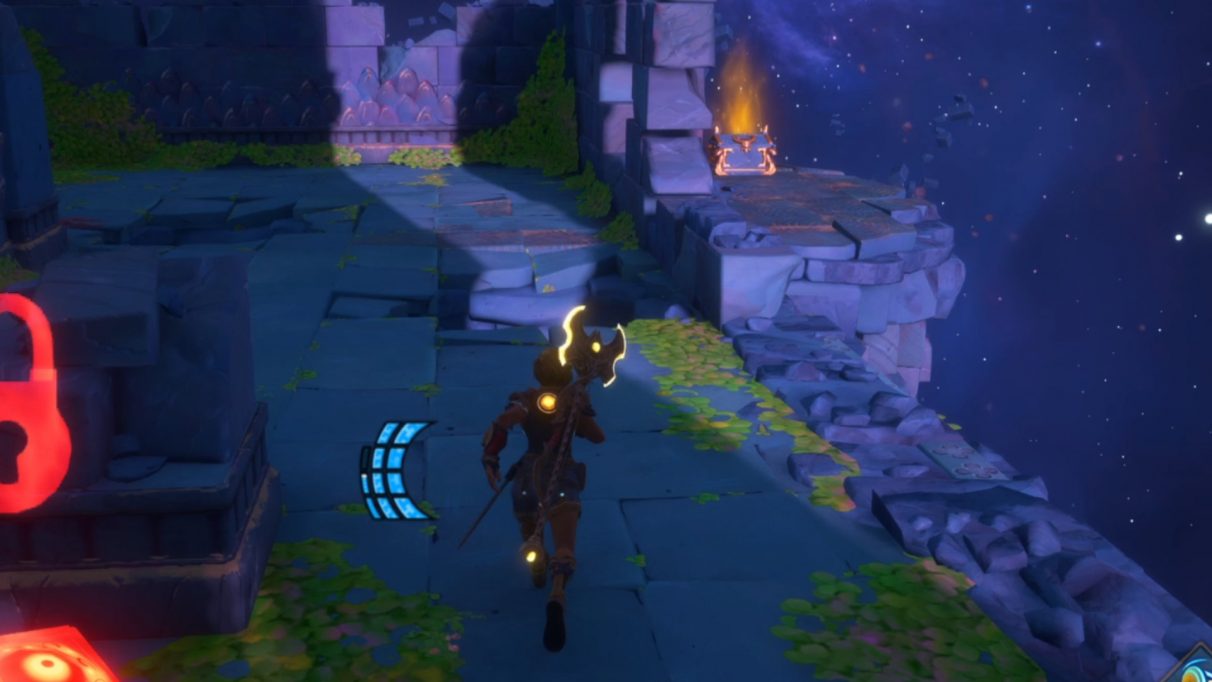
Now, go to the smallest tile (right next to the largest tile), and press the button there to spawn a rolling ball below. You can't go down there, so you'll have to pull the ball around using Herakles's Strength. Pull the ball up the ramp and into the socket to open the door . Don't worry about taking some damage here, you can heal right back up.

Behind the door is the next seed to be burned. Fire an arrow through the torch into the seed to clear the air. Then go into the room with the seed and open the chest there.
A few steps up the next path is another circular plate to stand on, which unlocks the next seed (just beyond the vines). From here you can Apollo's Arrow through the same torch as before to burn this seed away.
Left Path

Head up to where the seed was and take the left path. Jump over to the large doors and use the lever to open them. The room is an arena which spawns enemies you must defeat, but don't venture far from the door because you'll be poisoned. After the enemies are beaten, use the torch nearby to Apollo's Arrow and burn the seed in the central cage.
I haven't shown it in the video because I only discovered it later, but there's a chest between this room and the next one. Jump down onto the vine to the left and follow it round, and you'll see a small hidden platform with a chest to open.
Now head to the next room, which is another arena that works in the same way - but this time there are two seeds that must be burned. When this is done, run out of the room and stand on the circular plate to light the torch and unlock the seed in front of you. Burn the seed away, and you can progress.
Right Path

Head up to where the seed was and take the right path. The next seed is locked, so head to the south-east puzzle area and press the button at the bottom of the stairs. A flaming ball will spawn, which you can pull around from the top. Pull it into the seed to burn it away, and then place the ball in its socket.
Do the same with the other balls that spawn, but bear in mind that the balls have to be burning to destroy the seeds. If a ball isn't burning you'll have to pull it into a brazier to light it. With the seeds burned away, pick up the chest that was down in the labyrinth on the second ball's route. Now, with each ball in its socket, the nearby vines burn away to reveal another circular plate to stand on. From this plate, shoot an arrow through the flames into the next seed.
Final puzzle area
The way up to the very top is still blocked, so head to the area to the left with the large forcefield. To your immediate left after entering through the main doorway, there's a seed. Use the torch in front of you to burn it away, then press the button in that area to release a ball. Roll that ball over to the socket to the right of the main entrance.
Look back at the torch. Just beyond it is a patterned brown wall, and behind it is another seed. Burn it away with a flaming arrow, then hop up over to the next torch. Use this torch to burn away the three remaining seeds in this area. Then head to the very back of the area, and you'll see a ledge on the outside with a chest you can open.
Now head back to that patterned brown wall that hid the seed. There's a button there you can push, which releases another ball that you can roll back down the way you came. Place it in the socket behind the red forcefield. Doing this will unlock the final button/ball/socket bit of this area. Move the ball carefully down the way you came, and into the socket behind the final red forcefield.
With the forcefield gone, step through and onto the circular plate. Now fire an Apollo's Arrow south through the now-lit torch, avoid all the obstacles until you exit this area and burn away the seed that was blocking the path to the very top.
Boss fight: Ozomene the Hurricane

Run back the way you came and use the stairs to climb up onto the vine that leads to the very top. At the top of the stairs is a final circular plate. Step onto it, then use the flames that appear a little way up the vine to remove the final seed. Now follow the path to the top, where you'll have to fight a boss: Ozomene the Hurricane.
Ozomene has some nasty moves, the worst of which is one where she flies up and then slams into the ground, releasing a shockwave that you should jump over to avoid. She also does bombing runs that leave behind molten rocks which you can pick up and throw back at her for high damage.
Use arrows and molten rocks until she reaches the stage where she summons smaller harpies and becomes invulnerable. This part's great, because killing the harpies will stun Ozomene, allowing you to whale on her. If you've unlocked Hephaistos's Hammer, use it with gusto, as it deals massive damage. If not, just keep hitting her. Eventually she'll die.
After that, simply fly over to the platform with the seashell, and pick up Aphrodite's Essence - at which point you'll be transported out of the Vault of Aphrodite. Job done!
There you have it! That's how to recover Aphrodite's Essence from the Vault of Aphrodite in Immortals Fenyx Rising. Now why not take a look at some of our other guides, starting with our list of best Immortals Fenyx Rising skills & Godly Powers?