Immortals Fenyx Rising Vault of Ares walkthrough
Learn how to solve every Vault of Ares puzzle


Are you having difficulty beating the Vault of Ares in Immortals Fenyx Rising? Don't feel bad: the Vault of Ares introduces a new and potentially confusing puzzle concept not previously seen in Immortals Fenyx Rising: Orichalcum cubes that can be toggled between floating and solid at the player's will.
Retrieving Ares's Essence relies on an understanding and mastery of these cubes: fortunately, our in-depth Immortals Fenyx Rising Vault of Ares walkthrough will show you how to solve every puzzle and collect every chest in the vault with ease.
Note: Spoilers follow, obviously. You've been warned.
On this page:
- Vault of Ares walkthrough video
- Intro: the first chain
- Back-left chain
- Back-right chain
- Front-left chain
- Front-right chain
- Kottos boss fight
Vault of Ares walkthrough video

Below is a full written walkthrough for the Vault of Ares in Immortals Fenyx Rising. But if you're more of a visual learner, I've also included a full video walkthrough of the Vault from start to finish just above. Take a look!
Intro: the first chain
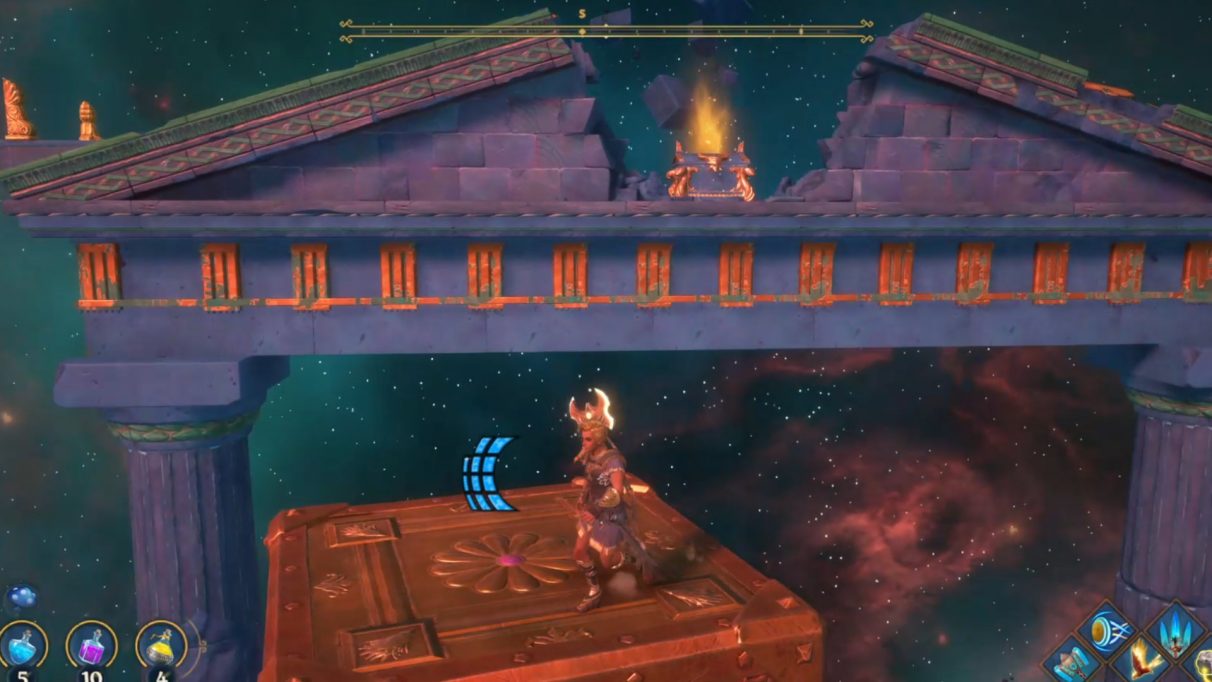
From the start of the Vault of Ares, run forwards and press the button on the lower platform to spawn a cube. This cube is made from Orichalcum, and changes its state from weightfulness to weightlessness every time you hit it with an attack. Floating Orichalcum cubes can be moved with Herakles's Strength, but non-floating cubes cannot.
This is the central mechanic of the Vault of Ares, and due to the freedom with which you can move around cubes in this Vault, there are likely multiple solutions to every puzzle. Below are just my solutions.

With this first cube, activate it and move it up to the wall. Then let go, and jump and climb up it. From the top you can reach the next platform.
The next button summons two more cubes, but I only use the one, because there are other floating cubes above you. I activate the nearest spawned cube and climb on it, then use Herakles's Strength to grab the nearest cube and climb up that one too, giving me the height to reach the next platform.
The third button summons another cube at the next level. Fire at it with an arrow to activate it, then haul it down to your level and climb up it, then jump across. Hit both the cubes blocking the doorway to raise them out of the way, allowing you passage through. Then break the patch of corruption in front of you to destroy the first of five chains in the Vault of Ares.

Back-left chain
From the checkpoint in front of the statue, ascend the cubes to your immediate left and follow the path round until you reach a bunch of floating cubes above a group of enemies. You don't need to fight the enemies at all here: just jump from cube to cube to reach the other side. Don't let that button below fool you into thinking you have to go down there. Buttons like those will just spawn more cubes for you in case you run out.
From the next platform, again ignore the enemies below and jump over to the far cubes. From there, jump through the broken wall to the east, and onto the next floating cube. Glide over the right-hand doorway on the east side, and keep going to the very end of the corridor. Drop down, defeat the enemy, and collect the chest at the end.
Then head back to the cube floating right above that chest, and from here head to the left, jumping from cube to cube until you reach the final platform with the weighted pressure plate. Pull the nearest cube to you and deactivate it to place it on the pressure plate. Then run through the door that opens and destroy the chain, before heading through the gap in the wall back down to the statue.
Back-right chain
From the checkpoint, ascend the cubes to your immediate right and follow the path round until you reach a platform with a button. Press this button to spawn three cubes. You'll only need two. Activate any two of them. Then climb atop one, pull the other on top of you, climb up that one, and then glide across the chasm in front of you to the next platform.
The next button again spawns three cubes. Activate all three, then patiently transport each cube across to the next platform, so that you can reach all three from the third platform on the left. Stack them atop each other to reach the top platform, and then stack the three cubes atop each other again on this top platform in order to reach the very top of the archway, because a chest is hidden up there.
For the final puzzle for this chain, press the final button to again spawn three cubes. You'll only need two. Stack one atop the other. but throw the top one slightly in front of you. Then glide over to the next platform (the tops of the pillars), turn back and grab that top cube you threw. From here, just throw that cube as hard as you can down towards the weighted pressure plate, and quickly glide after it. Grab the cube before it can disappear on you, and place it down on the pressure plate. Go through the door, break the chain, and glide down to the statue once more.
Front-left chain
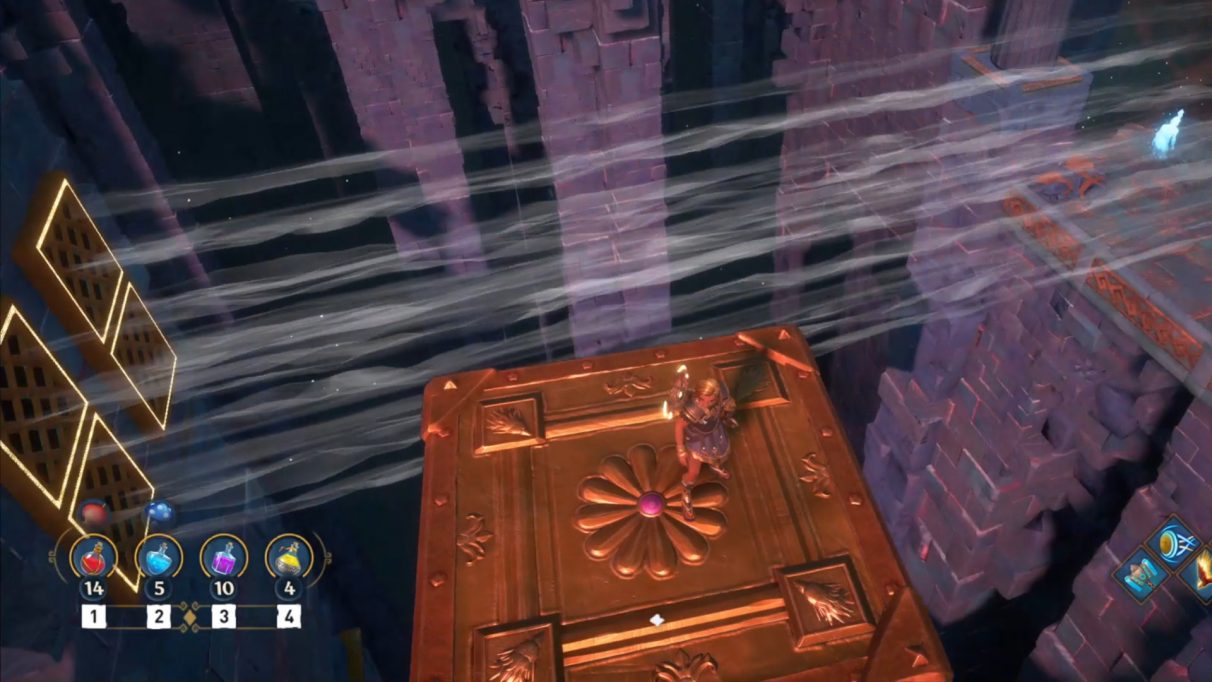
Cross diagonally to the left and ascend those cubes. Follow the path until you reach a button next to an air stream. The aim here is to let yourself be transported via cubes being pushed by air streams. Press the button to spawn the first cube. Activate it, then immediately grab on and climb on top. Let the air streams push you along. To the left of the next checkpoint is a pillar with a chest atop it, so jump across when you can and collect it. Then drop down, deactivate the cube, and place it on the pressure plate.
Press the next button, and do exactly the same thing as before, but this time you'll have to deactivate the cube at certain moments so it lands directly on the vertical air streams pushing air upwards. Then reactivate them to get a boost upwards to reach the next stream. Once you reach the end, place the cube on the next pressure plate.
The third section is much the same again, as you'll have to deactivate the cube at certain moments to land in certain air streams before activating it once again. Place the final cube on the final plate to remove the barrier to the next chain. Break the chain and return to the statue.

Front-right chain
Cross diagonally to the right and ascend those cubes. Follow the path until you reach a platform with a button that spawns a big cube. Beyond the cube is a ramp with a section missing. Fill this space with the cube, then reach the top of the ramp and press the button to set a ball rolling down the slope. With the cube in place, the ball will reach its socket and unlock the next section.
From the first platform after the next checkpoint, look down below the nearest ramp and you'll see a hidden chest. Fly down and open it, then reach the top again. Activate the nearest big cube and place it in the gap in the ramp before you. Beyond that ramp there are two more floating cubes. Deactivate both so they fall to the ground.
Now reach the top platform and press the button to set two balls rolling down their respective paths. Follow the left-hand one and grab it after the first ramp, then push it down the ramp to the left. Once it's started on that path, head to the other ball and give that one a push down the ramp to the left too. Both balls should reach their sockets thanks to the cubes you deactivated. Now jump across to the final platform and break the final chain.

Kottos boss fight
After breaking all the chains, fly down to the statue and it will come to life as Kottos, the All-Seeing. He's got a lot of nasty unblockable attacks, so don't try to parry this guy. Just dodge everything he throws at you, and use your Godly Powers to inflict maximum damage to end the fight as quickly as possible.
The worst move to watch out for is his roll. If you see him curl into a ball, prepare to dive as he'll roll forwards in a moment with startling speed. The other dangerous move is his slam. He'll continuously pound the ground with his many fists, creating pools of red where you stand. Don't try to dodge these, just keep running and you'll evade them far more easily.
After killing Kottos, just head north up the stairs and retrieve Ares's Essence!
And that's everything you need to know about perfecting the Vault of Ares! But we've got plenty more to offer on the subject of Immortals Fenyx Rising. Why not now check out our guide on the Best mounts in Immortals Fenyx Rising?