Monster Hunter Rise: Sunbreak Gaismagorm fight walkthrough, weaknesses, and tips
How to beat Gaismagorm, Archdemon of the Abyss
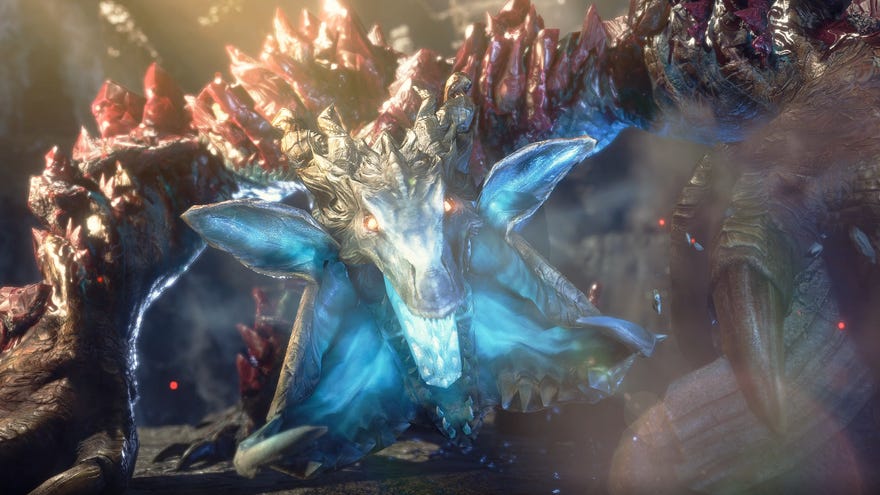
Want to know how to beat Gaismagorm, the final boss of Monster Hunter Rise: Sunbreak? Gaismagorm, Archdemon of the Abyss emerges for one of the longest, toughest fights in Sunbreak and marks the end of the main story. There is plenty of post-game content afterwards (and SPOILER ALERT! even a few new monsters), but after Gaismagorm the credits roll and your Master Rank unlocks. The fight isn’t easy though, and you’ll likely be repeating it a few times. Gaismagorm has some of the best weapons for raw damage in Sunbreak and a few excellent armour pieces, so use this guide to master the fight and farm all the Gaismagorm gear you need for your builds.
Gaismagorm fight walkthrough
The Gaismagorm fight is long, especially the first few times before you have maxed out weapons and optimized armour sets. The fight has three distinct phases, as well as multiple gimmick attacks you must learn to survive. You’ll have an opportunity to fast travel back to camp and restock between the first and second phase but will need to use a Farcaster to return after that. Make sure you have one on hand at all times.
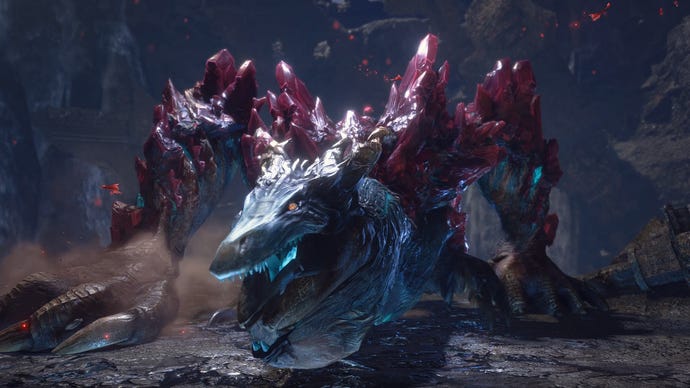
In the first phase, Gaismagorm is mostly slow and lumbering but hits very hard with several claw slams and demon-fire explosions. The beast’s back and arms are covered in red crystals that you can break off with a few well-placed strikes. Breaking these crystals will net you some extra damage later, so try to crack as many as you can.
The attack to look out for here is a huge suction vortex that leads to a massive explosion. You will get a voice line warning before this, plus a pop-up message from Fiorayne. Then, Gaismagorm will leap to the cliff at the edge of the arena, and a few boulders will jut out from the ground. If you stand with a boulder between you and the monster, the vortex can’t pull you in and you will be protected from the explosion. A well-timed superman dive can also dodge the blast, but the rocks make things easier. During this attack, any crystals you knocked off of Gaismagorm will be sucked into its mouth and explode. So, knock off as many as you can for some extra damage and possibly a free knockdown.

Once you deal enough damage, you’ll be met with a cutscene and transition to the second phase of the fight. Gaismagorm will leap down into the abyss and give you a chance to return to camp before you follow. Unless you got through phase one without using any potions, take that opportunity. In this phase, Gaismagorm sheds the crystals and gains a demonic aura. The Archdemon will make more liberal use of fiery attacks, including a new move that rains meteors from the sky.
A few times during this phase, Gaismagorm will turn and start to climb up the walls of the arena. Ballistae will drop nearby, and you’ll need to jump on them quickly. Three massive red orbs will appear on Gaismagorm’s back, and balls of Qurio that apply Bloodblight will fly towards you. You must shoot the flying Qurio to keep them away while trying to destroy the orbs on Gaismagorm. If you break all three before Gaismagorm reaches the top, the monster will fall and remain knocked down for an extended period, giving you a massive opening for damage. If you fail, Gaismagorm uses an attack that can one-shot your entire team. There are a few ways to dodge it, which we’ll cover in the tips section below.
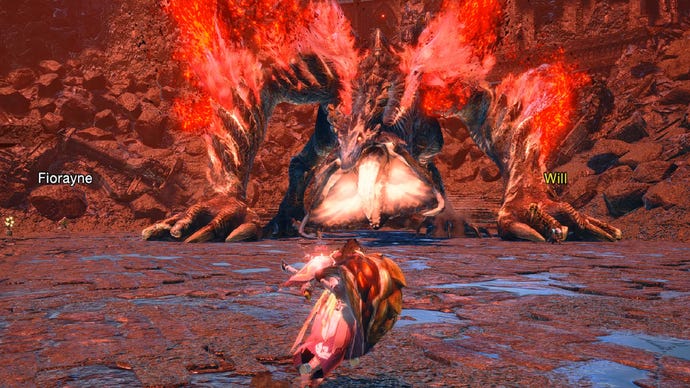
In the final phase, Gaismagorm’s aura will burst into flames that jet out of the monster’s body. Gaismagorm gains even more fiery attacks, deals even more damage, and gets much quicker. Many attacks now leave behind the explosive orbs from previous phases or create red circles on the ground that explode after a few seconds. Gaismagorm can also use the flames to slam one arm down and then jet across the arena for huge damage.

Gaismagorm weak spots and elemental weaknesses
Melee weapon users will find weak spots on Gaismagorm’s head, wingarms (the massive front feet), neck, and tail tip. The head in particular takes a ton of damage from both Blunt and Slashing damage, so swing for it whenever you can.
For ranged players dealing Shot damage, the only weakspot is the head. This isn’t uncommon for massive monsters that are easy to hit, and Gaismagorm’s head isn’t too tough a target to stay on.
Gaisagorm’s prime elemental weakness is Dragon. Most of the monster’s body takes loads of Dragon damage, and every weakspot takes enough to use the Elemental Exploit rampage decoration if you have it. Weapons from the Gore Magala and Shagaru Magala trees do great in this fight, along with any class-specific weapon trees with high dragon damage. Thunder also fares decently, but no other elements are worth considering.
How to beat Gaismagorm: top tips for success
Here are our top tips for victory over Gaismagorm:
- Stand directly under Gaismagorm during the meteor storm/rain of fire attack
- Three ways to dodge the one-shot attack
- Always pack a Farcaster
- Don’t miss this Hunting Helper
Stand directly under Gaismagorm during the meteor storm/rain of fire attack
During phases two and three, Gaismagorm can call down a rain of fireballs/meteors that explode on impact for massive fire damage. You can see an orange circle where they’ll land, so it is possible to dance around the battlefield and avoid them. However, the meteors cannot land directly on top of Gaismagorm. So, stand underneath Gaismagorm to avoid the rain of fire attack. You can even hit the front foot weakspot during this if you position between the front and middle foot on either side of the monster.
Three ways to dodge the one-shot attack
If you fail the ballista segment, there are three ways to dodge the incoming blast. The first and simplest is to just run away from Gaismagorm. The attack covers most of the arena, but won’t quite hit the opposite edge. If you can get out of the red circle, you will be safe.
However, it can be tough to get far enough away in time depending on your positioning. That leaves you with two options. First, you can run to the closest set of stairs on the edge of the arena. These are raised up slightly and keep you out of harm's way. Keep in mind though that the stairs further from Gaismagorm will get hit by the second part of the attack, so make sure to jump to the closest set.
Finally, if you’re caught in the middle with no time to get out, you can use a Farcaster to escape. If you don’t have Farcasters on your radial menu, queue one up on your action bar when the ballistae drop just in case. That way you always have a fallback plan if you can’t make it out of the circle.
Always pack a Farcaster
As mentioned earlier, Farcasters make a nice emergency button for the one-shot attack. However, you should really have one on you even if you’ve mastered the ballista mechanic. Gaismagorm just has buckets of health, and until you’ve mastered the fight, it is likely to outlive your healing supplies. You should always have materials ready to craft extra potions on the fly, but once you’re empty you will need a Farcaster to restock. Expect to do that once or twice per hunt until you’ve really got the fight down.
Don’t miss this Hunting Helper
The Gaismagorm unique arena has a few Hunting Helper creatures that you can pick up for a boost during the fight, but they’re surprisingly easy to miss. One of the best Helpers is the Aurortle, a small, brown turtle you can find in camp that provides the equivalent of the Dango Moxy food buff. This life-saving creature is behind the initial player spawn, so you may not notice it if you run straight to the cliff. You’ll find other Helpers down below, including a Lanternbug on the stairs in bottom arena, but the Aurortle is the big prize.

That’s everything you need to defeat Gaismagorm, Archdemon of the Abyss! Once you finish this final boss off the credits will roll and you can dive into Sunbreak’s post-game content. If you’re still pressing towards this point, we’ve got guides to key story checkpoint monsters including Garangolm, Lunagaron, and Malzeno. We’ve also got handy guides on how to unlock every switch skill in Sunbreak and the base game, as well as every sub-camp location.

