Rainbow Six Extraction PC performance: the best settings to use
Operators and optimisations


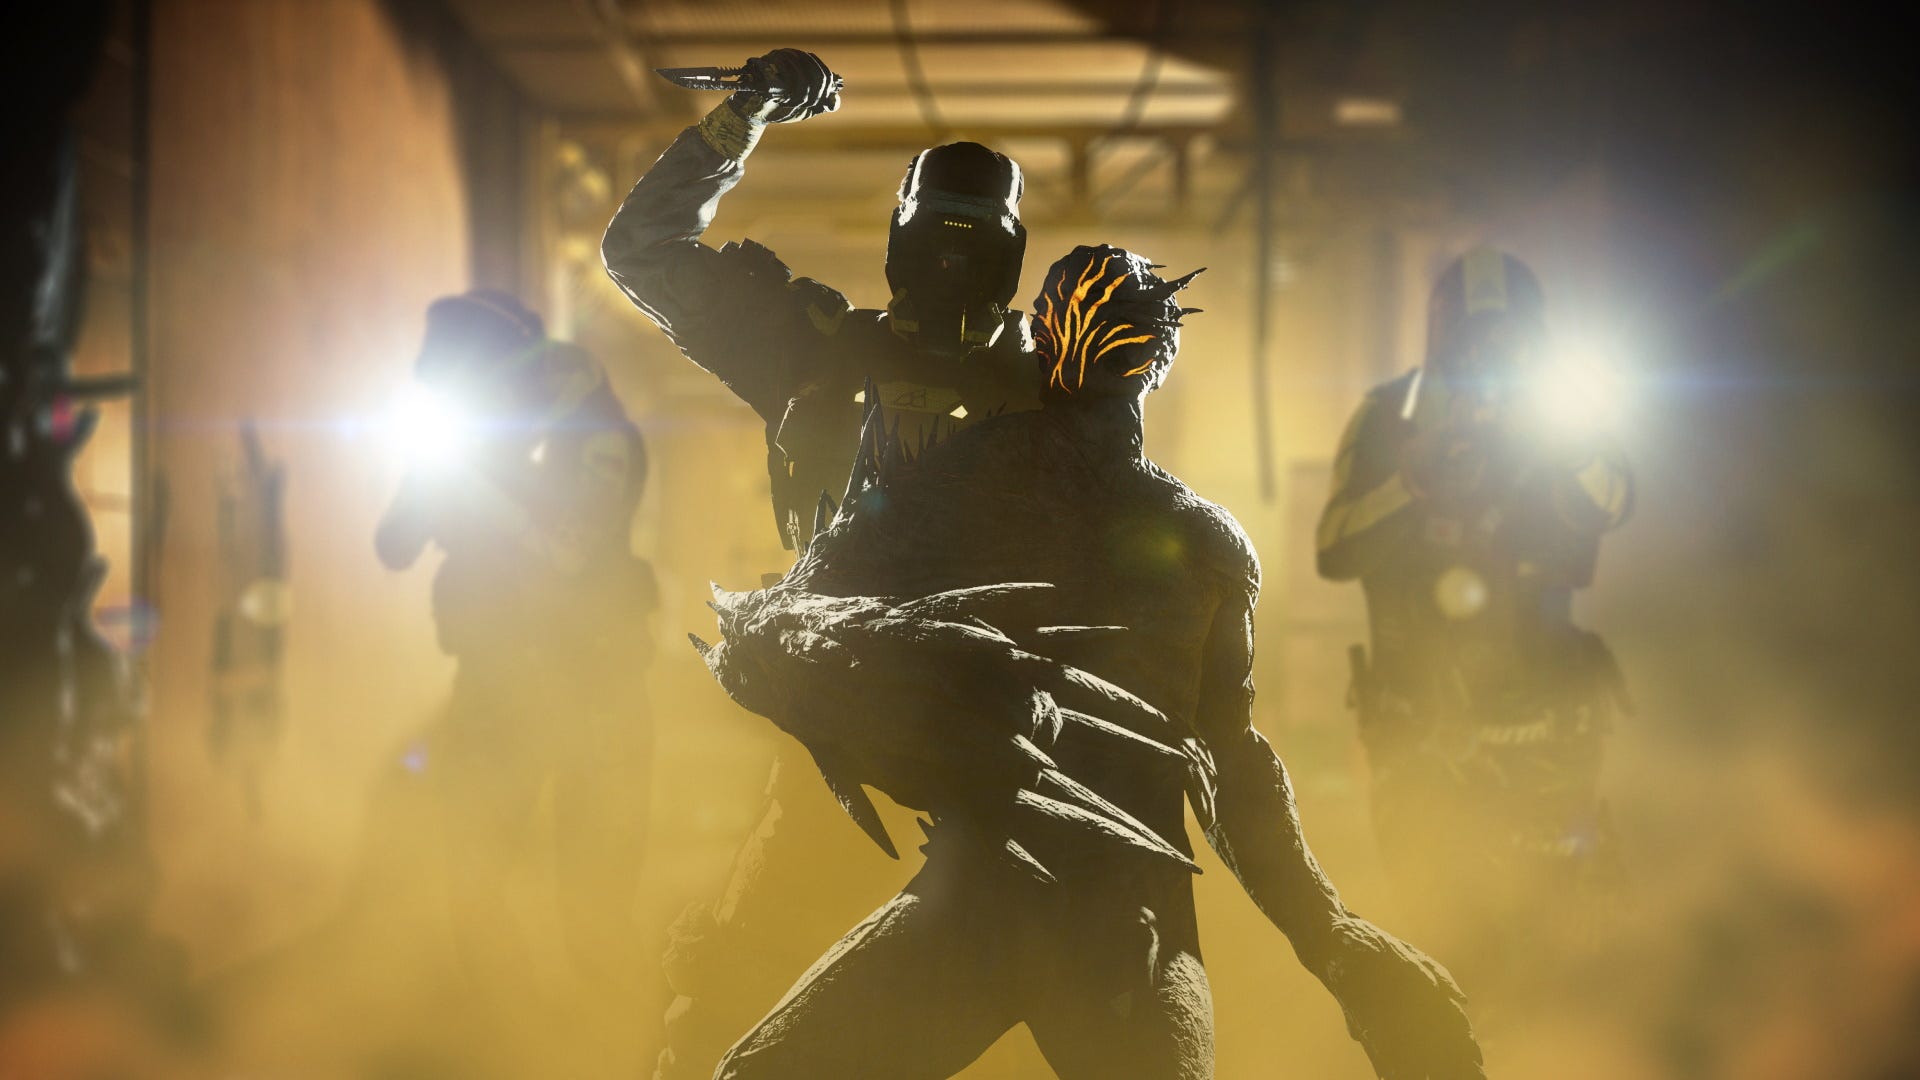
It turns out Rainbow Six Extraction is more cerebral and stealthy than the co-op shooters I’m used to; the other day I accompanied Hayden and Ed on a few missions for the latter’s review, and spent most of them either accidentally summoning hordes of parasite monsters or being hauled to medevac while encased in protective foam. Between my cocoon-muffled cries for help, however, I did manage to get a good look into how Extraction runs on PC, as well as the best settings to tweak if you want better performance.

It’s a bit of a odd one, this, especially after the super-straightforward God of War PC port. Several graphical components that levy a big performance tax in most games, like shadows, seem to barely affect how Extraction runs even with clear visual differences between the quality levels. And one of the most impactful settings is solely dedicated to a sticky black goop. PC gaming is weird.
Still, once you know which setting does what, it’s easy enough to find a healthy balance between frames per second and tacticool post-invasion aesthetics.

Rainbow Six Extraction PC system requirements
Ubisoft’s PC spec suggestions are a tad higher than those of Extraction’s progenitor, Rainbow Six Siege, though that makes a certain sense: Extraction has bigger maps, new effects and the potential for a lot more on-screbeen AI enemies than the handful of human players you face in Siege. Even so, these requirements don’t ask for much overall, and most older rigs should be fine for 1080p.
Rainbow Six Extraction Minimum PC specs
- OS – Windows 10 (64-bit)
- CPU – AMD Ryzen 3 1200 / Intel Core i5-4460
- GPU – AMD Radeon R9 290X / Nvidia GeForce GTX 960
- RAM – 8GB (dual-channel)
- Storage – 85GB available space
Rainbow Six Extraction Recommended PC specs
- OS – Windows 10 (64-bit)
- CPU – AMD Ryzen 5 1500X / Intel Core i7-4790K
- GPU – AMD Radeon RX 580 (8GB) / Nvidia GeForce GTX 1070
- RAM – 16GB (dual-channel)
- Storage – 85GB available space
Turning our attention to more recent hardware, Extraction supports Nvidia DLSS and Reflex Low Latency, so anyone with one of the best graphics cards from the GeForce stable will able to claim a performance boost through DLSS’s upscaling tricks. For testing, I used an RTX 3070 GPU, an Intel Core i5-11600K and 16GB of dual channel RAM, a configuration that will eat 1080p alive and can easily get high frame rates at 1440p. Even higher ones, too, with a few choice settings changes…
Rainbow Six Extraction: best settings guide
Extraction sure does like its graphics presets, with seven to choose from, including three different flavours of Low. Specifically you can slap on an Ultra, Very High, High, Medium, Low, Very Low or Ultra Low preset, the results of which you can see below. Almost all of the individual graphics settings are similarly granular, and can be toggled anywhere between Ultra and Ultra Low for a more fine-tuned approach. Indeed, like the one we’re going for with this guide.
Ultra Low and Very Low’s overly basic lighting and texture detailing means they should be avoided as much as your PC will allow, and to be honest even Low is a little on the ugly side for me. Conversely, there’s a small enough difference between Ultra and Very High that if you are just going to take the preset route, Very High is arguably the smarter choice. In Extraction’s built-in benchmark too, with a monitor resolution of 2560x1440, my RTX 3070 system averaged 119fps on Very High compared to 105fps on Ultra. That’s quite the jump for next to no visual downgrade. Dropping down a couple of steps to Medium produced 139fps, or a 32% improvement on Ultra, while Low only pushed up to 141fps – further evidence for keeping Medium as a base.


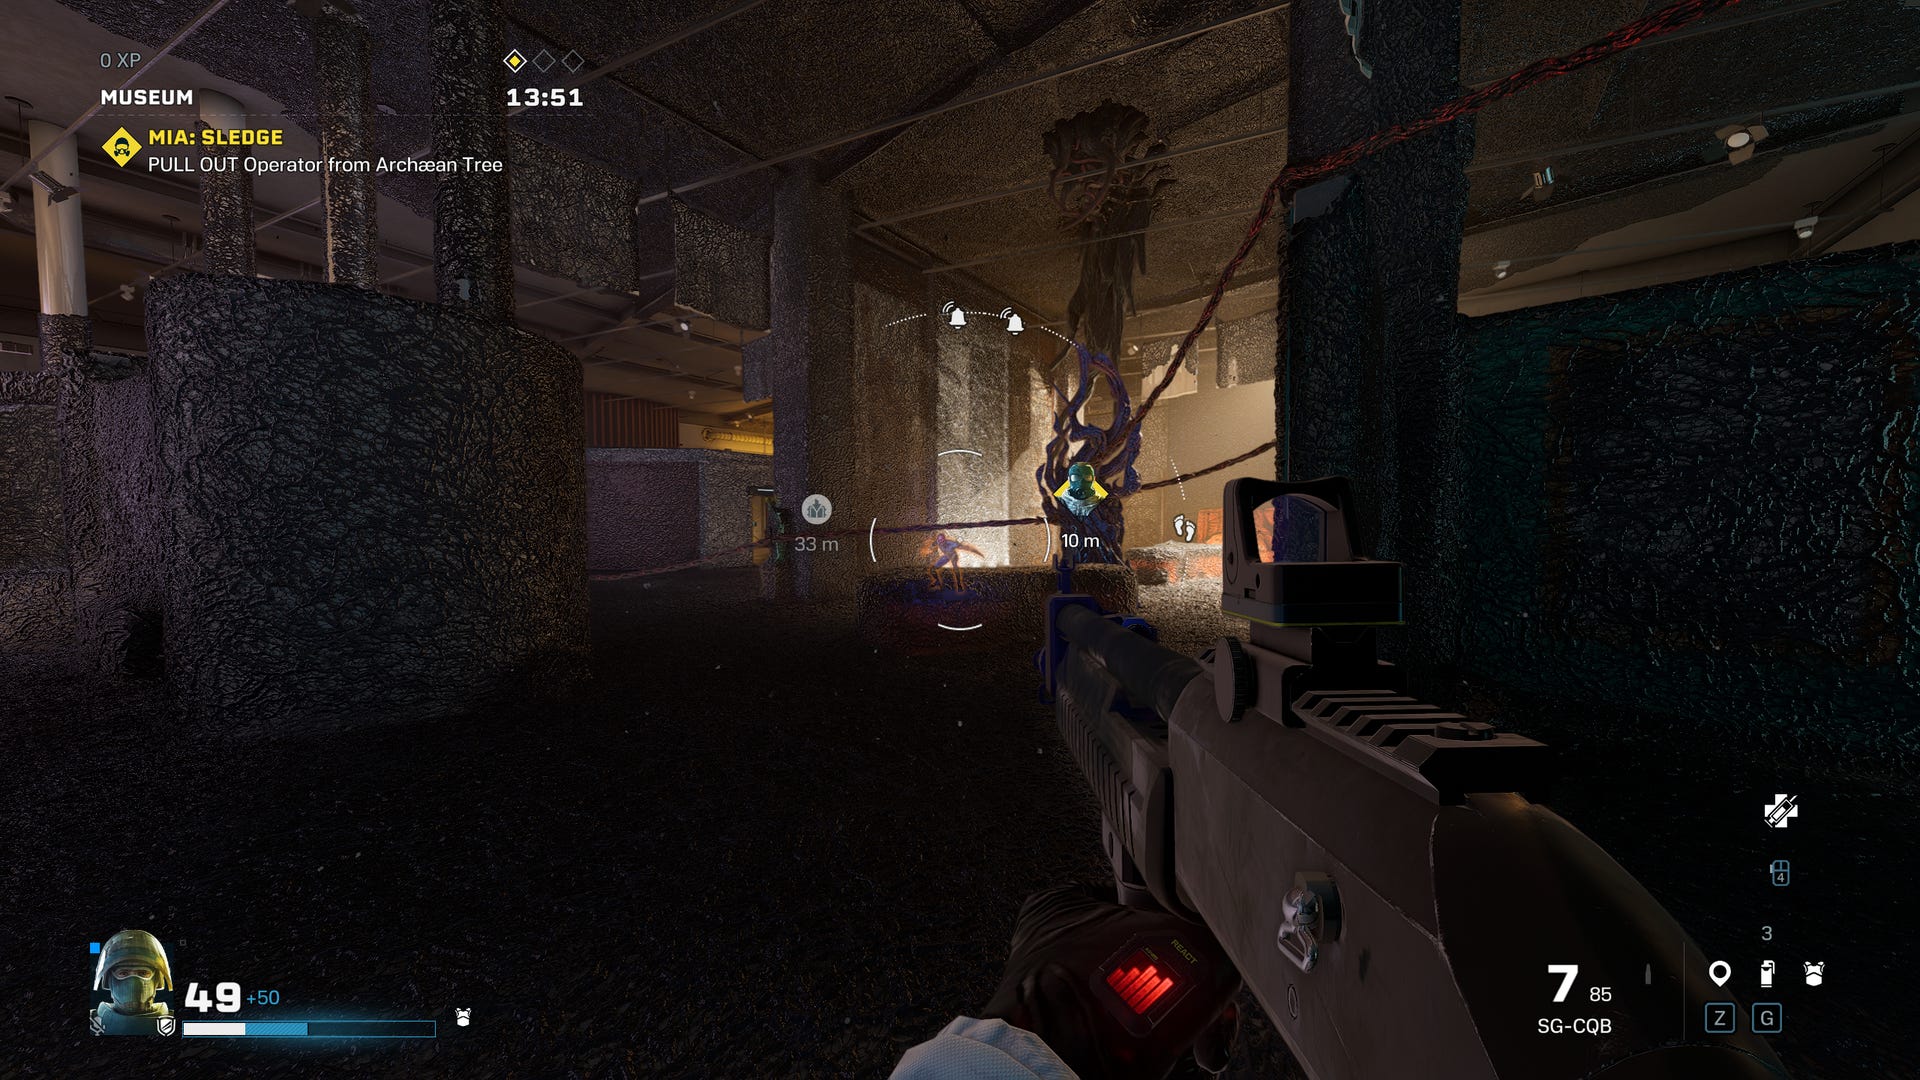
Word to the wise: the benchmark tool is fairly easygoing compared to playing the game proper. In both solo missions and my time being literally carried by Hayden and Ed, Extraction’s performance could match its benchmark average now and then, but usually ran around 20fps slower. Further drops occurred in areas dominated by the Sprawl, the aforementioned goo that slows down your team and buffs enemies standing in it.
You can still use the benchmark tool to test performance in a kind of best-case scenario, and I kept using it for repeatability’s sake, but realistically you should aim for the FPS average results to turn out moderately higher than what you want the actual in-game performance to be. I’d also recommend turning off resolution scaling by setting Resolution Quality to ‘Fixed 100%’ – I did this for testing purposes, so all results here will reflect the full 1440p.
With that in mind, here all the individual graphics settings, including the ones you should prioritise for potential changes.
Texture Quality: You can safely leave this up; when I dropped it from Ultra to Medium, the benchmark test didn’t average a single extra frame.
Texture Filtering: Again, despite the description noting higher settings would be heavier on performance, I saw no frames per second difference between the ‘Medium’ setting of Anisotropic 4x and the highest setting of Anosotropic 16x.
Nvidia DLSS: This is only available on Nvidia GeForce RTX graphics cards, but it’s worth cranking up to the maximum ‘Quality’ setting. This improved an otherwise full Ultra preset from 105fps to 144fps, an essentially free 37% boost. The ‘Balanced’ setting went up to 160fps as well, though didn’t look as sharp.
Shadow Quality: Surprisingly, dropping this from Ultra to Low only improved performance by 1%, so you may as well leave it up.
Shading Quality: Although this covers a few different visual elements, including lighting, I found both Medium and Ultra settings produced the same performance average, so it should be another one to keep high.
Reflection Quality: Compared to Ultra, Medium-quality reflections gave me a relatively worthwhile performance boost of 8%. Turning it down even lower will make certain surfaces a lot duller than they should be, but Medium looks fine.
Level of Detail Quality: Rather than permanently raising or lowering a general level of detail, this setting determines the distance at which low-quality models are replaced by better-looking models. Turning it down to Medium only gave me a single extra frame per second, though, so its performance impact is minimal.
Effects Quality: Yet again, lowering this does nothing improve performance, so leave it up for better-looking particle effects.
Anti-Aliasing: Ignore this in favour of DLSS if you can, but otherwise you can choose to either leave it on the default TAA setting (called “T-AA” here) or select FXAA instead. FXAA performs slightly better, judging by the 4% extra frames it got me, but doesn’t leave edges quite as smooth as TAA.
T-AA Sharpness: TAA (I’m not using the dash, Ubisoft) can introduce a minor blurring effect without a sharpening filter on top; this setting adjusts the intensity of that very filter. The default 50% is fine, though, and dropping to 0% makes Extraction look fuzzier with no performance gain to show for it.
Ambient Occlusion: While this does add a certain something by darkening the space between two touching objects, I found that turning it off entirely can net an 8% performance boost – and the game doesn’t look that much worse for it. Definitely one to consider dropping in a pinch.
Sprawl Quality: Heeeeere we go. The creeping obsidian ooze that coats infested floors and walls (and can be shot away with a rather satisfying dispersion effect) will slow both your operator and your PC. Counter by reducing the distance at which it switches from low to high detail: the Medium setting still looks decent, and gave me a 13% performance increase over Ultra.
Lens Effect: You can keep both bloom and lens flare effects, switch to bloom alone or turn off both. Dealer’s choice here, as neither meaningfully affect performance.
ADS Depth of Field: Toggles the DoF blurring when aiming. Like the Lens Effect setting, this doesn’t help or harm performance either way, so choose what you prefer aesthetically.
I’ve obviously been comparing these settings changes to Ultra, but to reiterate, the Very High Preset is arguably the better starting point on visuals-versus-performance grounds. From there, we can just make a few key changes:
- Reflection Quality – Medium
- Ambient Occlusion – Off
- Sprawl Quality – Medium
This combination of settings produced a 145fps average in the benchmark tool, significantly improving on both the Ultra and Very High presets, and also secured healthy frame rates above 120fps in-game. Albeit, with some drops to the 100-110fps range in heavily Sprawl-y areas.
Throw in some Quality-level DLSS, and it’s even better, with a benchmark result of 181fps and a consistent 150fps-plus in-game. Extraction has comfortably one of the most performance-boosting DLSS implementations I’ve seen in a game, so be sure to enable it if your GPU allows.