Rainbow Six Extraction enemy types: all Archaean enemies and their weak spots revealed
Learn how to defeat every enemy type in Rainbow Six Extraction


What are the different enemies in Rainbow Six Extraction, and where are their weak spots? Rainbow Six Extraction throws its players into a dark and dangerous world ravaged by an alien invasion. The aliens in question are known as Archaeans, and they come in various different shapes and sizes - some far deadlier than others.
If you want to maximise your chances of survival, and minimise the risk to your squad, then you'll need to do your homework. Below we'll walk you through every enemy type in Rainbow Six Extraction, their abilities, traits, weak spots, and more.

If you want to know how to deal with enemies as stealthily and efficiently as possible, you need to pay attention to where their carapace is, and where their weak spot is.
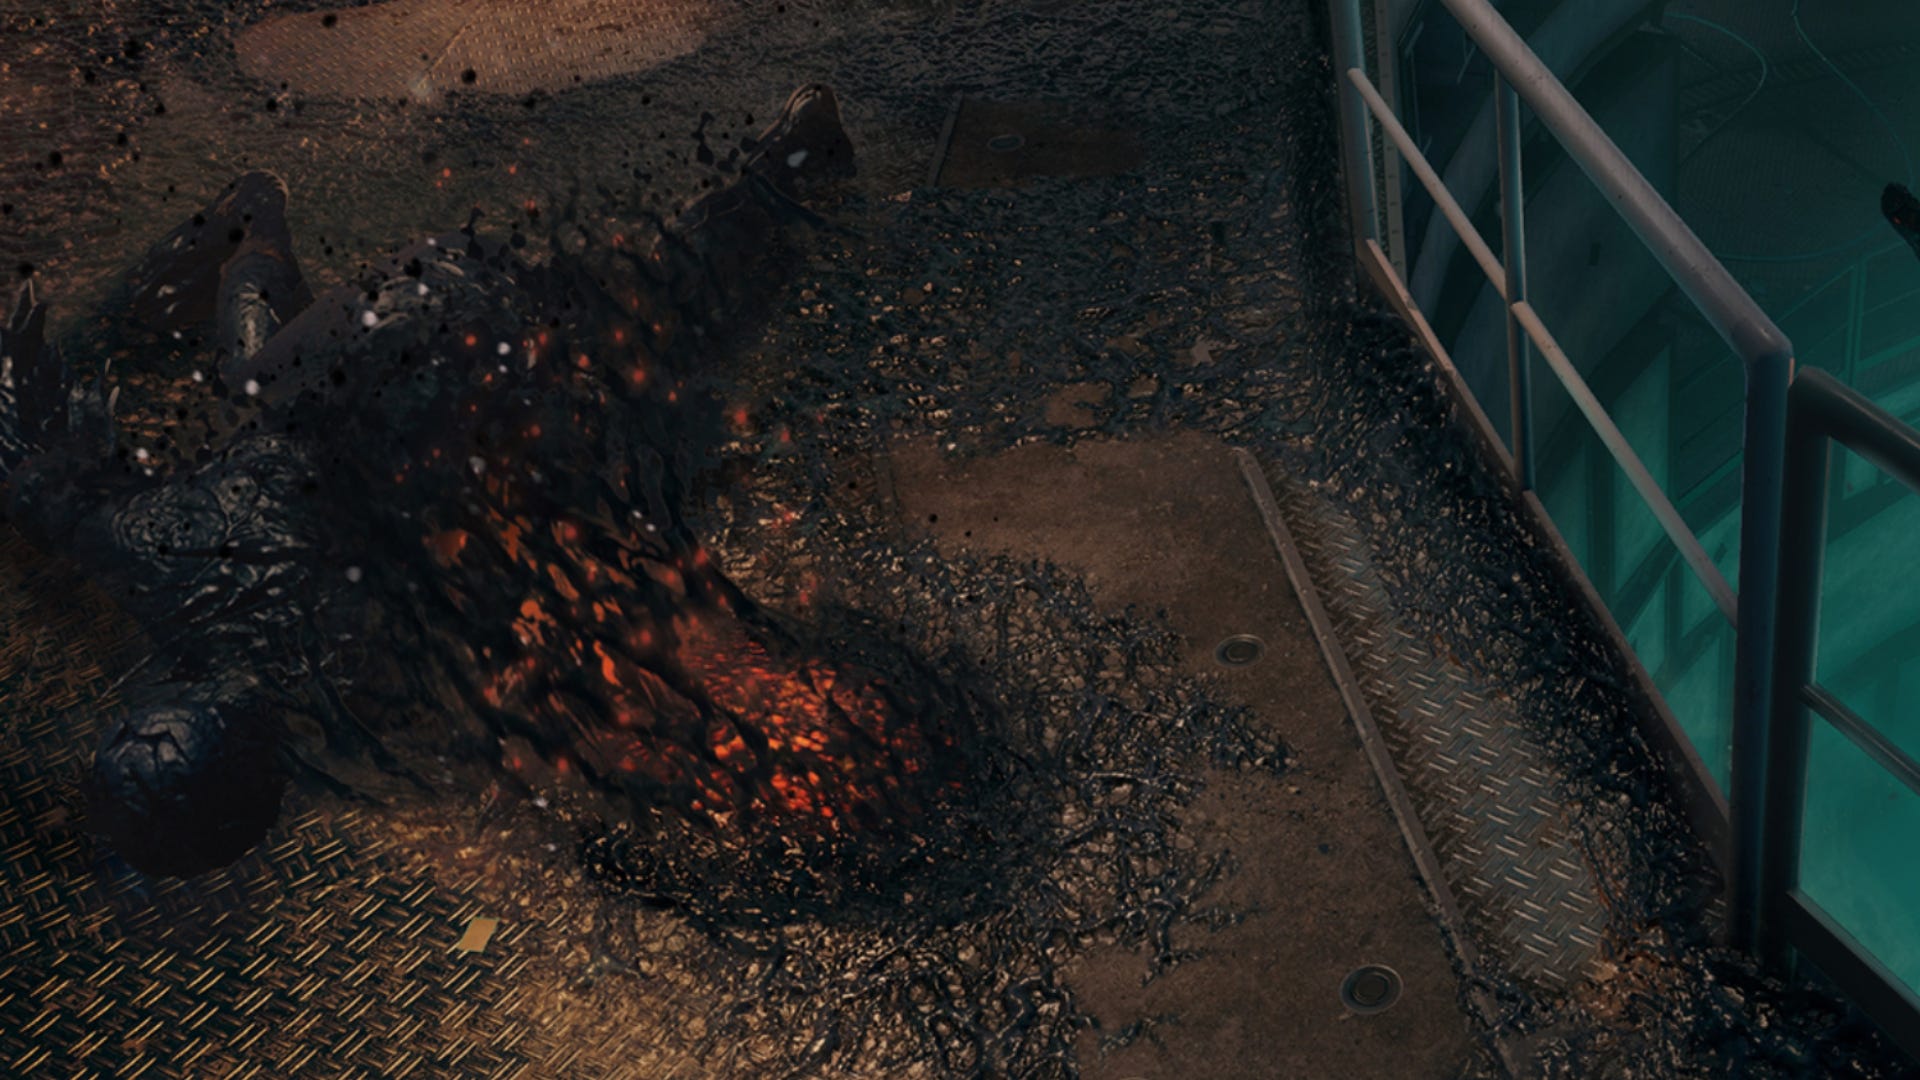
Simply put, you should shoot enemies in their weak spot, and avoid shooting them in their carapace. You can still deal damage through carapace, but the damage is reduced, so it's far better to just aim for the weak spot, which is often illustrated by a red tint on a certain part of the Archaean's body.
Below we'll walk you through every enemy in the game, roughly in order from least to most dangerous. We'll discuss their capabilities, carapace, and weak spots, along with various other tips and tricks to help you deal with everything the Archaeans throw at you and your team.
Rainbow Six Extraction enemies and weak spots

Nest
There are Archaean Nests scattered about every sub-zone of a mission. Nests start off dormant, and can be safely shot to destroy them. Don't worry, they won't wake up when you shoot them. The only way they can be woken up is if a nearby Archaean notices you. After a moment, the Archaean will howl, awakening nearby Nests and calling nearby enemies.
Once awoken, Nests will periodically spawn new Archaean enemies to protect itself, and they will never go back to the dormant state, so it's a good idea to prioritise killing awakened Nests. Thankfully, they're very easy to kill with just about any weapon in the game, and you can also silently perform a melee takedown on them if you get close enough.

Blinding Spore
Blinding Spores are more of an environmental hazard than an enemy in their own right. These small yellow growths spawn in little clusters at various points, and if you get too near them then they will latch onto you. After a few seconds these Spores will then erupt, temporarily blinding you, dealing very minor damage, and causing your Operator to cough, alerting nearby enemies to your whereabouts.
Fortunately, Blinding Spores are easily dealt with. You can shoot each Spore once to destroy it, and if you're playing in multiplayer, you can also kill Spores that have latched onto your teammate before they erupt, either by meleeing your teammate or by shooting the Spores off. There's no friendly fire in Rainbow Six Extraction, so you can do this without worry of damaging your teammate.
Blinding Spores can, however, ruin your day thanks to a certain mission mutator which causes all enemy types to have Blinding Spores stuck to them. This mutator should definitely make you think twice about using melee stealth attacks.
Sludge
Sludges are little piles of goo that attach themselves to the ceiling, waiting for unobservant Operators to walk underneath them; upon which point they'll drop onto you and deal some damage. If you're playing a mission with the "Spontaneous Sludge" mutator, then you'll see them a lot more, as slaughtered Archaeans have a chance to spawn Sludge in the place of their corpse.
Fortunately they're pretty easy to spot. If you start shooting them, they'll fall to the floor and divide into four smaller Sludges. Still not very threatening. Shoot each of the four mini-Sludges once to kill them. Much like Blinding Spores, Sludges are more like environmental hazards than actual enemies. Check the ceilings and you'll be fine.

Grunt
Weak spot: Head
The first true enemy in Rainbow Six Extraction, Grunts are the cannon-fodder of the Archaean army. They're very easy to kill, thanks to their low health and the fact that their weak spot - the head - is unprotected by carapace and very easy to shoot. A single shot to the head with any gun in the game will kill a Grunt.
That's not to say Grunts can't be dangerous. When alerted to your presence, they will run towards you, occasionally weaving slightly to make themselves a harder target. Their carapace is formed around their two spike-like arms, which they use to stab at you when they reach you. In packs, they can be a real threat to your squad unless you kill them quickly.

Breacher
Weak spot: Back
If Breachers weren't possibly the easiest enemy in the game to kill, then I'd put them far higher on the list of most dangerous Archaeans. These Archaeans walk around on four legs, and they are characterised by the enormous bulbous growths on their backs, known as a Dorsal Hump. Breachers are kamikaze enemies: if they reach you, they'll explode, killing themselves but dealing significant damage to you in the process. Therefore, it's best to take them out from a distance.
Fortunately, Breachers have the largest weak spot in the game: their Dorsal Hump. Shoot it once and it'll explode, killing the Breacher. Be careful you don't detonate them while they're too close to you or a teammate, mind. But you can also use Breachers' potential for collateral damage to your advantage. Shoot a Breacher enough times in the body, and they'll die without detonating, leaving their Dorsal Hump intact. The same result occurs if you sneak up and deal a silent melee takedown on them. After that, you can shoot the dead Breacher's Dorsal Hump at any time to detonate it, dealing damage to enemies caught in the blast.

Bloater
Weak spot: Back
Bloaters look almost exactly the same as Breachers, except their Dorsal Hump is green, not red. Don't worry, it's still their weak spot, so shooting it once will detonate it just like a Breacher's.
The difference here is that once detonated, Bloater explosions will leave behind a toxic gas that hangs in the air for a few seconds, damaging any Operator that walks through it. It can be irritating, but still not a huge threat. Simply wait for the toxic cloud to disperse, and continue on with the mission.

Spiker
Weak spot: Head
Spikers represent a fairly significant step up in threat from ordinary Grunts. These humanoid Archaeans are ranged damage-dealers thanks to the appendage on their right arm, which can shoot armour-piercing spikes at Operators in quick volleys. So if you engage an alerted Spiker, it's a good idea to do so from behind cover.
The Spiker's weak spot is its head, same as the Grunt. But when alerted, a Spiker will raise its left arm appendage - a kind of shovel made out of carapace - to shield its head from your attacks. Therefore, it's a very good idea to stealthily kill Spikers before they have a chance to protect their weak spot.

Lurker
Weak spot: Head (when not protected)
Lurkers are some of the sneakiest enemies you'll come across in Rainbow Six Extraction. These bothersome Archaeans can turn themselves and nearby enemies invisible. You can still just about see them as vague distortions in the air, but in the heat of the moment it can make enemy forces much harder to deal with until the Lurker is put down.
Lurkers themselves will rarely attack you directly. They prefer to keep their distance, and although their weak spot is their head, they also sport a flower-like frill of carapace around their neck that closes around their head when threatened. You should ideally wait for the flower to unfurl and the head to be reveled before shooting it. Or, if you just want it gone, you can always take out your biggest, armour-piercing-est gun and spray at the Lurker until it dies. Remember, just because they have a weak spot doesn't mean you always have to use it.

Sower
Weak spot: Stomach
Sowers, like Lurkers, prefer not to attack you head-on. Instead, these sneaky blighters crawl around on all fours, laying mines on the ground which explode if you get too near them. Fortunately these mines can be destroyed with a single shot from any gun, much like a Blinding Spore.
The other irritating thing about facing off against a Sower is that its weak spot is its stomach, which is often hidden from view while it scuttles across the ground on all fours. If you approach one it will rear up onto its hind legs, exposing its belly in order to howl and alert nearby enemies and Nests. This is the best time to dispatch them. Otherwise, they make take a few shots to kill thanks to the carapace around their head and limbs.

Rooter
Weak spot: Back of the head
Rooters are surprisingly tough to kill once you have their attention. Almost every inch of a Rooter is covered in carapace, which means it can soak up a surprising amount of damage. Its weak spot is the back of its head, underneath the crown of frills - which means if you want to kill one swiftly, you'd best not alert them to your presence, or they'll be loath to turn their back to you.
It's a good idea to make killing nearby Rooters a high priority, because they can be pretty dangerous. Despite their size they are very swift movers. Like Spikers, they can hurl spikes at you from afar, but rather than just dealing damage, these spikes also root you to the ground for a moment - hence the name Rooter. While they lack the fearsome reputation of the next few enemies in this list, Rooters shouldn't be underestimated.

Tormentor
Weak spot: Head
The first of the really dangerous enemies in Rainbow Six Extraction, Tormentors are tall, thin Archaeans that can melt into Sprawl at will, travelling along the ground in an invulnerable state before reappearing somewhere else at high speed. They attack by firing glowing projectiles at you, which deal significant damage. Tormentors will also occasionally buld up a larger attack, sending out a slow-moving black orb which explodes on contact, dealing damage in an area of effect.
A Tormentor's weak spot is its head, so you should always aim for the head whenever it is fully formed. But thanks to the Tormentor's naturally high health pool, even shooting them in the head it takes a surprising number of shots to kill one. They're hard to kill quietly, and they can wreak havoc on your team unless you prioritise dealing with them.

Smasher
Weak spot: Back
The Smasher is the tankiest normal enemy in Rainbow Six Extraction. Its hardened carapace coats almost every part of its body, and renders it invulnerable to normal damage. It moves fairly slowly, but if it sees empty space between itself and you, it will charge, running very quickly towards you. If you're caught in the charge, you will be dealt massive damage. A head-on collision with a Smasher is one of the quickest possible ways to earn yourself a Rainbow Six Extraction MIA rescue mission.
Fortunately, this charge is what makes the Smasher possible to deal with. The only way to kill a Smasher is via the weak spot in its back. You can either take the stealthy approach, stabbing it or shooting it in the back, or you can wait for it to charge, dodge, and then circle around behind it while it's recovering and shoot or stab it in the back. You can also cause the Smasher to become stunned for a short time using certain explosives, such as Hibana's X-Kairos ability; this gives you a similar window of time during which you can attack the Smasher's weak spot.

Apex
Weak spot: Head
With the exception of the Protean, the Apex is by far the deadliest enemy in Rainbow Six Extraction. At first glance it looks a bit like a Tormentor, and it certainly features a similar powerful ranged attack, although in the Apex's case these ranged projectiles will also blind you for a short time if hit. But the true danger of the Apex is that, when alerted, it will regularly spawn various Archaean enemies around itself.
In multiplayer the Apex is slightly easier to deal with, because one player can focus on the Apex while the others focus on the enemies it spawns. But if you're playing Rainbow Six Extraction solo, an Apex can mean very bad news. It cannot be snuck up on, because as soon as you get near an Apex it will become alerted and release a shockwave than knocks you backwards. As with the Tormentor, the weak spot does appear to be the head, but it isn't much of a weak spot. You'll still need an awful lot of firepower and possibly explosives to handily deal with an Apex, so the best Operators in Rainbow Six Extraction for dealing with an Apex are probably Tachanka and Hibana.

Protean
Weak spot: yeah, you wish
The Protean is the boss enemy of Rainbow Six Extraction. It only appears in occasional missions, and will always appear in the final sub-zone as part of the "Defeat the Protean" objective. The Protean is a mysterious top-tier Archaean that mimics one of a handful of Operator types. The variants we've seen so far include Sledge, Smoke, and Alibi, but there may be more. We'll update this guide as we learn more about the different possible Protean variants. It's unlikely that there's a variant for each of the 18 Operators, because certain characters, particularly recon-based characters such as Lion, Pulse, and IQ, have abilities which wouldn't translate well to an enemy boss.
No matter the variant, the Protean features both a health bar and a shield bar which must be depleted before its health can be drained. At 50% health the Protean will disappear and waves of ordinary Archaeans will attack; after this, the Protean will reappear with full shields on top of its remaining 50% health. The Protean has no weak spot: you just need to keep shooting, and prioritise your own safety over dealing damage, because this is going to be a long fight.
There you have it: all the different Archaean enemy types in Rainbow Six Extraction and how to defeat each one. Hopefully this guide has answered a few of your burning questions about certain enemies. If you want to give yourself an even greater chance of success, check out our Rainbow Six Extraction tips and tricks. You can also peruse our guide on how to unlock Operators, and how to level up fast in Rainbow Six Extraction.