Artifact mechanics: useful facts, advanced tips
The answer to that question you maybe had

As with any CCG, Artifact is absolutely swimming with strange quirks and interesting effects which are not immediately obvious to newer players. The tutorial Valve has implemented, while great at explaining the absolute core systems of a match, is not nearly comprehensive enough to cover all of these intricacies. And nor should it, because it would overload you with information that you don't care about when you're just starting out.
But that's where this section of our Artifact guide comes in!
I thought it'd be a good idea to piece together some of the more "in-depth" facts about the game. I'm talking about getting right into the nitty gritty, discussing specific mechanics and how they interact in certain ways under certain circumstances.
By its nature (and the nature of Artifact) this page will be updated with new tidbits of information as we see fit. So if there's a particular small point that you'd like to see covered, then pop it into the comments below and we'll see what we think of it.
Artifact advanced tips guide
Below you'll find an assortment of information, loosely categorised, covering various different aspects of Artifact, such as positioning, abilities, status effects, hotkeys, damage, and more. The idea is to provide you at last with the answer to that question about that particular thing or that specific card. Some of the stuff you might already know, but hopefully you'll find something that surprises you. Note that these are all less to do with strategies and tactics to employ, and more about explanations of specific mechanics and systems.
Oh, and if you're after more general tips and tricks to improve your game, don't worry - we've got you covered. Take a look at our Artifact guide for Dave's tips on how to start racking up those wins. Similarly, if you're not too sure in your knowledge of Artifact's plentiful keywords and terms, head over to our section on Artifact keywords.
Artifact abilities & status effects
- Siege only applies if the affected unit is blocked. For those who don't know, a unit with Siege will deal damage to the enemy tower in addition to its normal attack. But the crucial thing which many players don't realise is that if you were going to hit the tower anyway, then the bonus damage does not apply.
- A Silenced or Stunned unit cannot use item-based abilities. A lot of people don't know - or forget in the moment - that it's not just active abilities which Silence/Stun will prevent. But it's worth noting that Disarm, a similar status effect, only prevents you from dealing battle damage, while leaving the active/item abilities unimpeded.
- Cheating Death stacks multiplicatively. Okay, you probably already know this one, simply because this is what enabled Cheating Death to soar to the top of the current meta. For those who don't know, Cheating Death gives all your units in the same lane as your green hero a 50% chance to survive a fatal blow at one health. What is not immediately clear is that applying Cheating Death twice turns that 50% into a 75%, and applying three boosts it further to 87.5%.
- Hero abilities are the only abilities which begin on cooldown. Another not immediately obvious quirk is that while hero, item and creep abilties can all have cooldown periods, none but the hero abilities will begin on cooldown. So you can place down a creep with an active ability, and play it immediately the next time you act in the same round.
- Hero abilities tick down in the Fountain. If a hero is not in play, then they are in the player's Fountain. So if they've not yet been deployed, or if they're dead, then they're in the Fountain. And, interestingly, even while dead, Hero ability countdowns will tick down every round. This means it's sometimes useful to place heroes with larger ability cooldowns in your fourth or fifth slot so that they can more immediately cast their ability once deployed.
- Relentless Zombies with Death Shield can survive multiple simultaneous attacks. The important part here is simultaneous. As you'll no doubt have discovered yourself, during the Combat Phase all units will deal their battle damage simultaneously. This means that a unit with Death Shield will survive even if all three of its enemy neighbours attack it at once.

Artifact positioning & deployment
- You begin the match with three Melee Creeps. These Melee Creeps are randomly dispersed across your three lanes, with either a 1/1/1 or a 2/1/0 weighting. There seems to be little consensus amongst players as to whether it's possible to have all three Melee Creeps in the same lane. If it's possible, none of us have come across it.
- Each subsequent round, two Melee Creeps spawn. Similarly, these two cannonfodder-lings will be randomly assigned across your three lanes, with either a 2/0/0 or a 1/1/0 weighting.
- Units will always prioritise blocking enemies when deploying. This applies with the placement of any unit which you have no direct control over (for example, when deploying heroes or melee creeps). If there is an opportunity to block an enemy, the unit will prioritise that space over any other (if there are multiple of these spaces, it picks randomly). If there are no blocked spaces, then the unit will similarly pick a random space on the lane to occupy.
Artifact damage & killing units
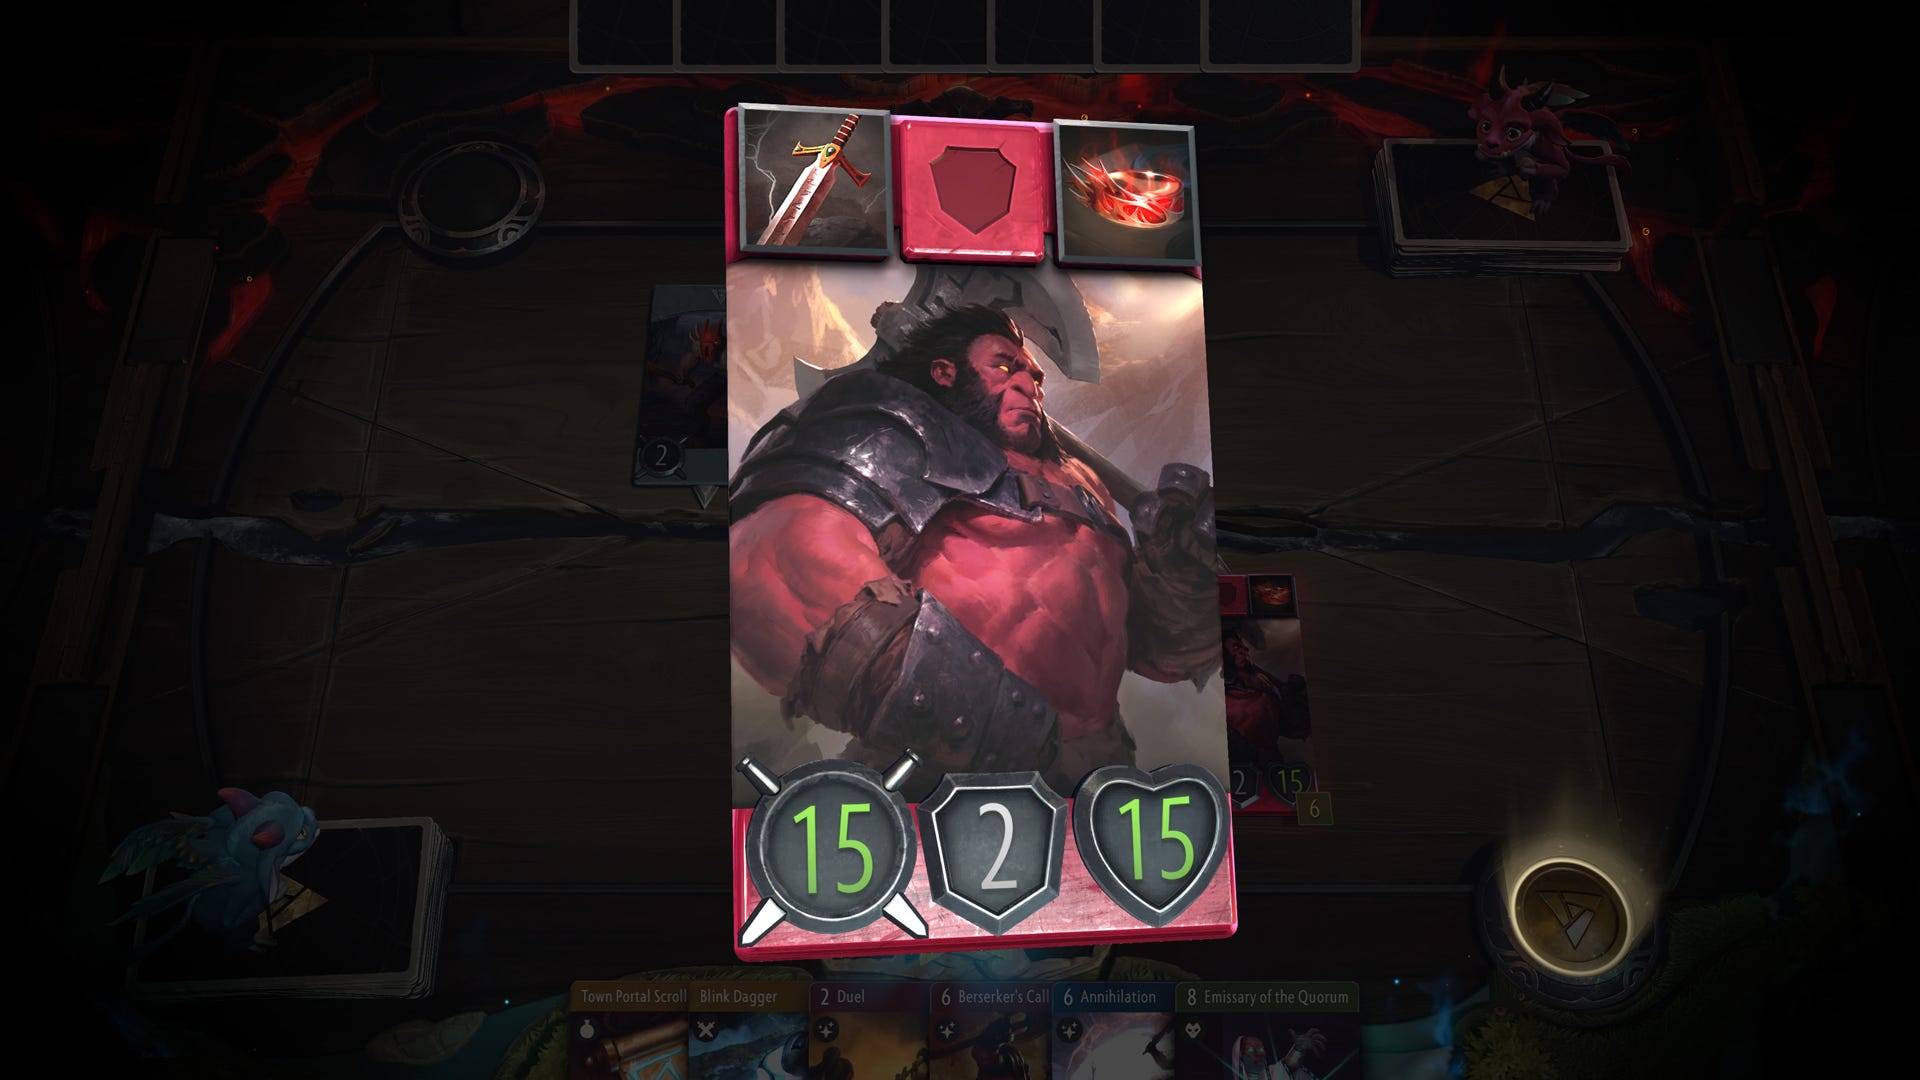
- Killing your own hero still gives your opponent the bounty. This one's fairly self-explanatory, but not everyone has been in the position to test it, and it's useful to know for sure. Of course, you can deny your opponent the bounty in other ways, such as by using the Town Portal Scroll to return your hero to the Fountain (incidentally this also heals them, removes all temporary effects and allows them to redeploy next round).
- Piercing damage is amplified by negative armour like any other type of damage. The in-game description does not quite make this clear, as it gives the impression that piercing damage ignores armour. But while this is true against units with positive armour, negative armour will provide the same bonus damage to piercing attacks as it does to regular attacks.
- Retaliate counts as a separate attack from the unit's regular attack. So here's the thing. Retaliate is described as dealing "extra damage" to the unit's assailant during a battle. As I've learned under unfortunate circumstances, this is somewhat misleading. While it certainly deals extra damage, this damage is calculated separately from the damage the unit inflicts during the battle. So if your unit normally deals 3 damage and has a +2 Retaliate status effect applied, it will not deal 5 damage in one attack - it will deal 3 damage, and then 2 damage separately. Why is this important? Because if its target has, for example, +2 Armour, then your unit with Retaliate will deal a grand total of 1 damage, rather than the 3 overall damage that you were hoping for.

Artifact turn timer
- Regular timer - In regular matches, each player starts with a total pool of 5 minutes, which, like a chess timer, steadily ticks down whenever it is your turn to act. You gain an additional 2 minutes at the end of the third lane's Combat Phase.
- Tournament timer - The tournament timer is a bit less lenient than the regular timer, providing players with 4 minutes each and bestowing an additional 1 minute at the end of the third lane's Combat Phase.
- If you miss your turn, you have less time for your next action. To begin with, you will have a comfortable 45 seconds with which to decide on - and carry out - an action. If you run out of time, then the next time you act you will have just 30 seconds. Miss your turn again and you're brought down to 15 seconds, and then finally it is capped at 10 seconds. That's not a lot of time to figure out the best course of action, but fear not, dear time-wasters! Once you successfully carry out an action again, you will be reset to 45 seconds for your next action.
Artifact hotkeys
- Hit 1/2/3 or use A/D to switch your view to the different lanes.
- Hit Tab to toggle between 1-lane view and 3-lane view.
- Hit F2/F3 to bring up your deck tracker and your opponent's deck tracker, respectively (this one is very useful and you should be using it if you are not already!).
That's everything I can think up for the moment. If you didn't find your question answered here, we may well have covered it in the other pages of our Artifact guide, such as Artifact Pathing, Artifact drafting, Artifact Call to Arms set list, and more.