Sekiro Great Shinobi Owl - how to defeat him


Sekiro: Shadows Die Twice has a pivotal moment where a single decision makes a huge difference in the bosses you fight and areas you can explore. A man on the roof gives you the choice of whether you join him or break the Shinobi code. If you choose to break the code, he'll be very disappointed in you, before attacking you in cold blood.
Those new and old to the library of From Software may wish to know more tips and tricks to get started, as well as some of the more complicated things that can occur while playing. Head to our Sekiro: Shadows Die Twice guide hub for everything you need to know.
There is now a dedicated Sekiro: Shadows Die Twice boss where you can find tips for the many bosses of the game. You can also look at our Sekiro: Shadows Die Twice Corrupted Monk guide for the previous boss battle. If you chose to honour the code and side with Great Shinobi Owl, then you'll face a different boss battle, so go to our Sekiro: Shadows Die Twice Isshin Ashina guide for more on the Shura path.
Sekiro: Shadows Die Twice Great Shinobi Owl guide
This guide will go through each of Great Shinobi Owl's attacks, how to counter them, and where his weak points are. It goes for both of his phases which have some key differences to keep in mind.
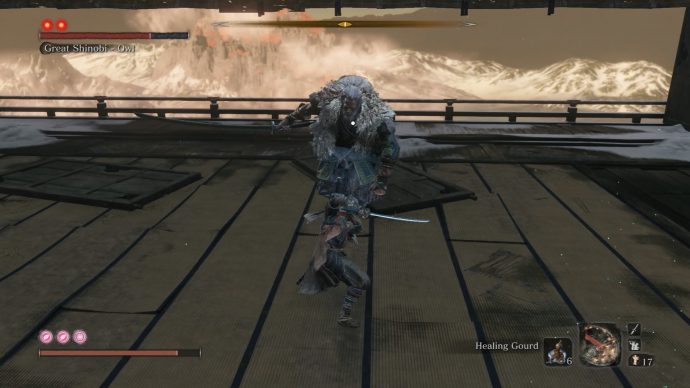
How to defeat Great Shinobi Owl's first phase
The majority of this fight is learning his many melee attacks and knowing when to retreat to recover your posture. Should it ever get close to maximum, try to retreat and then hold the block button. This will expedite your posture recovery and allow you to deflect more of Owl's attacks. He has many different quick slashes, with the only unblockables being sweeping attacks. It's not worth trying to dive kick him as he recovers from being hit reasonably quickly at the beginning of the fight.
Your aim here is twofold. First, make sure you are never hit by his weird orb attack. He'll pause and lob a slow moving gas canister, which upon detonating emits a small cloud of magical smoke. If you are in the cloud when it happens, you'll lose the ability to use any healing items. This includes your gourds, pellets, and even antidotes. You can still somehow use candies, but these aren't all that useful in this fight unless you really are confident that phase one will go down quickly.
The second aim is to take his health down to close to half, which is easier said than done. You'll want to concentrate your first few times with this boss to learning when to deflect and when to retreat. That way, the windows of opportunity will open themselves to you. One is the aforementioned anti-healing cloud. Sidestep to the side and attack him, making sure not to get caught in the cloud, and you should get a hit or two in. The other attack is when he throws two Shruiken, before leaping into the air. It's a bit finicky trying to dodge this attack, but you'll want to rush towards him and dash behind him and to the side. The slam has tracking properties, so merely side-stepping may not work consistently. Blocking can also work, but you get fewer attack opportunities afterwards. Combat Arts are a little too slow for him, so refrain from using them.
With every other attack, concentrate on blocking, deflecting, and retreating. He doesn't give you much room to breathe, so if you need a bit of space, let off some firecrackers as he charges towards you. You'll be able to pop a healing item, or attack him a couple of times with relative safety, but they're more useful in the second phase of this fight. Once you've got his health down to around half, the posture damage he sustains will linger a lot longer than usual, so get it to maximum and finish the first phase with a stab to the neck.

How to defeat Great Shinobi Owl's second phase
The first time you get here, he'll kowtow, pleading for his life. Should you approach him, he'll let off a smoke bomb and call you a fool. This only happens once, so you don't need to worry about it for subsequent attempts. It's not like the smoke does damage, it just makes it hard for you to see him.
Owl's melee attacks are largely the same as before and he still has that pesky anti-healing orb. The main difference is that his drop kick now leads into an attack where he sprays the battlefield with poisonous liquid. Combined with the orb, this is a devastating combination, so try not to get poisoned. The liquid dissolves into a cloud that lingers for a surprisingly long time, so remember where it is and try not to be in there for too long. He also gains access to firecracker explosives, which can damage and stun you long enough for him to get a big attack in.
At the end of some attacks, he'll let off a smoke bomb by raising his leg and slamming a charge to the ground. There's not a great deal you can do about this to stop it, so jump away if you suspect he'll be using smoke bombs. You will definitely need to target him if you were locked on beforehand, since the smoke will disable the lock on for a short time.
Much the same as your previous round, the aim is to reduce his health to just under half his total health bar, then accumulate posture damage. Should he ever get to a critical state, he'll try to instantly recover the posture, much like certain sub-bosses do. Don't let him do this as it undoes all your hard work. This fight definitely took me a while, but once you achieve sweet victory too, you'll be rewarded with Great Shinobi Owl's memory, as well as an Everlasting Branch - a key item for the story. You'll also gain 6000 experience to your skill for your trouble.
As for where to go next, it's off to the Fountainhead Palace, where a familiar face greets you at the front gate. Head to our Sekiro: Shadows Die Twice True Corrupted Monk guide for more on that. If you chose the other path, you'll want to look at our Sekiro: Shadows Die Twice Isshin Ashina guide. You can also take a gander at our Sekiro: Shadows Die Twice boss where you can find tips for the many bosses of the game, or look at our Sekiro: Shadows Die Twice Corrupted Monk guide for the monk's apparition form. O