Mortal Shell: All shell locations
Grab them as soon as you can

Shells in Mortal Shell are suits of armour previously owned by warriors, and thieves, and powerful folks in general. They represent the game’s classes, each corresponding to a playstyle. For example, one Shell is particularly tanky, while another grants you the ability to dash frequently, but at the cost of lowering your health bar dramatically.
There are a total of four Shells - one of which you’ll find very early on - scattered across the map. I’d recommend getting hold of them all as soon as you can, as it’ll give you plenty of options when fighting through difficult zones or tackling tricky boss fights.
Mortal Shell: All Shell locations
Below I've rounded up all the Shell locations in Mortal Shell, with links to each page which’ll explain things in greater detail. There’s even a lovely little video accompanying them all too.
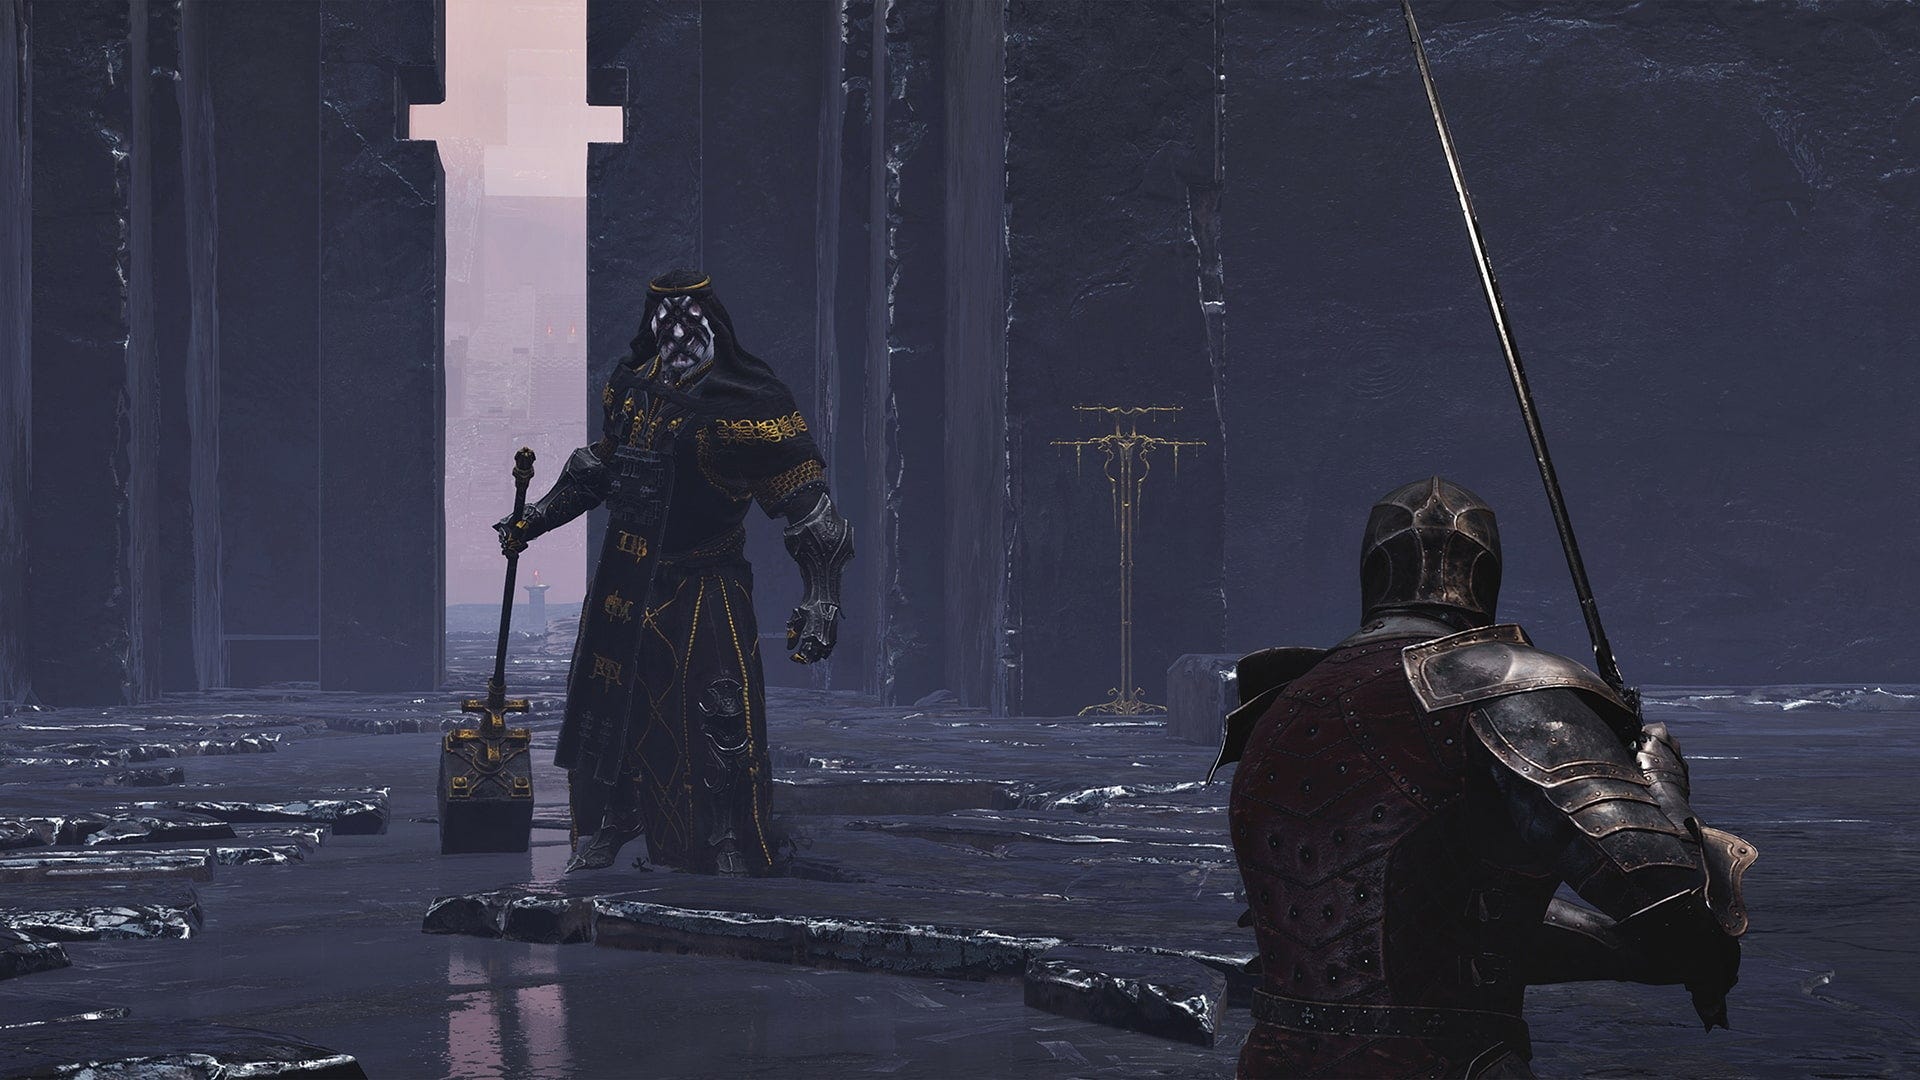
Where to find Harros’ Shell
Harros’ Shell is the first you’ll encounter in the game. Once you’ve finished the tutorial and spawned into a new area, follow the path until you come to a fork and turn left. You’ll find it propped up against a wall.
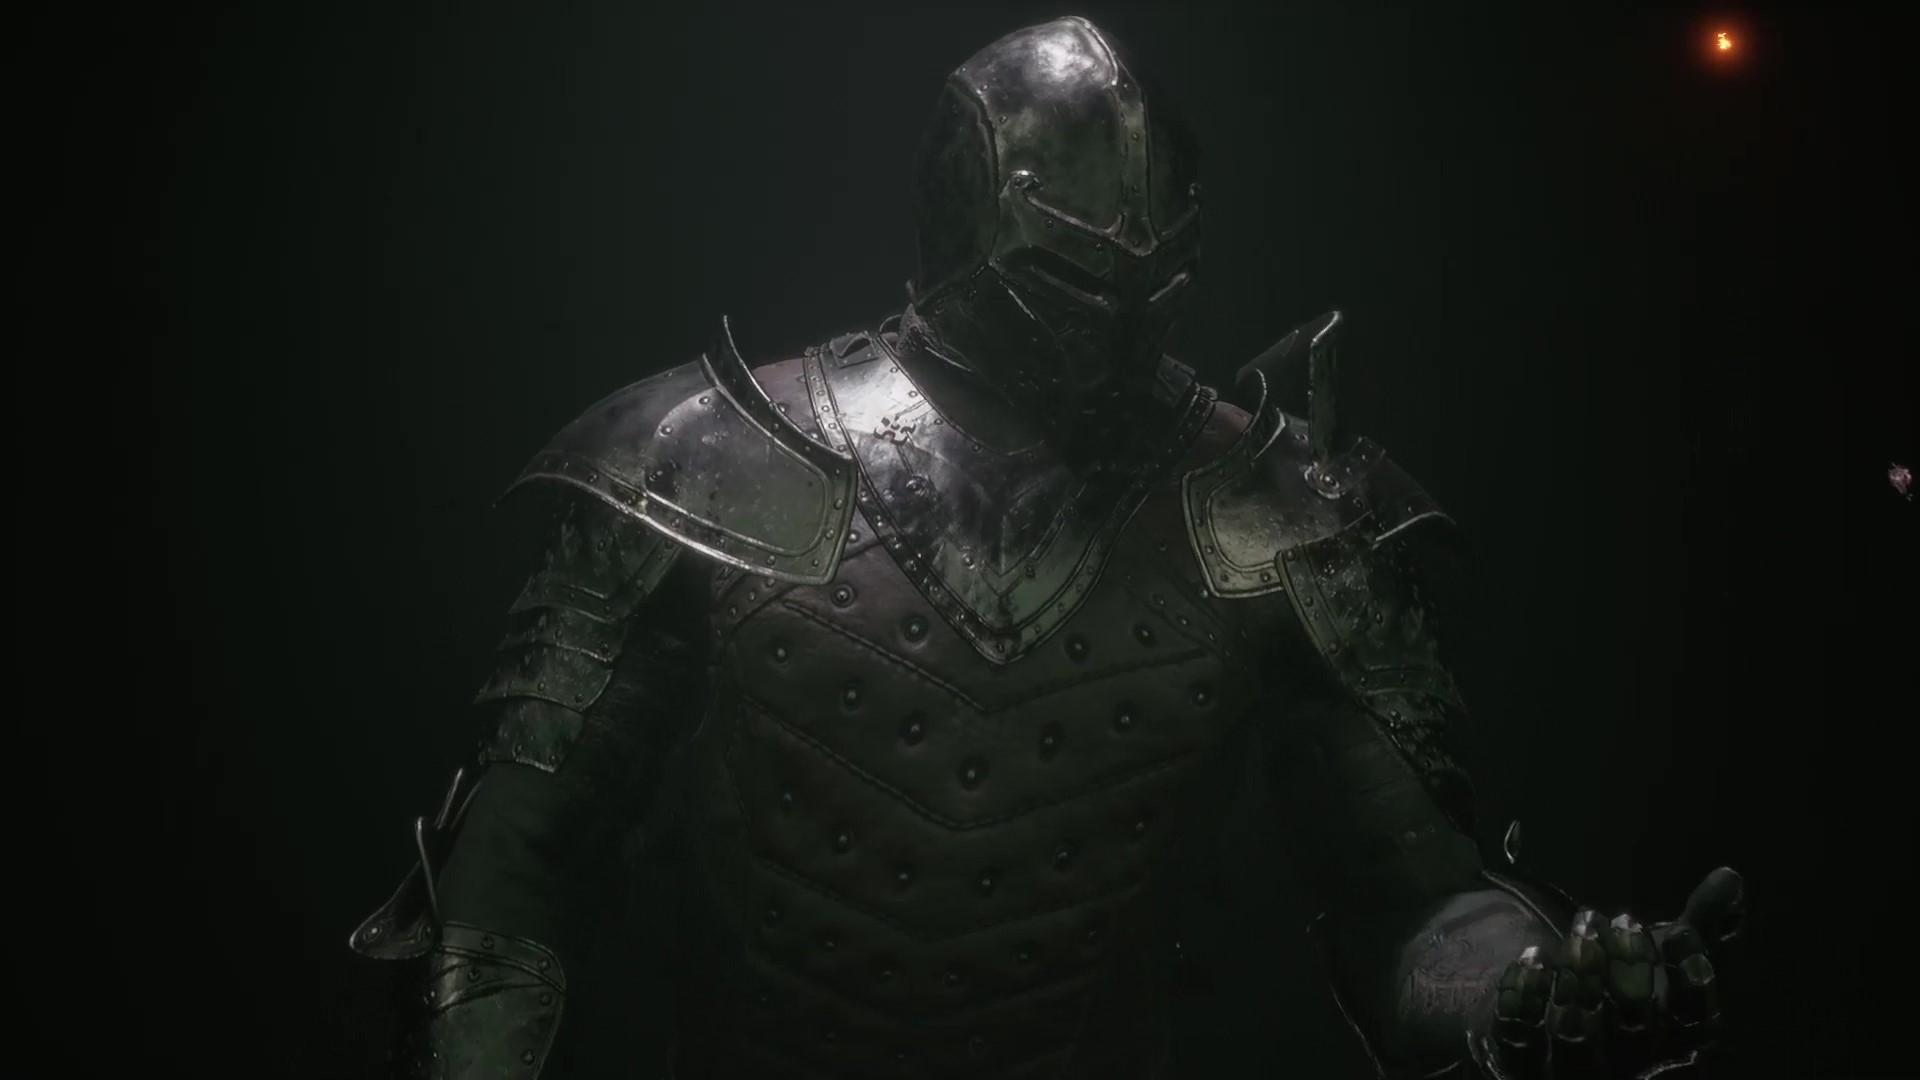
Despite being the first Shell you encounter, it’s by no means the worst of the bunch. If you’re after something extremely reliable with a nice balance of stats, then this is the one for you.
This in-depth walkthrough has you covered if you've accidentally missed it.
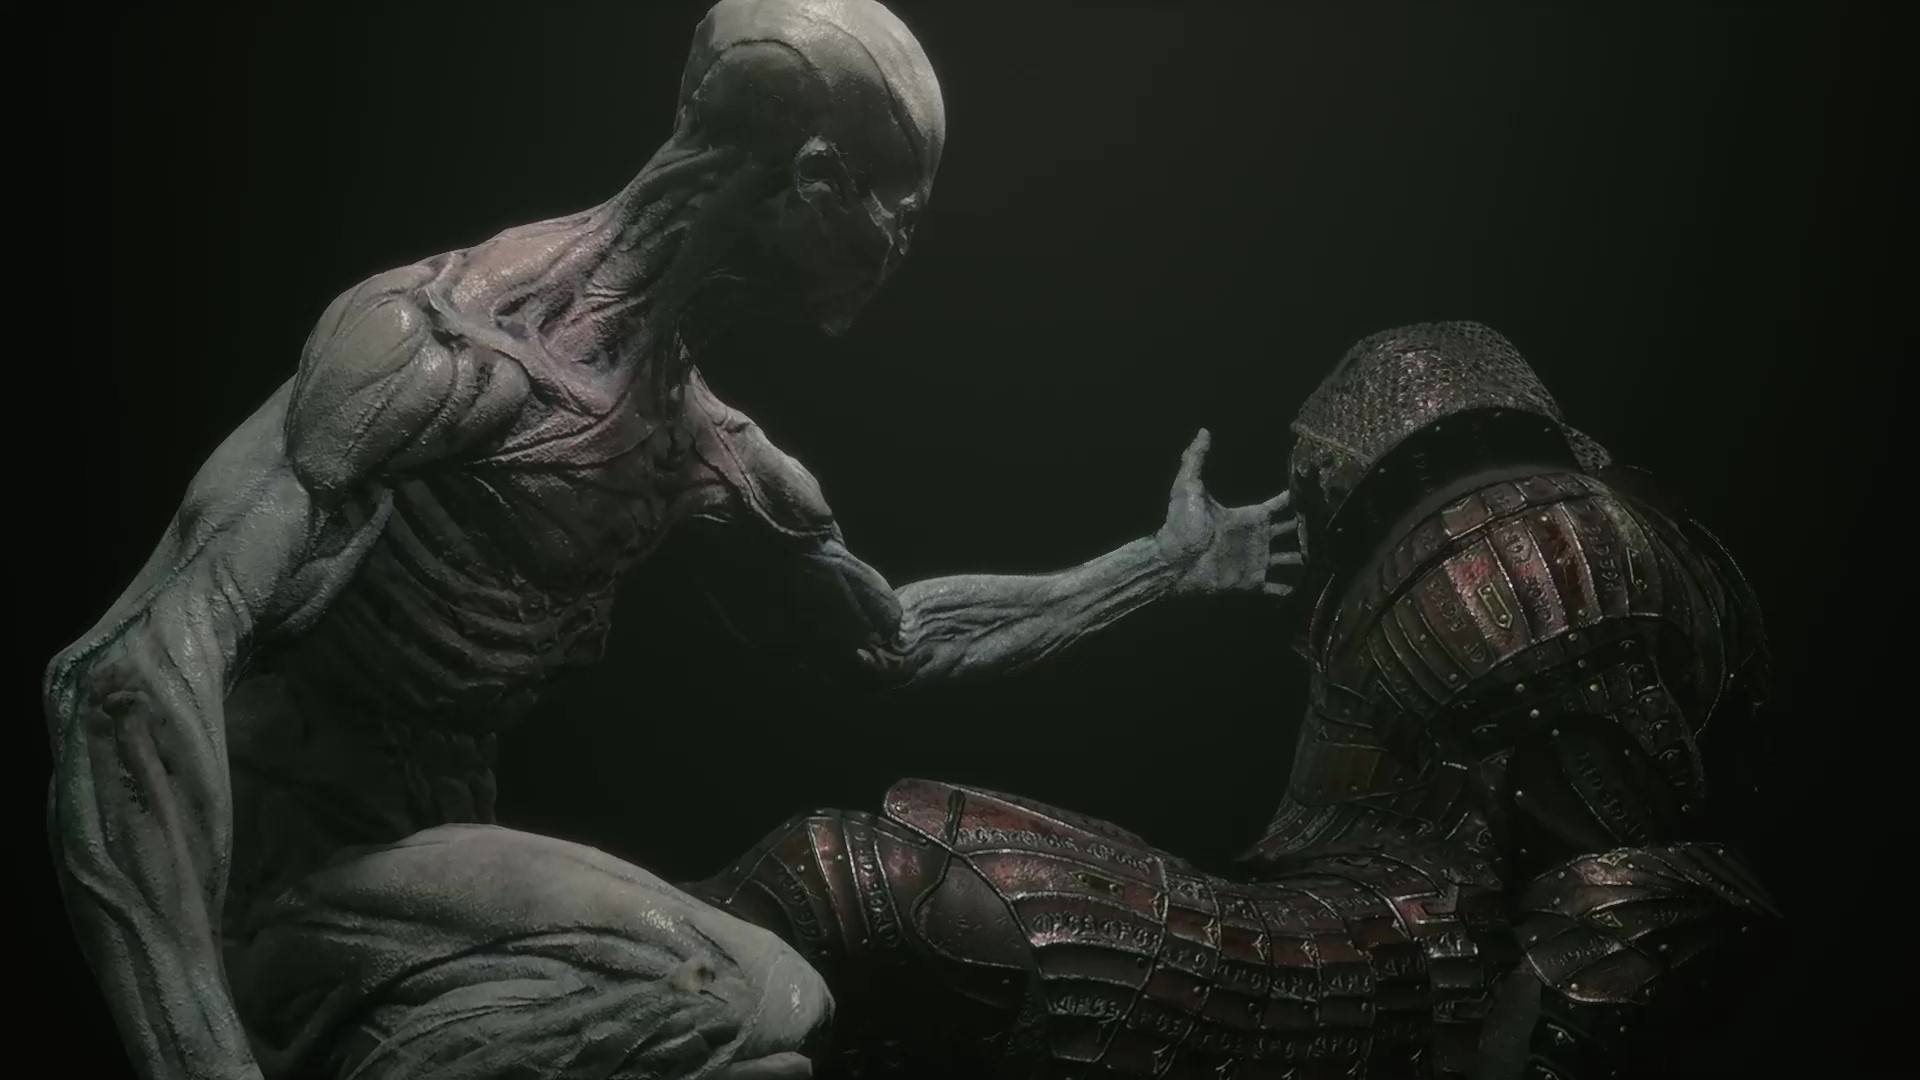
Where to find Tiel’s Shell
My personal favourite, Tiel is essentially the ‘rogue’ class. It’ll grant you plenty of stamina to dash and attack with, but at the cost of a significant hit to your health bar. Start powering it up with Tar and Glimpses and you’ll gain the ability to emit poison clouds when parrying enemies, and even eliminating stamina consumption when sprinting around.

Tiel’s quite a tricky one to find, plus there’s a horrible boss which’ll block your way. I've put together a fuss-free guide which will help you track this Shell down and deal with the big baddie.
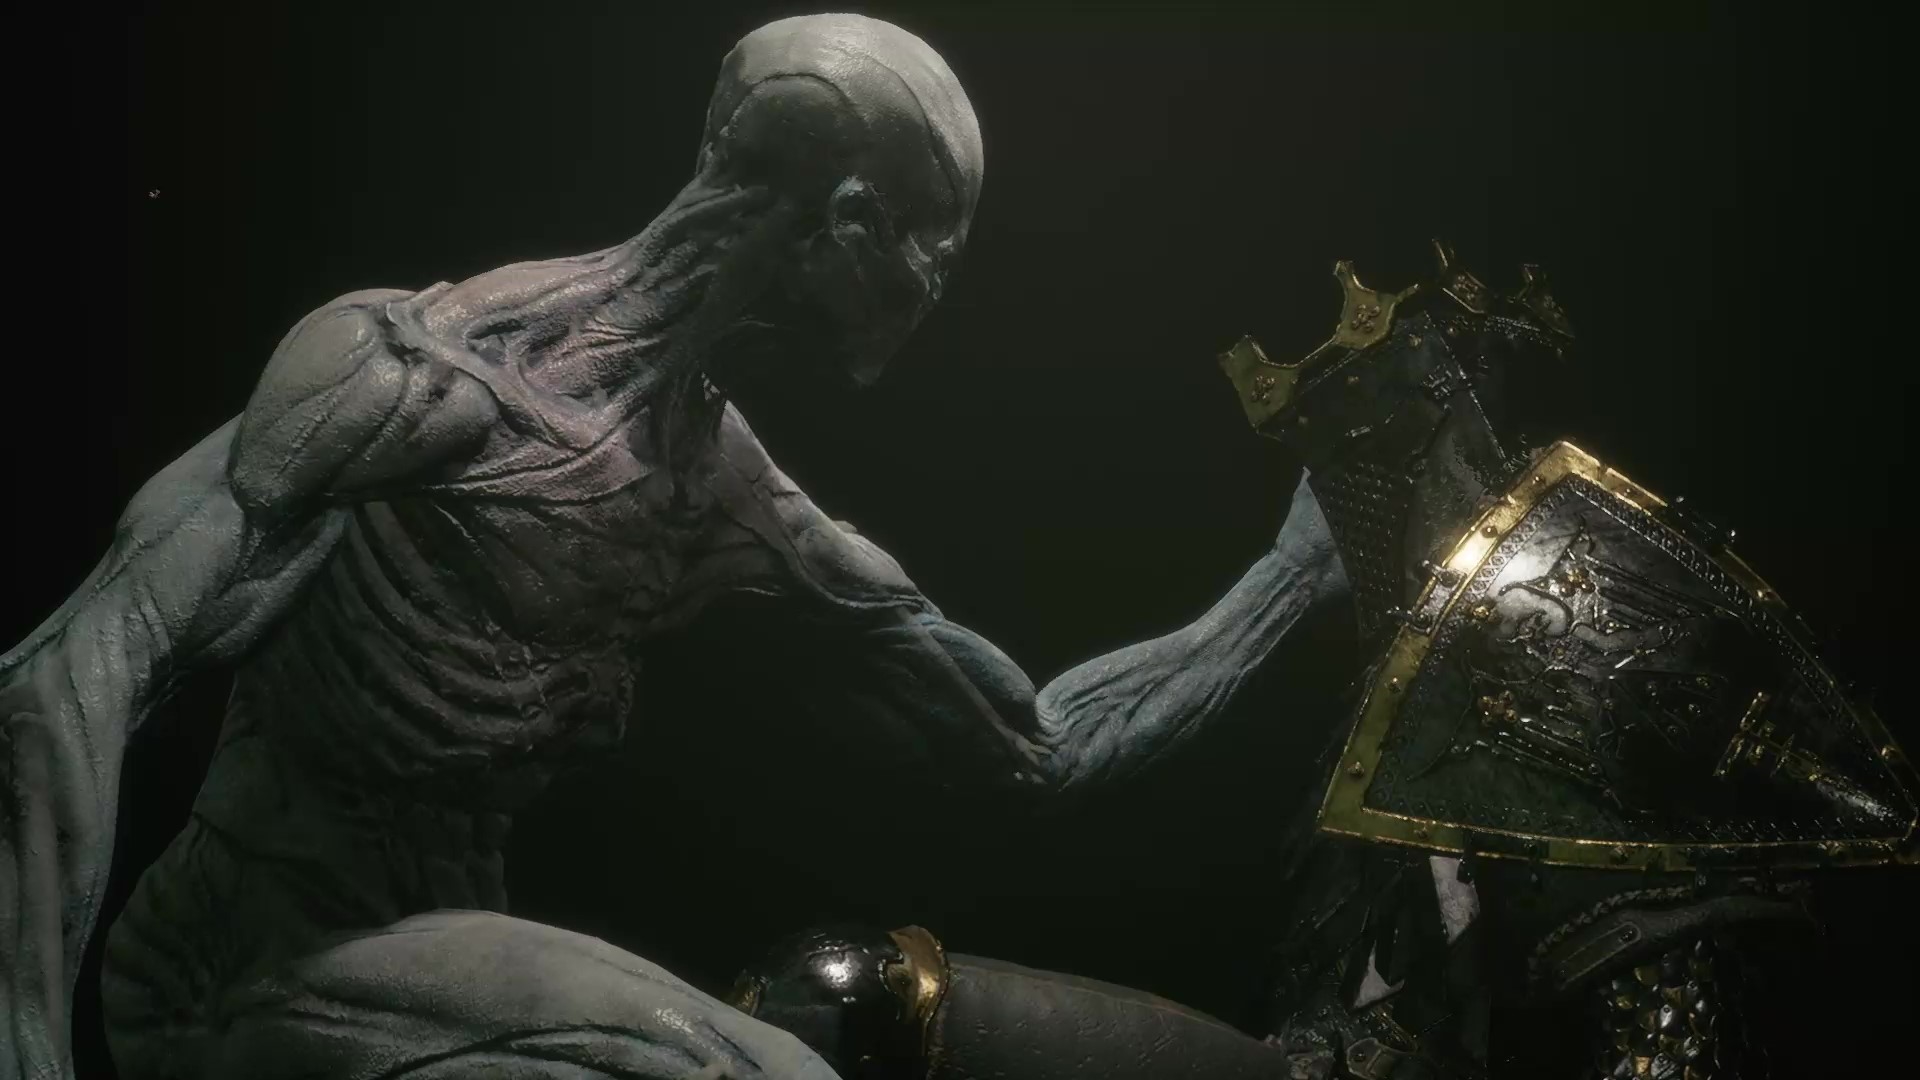
Where to find Solomon’s Shell
On the surface of it, Solomon’s Shell doesn’t seem too dissimilar from Harros. That is, until you dig into its unlockables. Among these, you’ll find many boosts to Resolve and many abilities which centre around parries and Hardening. This makes the Shell one which’ll suit those more experienced with the game, or those who seek a challenge.
I put together a quick guide which'll help you find Solomon's Shell, and tackle the optional boss fight on the way which I’d recommend you take on.
Once you’ve nabbed this Shell, I’d recommend moving straight onto Eredrim’s as the route there can be accessed on your way back.
Where to find Eredrim’s Shell
The tankiest of the lot and one which offers the greatest boosts to your Resolve, Eredrim is definitely one worth grabbing. I’ve found it to be the perfect Shell for those play sessions where your dodge timing is a little off, as you can slap this on and absorb plenty of hits.
This Shell’s far off the beaten path, but with my speedy text and video walkthrough you'll find it without too much fuss.