Best MW3 Haymaker loadout and class setup
Blow enemies to smithereens with the best Haymaker loadout in Modern Warfare 3

What's the best Haymaker loadout in MW3? If you want explosive power above all else, you need a shotgun, and Call Of Duty: Modern Warfare 3 boasts an impressive roster. With the ability to make plenty of gratuitous one-shot-kills semi-automatic style, the Haymaker's one of the easier shotguns for beginners to master.
In this guide, we'll explore our favourite Haymaker loadout, including the best attachments, secondary weapon, perks, and all the equipment that you need to send opponents sprawling in your wake.

Why use the Haymaker in MW3?
Semi-automatic shotguns are much more forgiving for newbies, and the Haymaker's a good choice for a MW3 player who's just begun moving from other semi-auto weapons in the search of something with more bang. There are other choices in Modern Warfare's shotgun roster that offer superior damage and range, but the Haymaker remains a good beginner's gun thanks to its high handling stat. Anyone who picks up this gun will have a fairly easy time slipping into the role of the shotgun-wielding monster who slide cancels all over the battlefield, darting into place just in time to deliver a massive blast of bullets.
For more info, you can compare the Haymaker's stats to other guns via our our extensive rundown of Modern Warfare 3's weapon stats.
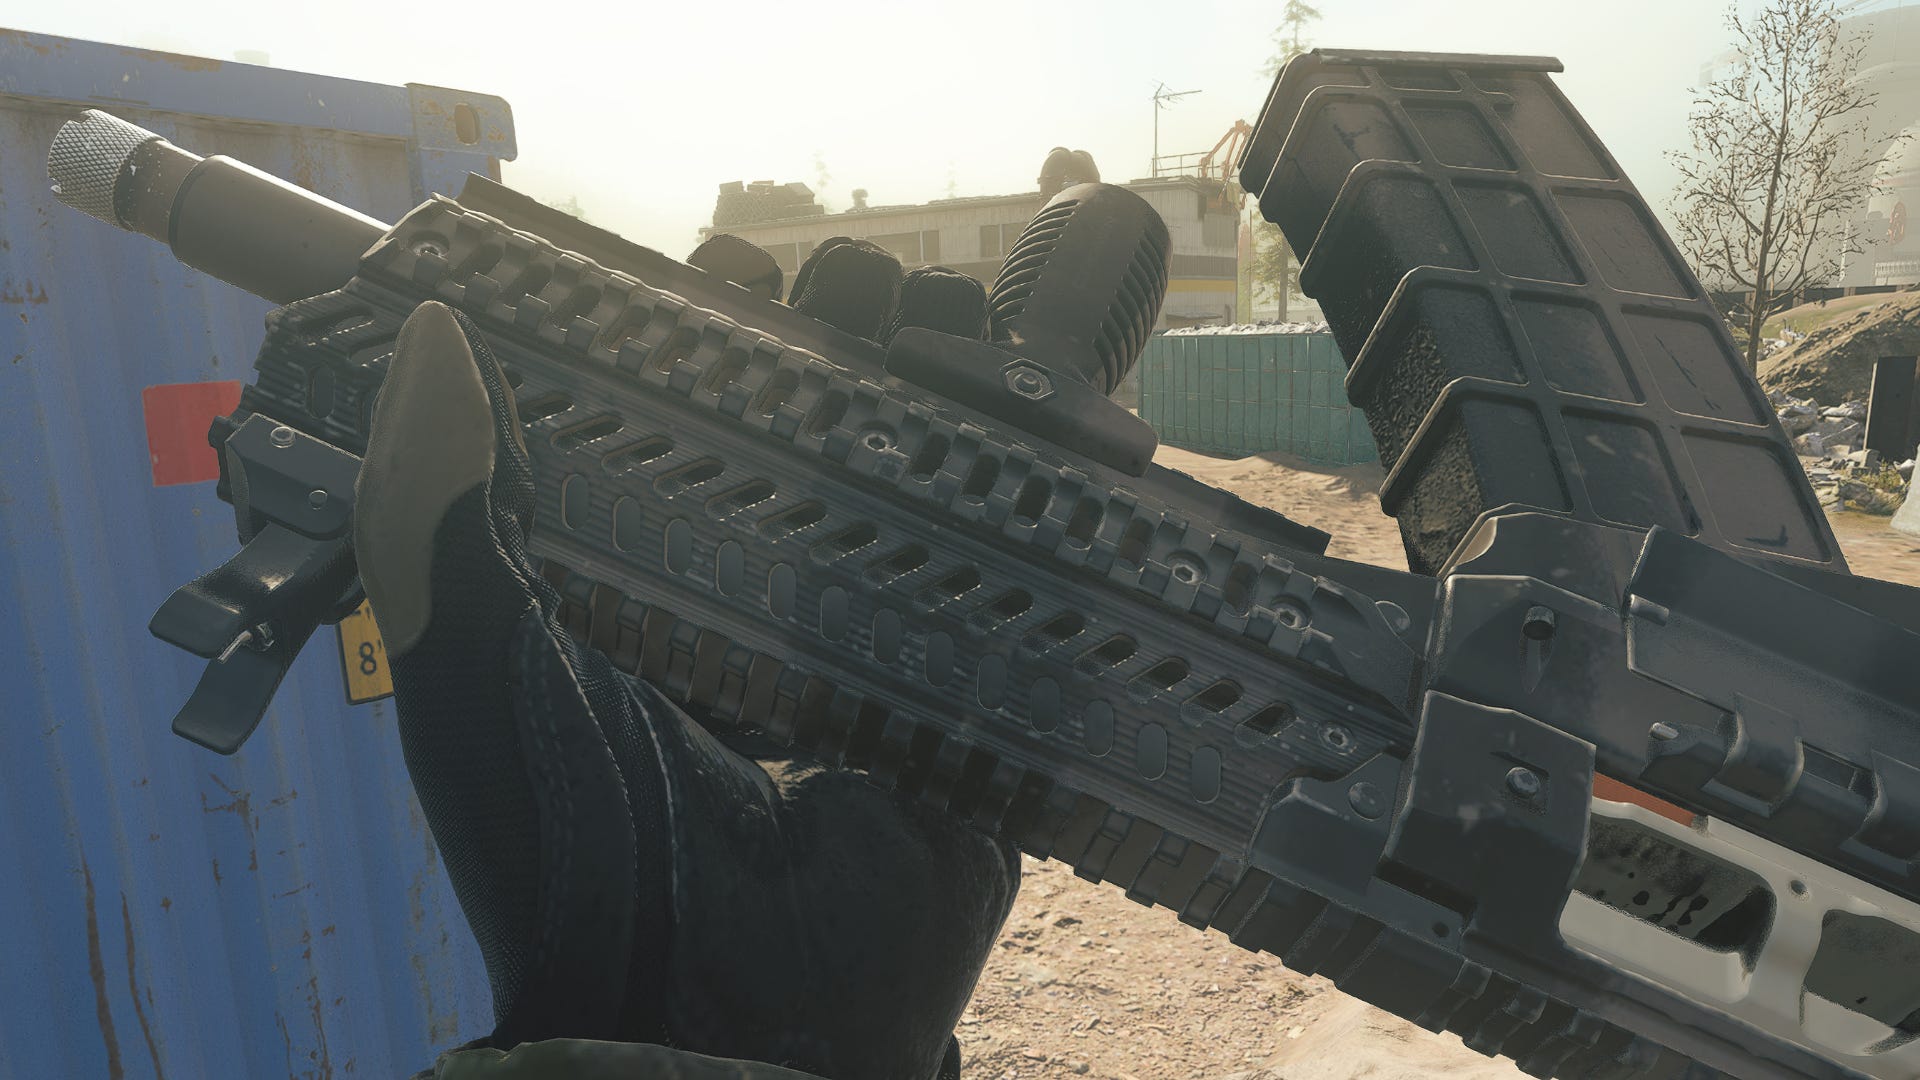
Best Haymaker loadout in MW3
- Muzzle: RMGE-7
- Barrel: Imperator Long Barrel
- Laser: FTAC Grimline Laser
- Stock: No Stock Mod
- Underbarrel: VX Pineapple
This Haymaker loadout emphasises the gun's already good mobility and handling by taking things one step further, hopefully transforming you into a smooth moving machine that can get in close for those kills. Range is very low, so under no circumstances should you utilise this loadout without a good secondary weapon.
Muzzle: RMGE-7
Our muzzle choice is the RMGE-7, which is specifically designed to increase recoil control to keep our Haymaker from knocking us back a metre every time we fire. ADS speed and aiming idle sway are the tradeoffs.
Barrel: Imperator Long Barrel
Now that recoil's been addressed, it's time to amplify bullet velocity and range, and the Imperator Long Barrel's the best choice for this. The JAB-30 Shot Barrel is good for increasing mobility and handling, but since the Haymaker already does quite well with those stats, we don't need the boost as much.
Laser: FTAC Grimline Laser
Since shotguns are lacking when it comes to range, it helps to attach a laser to determine what you're firing at. The FTAC Grimline Laser does make your laser line visible to enemies while at your hip, but the excellent increases to hip recoil control and speed are worth it.
Stock: No Stock Mod
For an explosive bump to movement, get rid of your stock altogether with the No Stock Mod. Accuracy and recoil control take a fairly noticeable hit, but we've just spent the last several attachments incerasing recoil control to balance things out a bit. And once again, this is a weapon for up close and personal attacks.
Underbarrel: VX Pineapple
Aside from its cute name, the VX Pineapple is excellent for improving our aim walking steadiness, hipfire and tac stance spread, as well as our gun kick control. If you'd rather sacrifice some of this mobility for more bullet action, you can also take the guns blazing approach by attaching a 20 Round Drum to the Haymaker's magazine opening.
Best Haymaker class setup: Secondary weapon
M4, MCW, or Renetti.
You really need to pair the Haymaker with something that has decent long-range capabilities, or else you're going to be stuck between a rock and a hard place when enemies pin you down from far away. Assault Rifles are an easy recommendation, and the M4 or MCW are both great choices that should feel familiar to anyone used to the Haymaker's semi-auto firing rate. If you'd rather carry a sidearm, the ever-reliable Renetti is an excellent choice.
Best Haymaker class setup: Perks and Equipment
Overkill Vest, Quick-Grip Gloves, Lightweight Boots, EOD Padding, Frag Grenade, Munitions Box.
Take the Overkill Vest and the Quick-Grip Gloves to complement this highly mobile loadout and to quickly switch to your chosen secondary. The Lightweight Boots will continue to supplement your mobility, and we recommend the EOD Padding for those instances when you need to wade through grenades to use your Haymaker effectively.
The Frag Grenade will probably be essentially to knock over opponents who are just slightly beyond your firing range. Last but certainly not least, we've chosen the Munitions Box to always stay locked and loaded.
Best Haymaker alternatives in Modern Warfare 3
KV Broadside or Lockwood 300.
For those who want to continue with a semi-automatic shotgun, the KV Broadside is the natural evolution of the Haymaker and will certainly impress with a great firing rate and excellent killstreak potential. For everyone else, go for the Lockwood 300 for the absurd power of the Maelstrom Dual Trigger attachment, which lets you fire two shotgun shells at once.
That's a wrap on the Haymaker. For more details on each gun's ranking in MW3's current meta, head over to our guide to the best guns in Modern Warfare 3. For more info on shotguns, see our in-depth coverage of the best shotguns in Modern Warfare 3.