Sekiro Lone Shadow Longswordsman - defeating purple ninjas and Vilehand

Having gotten a lead on how to sever the binds of immortality, Sekiro's journey takes the wolf to the abandoned caves below Ashina Castle. This takes you back to where you first began your adventure, in that dark pit. There's now two people in the area, with one talking about hearing a song, and the other looking for the man who was left to rot here. It turns out he's looking for you and upon realising this, he'll block your progress and try to kill you.
Those new and old to the library of From Software may wish to know more tips and tricks to get started, as well as some of the more complicated things that can occur while playing. Head to our Sekiro: Shadows Die Twice guide hub for everything you need to know.
There is now a dedicated Sekiro: Shadows Die Twice boss where you can find tips for the many bosses of the game. Head to our previous boss guide - Sekiro: Shadows Die Twice Genichiro Ashina if you want to know how to defeat this very tough boss battle.
Sekiro: Shadows Die Twice Lone Shadow Longswordsman guide
In this guide, we will go over the Lone Longswordsman's attacks and how to counter them, as well as finding and killing the purple ninja in the Hirata Estate, and why you should really consider doing this when you can.
Killing the purple ninja
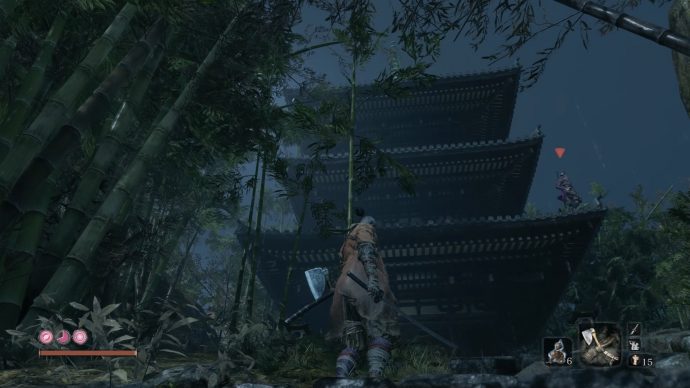
Before we go into the actual boss encounter, we should address a hidden "sub-boss" that people have found in the Hirata Estate region. Starting from the Hirata Estate - Bamboo Thicket Slope Sculptor's Idol, head up the jull and vault up the first gfrapling hook you see. Leap into the flowing river and swim upstream, past the bridge. You'll find a tree to grapple onto and a short path of trees leading to an item - Contact Medicine. Turn right to see a bamboo barricade covering a cave entrance. Slice it open and run through. The game will then remind you about wall jumping, so leap your way up the chute. Head up the hill to find the purple ninja.
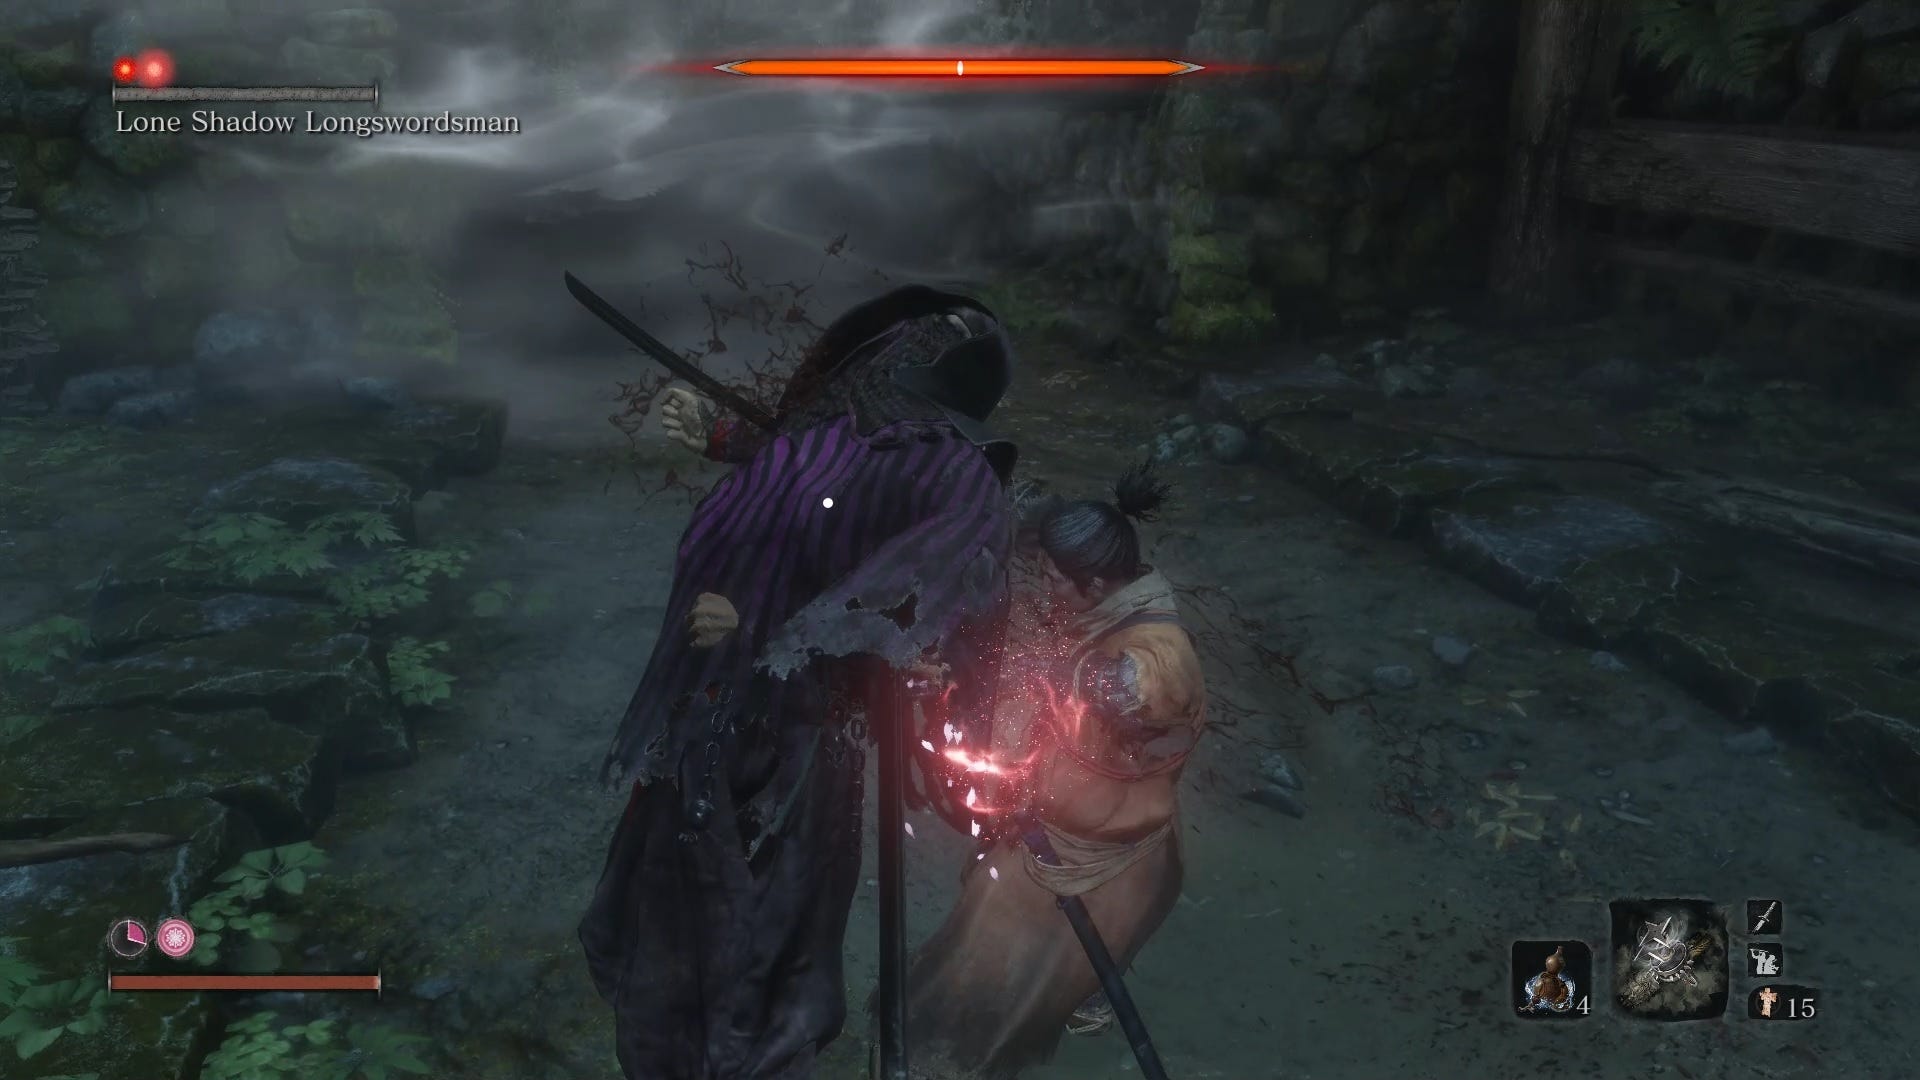
As for fighting him, he's exactly the same as the Lone Longswordsman that you'll need to fight later in the game, so the combat strategies will be the same. He is slightly easier in that he only has one health bar to worry about, but as you'll see in a bit, this won't matter a jot. Killing him does give you some Scrap Iron, 3x Dousing Powder, 316 experience, and a small amount of Sen. Your main prize though is inside the shrine he was guarding, as opening the doors reveals the Mist Raven's Feathers - a Shinobi Prosthetic that you can use to disappear behind an enemy when they attack you. It doesn't use Spirit Emblems if it whiffs.
How to defeat the Lone Shadow Longswordsman
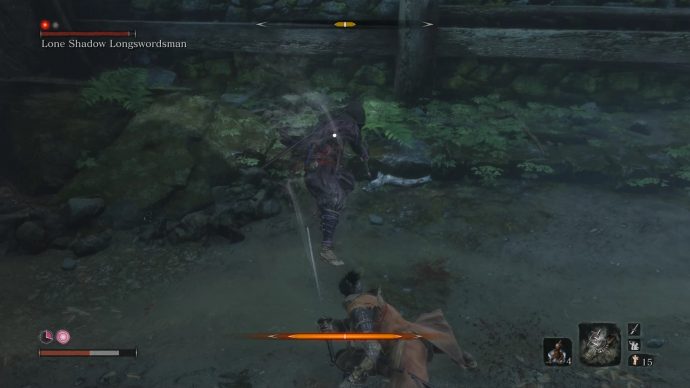
I mentioned before that this fight can be exploited slightly. If you happen to perish the first time you fight him, you can get the drop on him in the rematch by making your way overground. Head past the guy ranting about music and continue until you see a hole in the ground. Peering over the edge, you'll see him just lingering there, waiting to be dived on. Jump down and plunge your sword into him for a free health stock of damage. From there, you'll have to fight him the hard way.
Despite the "Longswordsman" title, he really likes to kick and those kicks can shave off huge chunks of health and posture. If your posture is ever broken, it's fair to say that he'll finish you off. Deflecting the kicks is highly encouraged as he's far too aggressive to attempt a more offensive approach. Keep parrying his blows, while looking out for his two unblockable attacks.
One is a thrusting kick that can be Miriki Countered, in which he raises his leg in a kung-fu pose before kicking, while the other is a sweep that begins with him crouched down. Both of these are exploitable and throw him off his momentum. You can also deflect his other attacks, but if it all gets too much, throwing ash in his eyes can allow you some time to heal.
The real challenge of this fight isn't the man himself, but the area where you are fighting. It's such a claustrophobic location that you don't really have much breathing room to heal if you're damaged. On top of that, getting cornered into a wall is a death sentence as the camera will just go nuts on the geometry. You can venture a little further back, but I've not been able to confirm whether or not you can take the fight outside into the open.
Not that you need to really. He can be taken down with a string of good deflections, dive kicks, and Miriki Counters, rewarding you with 2x Scrap Magnetite, a prayer bead, and 215 experience towards your next skill point.
Lone Shadow Vilehand
As you progress through the game, the Lone Shadows do annoyingly become regular enemies. So naturally, boss variants have an extra attack you need to be aware of as it inflicts poison. If he stands there and looks to be charging up some kind of attack with his off-hand, he'll soon thrust it up to three times with a green aura. Blocking it will still inflict some poison damage, so dodge to the side to avoid all thrusts. They're not Miriki Counter fodder sadly, so you'll need to get away from the palm strikes.
That's it for the Lone Shadows. From the Lone Shadow Longswordsman, you can head towards the save point that's a little further down this cave. You'll notice a glowing chap in the pit to the right. We'll deal with him in a bit, but I'd like to take a moment to address an enemy from a bit further back - close to where the Chained Ogre resides, where you'll find a real monster. Join us then for our Sekiro: Shadows Die Twice Headless guide. You can also head to our previous guide - Sekiro: Shadows Die Twice Genichiro Ashina if you want to know how to defeat this very tough boss battle.