Monster Hunter: World Zorah Magdaros: how to beat it, what materials to get
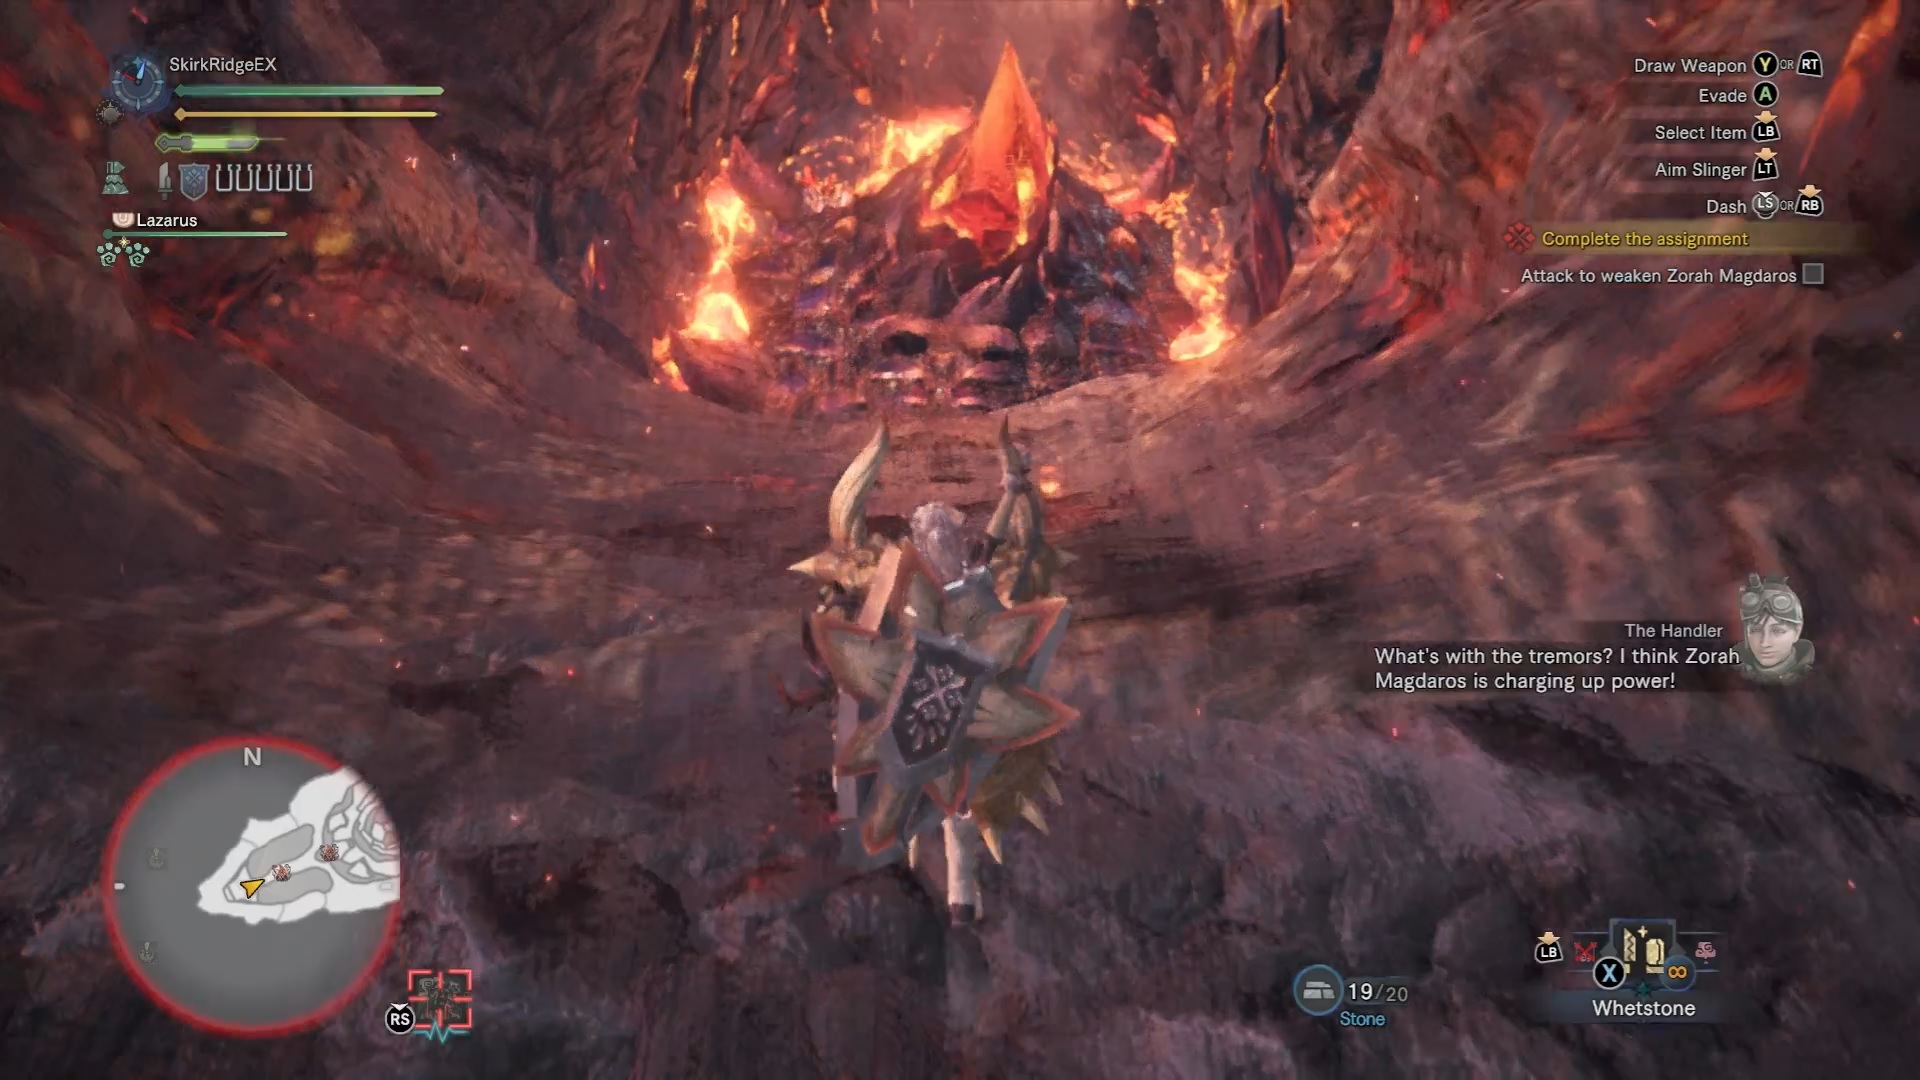
Repelling a titan.


Upon finishing the request to defeat both Diablos and Rathalos in Monster Hunter: World, the hunters learn that Zorah Magdaros is journeying to a location where upon arriving it will mean the destruction of the new world. On top of that, they know that it's likely being driven there by Nergigante. This battle is relatively similar to the first one with Zorah Magdaros in many respects, only the order of events is slightly reversed and this quest has more potential for material gathering as you can repeat it. This guide will walk you through how to beat Zorah Magdaros and also what loot to obtain from it.
Monster Hunter: World Zorah Magdaros guide
While the first fight had three main phases, this one has two main ones to worry about. Again, nothing you do is tricky, in fact it's more of the same thing you had done before. However it is a lot more enjoyable when you bring friends along. The fire cores however can be a pain if you're not prepared, so have a look at our Monster Hunter World guide to get some general tips for hunting monsters.
If you are looking for specifically Monster Hunter World Iceborne guides, then we have created a separate guide hub for just expansion stuff. Head over to our Monster Hunter World Iceborne guide to make your start.
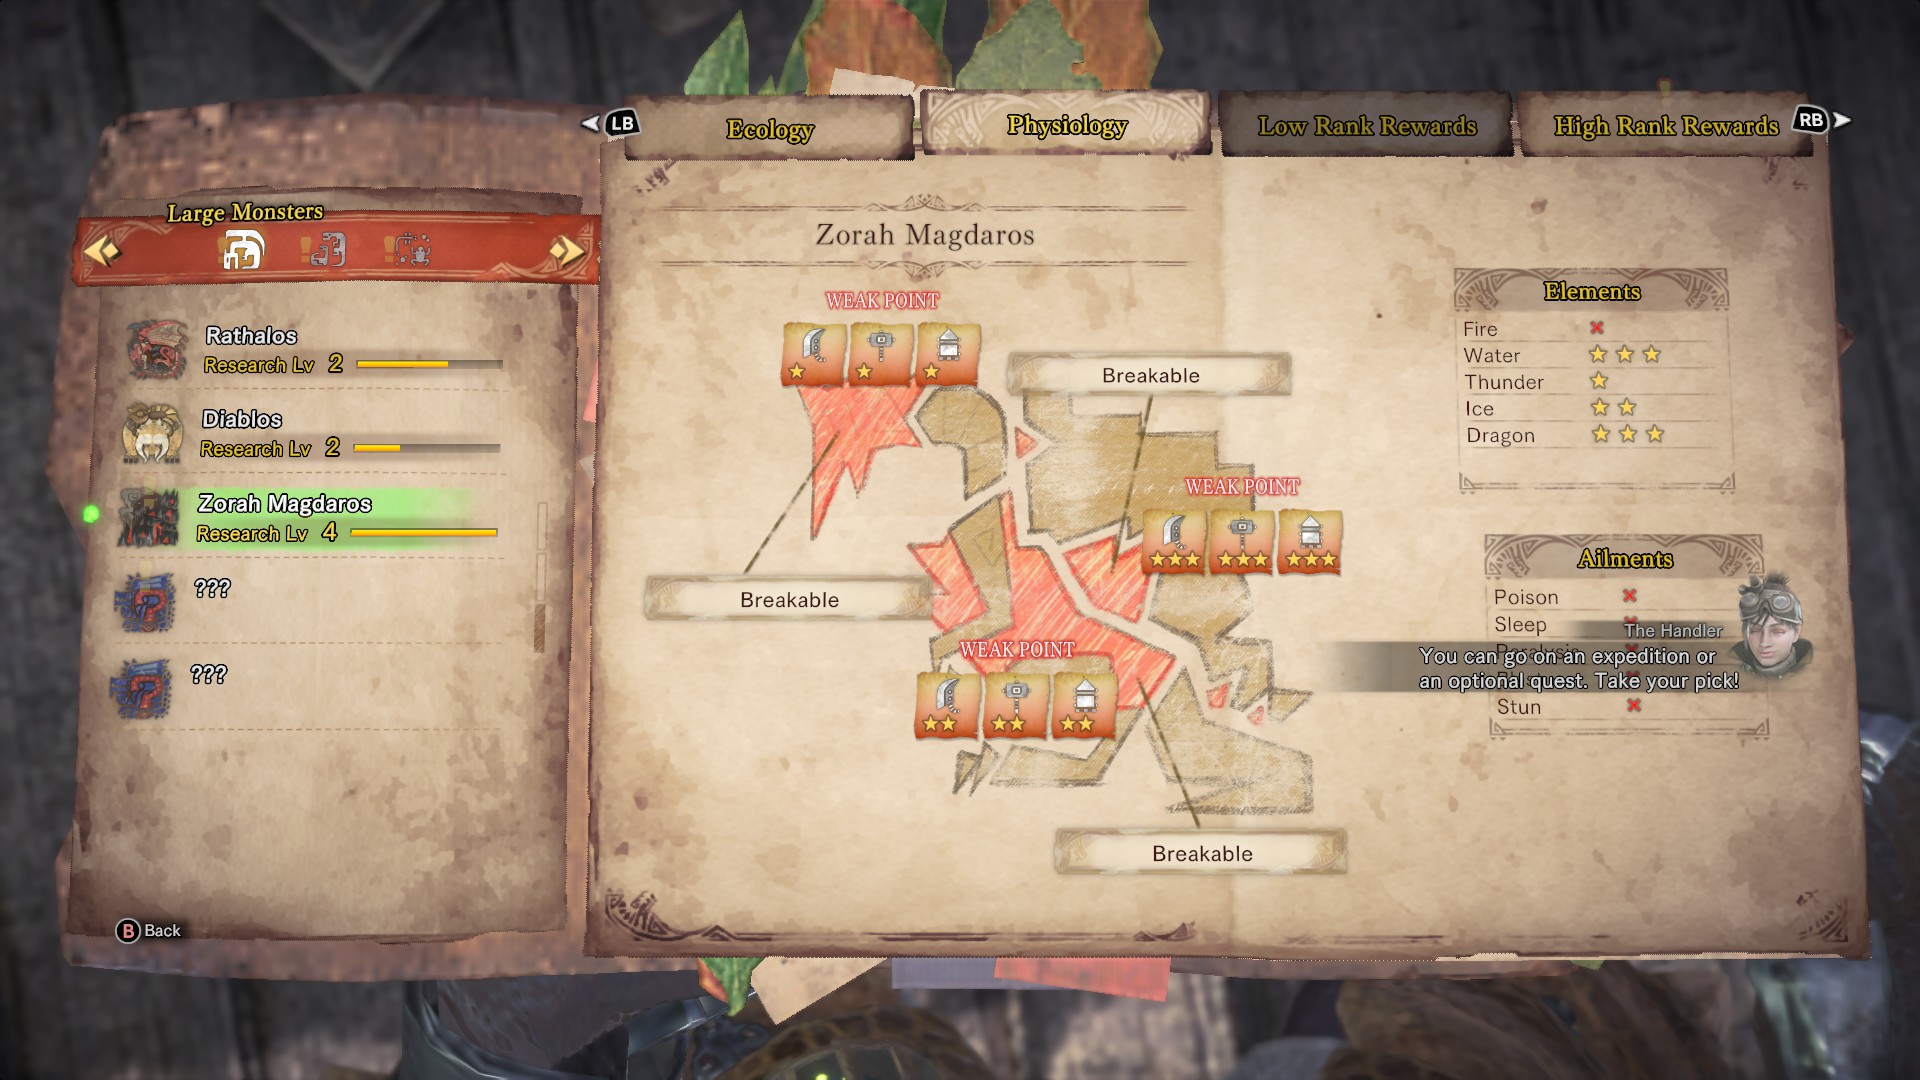
Zorah Magdaros strengths and weaknesses
Okay, so this graphic for Zorah Magdaros may seem semi-redundant given the nature of the fight, but it's handy to know where you should be roughly aiming the cannons and how best to damage the cores. Water and dragon weapons are great to bring along, mostly because they make mincemeat of the cores. Ice can also be good in a pinch, but don't bring any fire weapons or any ailment inflicting weapons as you'll get little use out of them.
For cannon fire, there are three weaknesses that double as breakable parts. The head is by far the most resistant of the three, while the chest is marginally better for consistent damage. Hitting the fleshy bit underneath its shell on its back can be a little on the tricky side however. Cannons are always aimed high, so you'll likely use these to hit its face, while ballistae will be for more precise attacks.
How to beat the first phase - destroy Zorah Magdaros' cores
The first thing you'll notice is that this phase is very similar to how the previous fight with Zorah Magdaros ended. For a recap on how to beat it, have a look at our Monster Hunter: World Zorah Magdaros first encounter guide. The key difference here is that you'll be able to trigger some explosives set on huge stalactites by shooting at them with the slinger as Zorah Magdaros passes underneath. It'll deal a huge chunk of damage and slow it down a fair bit.
Other than that, the fight is largely the same, though breaking the cores also gives you materials for crafting some high-level armour, more on that in our Monster Hunter: World armour guide. Nergigante will eventually swoop in on top of this titan to provide an unnecessary distraction, before departing after a while to leave you to attack the cores once more. It is entirely possible that you may not reach Nergigante before it flees, depending on where you are when it arrives.
As with the previous fight, there are also mining veins to extract materials from, so be sure to mine when you can, and destroying the cores will drop parts from Zorah Magdaros. Be sure to snap these up as the armour you can make from Zorah Magdaros will ensure a bit more fire protection, which could be useful for some of the harder fights in the game. There are also parts of Zorah Magdaros that aren't exactly cores, but you can destroy them for extra rewards upon finishing the mission.
Eventually, a short time after Nergigante has fled, the captain will announce to the field team that everyone is entering the final phase, in which you need to head back to the barrier. Don't worry too much about the fact that Nergigante ran away again, as you'll get your chance to beat it in its home turf later. You'll then begin the next phase of the battle.

How to beat the second phase - repel Zorah Magdaros
Once again, you'll be on a platform filled with cannons and ballistae, with the aim to damage Zorah Magdaros enough to make it turn around. There are more flying enemies this time than in the previous fight and they're a little more on the aggressive side. Zorah Magdaros will also attempt to break the platform you are standing on, which has its own health bar that appears during this phase.
You'll see a couple of others on the platform with you, including your Palico, that are loading some of the cannons. Try to head over to them as often as you can, aiming the cannons by walking to the side and pushing them into place, before firing them. Cannons hold a maximum of five cannonballs, meaning you can potentially deal around 900 damage to it if all five hit. Ballistae are also available, which if aimed at the right spot can deal a fair bit of damage. Cannon fire is generally better as it can stagger Zorah Magdaros, pushing it back a little bit. Breaking certain bits can be tricky, so be sure you study the Elder Dragon's anatomy.
During this phase, you will get a prompt that the special Dragonator is ready to fire. Confusingly, while the field team leader mentions it's on "the bow of the ship", he never says where the ship is. Head to the far east of the platform on the mini-map, or left if you're looking directly at Zorah Magdaros, to find a ledge leading to the ship. Jump down and pull the lever at the front of the ship to make it thrust out a huge spear into Zorah Magdaros. There are also a bunch of cannons here that will all be prepared for firing, so be sure to activate them before hitching a ride back to the top of the barrier.
What materials can I get from Zorah Magdaros?
As the first Elder Dragon you face, Zorah Magdaros has some incredible loot that will encourage players to team up to fight this monster again and again for even better materials. Those looking to team up with friends should check out our Monster Hunter: World PC multiplayer guide. For more on how to use these items, you can either check out our Monster Hunter: World combat guide or our Monster Hunter: World armour guide. In the list below, the stars indicate the frequency in which the item in question will drop, as well as details on whether some items are obtained by breaking a specific part of the monster.
| Item name | Rarity of materials gained as rewards | Reward notes |
|---|---|---|
| Zorah Magdaros Heat Scale | **** | |
| Zorah Magdaros Ridge | **** | |
| Zorah Magdaros Pleura | *** | Obtained for breaking its chest. |
| Zorah Magdaros Magma | *** | Obtained for breaking its head. |
| Zorah Magdaros Carapace | *** | Obtained for breaking its magma cores. Can also be dropped. |
| Zorah Magdaros Gem | * |
Eventually the game will take away control from you and play a cutscene that heralds the end of the battle. So with that is the end of the guide as well. Should you need them, the previous two guides include the Monster Hunter: World Diablos guide and the Monster Hunter: World Rathalos guide. This marks the end of the Zorah Magdaros arc, but there's plenty more of the game to go. Head over to our Monster Hunter: World Pink Rathian guide to find out how to find this elusive variant and what the differences are with this brightly coloured variant.