Kingdom Hearts 3 Olympus Walkthrough - Hercules World, Treasure Chests, Map Locations
All the Olympus info you need.


Kingdom Hearts 3 features 9 main worlds to visit, some new, some returning from previous games. Each has its own mini story arc, distinct enemies, and at the end of it all— a themed Keyblade. The first world you’ll visit after the tutorial is Olympus. This is, of course, the stomping grounds of Hercules, who will join you in taking down Hades. To make sure you’re collecting everything you should be, and to help you out if you get lost, we’ve included a full Kingdom Hearts 3 Olympus walkthrough below. We’ll highlight where to find the maps for each area, and also show some chest locations containing key items.
This Kingdom Hearts 3 Olympus Guide is just the tip of the iceberg in terms of our guides content, as we’ll be bringing you detailed breakdowns of every world in the game. We’ve collected it all in our Kingdom Hearts 3 Guides Hub, so head over there for more info.
- Kingdom Hearts 3 Olympus Walkthrough
- Kingdom Hearts 3 Flowmotion Explained
- Theebas Map
- Use Goofy’s Shield to Get Past the Flames
- Kingdom Hearts 3 Attractions Explained
- Kingdom Hearts 3 Olympus Map 2
- Kingdom Hearts 3 Titan Boss Fight
- Kingdom Hearts Airstepping Explained
- Kingdom Hearts 3 Ice and Fire Titans Boss Fight
- Kingdom Hearts 3 Stratos Boss Fight
- Kingdom Hearts 3 Olympus Map Locations
- Kingdom Hearts 3 Chest Locations
Kingdom Hearts 3 Olympus Walkthrough
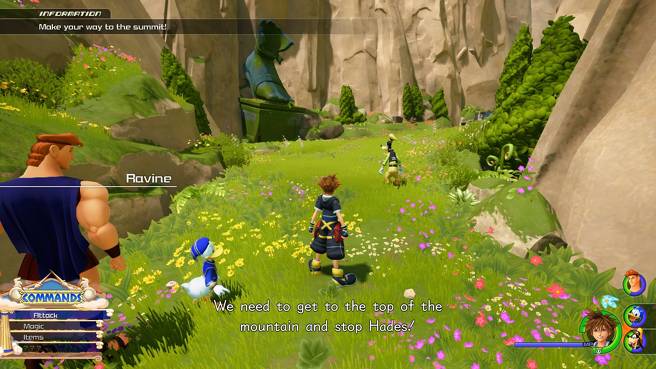
On arrival in Olympus, it’s clear that not all is well with Hercules and his pals. Hades is up to no good, and the Organisation are involved. In swoops Sora to save the day, with the help of Donald and Goofy of course. We’ve included a full walkthrough of the area below:

REGARDING SPOILERS: In our Kingdom Hearts 3 walkthroughs, we will be laying out gameplay for each level, highlighting enemies and tasks. We will not be explaining or even mentioning story beats from the cutscenes, though there will be minor spoilers in boss names etc. Proceed with caution if you are trying to remain completely unspoiled.
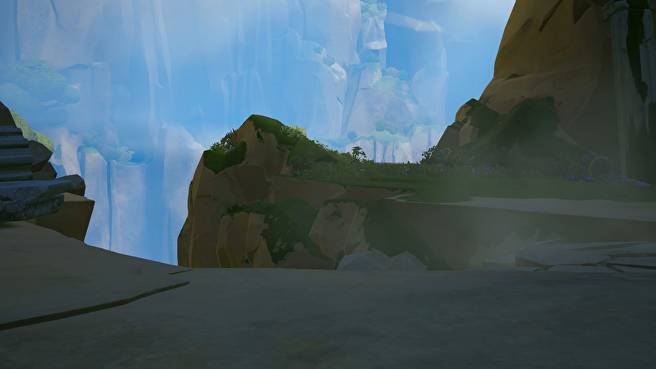
Upon arriving at Olympus, you need to head up the mountain. There are enemies waiting for you, the perfect opportunity to try out some magic. In Olympus, enemies are mainly sorted into fire and water types. Using water magic on fire types does more damage, so keep this in mind while fighting.
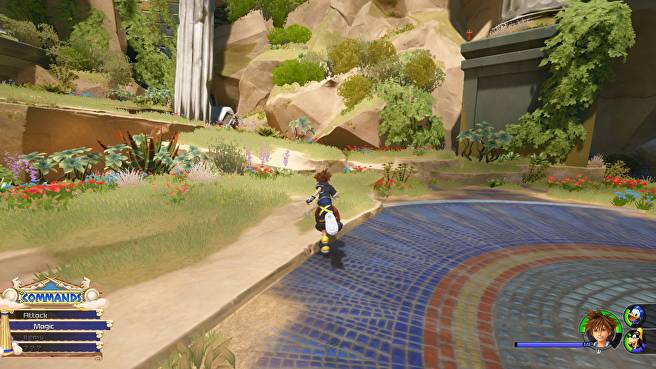
Continue forwards and you’ll come across a cliff face. It will have waves of glowing light moving up it, this indicates that you can wall run to scale it. This is your first introduction to this type of traversal, and all you need to do is move the left stick and run into the wall to start scaling it.
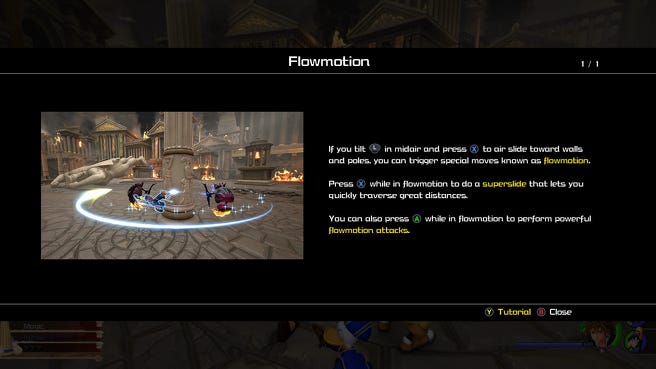
Kingdom Hearts 3 Flowmotion Explained
You’ll be presented with your first Shop in this area. There’s also a Save Point, so make sure you use both. Next up is meeting Hercules, and then you’ll learn the Flowmotion technique. This can be a little tricky to get the hang of, but practice it in this area as much as possible. To summarize it, by jumping and then dodging onto a glowing surface (like the cliff we mentioned earlier, you’ll attach to it. From this state you can either press dodge again to be propelled forward, or you can hit attack to do a powerful aerial attack. Use this technique to defeat the Heartless in the area.

Theebas Map
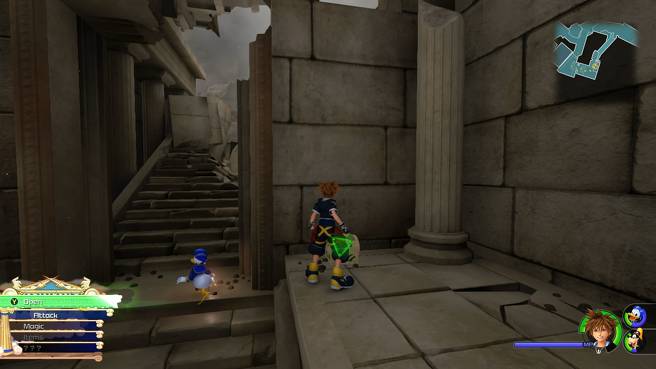
You’re now in Theebas and must find the map for the area before proceeding. Luckily, it can be found on the left of where you start, easy. There’s also a Save Point here, so use it. Continue onwards, and head down the stairs ahead. there's a group of Heartless here, so use water magic to take them down.
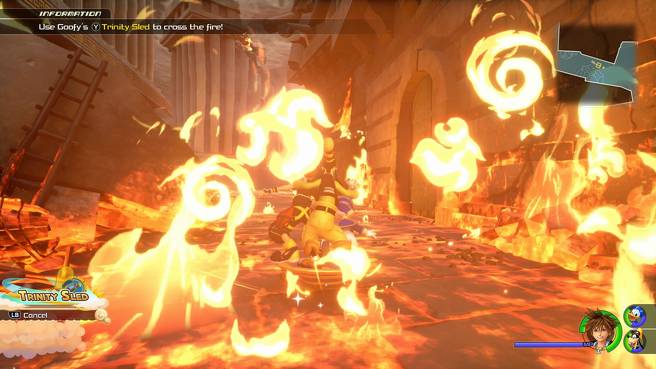
You’ll come across a flaming corridor next, and must use Goofy to get past it. To do so, approach the flames, and then press triangle/Y. You’ll hop aboard Goofy’s shield and can follow the path to the other side. There is a chest in the top right corner of this area containing a potion (screenshot below).
Slide down the rooftops to the ledges below. There are two enemies here disguised as pots, take them down. The small chest nearby contains an AP boost. Continue down into the square below and defeat the Heartless.
Use Goofy’s Shield to Get Past the Flames
The next part of the level involves defeating groups of Heartless to save villagers from them. Once you’ve defeated them, speak to the villagers to get a potion as a reward. Head down the stairs and around the corner to find another fire section. As before, use Goofy’s shield to get over the flames. In this part you can either follow the path around to the left, where you’ll find the chest shown in the image above (contains a Shield Belt), or make a tight right turn. Go left first and then loop back to the start. You’ll need to get around to the right by breaking through some debris, this is pretty easy after a couple of tries.
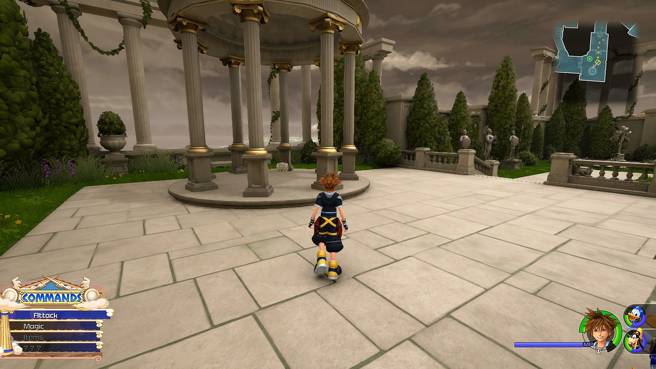
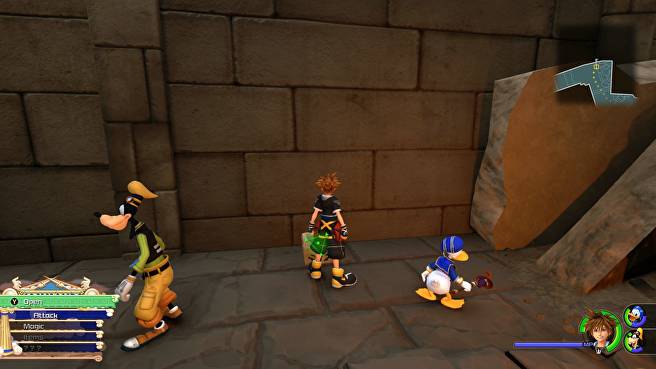
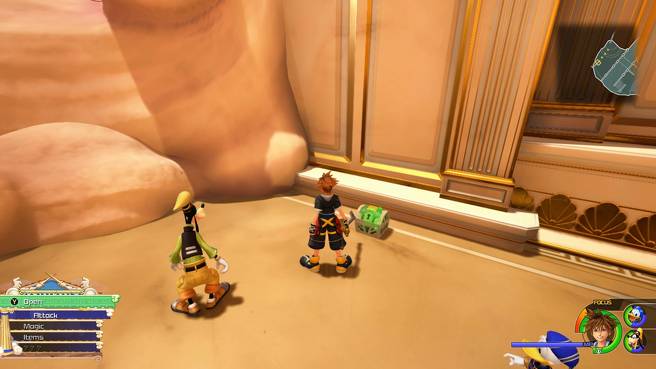
Jump down into the Gardens and head into the room on the left. Defeat the Heartless and then speak to the Villager, you’ll get a Hi-Potion Head back out of the room and go left, you’ll find yourself at a courtyard with a small chest and a Save Point.
Defeat the enemies ahead and then go into the area to the right with the statue of Achilles. Attack his heel and break through the wall, there’s a chest to the right (Magic Ring). Slide down the muddy bank and into the Big Olive. You’ll need to wall run to the other side and defeat enemies. Obtain a Potion from the nearby villagers. Head around to the left and then attack the enemies surrounding the villagers. Obtain an Ether from them. Use Goofy’s Trinity Shield to move through the next area. You can find a Small Chest in the Western side. Continue to the other side of the area and into the alleyway. Defeat the Heartless that block your path.

Kingdom Hearts 3 Attractions Explained
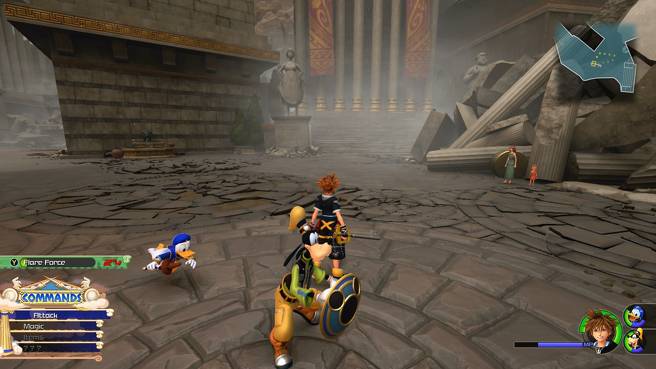
Move down into the waterway and then break the wall to head into the next area. Fight the heartless using Attractions. Attractions are essentially big special moves that do a ton of damage. Each is different, and may require you to press more commands to complete. The Pirate Ship requires you to press A to swing it.
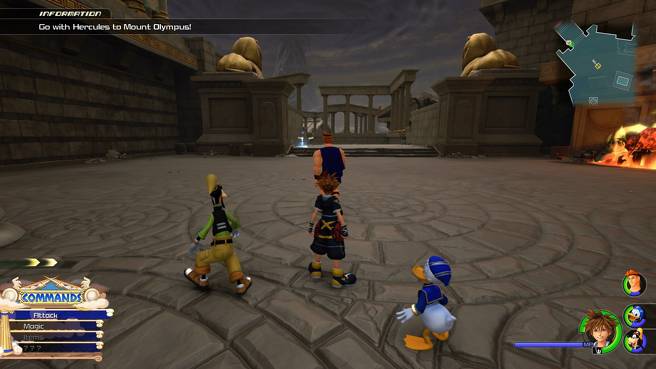
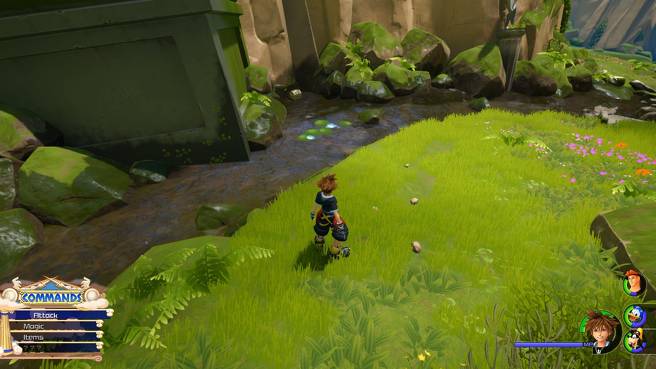
Head to the save point and store then proceed ahead to Mount Olympus. Move up the river until you meet a group of enemies, take them out.
Move further up and take on the large group of water enemies, this will spawn a chest in the area where you first arrived into the area.
Kingdom Hearts 3 Olympus Map 2
Continue up the cliff by hopping over the river and then wall running upwards, you will come to a chest underneath some apples. The chest has the area map inside. Continue up the cliff side, running up the walls, hopping the rocks and moving into the next area.
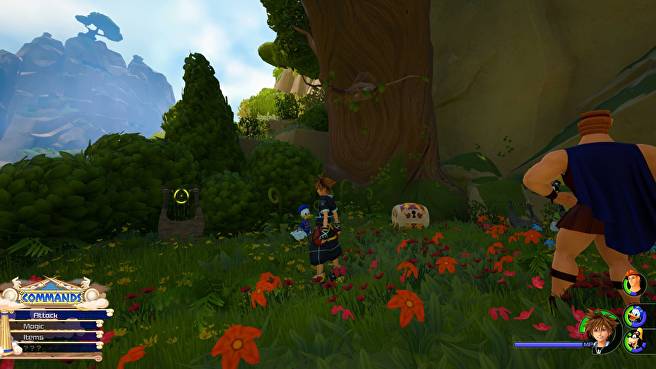
Here, you’ll need to fight some armored enemies, and then a giant sandworm. Use Hercules's’ Heroic Swing as often as you can. Keep an eye of your environment, as there are a few opportunities to use Flowmotion here.
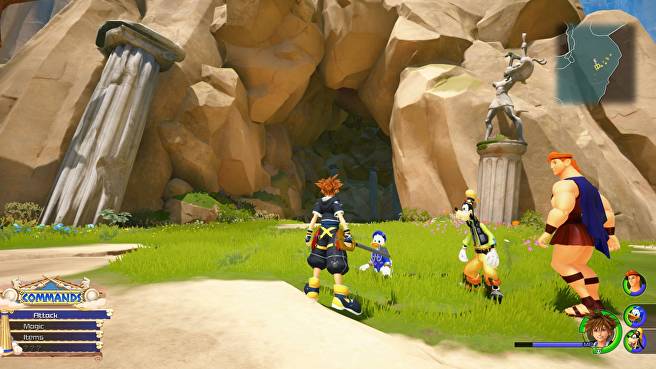
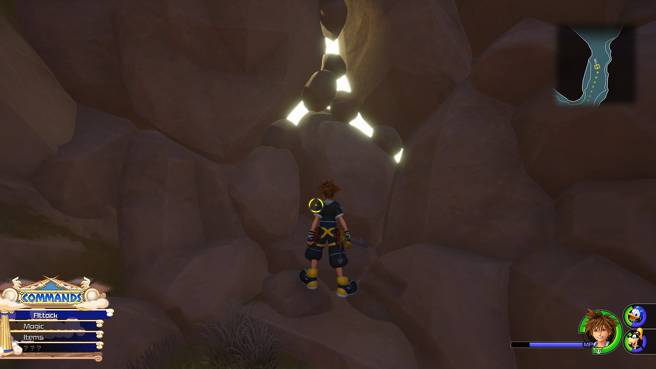
Move into the next area, through the caves. There are a set of pillars here, break them to reveal a new area below. There are 2 Small Chests below. After you’ve collected them return back up and through the archway. Defeat the large group of enemies that spawn here, water is effective.
Kingdom Hearts 3 Titan Boss Fight
Head up the mountain and fight the Titan. You need to attack its feet one by one then run up the footholds that appear. Attack its head, and then land an attack on the Attractions circle. This will trigger the Mountain Coaster, one of the game’s coolest Attractions for sure. Drive it and aim at the attacks from the Titan, press RT/R2 to shoot. Do this twice over to end the fight.
Head forward and down the left path, there is a Small Chest containing Fluorite. Continue onwards and break the wall in front of you.
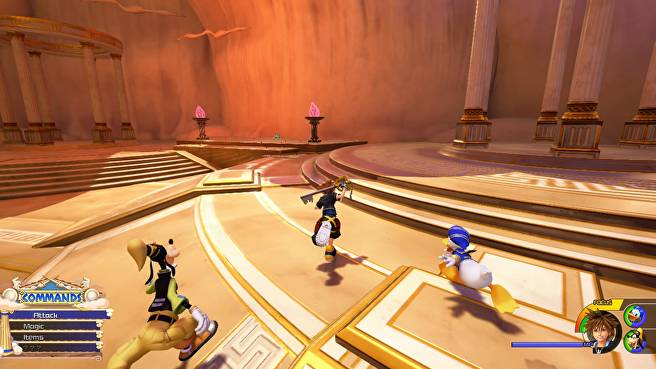
The next area is the Heavenly sector, you will immediately need to take on some armored enemies. You should dodge them and then use Goofy’s Shield attacks to break their form. Next, you’ll learn about projectiles. With your new skills, defeat the group of enemies and work your way upwards.
Here, there is a chest to the left containing a map of The Realm of the Gods area, and then a path north or east. Head north, as it will take you along to the other path anyway. Grind the rail and use blasters to take out enemies. There’s a Small Chest to the right as you land. There are more enemies in the next area, and then you can head down the ramp to the next path.
Kingdom Hearts Airstepping Explained
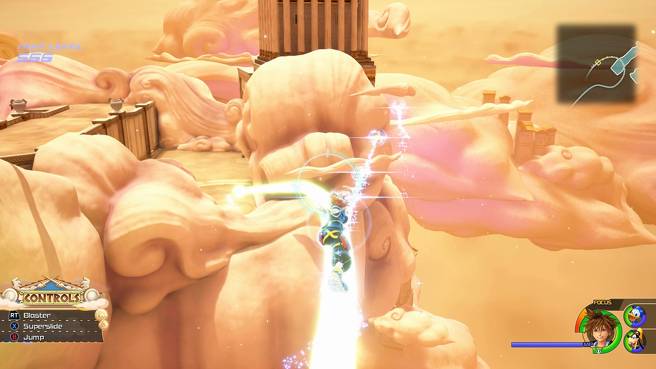
You’ll come across an area where you’ll need to airstep. Use RB/R1 to target where you want to go, then press X/square. Keep holding RB and keep climbing using the X/square button.
Kingdom Hearts 3 Ice and Fire Titans Boss Fight
Now you’ll fight the ice and lava Titans. Run up the spike in the middle and attack with your keyblade to trigger special attacks. Magic Carousel will do a ton of damage, so just keep repeating this strategy.
Kingdom Hearts 3 Stratos Boss Fight
After defeating the two Titans, you’ll need to take on Stratos. This is a fairly simple fight, and you’ll just need to dodge its attacks until it remains relatively still. Use the jump pads to get into the air and attack from above. Your projectiles will be very helpful here. At certain points in the fight, you’ll be dropped out of the sky. Just avoid the debris as you fall and attack just before you hit the ground.
Kingdom Hearts 3 Olympus Map Locations
While playing each level of Kingdom Hearts 3, you’ll need to locate maps. Doing so will reveal Save Points, and occasionally will tip you off to secret locations. We’ve included info on where the maps are for each area in our walkthrough, but have also broken them out in the list below:
- The first map is for Theebas, and is located in a chest to your immediate left as you enter the area. You cannot miss it.
- The next map is found when you enter the green area with a river. Climbing the cliff will take you to an apple tree, under which is a chest containing the map you’re looking for.
Kingdom Hearts 3 Hades Voice Actor
Kingdom Hearts 3 sees the return of countless voice actors from beloved Disney properties. You'll encounter Hades in Olympus, and you'll no doubt recognize the voice. It is James Woods, who voiced Hades in the original movie.
Kingdom Hearts 3 Treasure Chest Locations
There are plenty of chests to find in each world, each containing items useful for the journey ahead. We’ve listed the chests that we found in the walkthrough above, but will be adding more in as we double back and scour the area again.
That’s everything you need to know about the Olympus level in Kingdom Hearts 3. Elsewhere on USG we have a guide on How to Save in Kingdom Hearts 3, as well as a walkthrough for Twilight Town.