Back 4 Blood Special Ridden: all zombie types and how to fight them
How to beat all the zombie types in Back 4 Blood


The regular Ridden in Back 4 Blood might not be much of a threat alone, but Special Ridden certainly are. Each of these zombies have unique abilities that you will need to look out for to survive, especially on Veteran and Nightmare difficulty. If you’re not sure what the Special Ridden do or how to deal with them you’ve come to the right place. This is our guide to the Special Ridden in Back 4 Blood.

Back 4 Blood Special Ridden: all zombie types
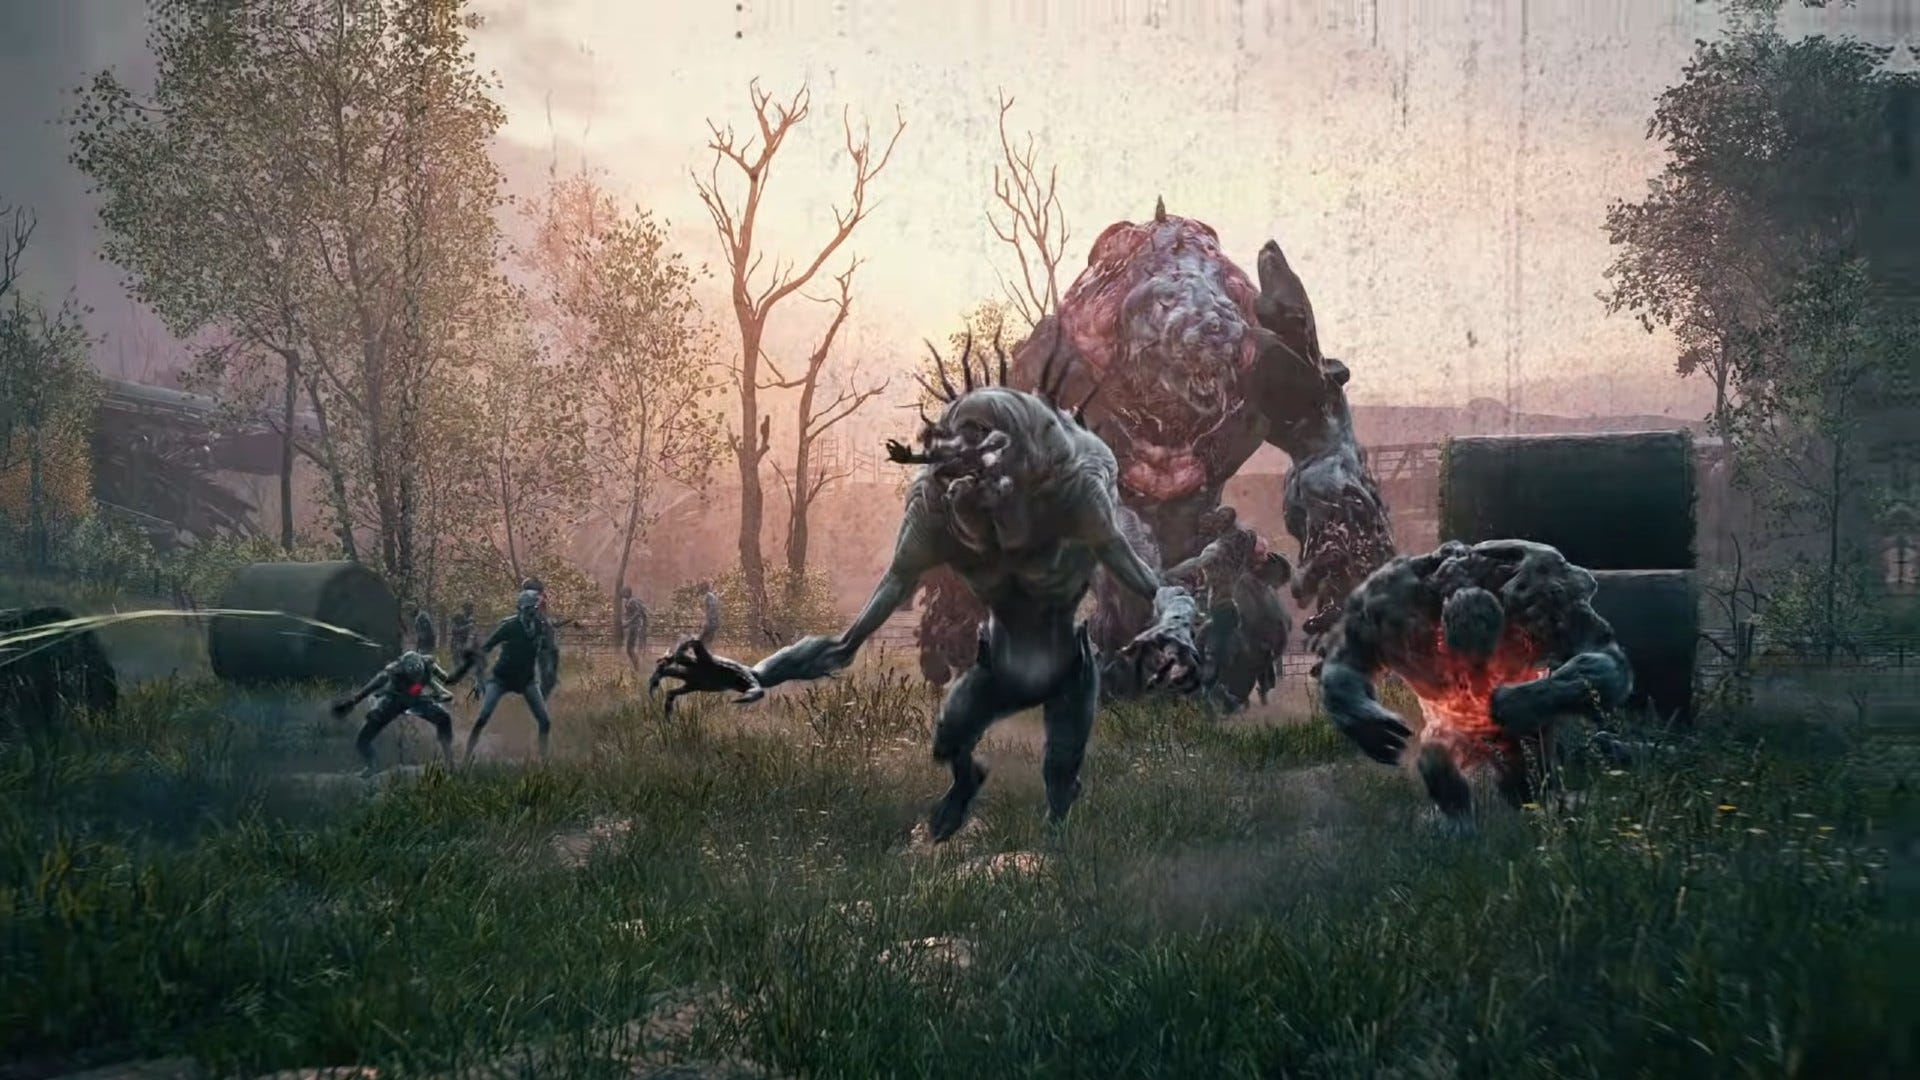
As you'll know if you've caught even the barest glimpse of Back 4 Blood, this is a game that is absolutely filled to the brim with zombies. Or Ridden, as they're known in-game. Most of these infected enemies are your straightforward lumbering zombie, and their only real strength is in their sheer numbers. But the other variants, known as Special Ridden, are far more dangerous. Let's go over them one by one and how to deal with each one effectively. You'll want the best weapons and cards at hand here, because some of these enemies are brutal.

Snitchers
Snitchers have a comically descriptive name. These mutated monsters unleash a piercing shriek a few seconds after they spot you, which alerts the horde to your presence. You need to kill Snitchers as soon as possible to avoid getting overrun by the horde. They have a weak spot on their neck so with some precise shots you can be rid of them before they cause a problem. Our Walker build should have you covered on that front, as it focuses on getting precision kills from a comfy distance so the zombies can't grab you. Just keep your ears open for their telltale screech.

Exploders/Retches
The twin Exploder and Retch are big but surprisingly fragile. However, they’re almost more dangerous when you kill them. There are two versions of this enemy. The Exploder, as the name implies, explodes on death, dealing massive damage and knocking players back. If one gets in close, run away before you start shooting. The other version, the Retch, spits a deadly acid. Much like Left 4 Dead’s spitters, they also explode and leave behind a pool of acid when they die. Be careful when you see these guys in choke points. They can kill your whole team very, very easily. Oh, and it might be best if melee characters like Holly and Evangelo stay far away.

Bruisers
Also known as Tallboys, the Bruiser is a big damage threat up close. These monsters have one enormous, club-like arm that they will pound the crap out of you with. Letting a Bruiser get close is often a death sentence on higher-difficulty settings. Their weakspot can be tough to hit too. It’s on their right shoulder, where their giant club arm connects to their torso. Bruisers are smart enough to protect their weak point though, and will keep it turned away from their target. Get behind them while their attention is elsewhere to save your teammates before it’s too late.

Stingers
Stingers seem unthreatening at a glance. They bounce around on the walls rather than attacking directly, have fairly low health, and have an easy-to-hit weakspot on their stomach. However, they are extremely dangerous if left unattended. They spit a sticky goop that locks players in place. If you aren’t playing Evangelo or using a Breakout card, you will need a teammate to rescue you. Getting stuck like this with no teammate nearby will almost always leave you incapacitated. Don’t ignore them just because they’re up on a wall and not right next to you. Stingers are killers.
The Hag
The Hag is a particularly terrifying creature in Back 4 Blood, and one of the worst enemies to come across. Since it is blind, it relies on sound to find you and your crew of cleaners. If the Hag hears gunfire or footsteps, it will sprint towards the source, grab the nearest character, and swallow them whole. That's it. You're dead. It's truly horrific, and almost impossible to avoid.
If the Hag starts running in your direction, we recommend that you sprint the other way whilst screaming at your teammates to shoot at the weakspot on its back. The Hag has a lot of health, so hopefully your teammates can kill it before you are digested. If you want to survive, just sneak and try your best to avoid an encounter with the Hag. Or, use explosives. Lots of explosives.

The Ogre
The Ogre is a boss of sorts in Back 4 Blood. This monster is absolutely massive and can soak up tons of bullets. Mercifully, you don’t actually have to kill him to beat the campaign. You can evade him and survive much more easily. Just stay on the move.
Keep an eye out when you are out in the open around the Ogre. He can throw massive, meatball-looking projectiles that deal a ton of damage. If you get caught off guard, it can be the end of the road for you.

The Abomination
The Ogre will attack a few times throughout your Back 4 Blood adventure, but it isn't the worst enemy you'll come across, nor is it the biggest. That slot is firmly reserved for the Abomination. No, not the Incredible Hulk's nemesis. The Abomination in Back 4 Blood is way bigger, and it has tentacles.
The Abomination is the final boss in Back 4 Blood, so you'll only have to fight it once to complete the game. However, don't expect this fight to be easy. It's one hell of a challenge, even on recruit difficulty.
The boss fight is split into three phases. In the first phase, you need to destroy four tentacles that have burst out of the ground. To damage the tentacles, you must wait for them to open up and then fill them with bullets. Use explosives, like grenades or molotovs, to defeat them quickly.
After defeating the tentacles, they will sink back underground, leaving huge holes in the street that you can slide down to enter the second phase. Make sure to have a quick look around first though, as there are plenty of crates on the road that contain ammo, explosives, and medical items.
When you head underground, you'll find yourself in a small cave, with the Abomination's head sticking out of a wall. Zombies will start filling the cave quickly, and the only way to get out is by shooting nasty-looking spots in the Abomination's mouth when it screams. Again, grenades are your friend here. It is definitely worth having someone use our Hoffman build to maximise your explosive damage.
When you complete the second phase, the Abomination will retract through the hole in the wall, entering into a much larger cave system. It will start moving through the cave, giving you 5 minutes to destroy the weak points across its body. These are fairly easy to destroy, so this is actually the easiest phase of the battle. When they are all destroyed, the Abomination will die and the final cutscene will play.
That covers all the Special Ridden in Back 4 Blood! If you haven’t yet met all your allies, we have a guide to Back 4 Blood’s characters that will prime you on all of their abilities and stats, as well as a guide on how to unlock all cleaners in the game. If you need more help to survive the undead hordes, check out our tips and tricks for Nightmare mode!