Star Wars Jedi Survivor map upgrades: How to show chests, seed pods, and more on the map
How to show all collectibles on the Jedi: Survivor map
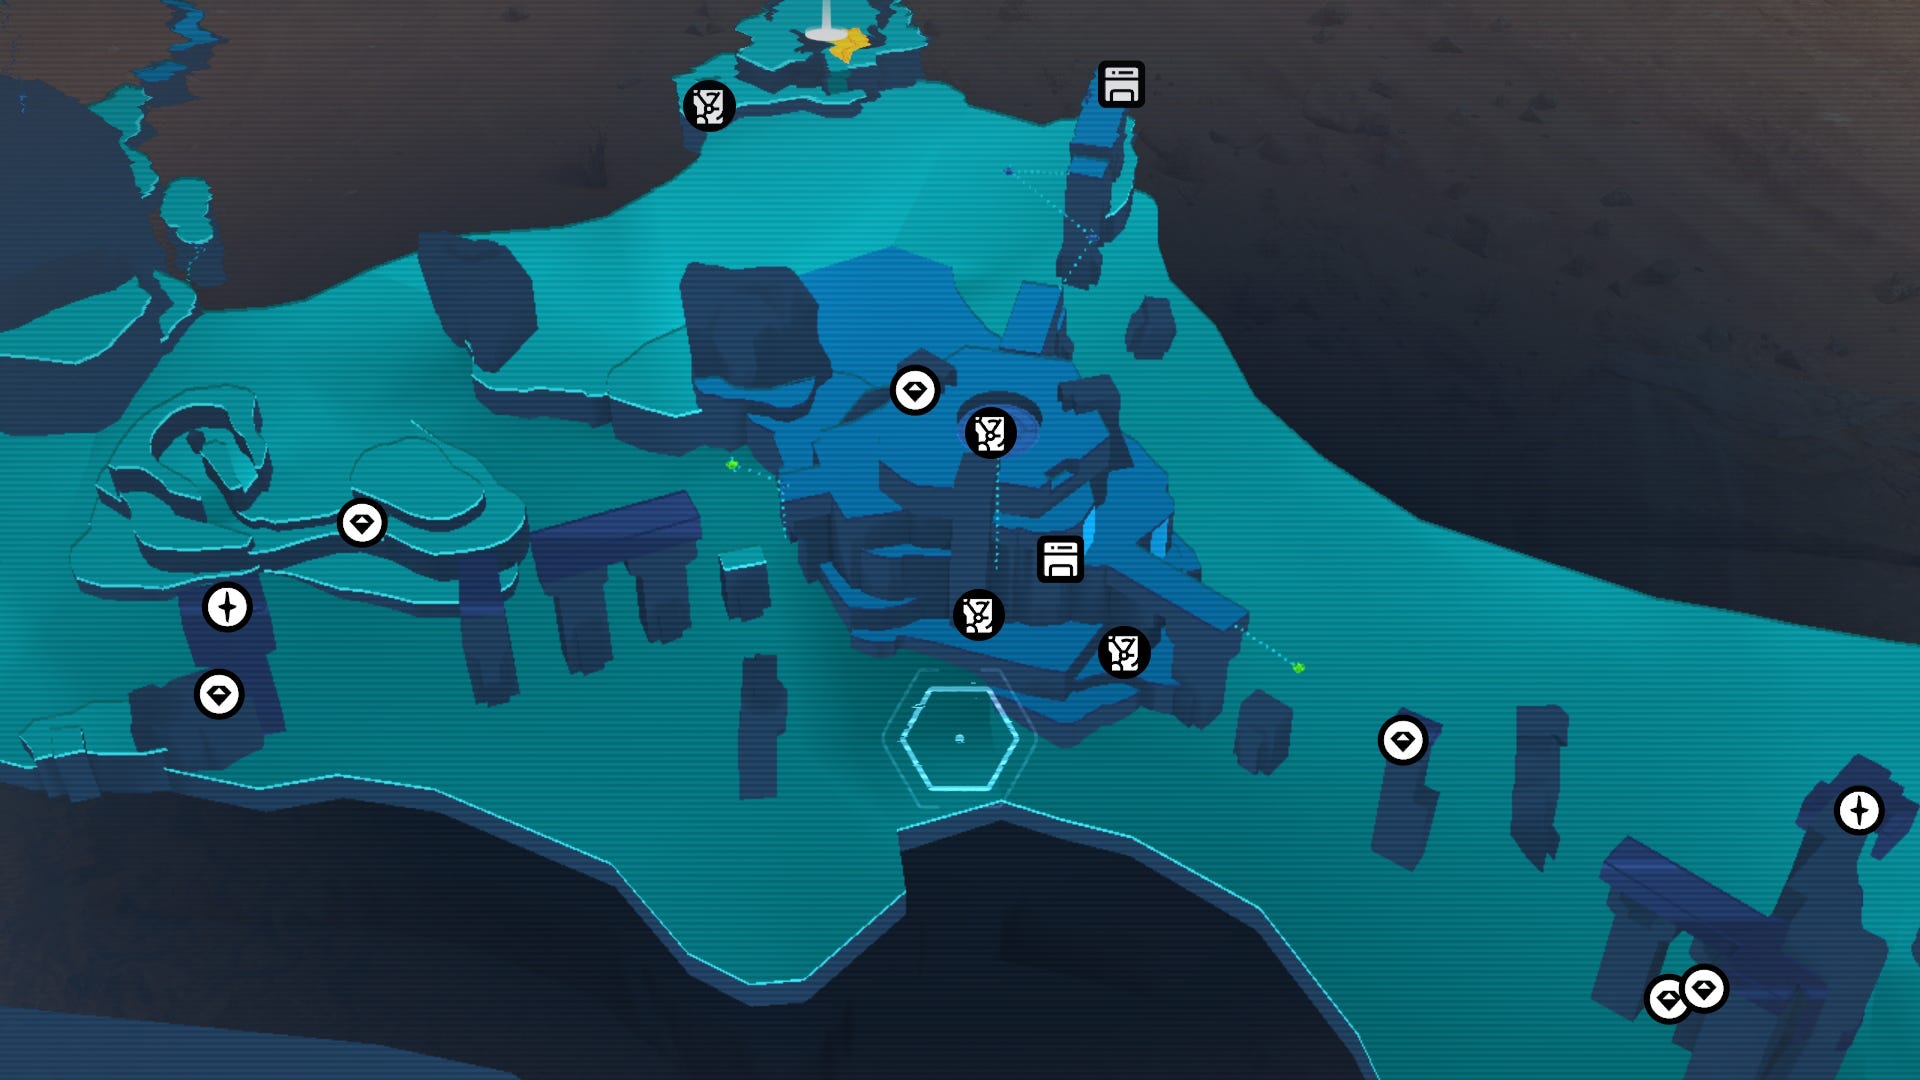

Looking for the map upgrades in Jedi: Survivor? You may not realise upon first playing through Star Wars Jedi: Survivor just how useful your map may end up being. To begin with, it doesn't show much more than the terran, unexplored areas, and closed off passages. But as you progress through the game you may encounter certain permanent map upgrades which will reveal the locations of certain types of items and collectibles across every planet.
If you want to know how to show chests, essences, seed pods, databanks, force echoes, and treasures on your in-game Jedi: Survivor map, then look no further. Below we'll walk you through where to find all five map upgrades and how to unlock each one in turn.
What are the Jedi Survivor map upgrades?
There are five map upgrades you can find in Star Wars Jedi: Survivor, and each of them will reveal a different type of collectible on your map across every planet. These five map upgrades are:
- Chests - found in Phon'Qi Caverns on Koboh
- Essences - found in Alignment Control Center on Koboh
- Seed Pods - found in Pyloon's Saloon on Koboh
- Databanks - found in Central Command on Nova Garon
- Treasures - found in Wayfinder's Tomb on Jedha
Collect all five upgrades, and you'll be able to see every single undiscovered collectible in the game. Exciting stuff! So let's stuck into finding each of these map upgrades in turn.
How to show Chests on the map

The Chests map upgrade is found in Phon'Qi Caverns on Koboh. To reach these caverns, first head into Foothill Falls just up the slope from Rambler's Reach Outpost. After taking the zipline, turn left and glide with the Relter to the platform with the shack. Drop down the hole around the outside of the shack to enter the Phon'Qi Caverns.
The Phon'Qi Caverns are aptly named, covered in strange acid-filled sentient balls that stick to the floor, walls, and ceiling. You'll need to use these balls like Roller Mines to destroy electrical barriers and progress through the Caverns. Eventually you'll come to a boss fight where you must defeat three lightsaber-wielding Bedlam Raider lieutenants at once. After that, head into the next room and climb up the wall. At the summit there'll be a terminal which BD-1 can hack to earn you the chests map upgrade, which shows the location of all undiscovered chests, stim canisters, and BD-1 upgrades in the game.
How to show Essences on the map

The Essences map upgrade is located in the Alignment Control Center under the Untamed Downs on Koboh. To reach this area, simply head through the doorway in the central rock on the side facing Rambler's Reach Outpost.
This area is home to a puzzle involving 7 terminal screens, each of which correponds to a different Meditation Chamber (or Perk) across Koboh. For more information you can check out our Jedi: Survivor Alignment Control Centre puzzle guide, but the gist is: complete all the Meditation Chambers on Koboh, and you'll be able to slice the terminal on the opposite side of the Meditation Point. Doing so will give you the essence map upgrade, which shows all Health, Force, and Skill Point Essences in the game, along with other upgrades like new Perks and extra Perk slot upgrades.
How to show Seed Pods on the map

The Seed Pods map upgrade is found in the garden on the roof of Pyloon's Saloon on Koboh. First thing you need to do is recruit Pili the gardener, who can be found on Jedha. After that, you must plant one of every species of plant in your garden, and wait for them to become fully grown. There are 10 species of plant to collect:
- Spine Fluff (Small)
- Pine Fern (Small)
- Bluebell Squish (Small)
- Tuber Maw (Medium)
- Palm Fruit Shell (Medium)
- Koboh Spiker (Medium)
- Cactus Ball (Medium)
- Fire Pineapple (Large)
- Goldenlight Moss (Large)
- Crimson Jelly Spire (Large)
Talk to Pili after planting each type, and listen to what she has to say about them. Then, once each of these plants are fully grown, talk to Pili again and she'll mention how you now have new opportunities for gardening, including putting plants in stasis. After that you'll see that the terminal on the edge of the garden is no longer covered in vines, allowing BD-1 to slice it and unlock the Seed Pods map upgrade to show the locations of all remaining harvestable plants in the game.
How to show Databanks on the map

The Databanks map upgrade is found on Nova Garon, in the Central Command region. This terminal is very easy to come across, and requires a lot less work than the rest. All you need to do is head to the upper level of Central Command, and at the end of the long corridor you'll find a room with an elevator. Opposite the elevator, go around the left corner and you'll see the terminal at the end. Slice it to show all Databanks and Force Echoes on the map forevermore.
How to show Treasures on the map

The Treasures map upgrade is located in the Wayfinder's Tomb on Jedha. To unlock the Wayfinder's Tomb itself, you need to complete all three Paths on Jedha. Paths are the Jedha equivalent of Koboh's Meditation Chambers. There are three: the Path of Conviction, the Path of Persistence, and the Path of Restoration.
Complete all three Paths and then return to the Wayfinder's Tomb in the centre of the Arid Flats, and take the elevator down. There you'll find the terminal that BD-1 can slice to show all Priorite Shards, Datadiscs, and other Treasures on the Jedi: Survivor map.
That's all five map upgrades in Jedi: Survivor revealed, along with how to access them and make 100% the game 1000% easier. If you still need help tracking down every last little extra item, then check out our guides on Coruscant collectibles, Koboh collectibles, and Shattered Moon collectibles. Or, if you're looking for more general tips, you can consult our guide on the best stance in Jedi: Survivor to help you fight your way towards each of these map upgrades.