Star Wars Jedi Survivor walkthrough: How to beat the game
This walkthrough will guide you through each major region and boss in Star Wars Jedi Survivor


Need a Star Wars Jedi: Survivor walkthrough? Star Wars Jedi: Survivor is a massive game, but it's also one of our recent faves in the Souls-like genre. There's a ton to explore, and some game mechanics and puzzles can be complicated. That's why the team here has come to the rescue with a complete Star Wars Jedi: Survivor walkthrough, which will show you how to beat the game and give you tips and tricks on bosses, side quests, and collecting that sweet, sweet Jedi loot. So, wherever the Force alone can't guide you through a boss battle, may the Rock Paper Shotgun guides team be with you.
In this walkthrough, we'll break down every planet, mission, and baddie you must dominate to beat Star Wars Jedi: Survivor. We'll also recommend some side quests and puzzle solutions you'll want to know to help you accelerate your way through this monster of a game. This Star Wars Jedi: Survivor walkthrough covers the main storyline, but you'll also find plenty of links to help you 100% your run.
Note: spoilers for major areas, bosses, and endings follow, obvs. You've been warned.In this walkthrough:
- Coruscant walkthrough: Prologue
- Koboh walkthrough: Repairing the Mantis
- Jedha walkthrough: Find Cere
- Shattered Moon walkthrough: Gather research
- Koboh walkthrough: Gather research
- Jedha walkthrough: Pilgrim's Sanctuary
- Koboh walkthrough: Finding the compass
- Shattered Moon walkthrough: Locate Rayvis
- Koboh walkthrough: The Observatory
- Return to Jedha walkthrough: Defend the archives
- Nova Garon walkthrough: Find Bode
- Koboh Alignment Control Center walkthrough: Find Tanalorr
- Tanalorr walkthrough: The finale
How to beat Star Wars Jedi: Survivor: A complete walkthrough
Star Wars Jedi: Survivor continues the Star Wars Jedi: Fallen Order storyline, in which protagonist Cal Kestis defeated the Second Sister for possession of the Holocron and faced a surprsise visit from a Star Wars franchise fan-favorite villian before subsequently destroying the item to protect the list of Force-sensitive children listed on it, thereby hiding their identities from the Empire.
Start your run by choosing your difficulty setting, with five options ranging from a Story Mode with minimal combat to Jedi Grandmaster for the truly ambitious among us. However, note you can always change your difficulty during the game for more or less of a challenge. There's also an accessibility mode options for things like slow-mode combat and even an arachnophobia mode if you can't stand the sight of creepy-crawlies in your game.
And now, get ready to face your destiny, Jedi.
Coruscant walkthrough: Prologue
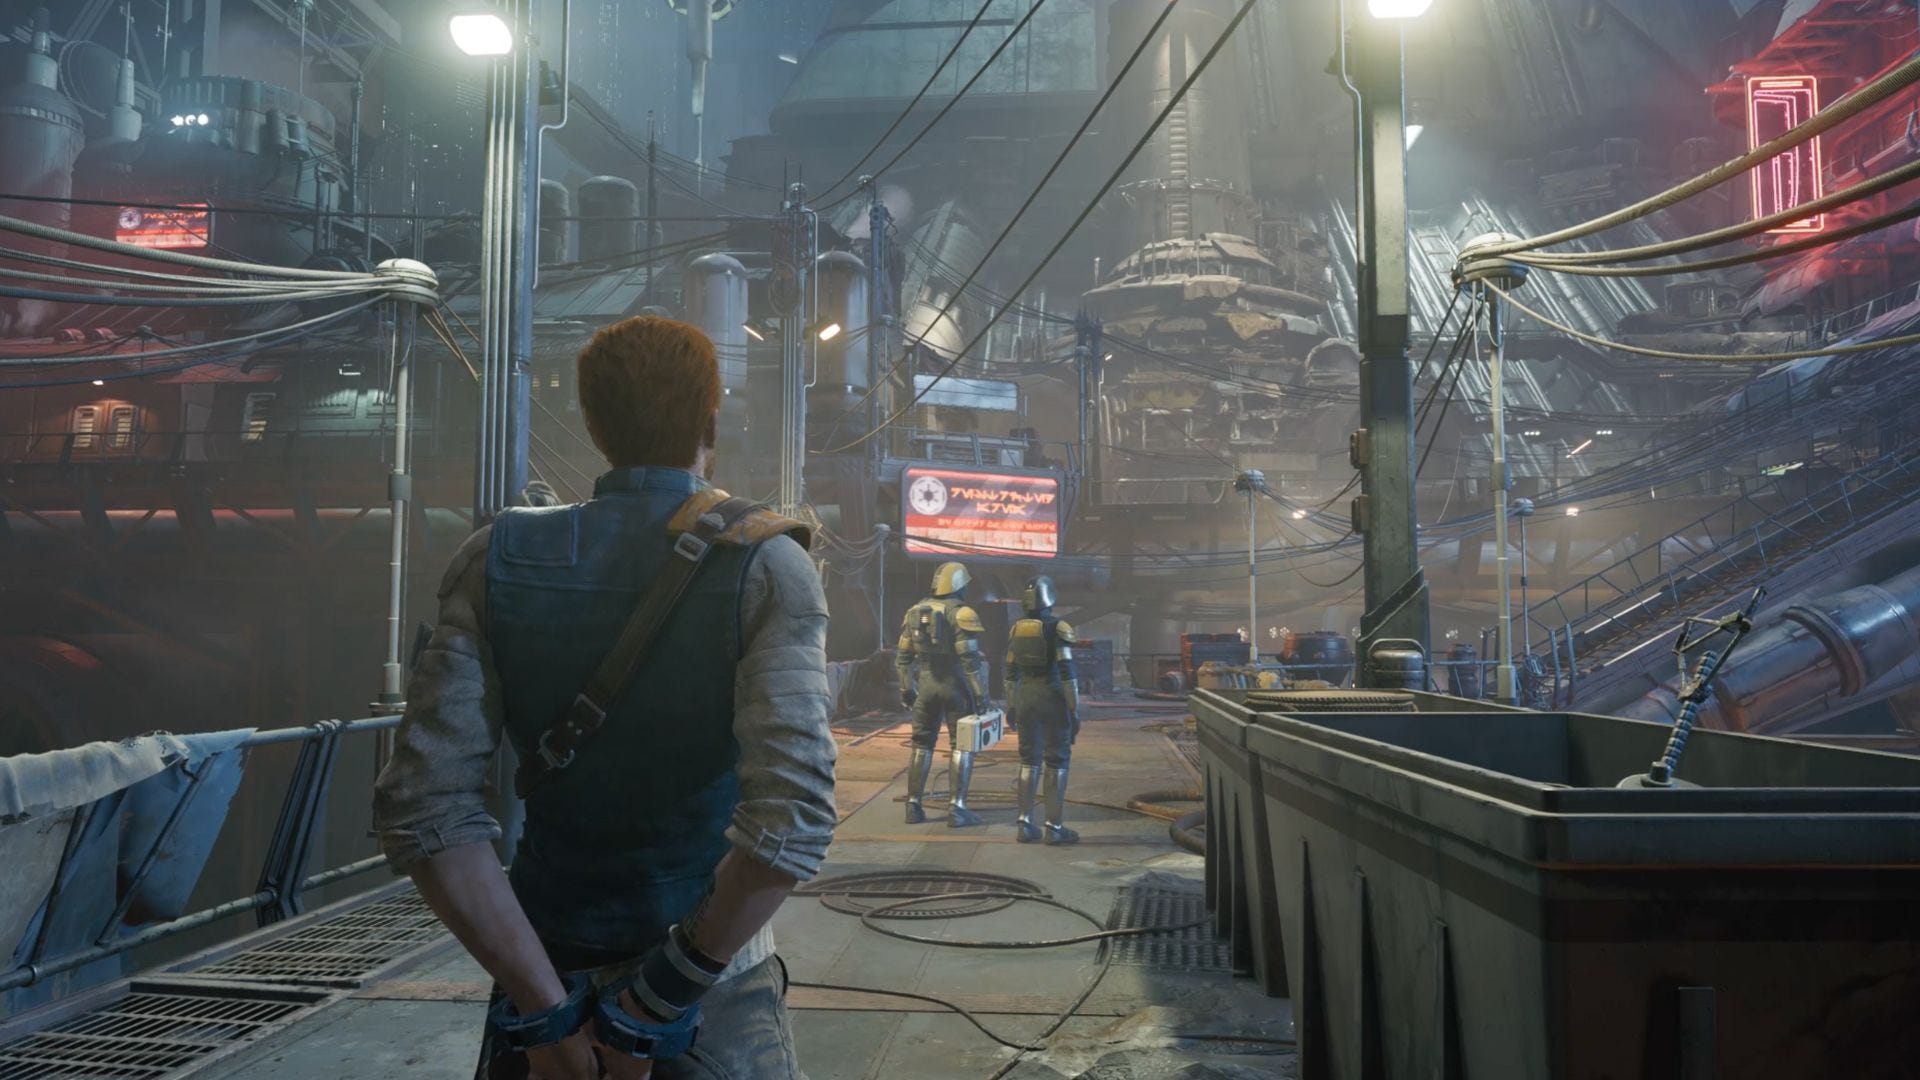
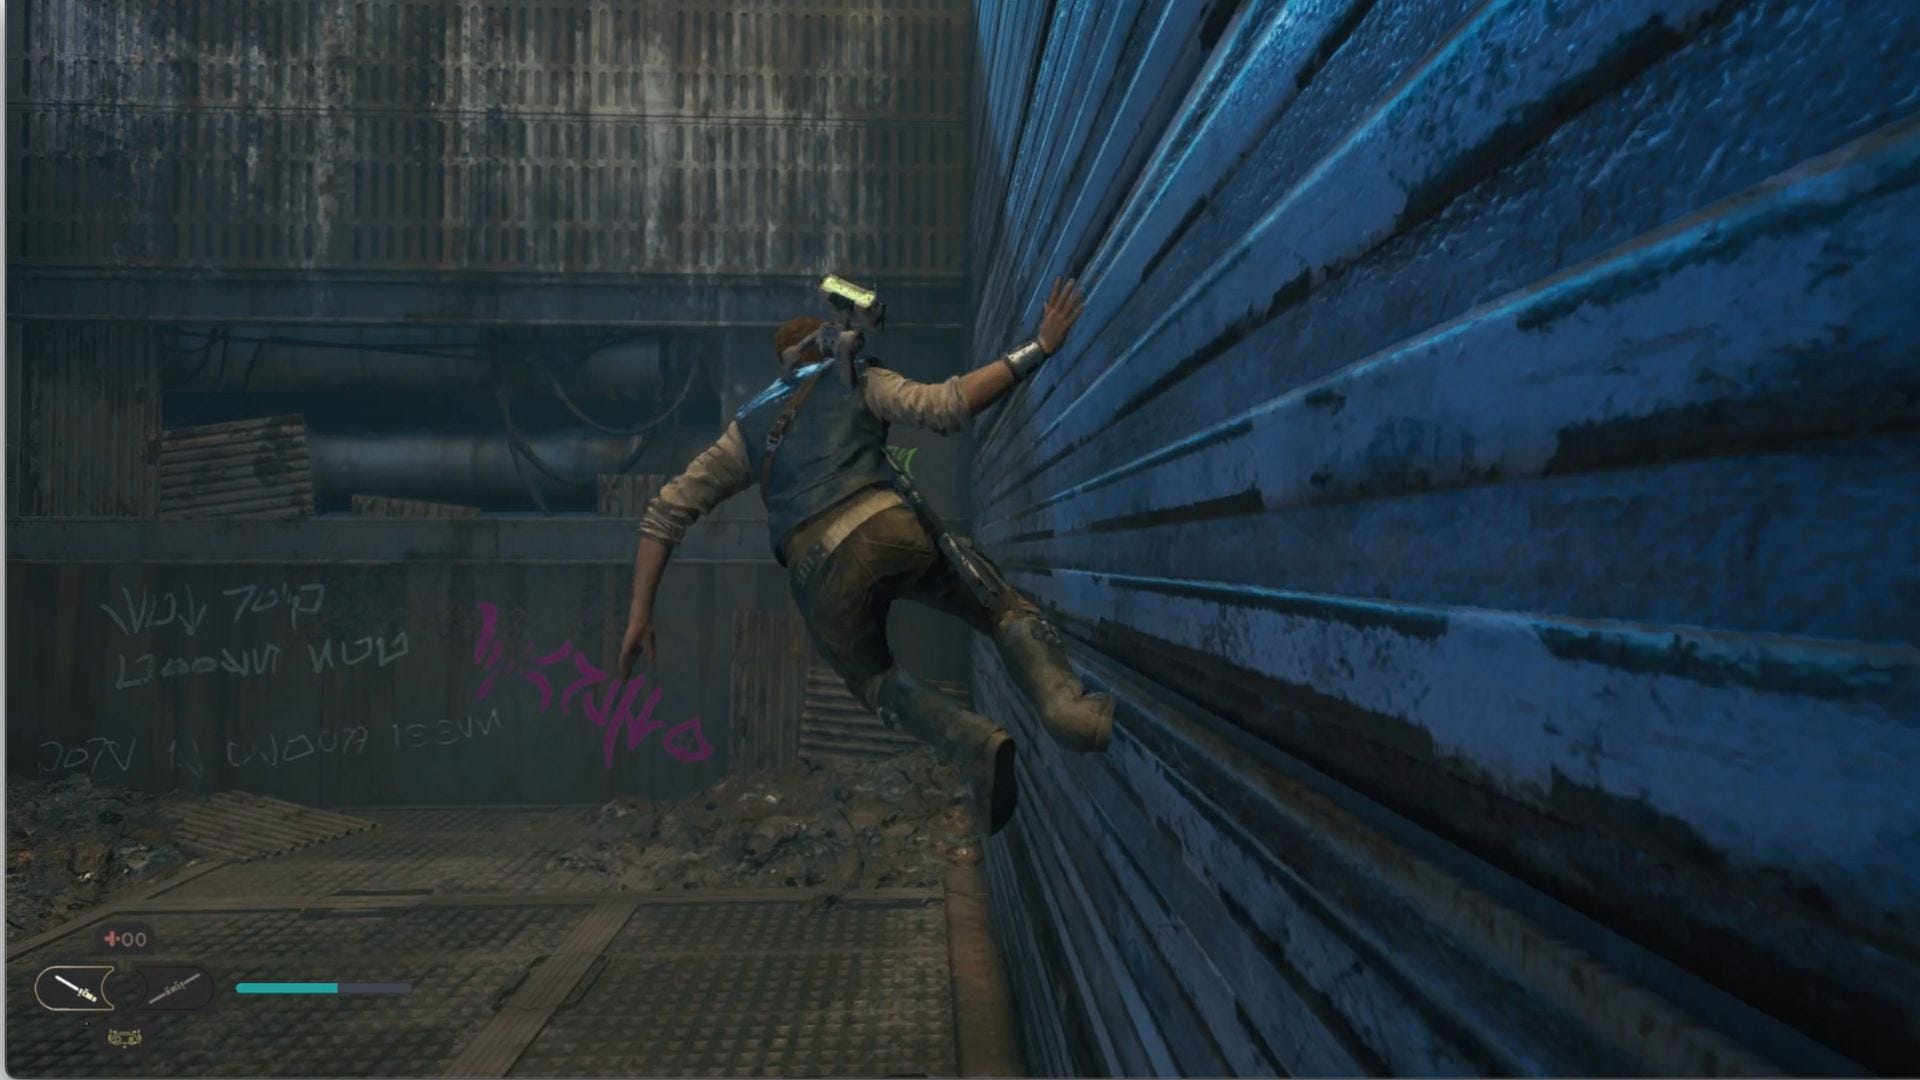
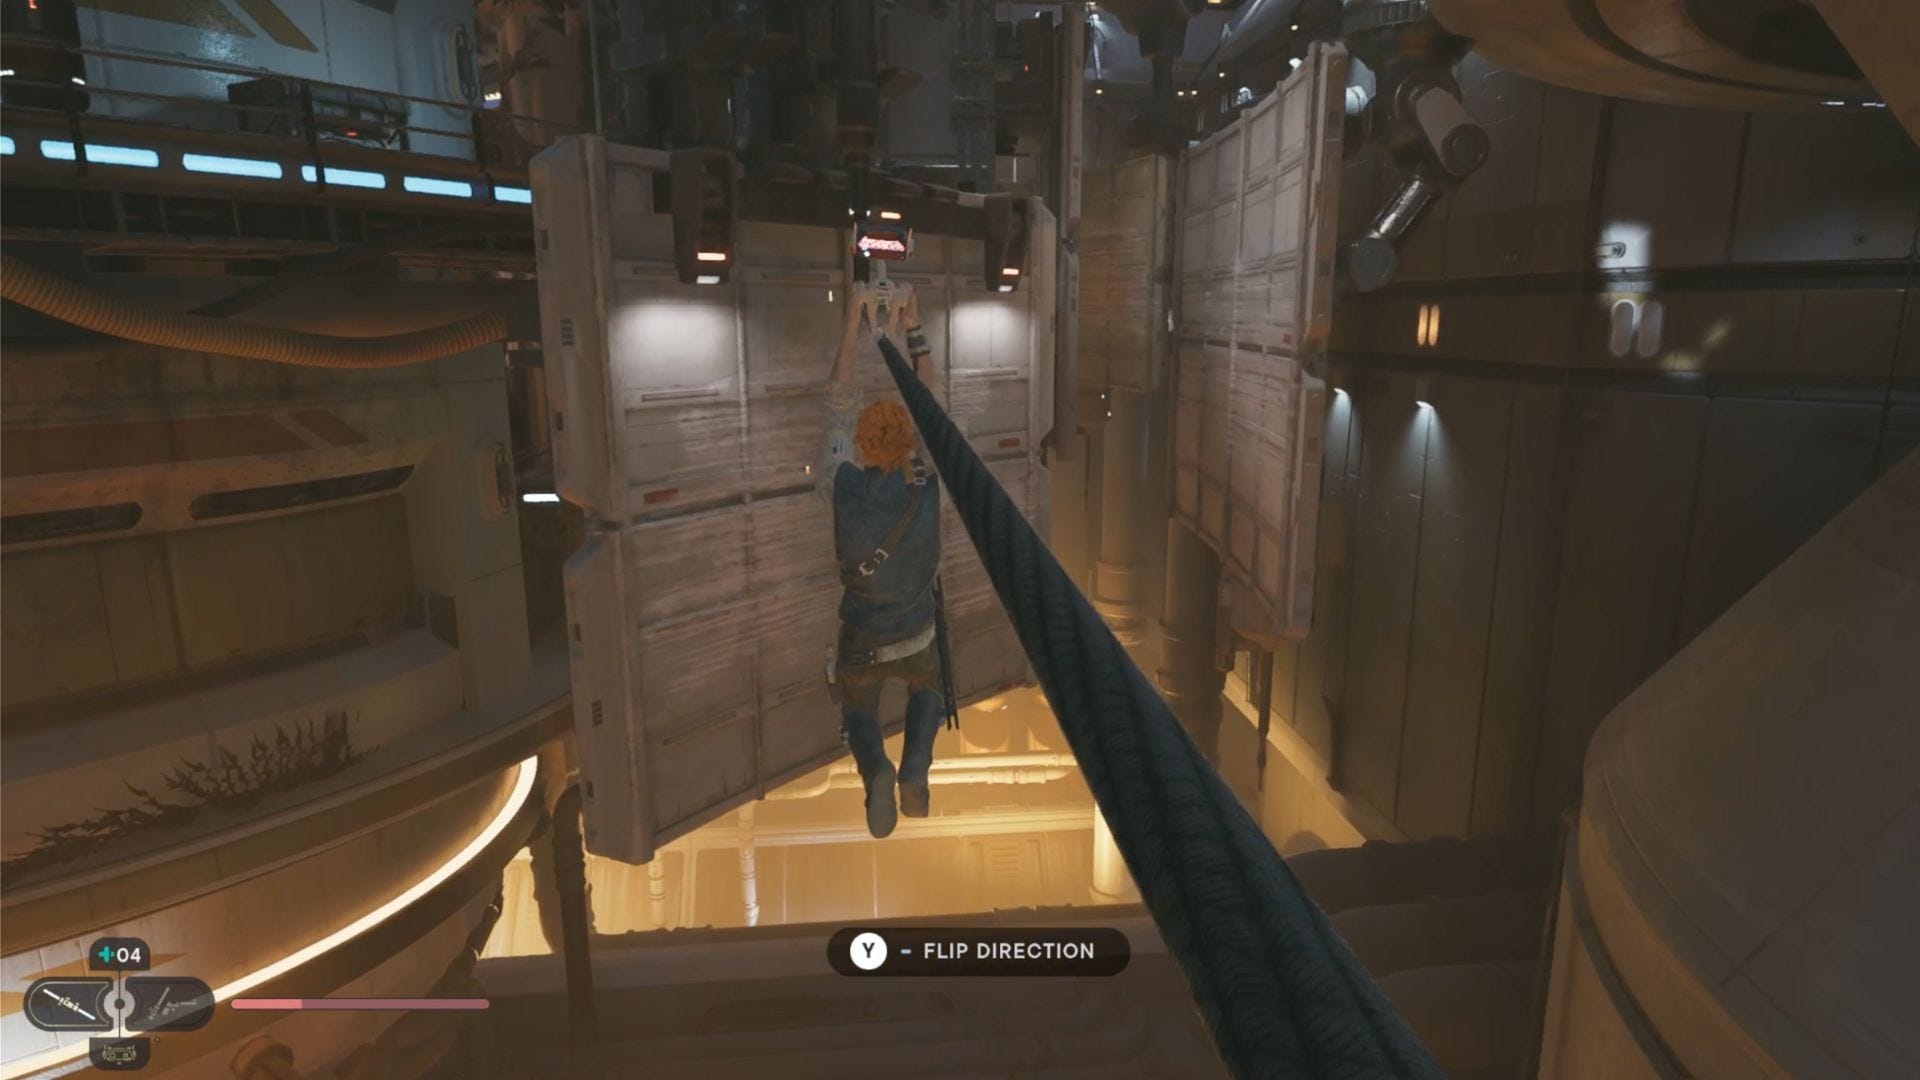
Star Wars Jedi: Survivor begins with Cal, still a wanted fugitive, being held captive on Coruscant as a team of enemies takes him to face his fate against Senator Daho Sejan, who plans to deliver him to the Emperor. Initially, Coruscant acts as a tutorial zone. Your bud BD-1 will free you, and you'll learn the basic fight mechanics by taking a team of Stormtroopers while the Senator gets away. You'll then be tasked with pursuing their yacht. After another cutscene, you'll find yourself hanging from a rafter, which teaches you about the game's climbing and wall movement mechanics, such as double jumping and climbing. Familiarize yourself with these mechanics early on — you'll use them often.
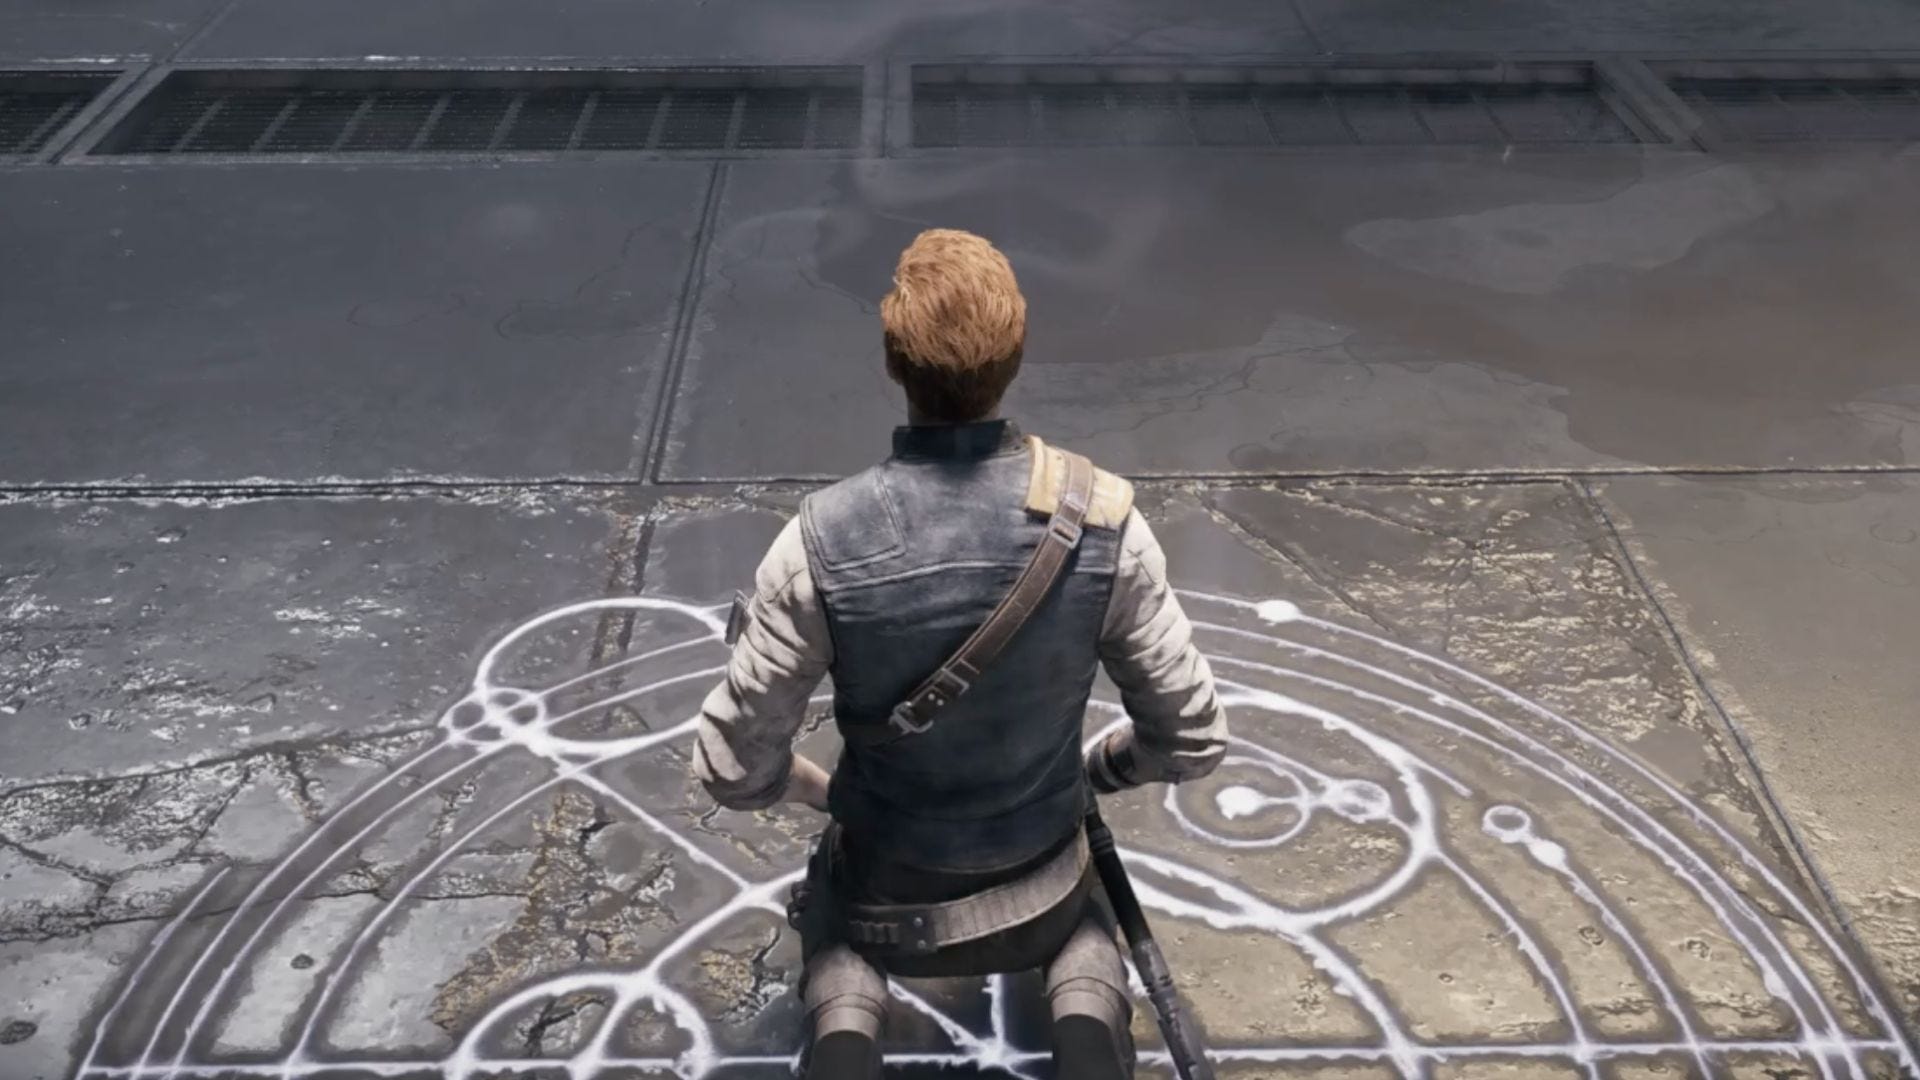
After progressing across rooftops and pipes, you'll come to your first Meditation Point. Meditation areas will be hugely important in the game, as they allow you to save, refill your health and stims (at the expense of causing enemies to respawn), assign skill points, and, eventually, fast travel and change your stances. If you die, you'll reemerge at your last meditation point, so meditate often. And speaking of stims, you're going to want to your Force-filled hands on any many of these as you can get, so head over to our Star Wars Jedi: Survivor stim canister locations guide to make sure you always have an extra HP blast or two on hand.
Whenever you die and respawn, you can recover any skill point progress and life force with the game's Restore mechanic, triggered simply by damaging the enemy that killed you.
Speaking of skill points, you're going to start collecting these early on, and you won't want to waste them on skills you're not going to use. So, it's a good idea to read up on the best lightsaber stance in Star Wars Jedi: Survivor so you know exactly where to assign your hard-earned points.
Skill points differ from perks, which you'll pick up in unique situations throughout the game. What are perks, you ask? Fortunately, we have a guide dedicated to Star Wars Jedi Survivor: The best perks and where to find them that explains everything you need to know about these stellar ways to enhance your gameplay.
As you make your way through Coruscant, you're going to want to reference our Star Wars Jedi: Survivor Coruscant collectibles guide so you don't miss out on any big finds along the way.
After meditating, turn right and climb a wall. You'll encounter some Stormtroopers, and upon cutting some wires, you can then use the Force to move objects glowing blue — in this case, a vertical grate — by pulling them toward you or pushing them away.
Continue forward to unlock the Holomap automatically. Then, follow a protruding pole to drop in on some Stormtroopers, where the game will teach you deflection mechanics. You'll then learn the double-bladed stance as you enter another fight.
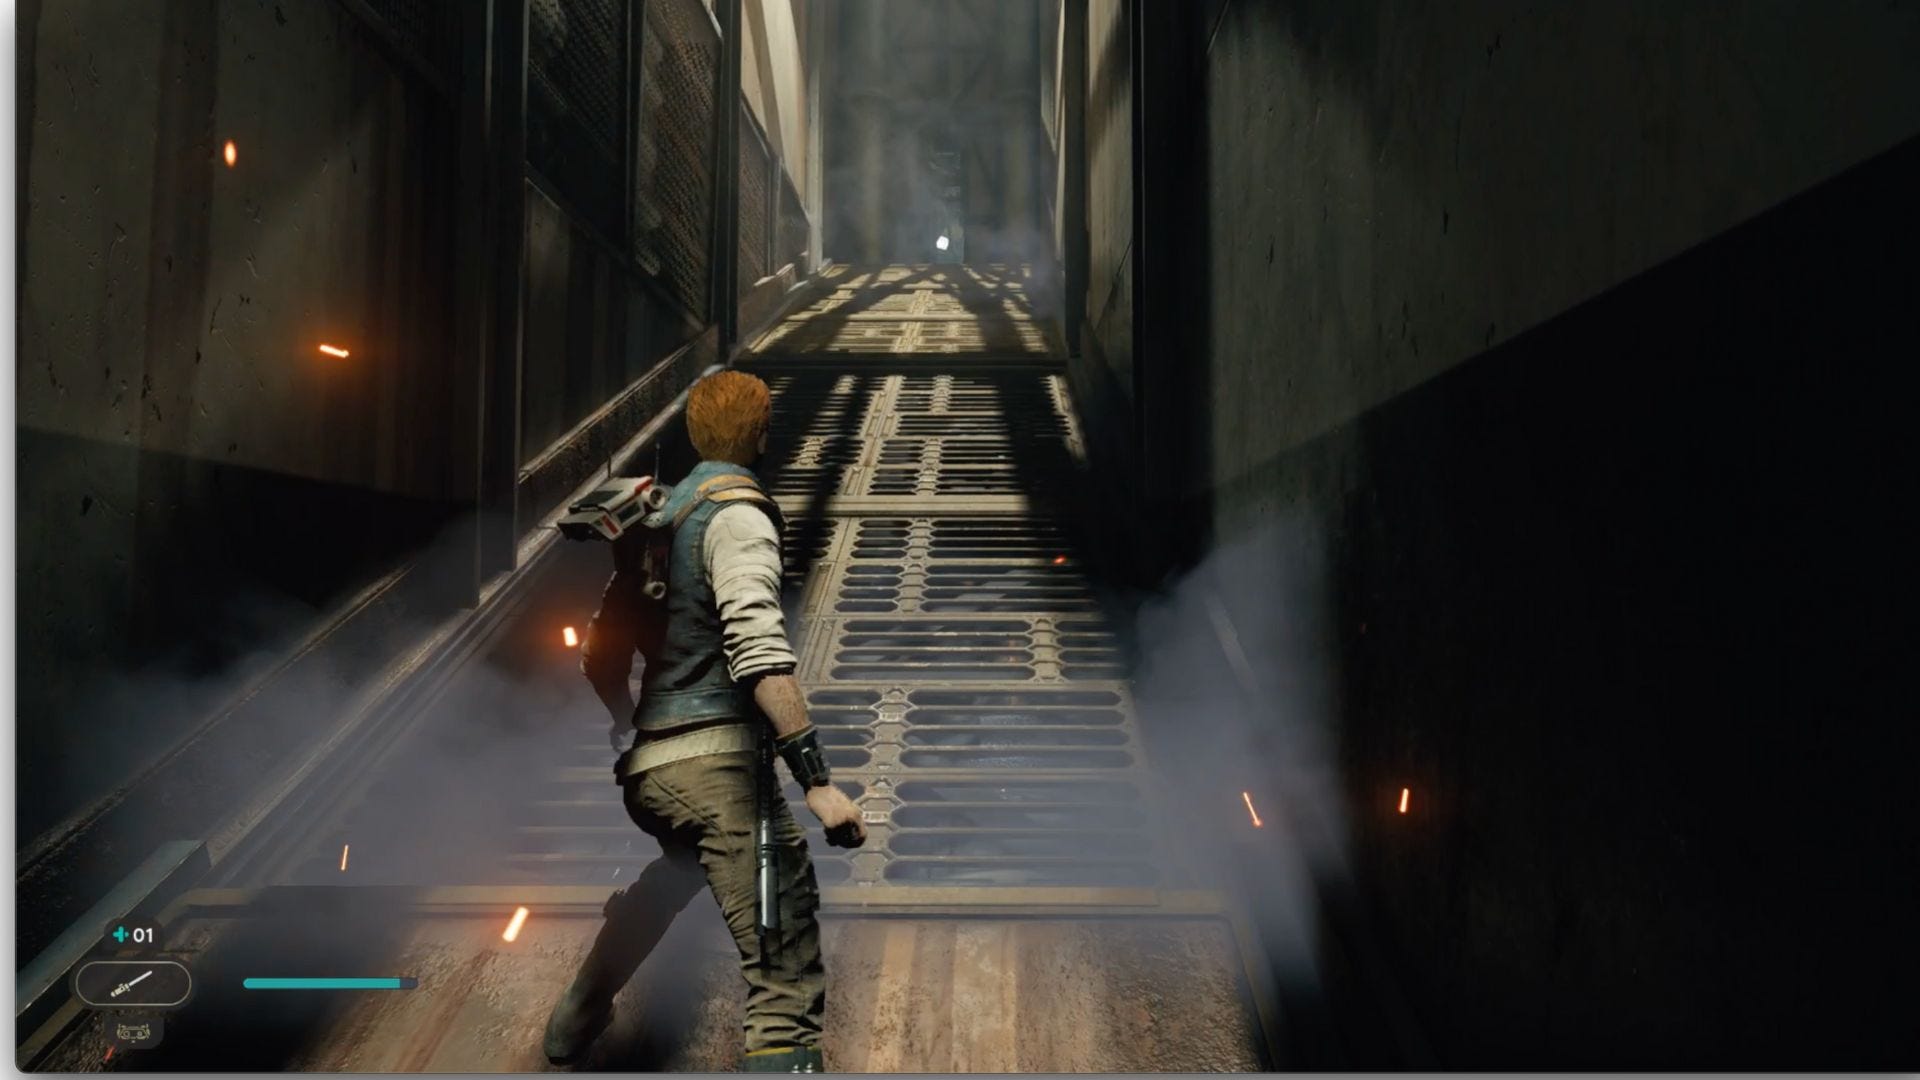
In the next cutscene, you'll find that a character masquerading as one of your foes is actually your ally, Bode. Follow Bode, which will also introduce you to wall running, so channel your inner Jack Cooper and get ready to run.
You'll then encounter an incline that you can't climb. When facing it, go to the right and wall run, jumping off just before the edge to grab a grate and pull yourself onto a ledge.
Continue your ascent, then go down a slope and fight more Stormtroopers. Note you can use additional game mechanics to control Bode, who will assist you in fighting. Once you've demolished the Stormtroopers, stop for a breather at the Renovation Site 4722 Meditation Point. Then, push on, taking down baddies and performing acrobatics until a pole drops you into another Stormtrooper fight.
Clear the area and continue, using your Force to move the glowing blue block to serve as a platform to help you. Follow Bode until you come to a rope that you can cut to swing across a large gap. Jump off at the end of the swing to land on the wall grates ahead of you.
This will take you to your first boss battle, which is against a bot named K-405.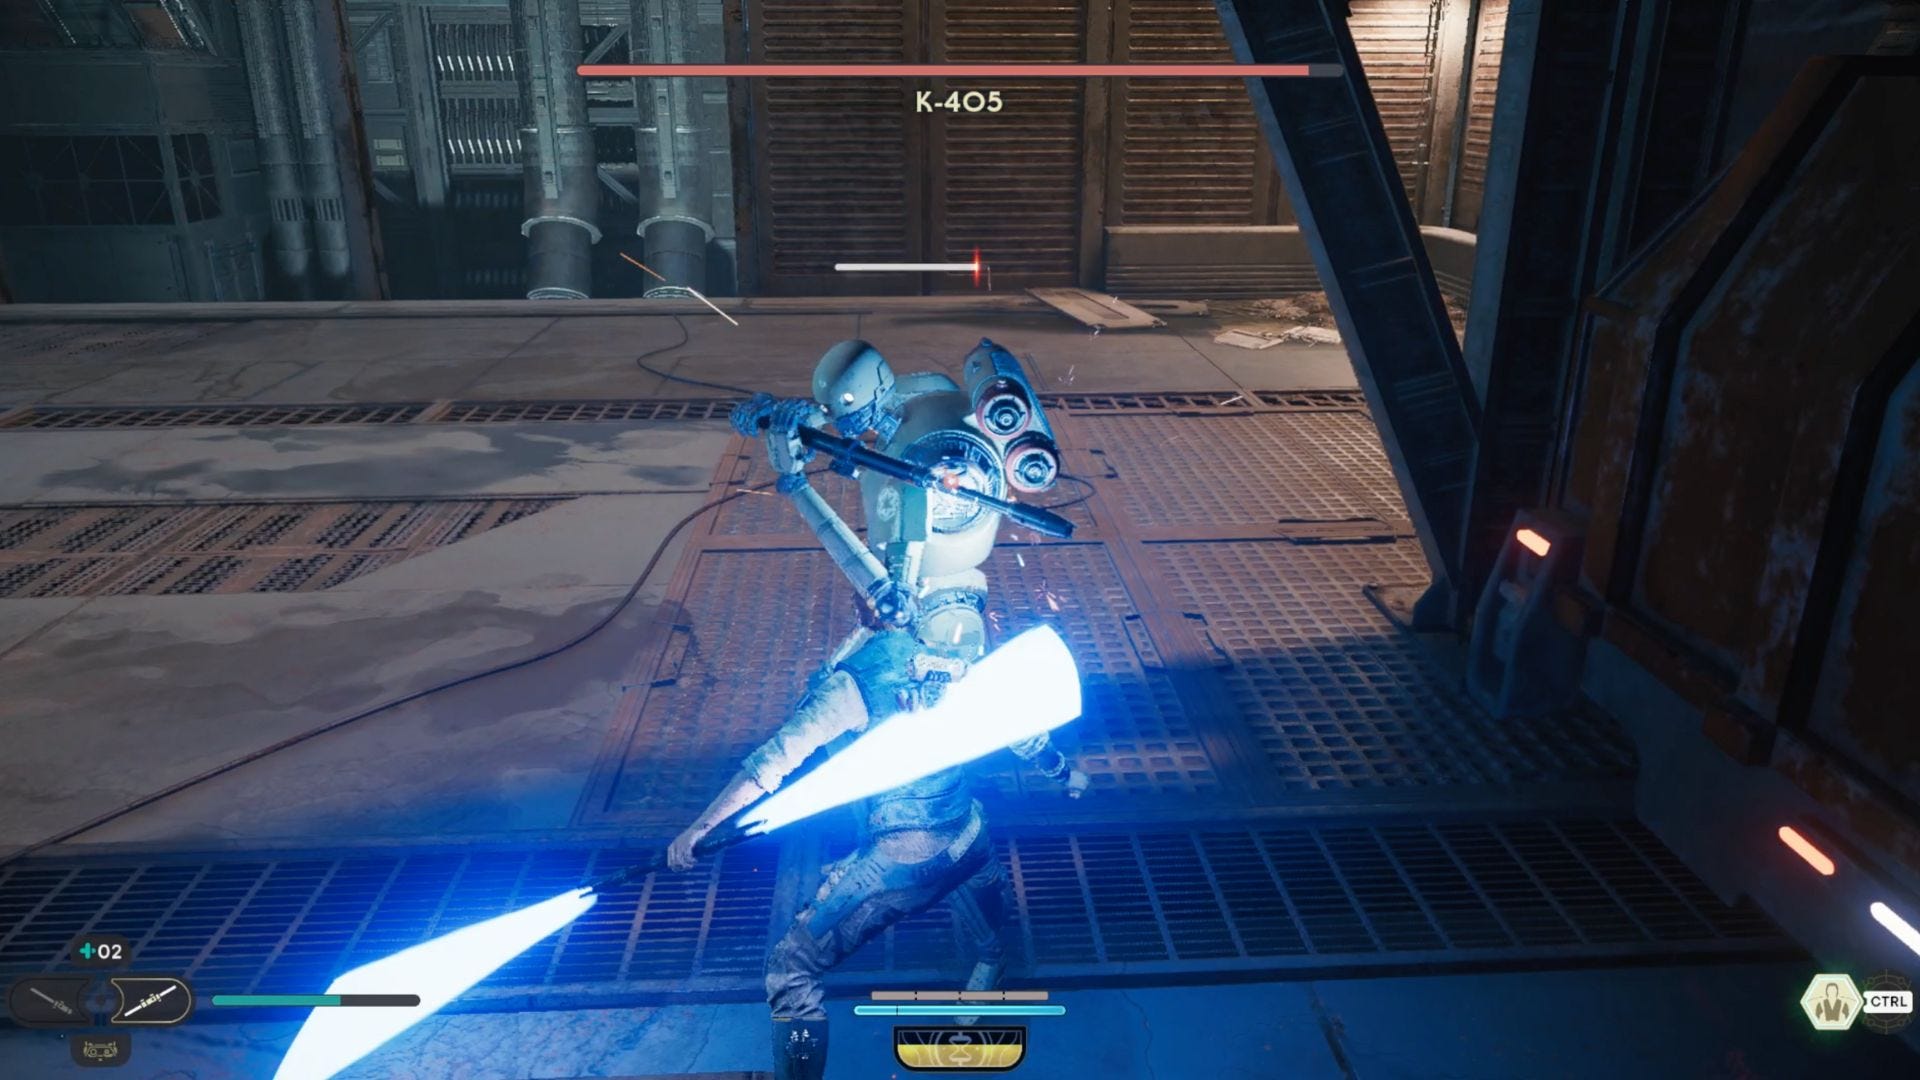
After this fight, you'll gain access to an ascension cable to navigate the game's numerous climbing puzzles. Combo it with your climbing and wall running skills to ascend until you meet your crew. Follow the path, pushing and pulling things as needed, rendezvous with the Senator, and watch the dramatic cutscene before you continue forward, noting you'll need to double jump up some walls. As you progress, you'll learn to confuse enemies, which is useful for controlling mobs.
This progression leads to the Freight Handling Meditation Point, and soon after, a cutscene will ensue. You'll find yourself facing the Ninth Sister — and boy, is she a jerk. You'll also gain access to the dual wield stance during this fight. Remember that your Slow ability is your friend. You can do significant damage when in this state, so use this wisely.

Leave the area, top off your stims at the Skylane Regulation Station, and continue. You'll return to your remaining crew members before you reach the Hangar 2046-C Meditation Point. Fight your way aboard the Mantis, where, after a high-intensity cutscene and some cinematics, you'll head to your next destination: Koboh. There, you'll attempt to find Greez to help get your ship in working order. And don't worry — we have a guide to let you know when you can go back to Coruscant in Star Wars Jedi: Survivor if you think you missed a goodie or two along the way.
Koboh walkthrough: Repairing the Mantis
Welcome to Koboh, home to Grizz, some other interesting folks, a few scary monsters, plenty of bad guys, and a whole lot of oversized vermin. You're going to spend a lot of time here, so be sure to take a look at our Star Wars Jedi: Survivor Koboh collectibles guide to discover all of this planet's secrets as you naviagate through the terrain.
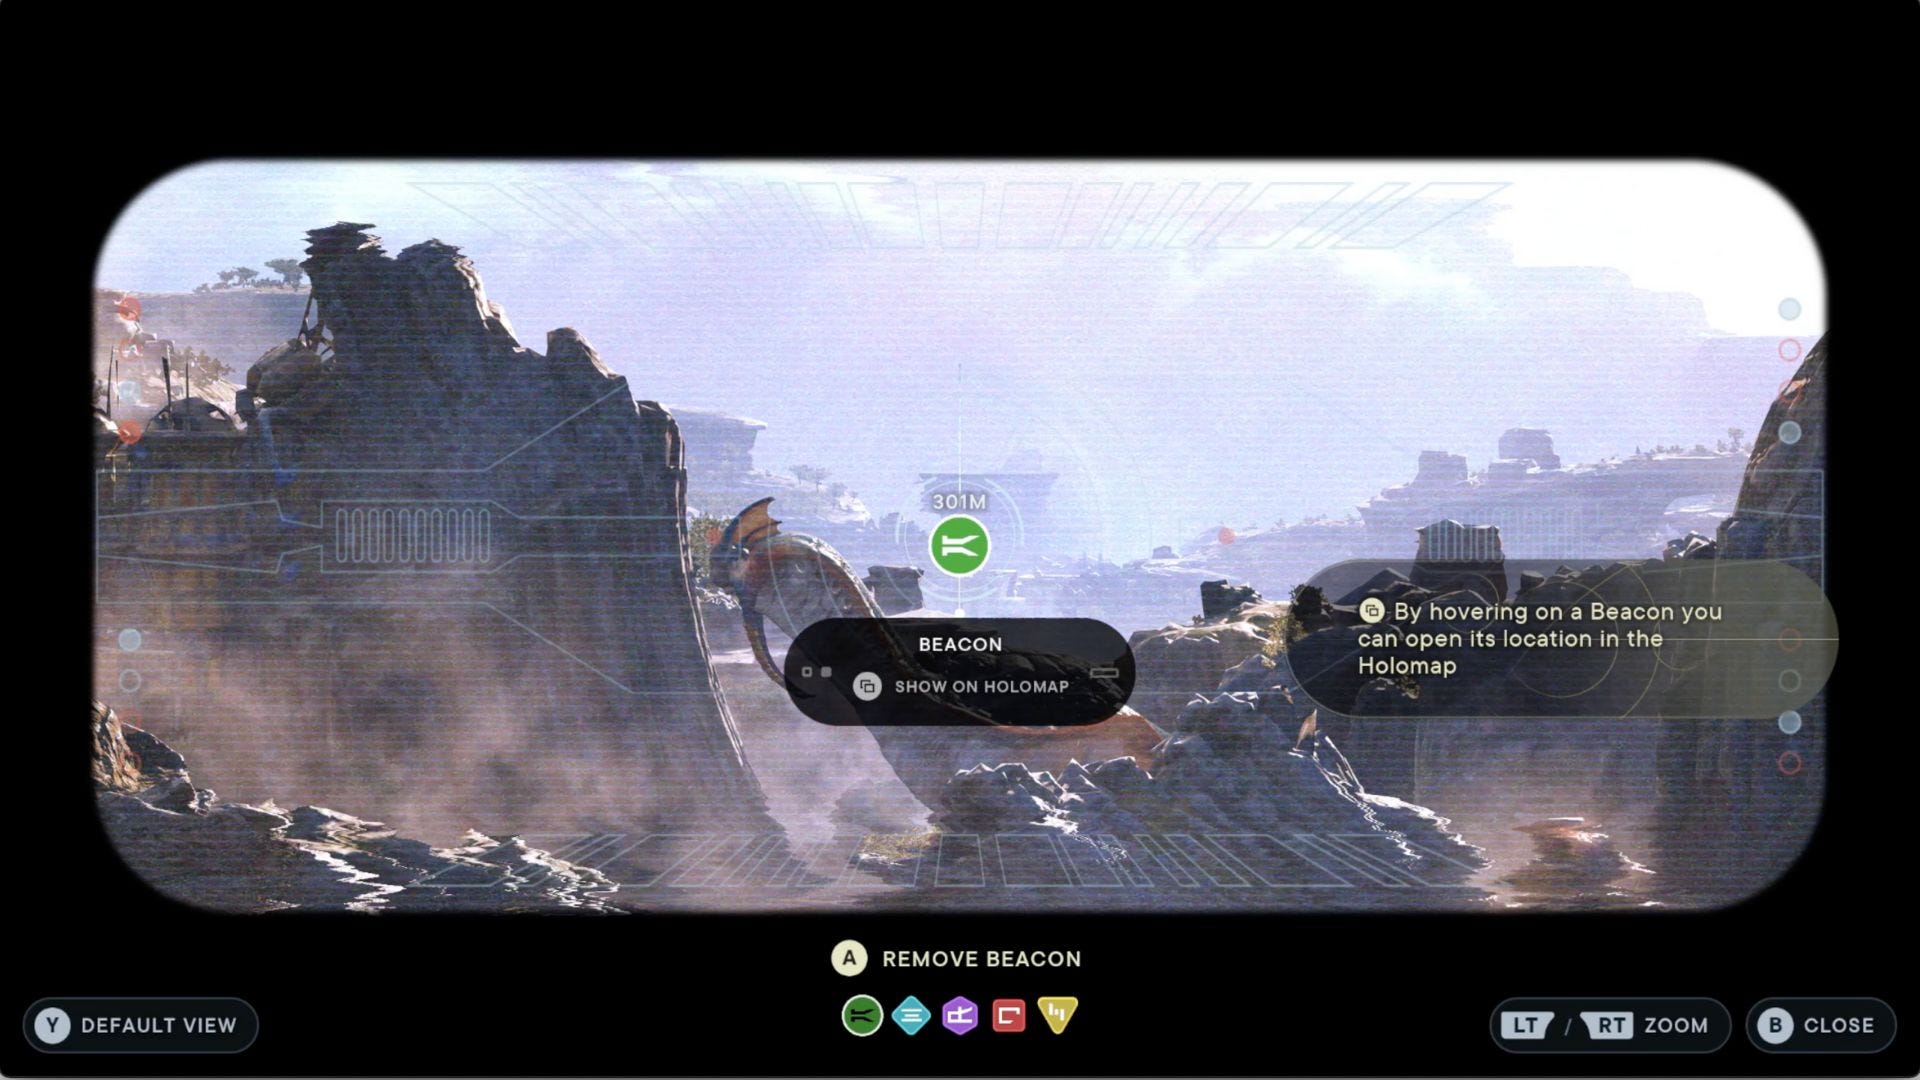
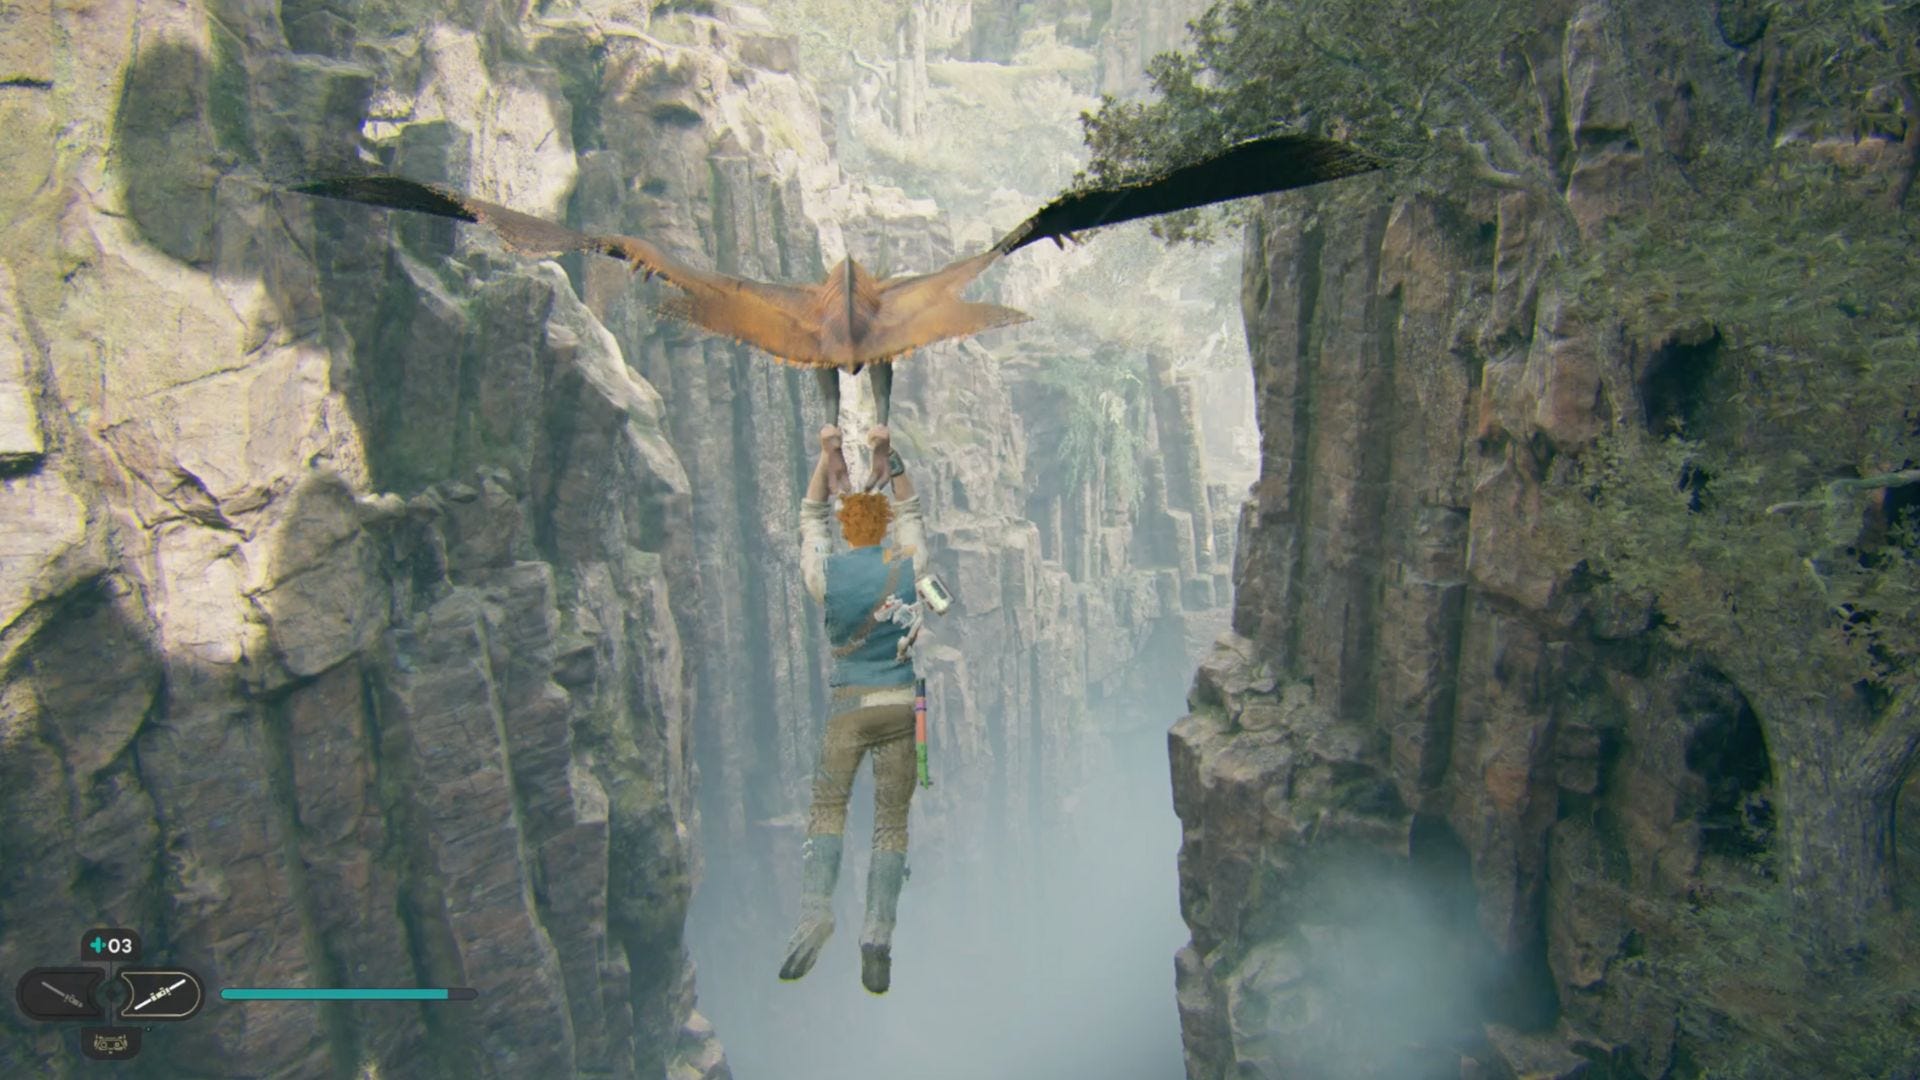
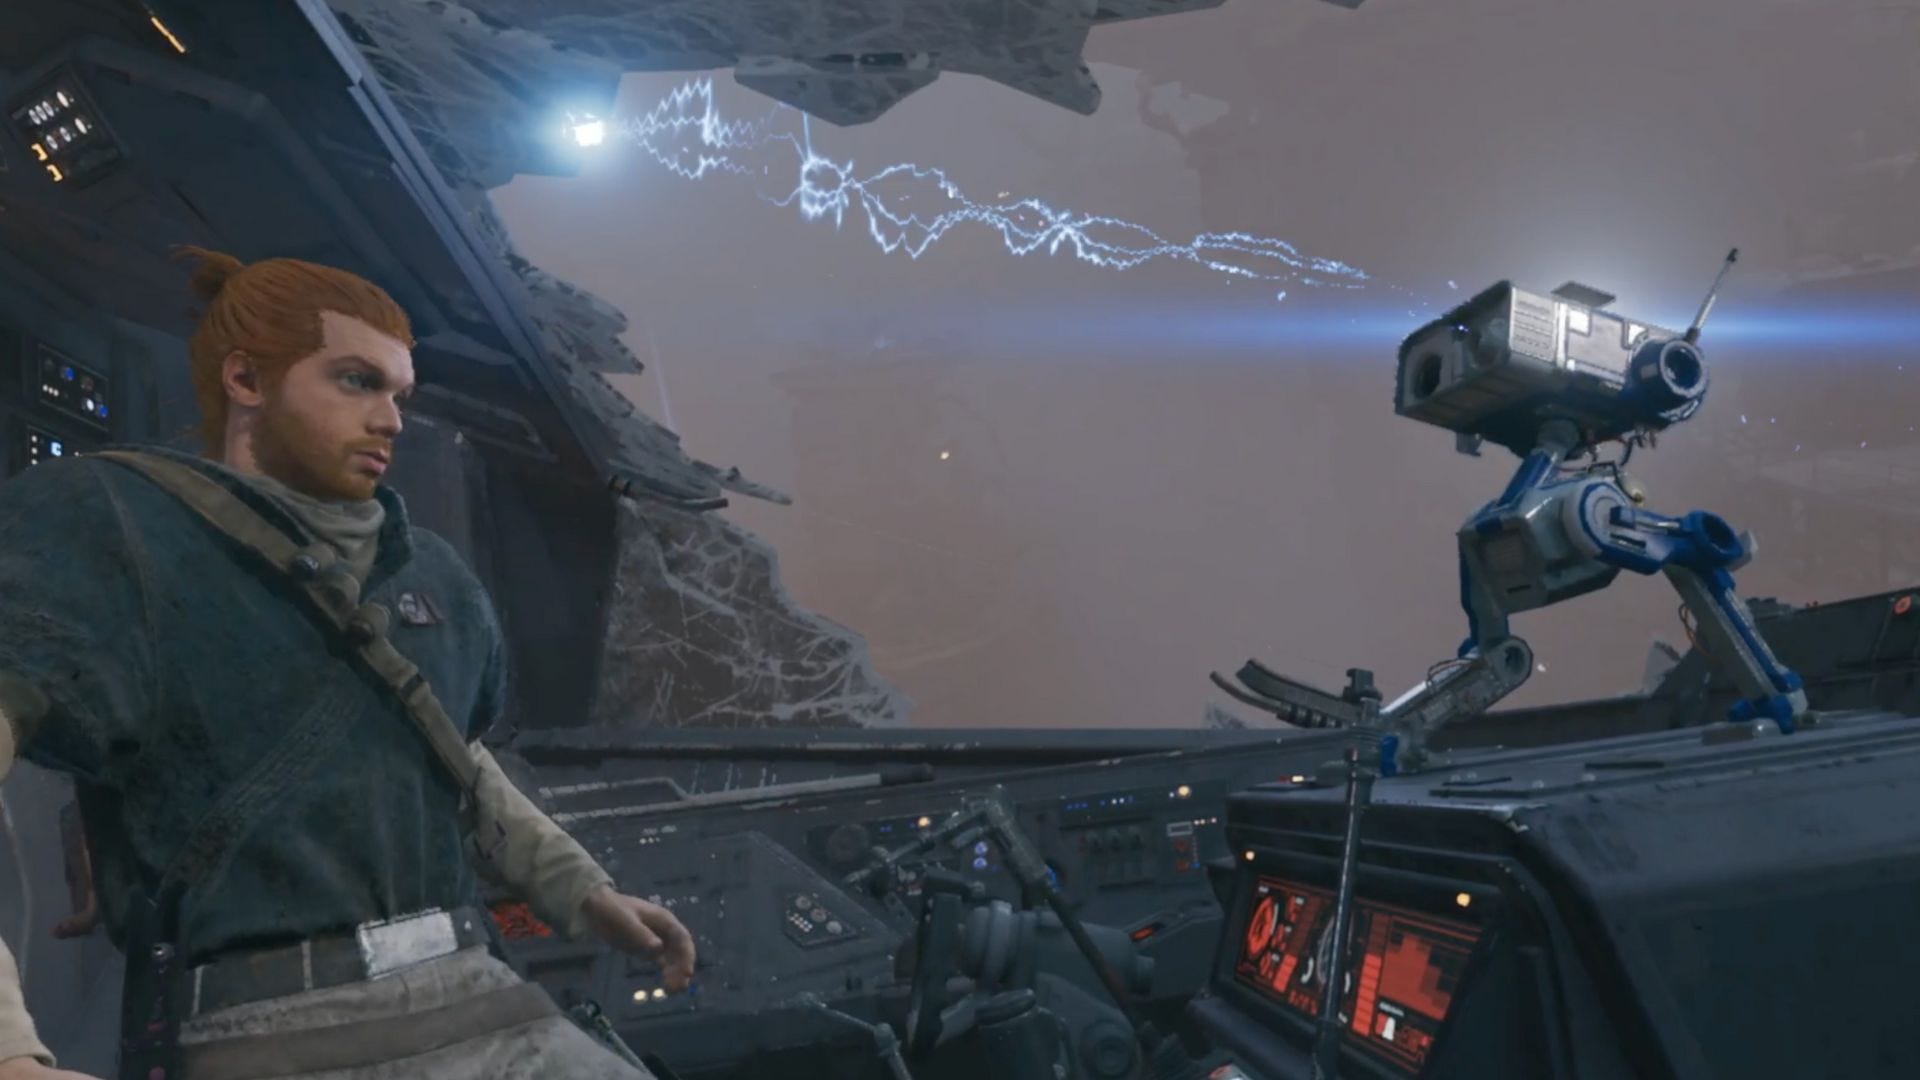
Soon upon entering Koboh, you'll find yourself overlooking a massive canyon. The game will introduce you to BD-1's visor, which is handy for gleaning info over long distances.
Continue onward, meditating at the Gorge Site Meditation Point before progressing. Make your way through the caverns, platforming puzzles and enemies until you arrive at some mining drones stuck in tar. You'll use these to breach the dam.
Force your way through some baddies to the Derelict Dam Meditation Point. You'll have the option to turn off to the right to speak with a prospector, but to continue the main game, push forward until you come to another tar-filled dam. Climb the dam wall, attack the enemies and go through the cavern. Drop into the tunnel and use the mining drone to blast open the wall. You'll then continue producing these drones, dragging the next to force the platform ahead of you down and a final one to breach the dam.
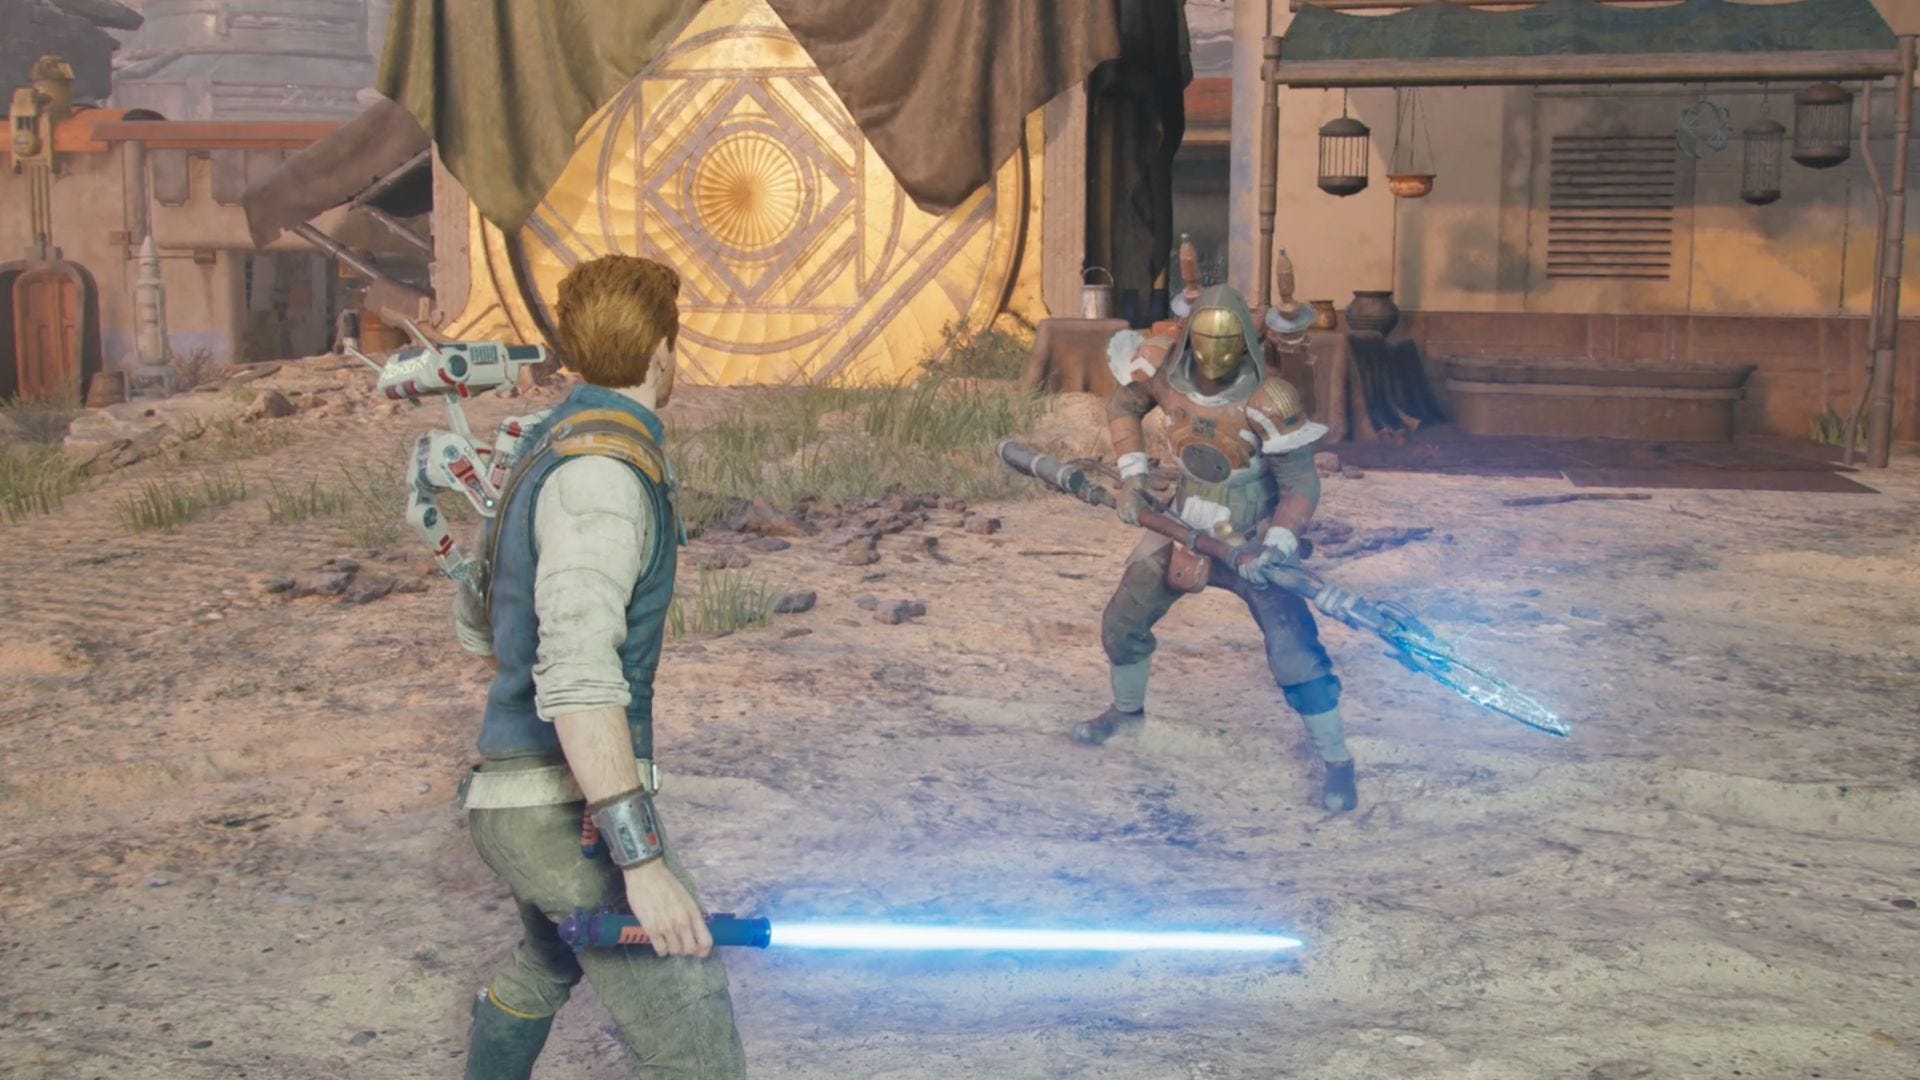
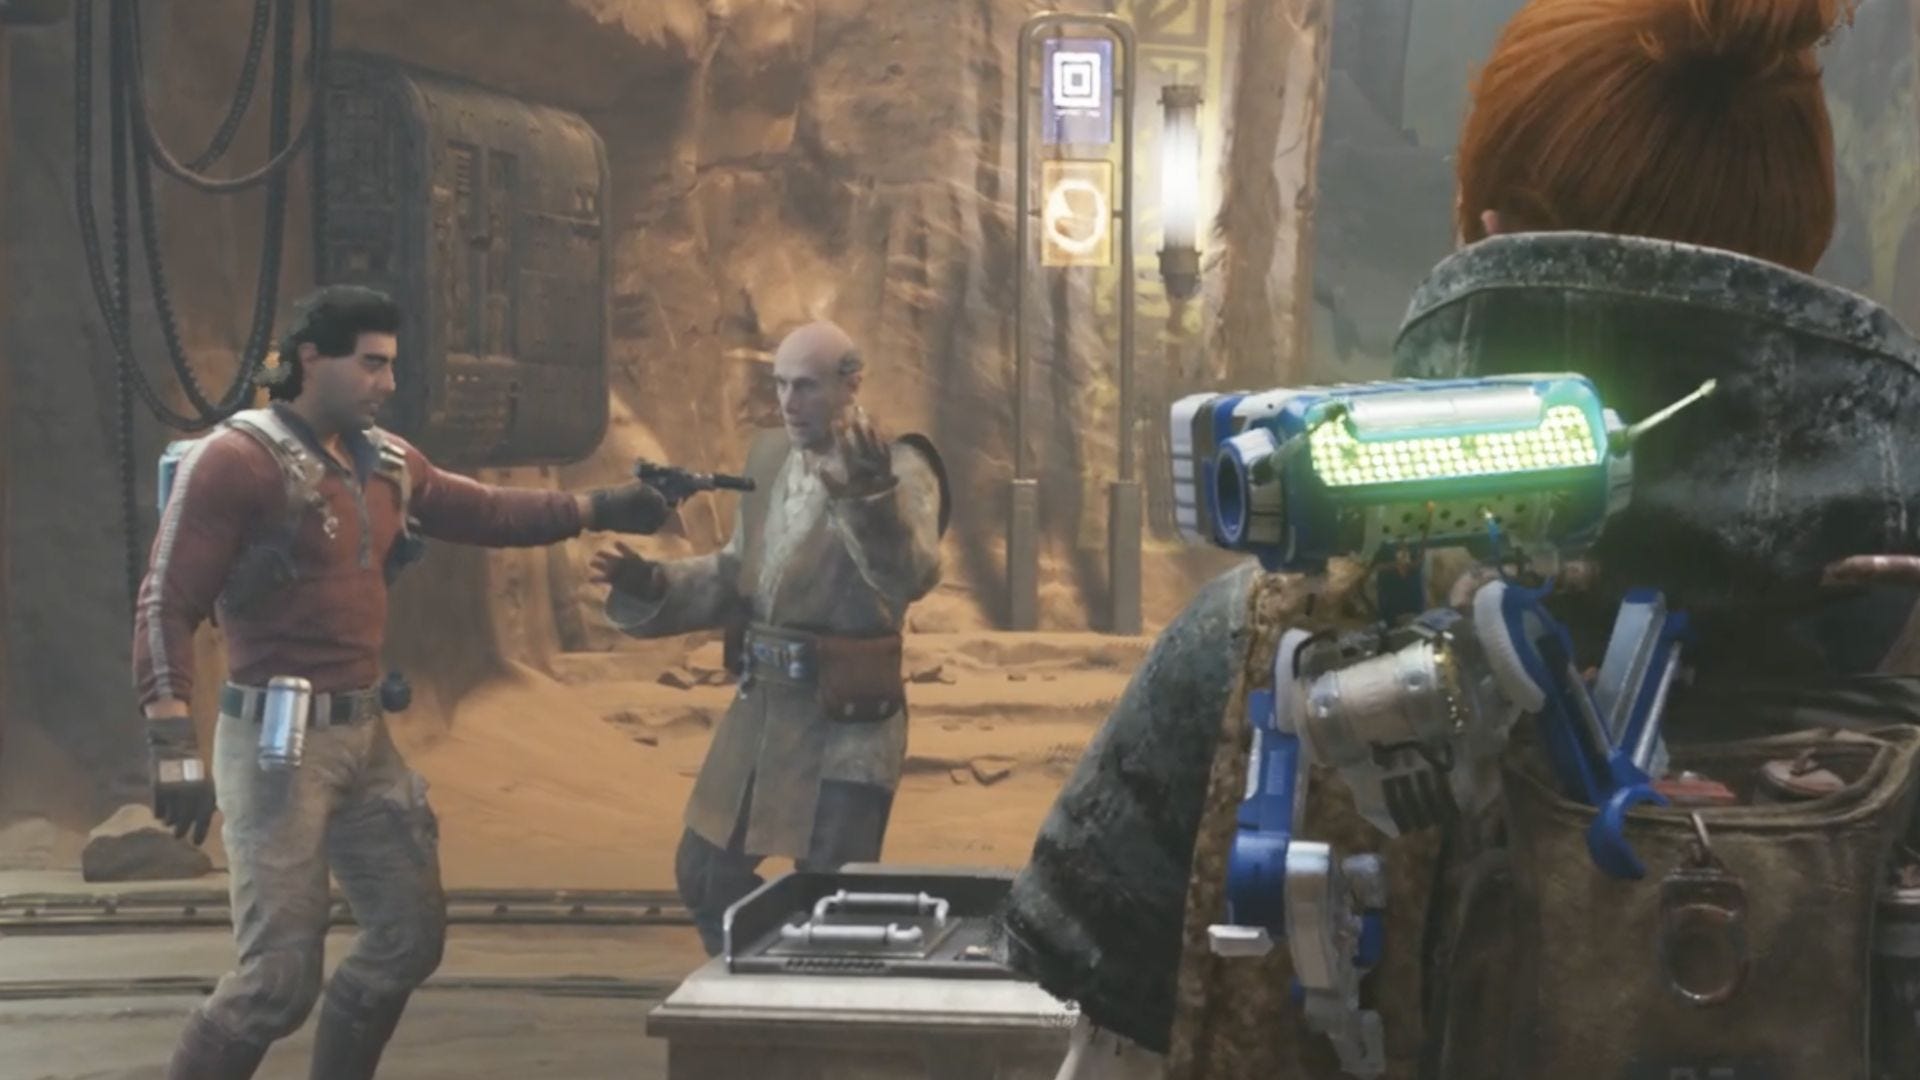
Take the lift down, then progress through the next area, using the Force to move the glowing blue box as a platform as needed. Press onward until you come to the Southern Reach Meditation Point. Chat with Mosey, and continue to the Rambler's Reach Meditation Point. Ahead, you'll see a town, so enter, watch the cutscene, and take down the next boss, Zeik. Then, pop into your new home away from home, Pyloon's Saloon, where you'll also say hello to your old pal, Greez. Pyloon's Saloon may seem like a bit of a dump, but as it progresses, it also becomes a central location for gossip, story elements, and many of your side quest characters, so it'll behoove you to swing by for a cold one now and again.
Greez will lead you to Smuggler's Tunnel, which you'll take to an area called Collapsed Passage and leads to the Chamber of Duality.
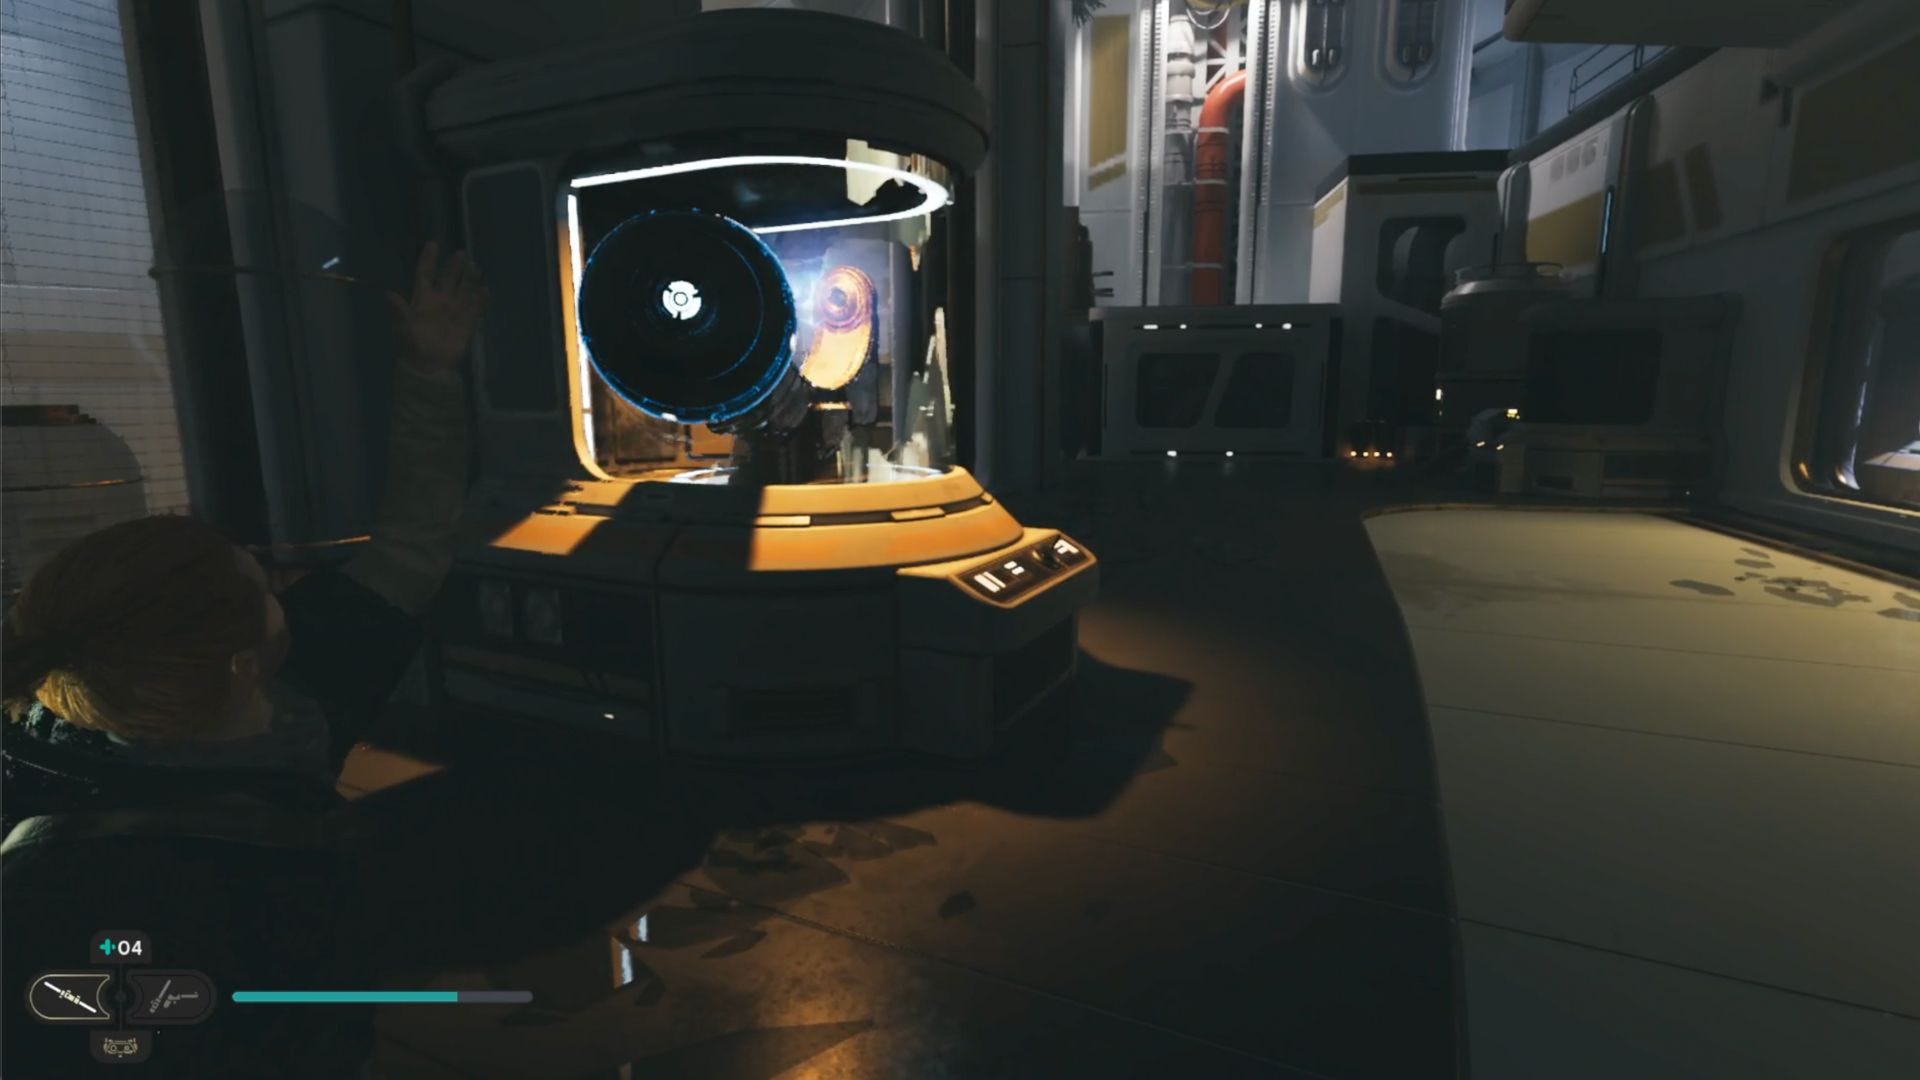
Here, you'll need to use your Force abilities to move the glowing orbs to reveal secret paths. You'll also meet a friendly droid named Zee and need to use those orbs to free it. This puzzle isn't too complicated, so just note you need to lift the obs from their setting and put them in the various couplers to create paths that will ultimately free the bot. If you get stuck, we have a Star Wars Jedi: Survivor Chamber of Duality puzzle guide prepared just for you. Complete the puzzle and return to Pyloon's Saloon.
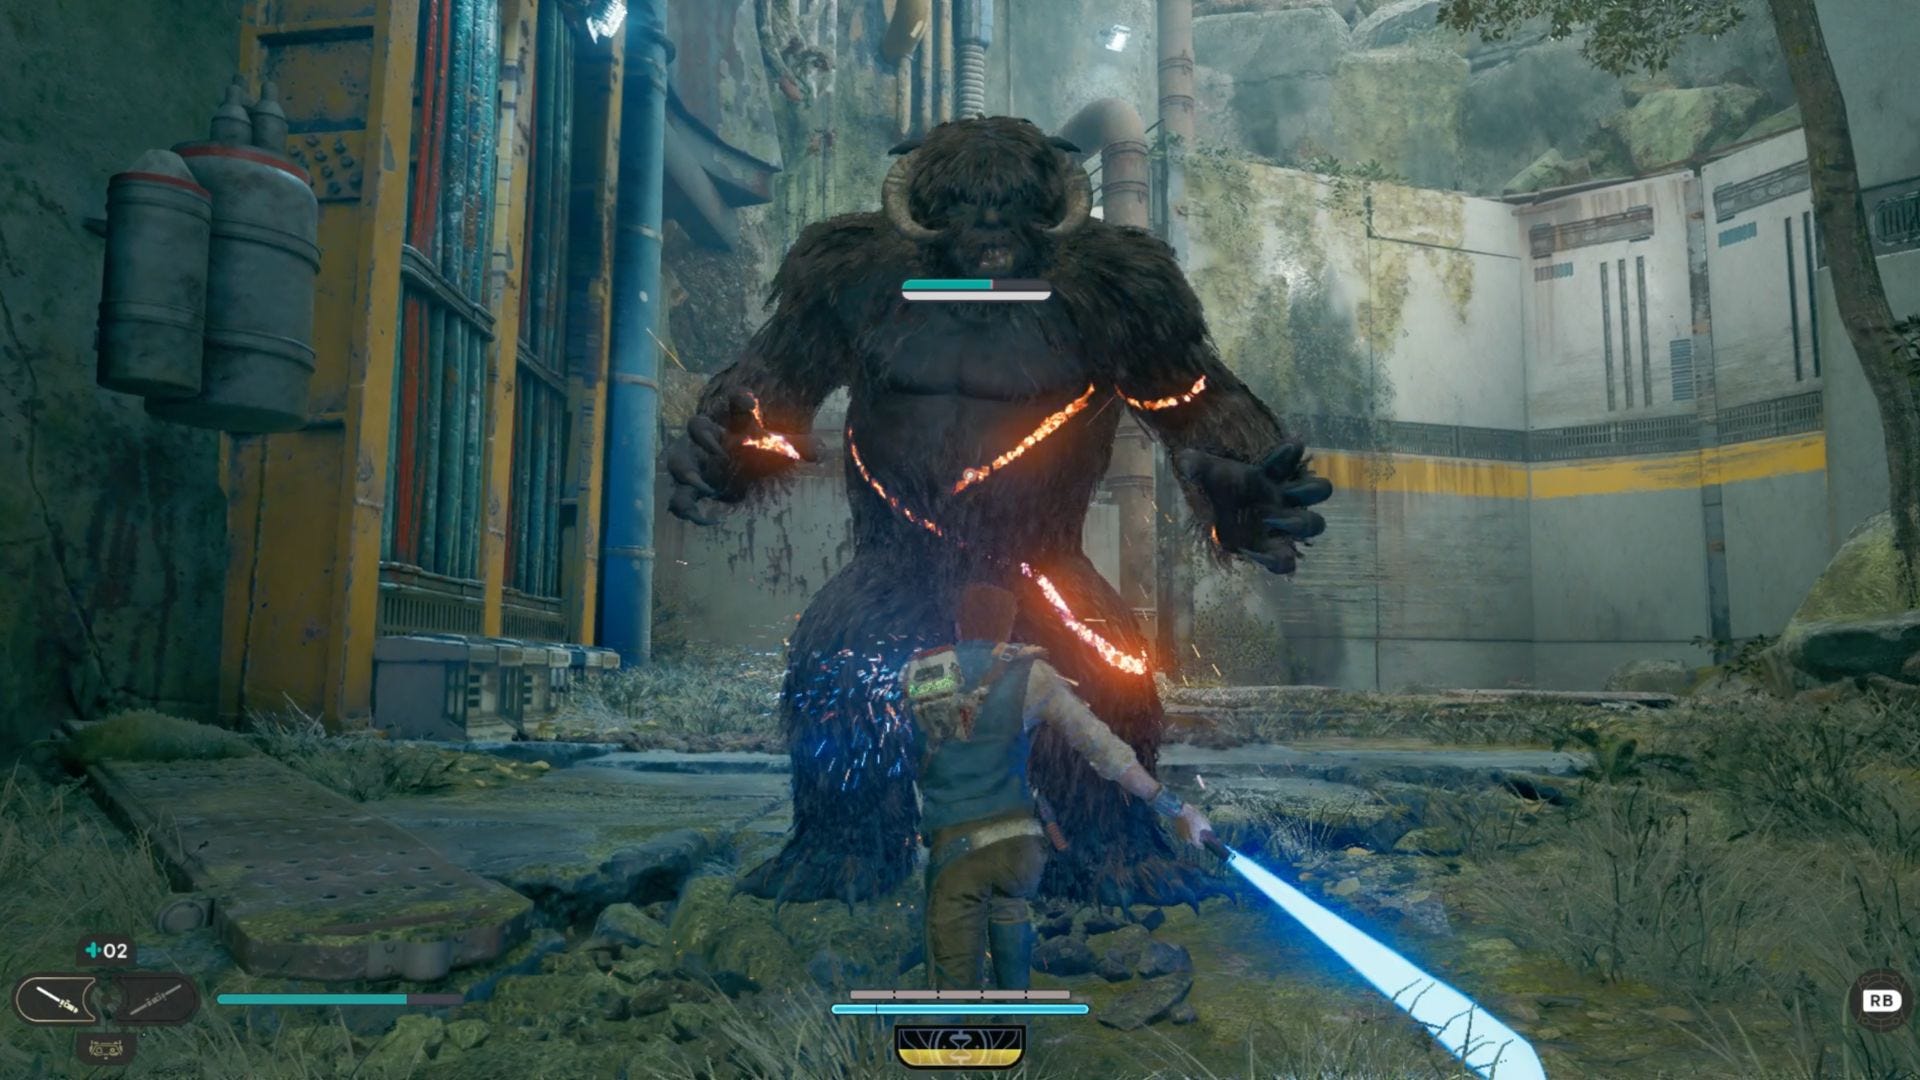
You'll then be directed to head to the Forest Gate. Make your way in that direction, taking down the bilemaw in the swampy area. The following section requires a lengthy traversal, including an encounter with an angry creature called a mogu and another bilemaw. Swamp beasts like Jedi just about as much as the Empire likes them, apparently.
Eventually, you'll encounter a bubbly substance on the ground, which you'll want to avoid.
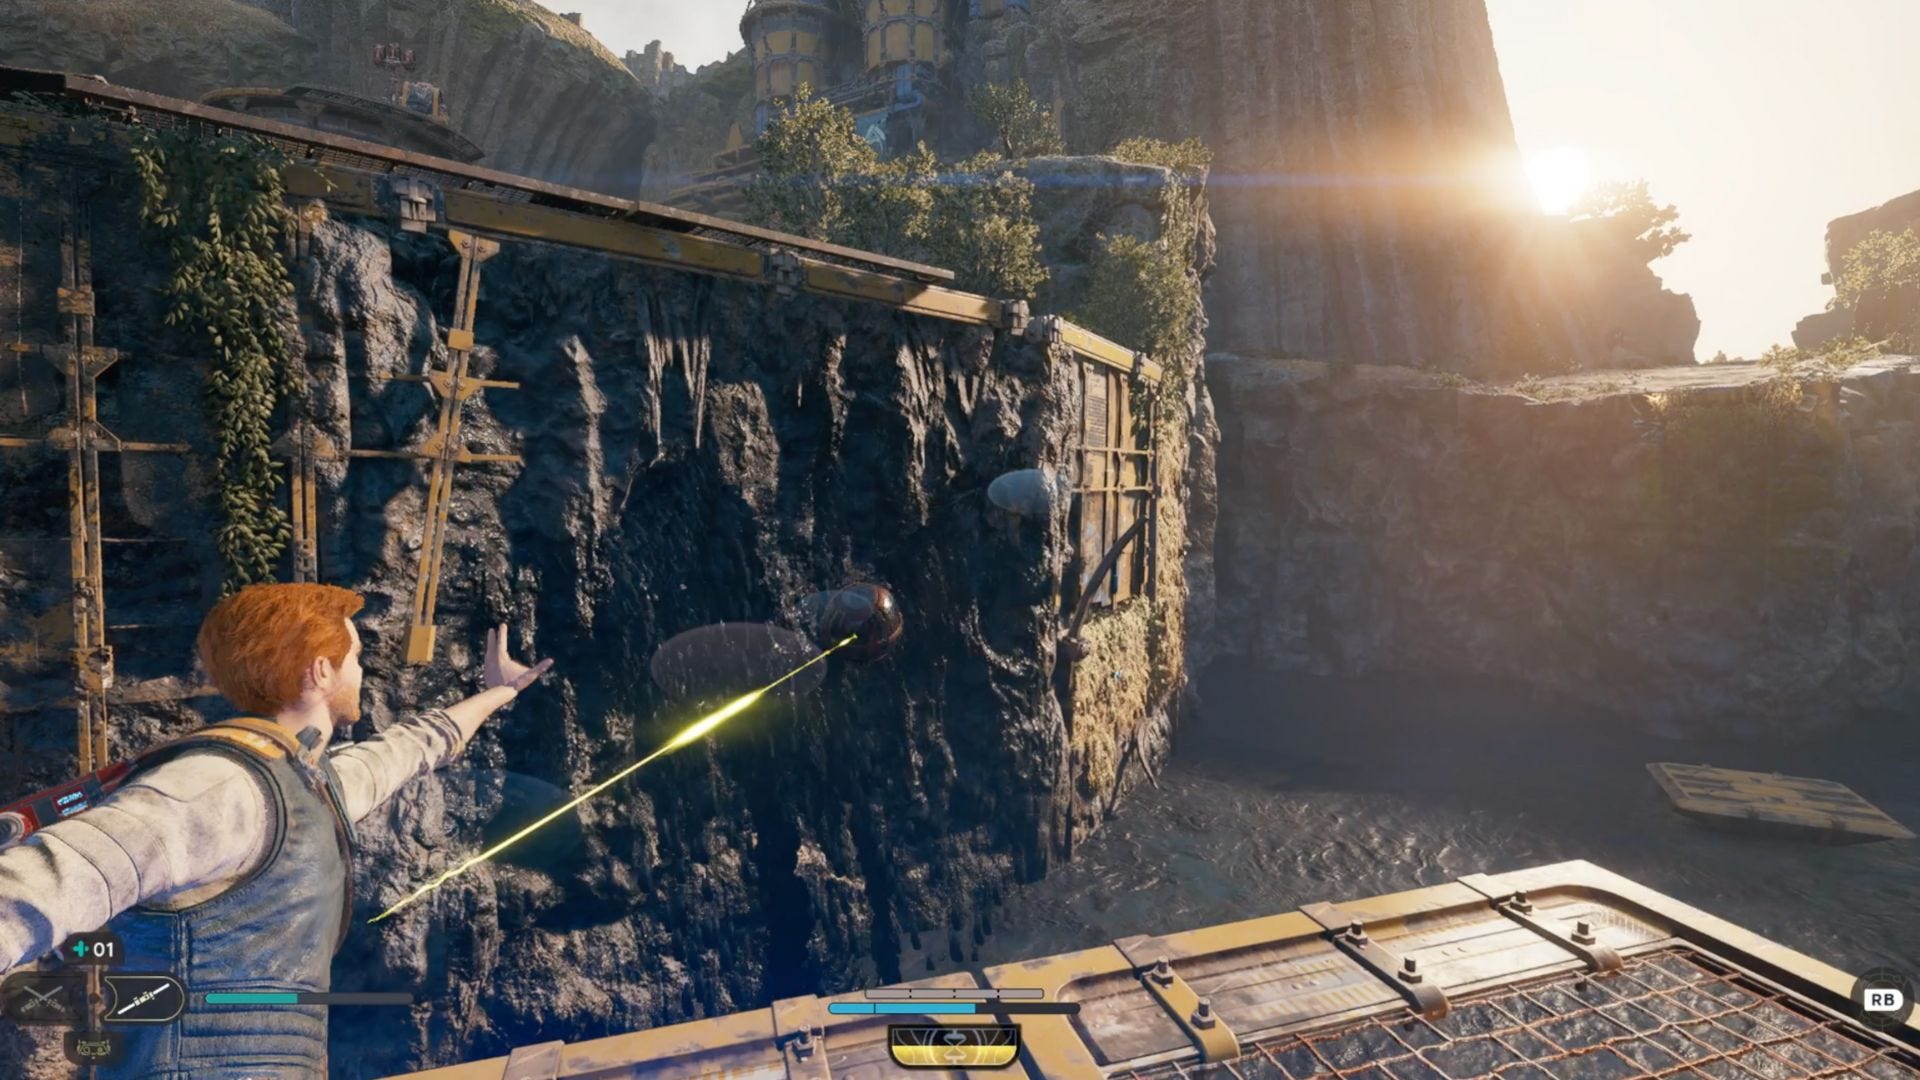
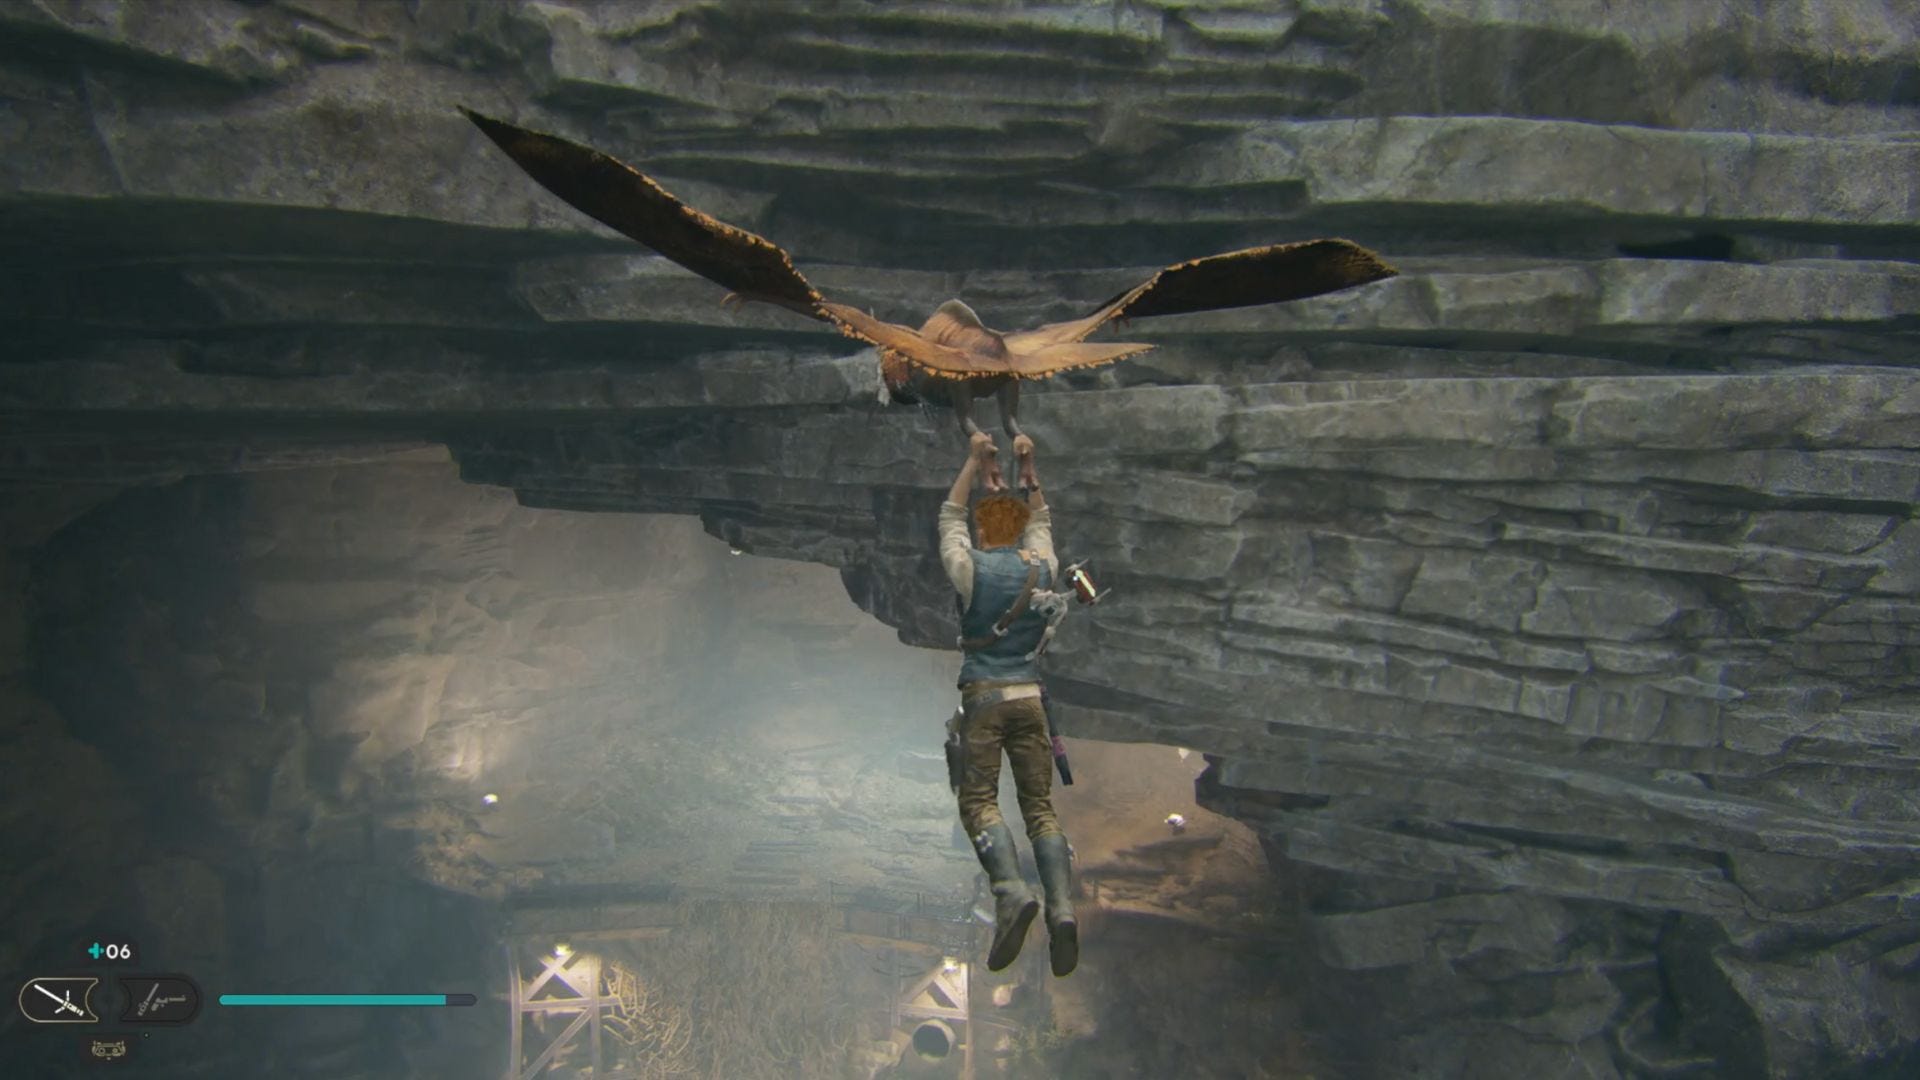
You'll see more of this in the Forest Array area, but you'll find that lasers emitted by those purple orbs you first saw in the Chamber of Duality dispel it. Navigate this area by moving the orbs and environmental elements around to create paths toward your destination. Clearing the way will briefly take you to a forested area and introduce you to the game's gliding mechanics. The glider will take you to a backside area of the Forest Array. Use another glider to access the Central Rotational Apparatus, which you can turn using the Force to move the switches off to the side, turning the device accordingly.
Free the giant, squawking creature by turning the laser and then use the cleared path to continue on your way. Take the glider to the Array's central platform and enter it. Carry the orb from the Central Rotational Apparatus to another coupler to create a path, and then use this same orb to access the lift. You'll then emerge to a fight against Dagan Gera, the game's primary antagonist.
Exit the area, using the glider to glide to a platform area far in the distance.
Head back toward the Mantis, learning the Nekko Mount skill to grab a little buddy for an express trip. Once you've returned to the Mantis, head to your next destination: Jedha.
Jedha walkthrough: Find Cere
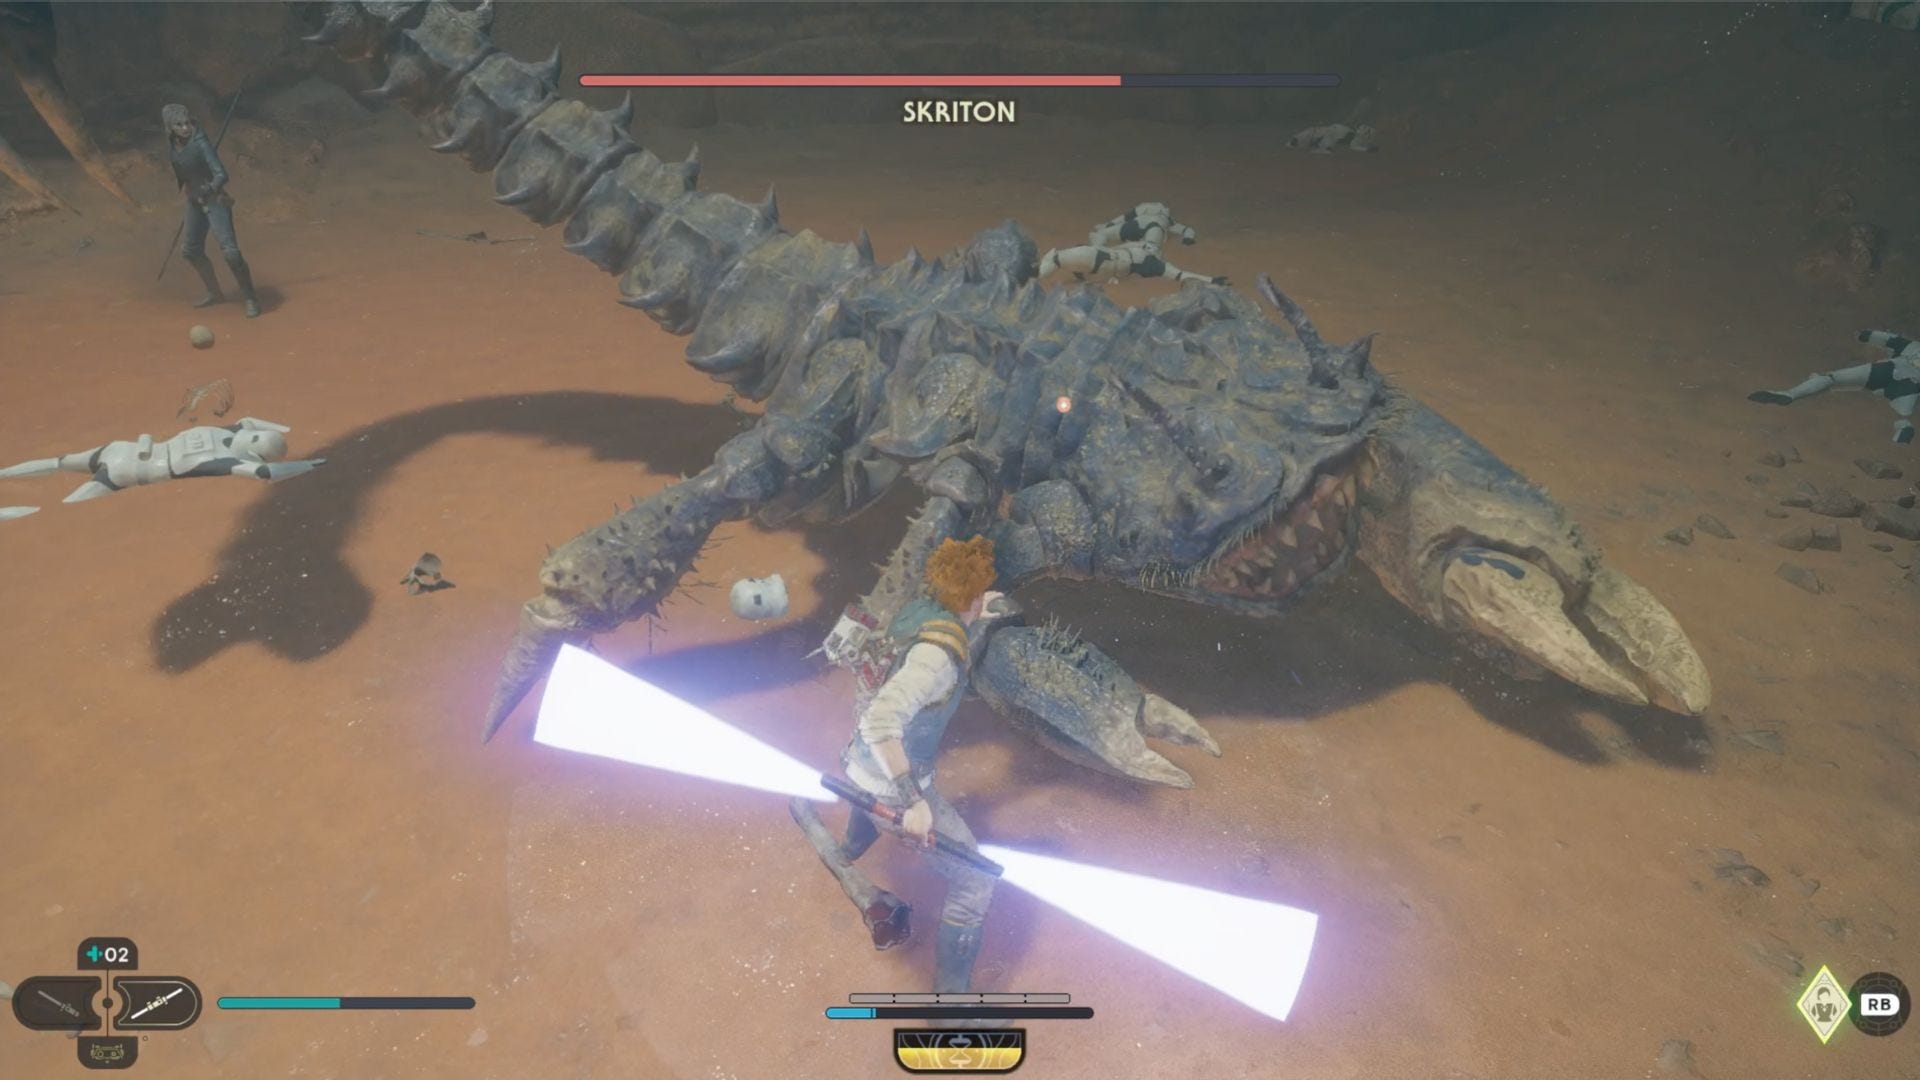
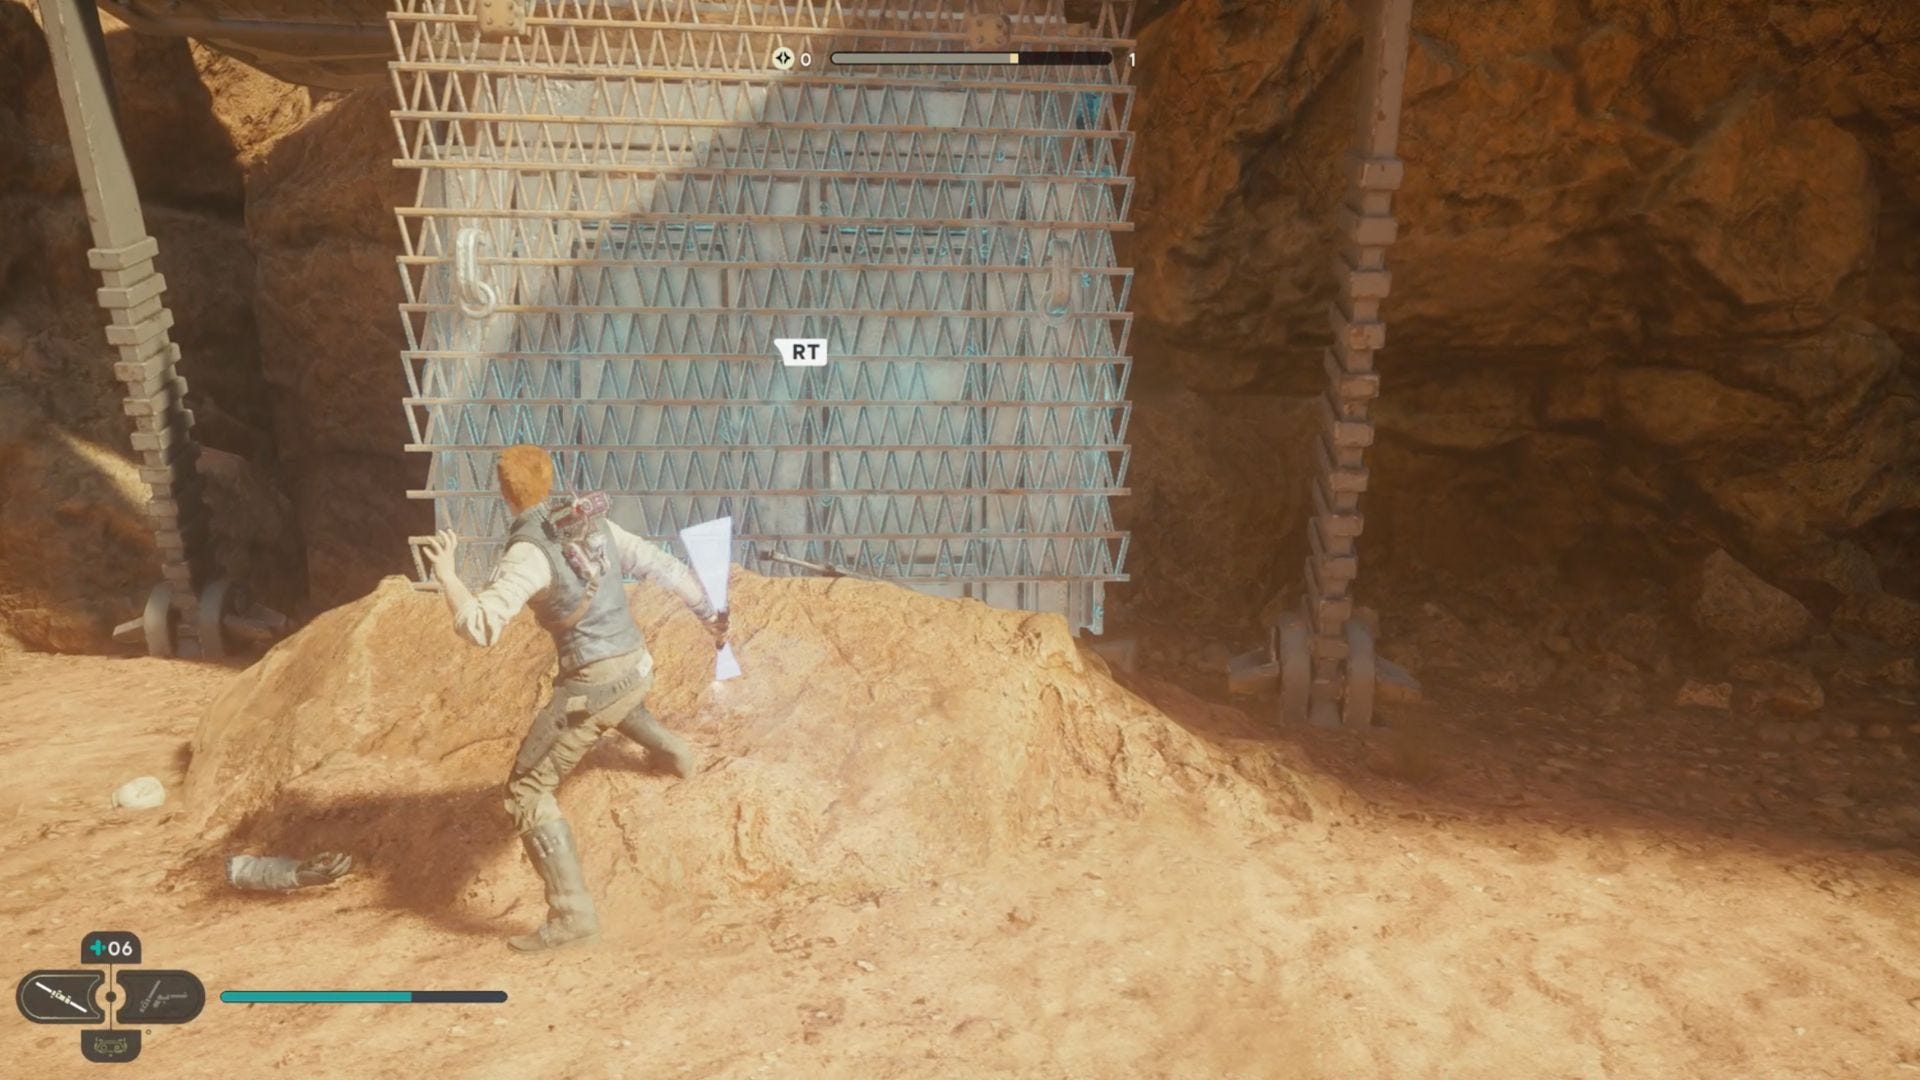
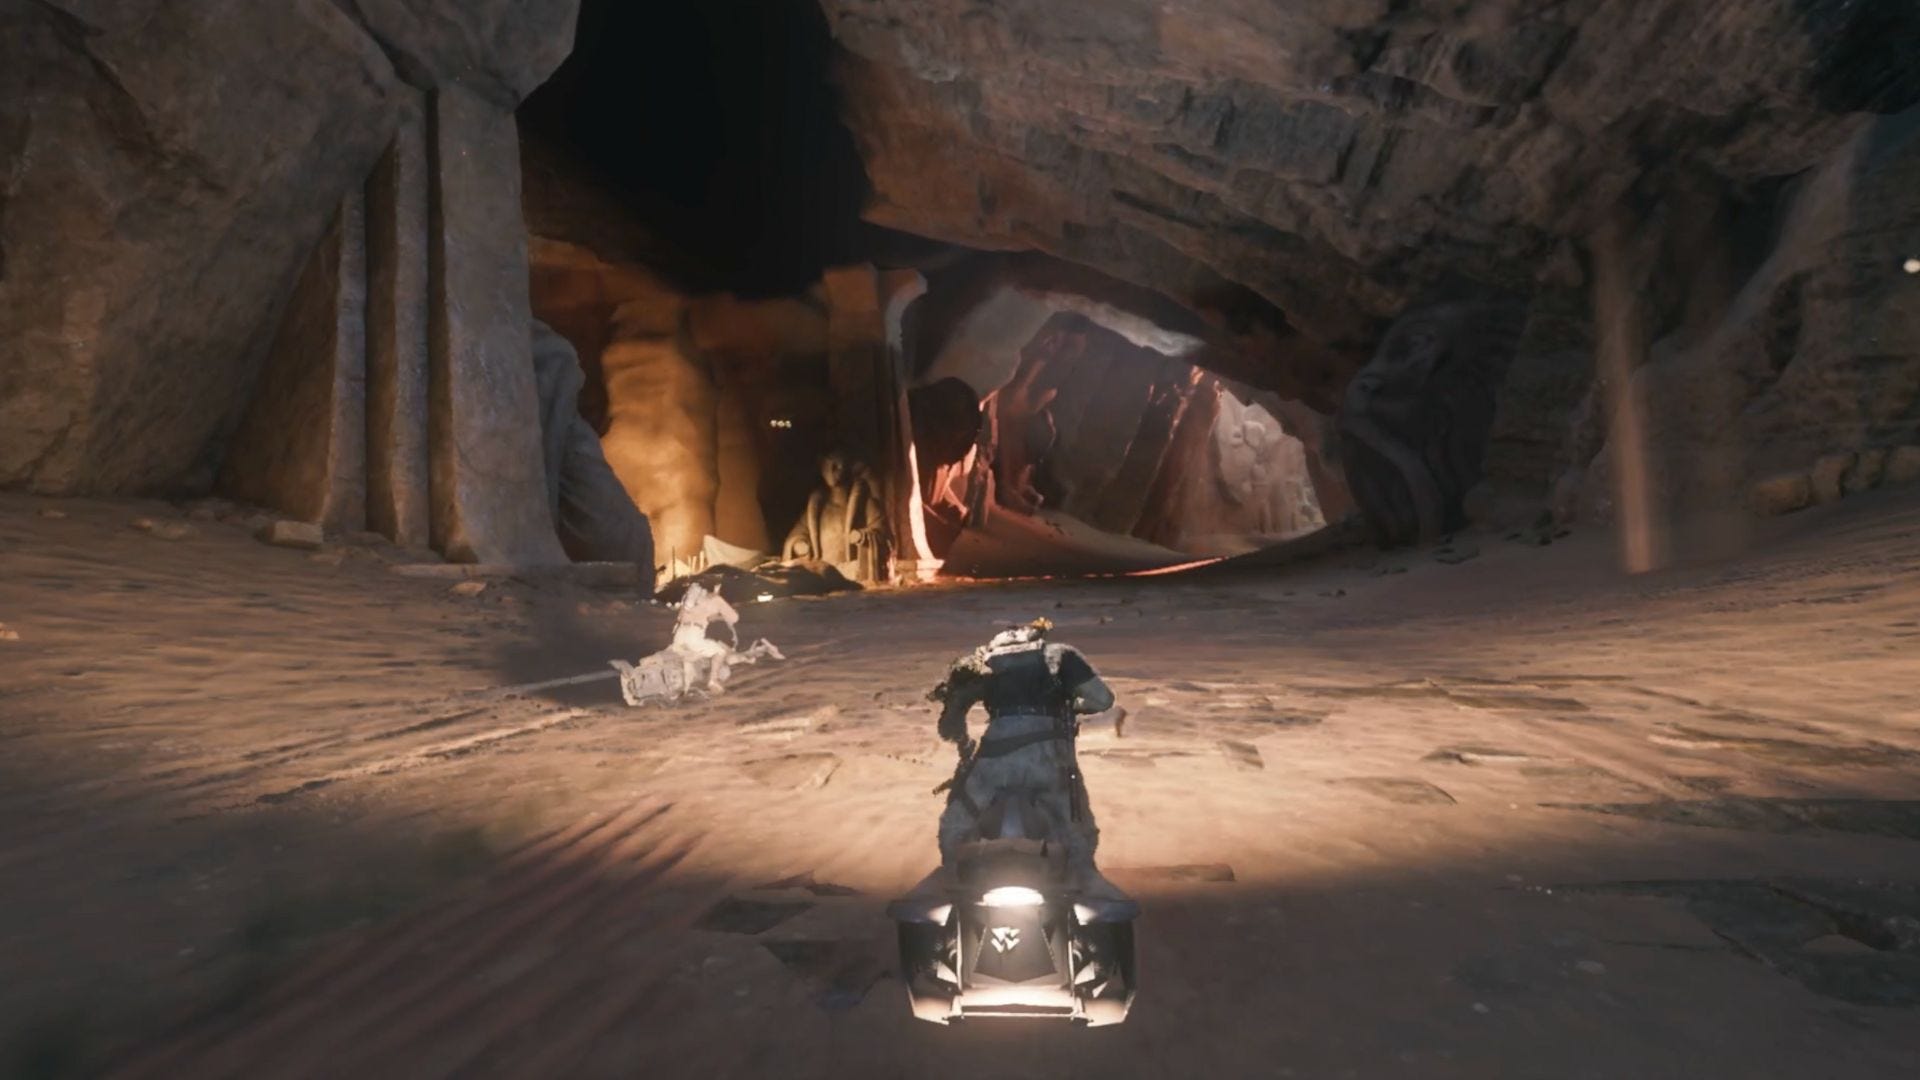
Welcome to Jedha, and if you'd like to save some time off the top, be sure to check out our Star Wars Jedi: Survivor Jedha collectibles guide as you continue your journey. Hop off the Mantis and traverse the desert area and through the ruins, where you'll encounter your old pal Merrin. Note that you can direct her as you engage in combat. Move the glowing blue block to provide a surface to jump up on the ledge and continue your traversal. You'll eventually find yourself in a pit, fighting a boss called a Skriton with Merrin's aid.
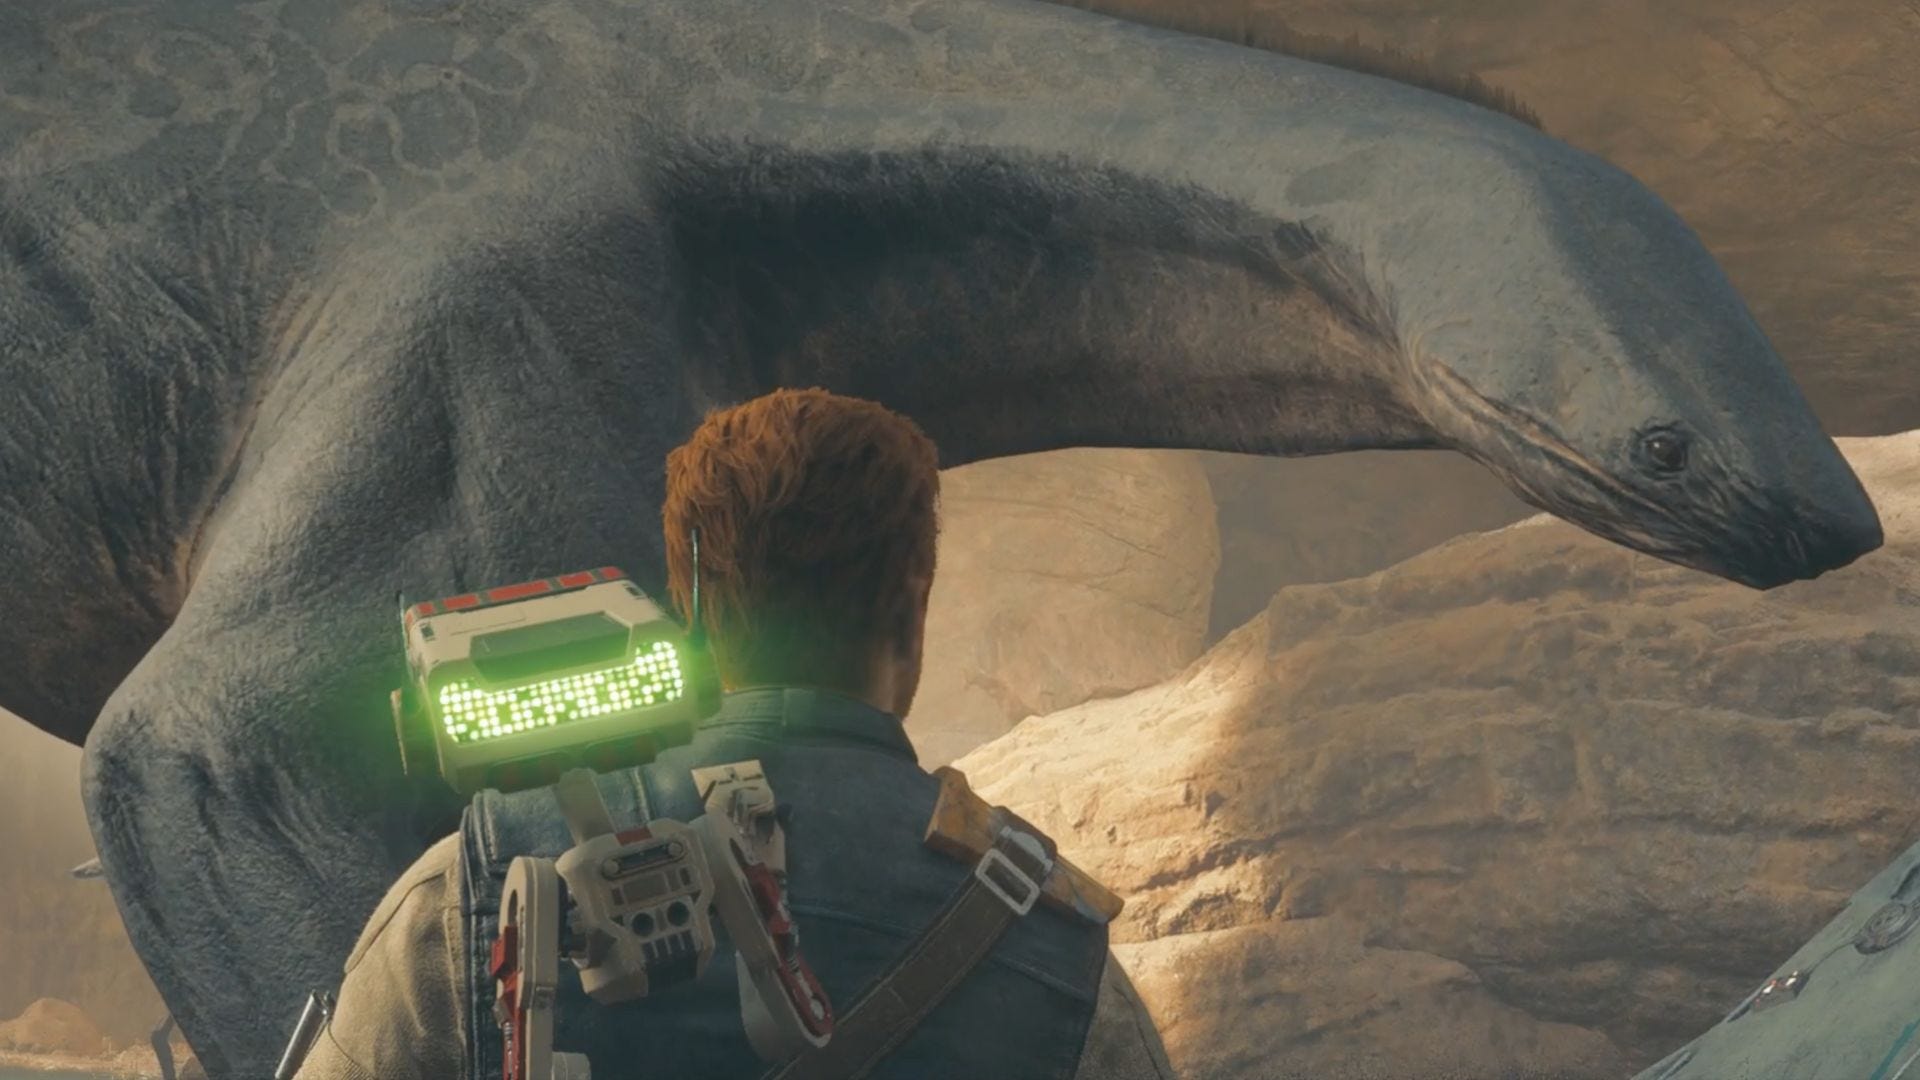
You'll then make your way to the spamels, allowing you to traverse the desert.
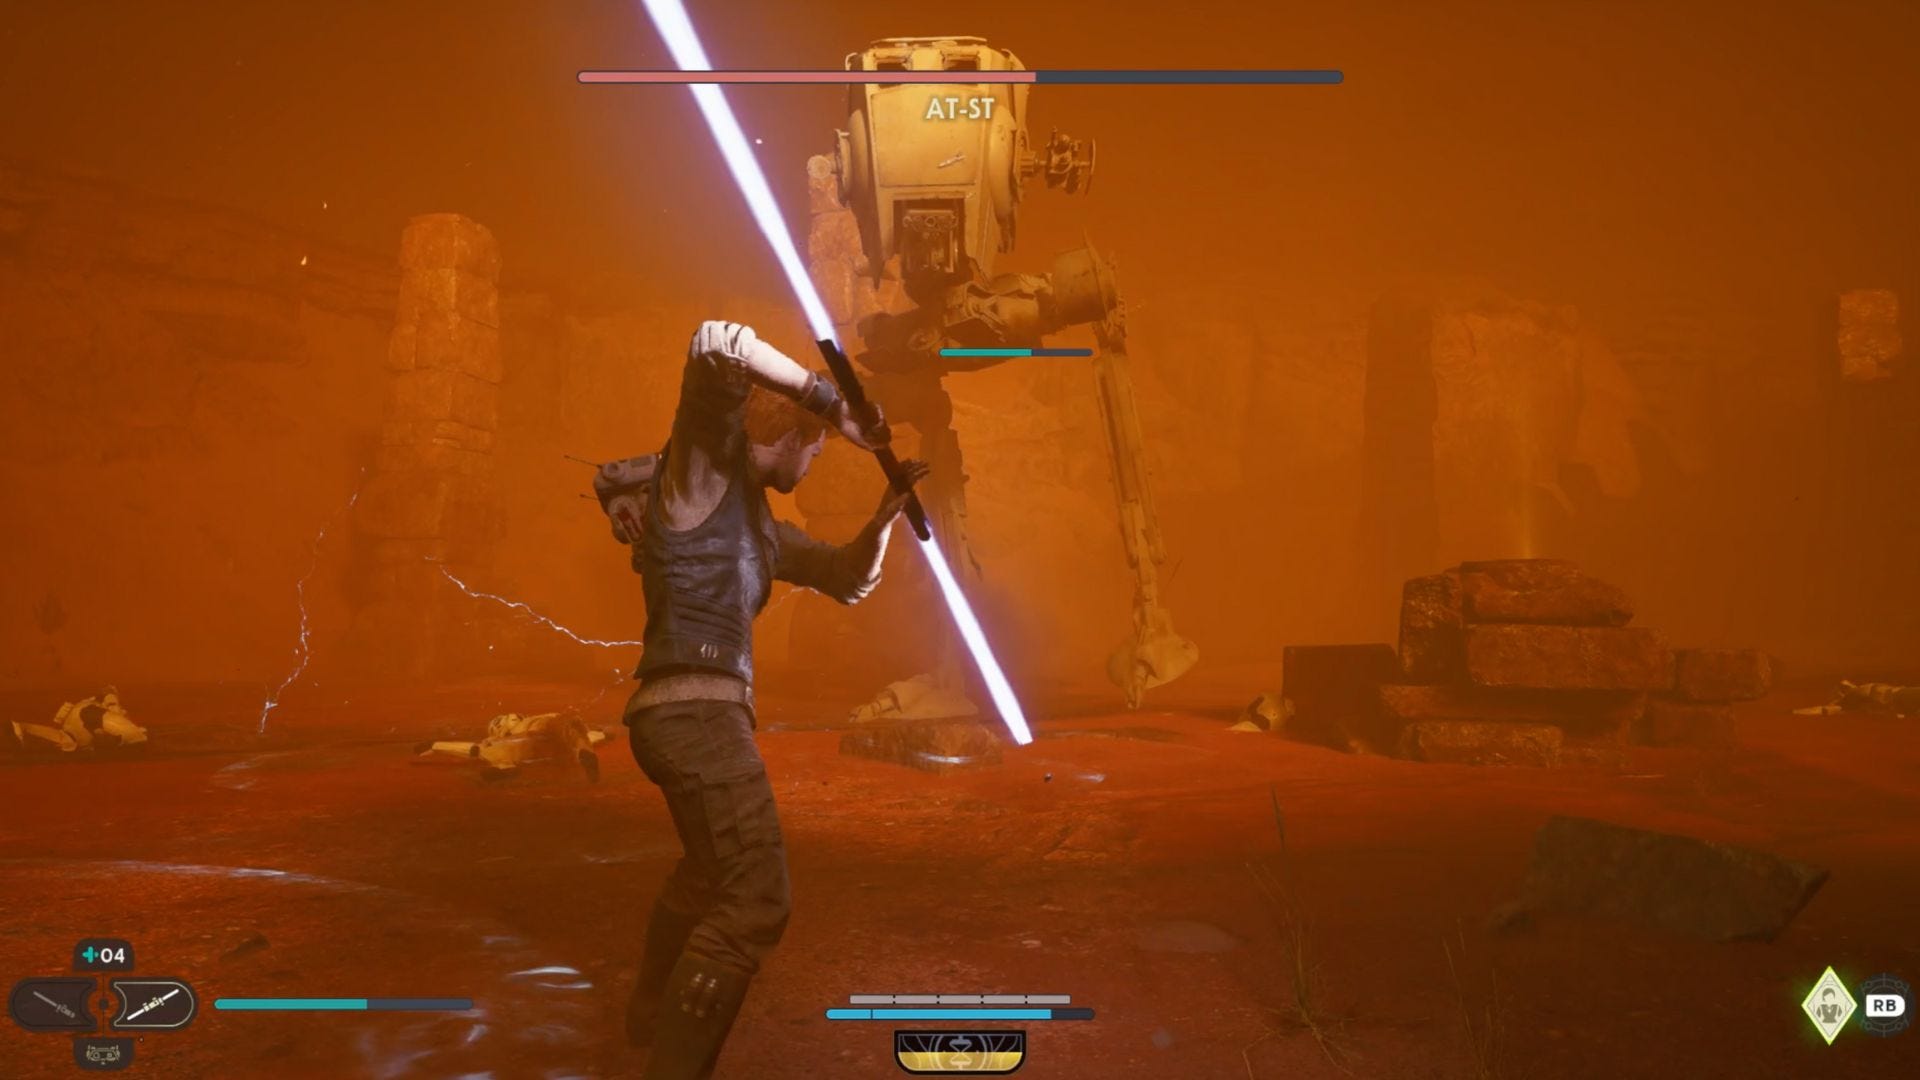
Unfortunately, your peaceful ride is short-lived, as a sandstorm puts you right into an enemy camp. You'll find yourself fighting some Stormtroopers and an AT-ST. Blocking and deflection mechanics is particularly useful against this boss, which has several different ranged attacks - including grenades which, hot tip, you can Force Push back towards it.
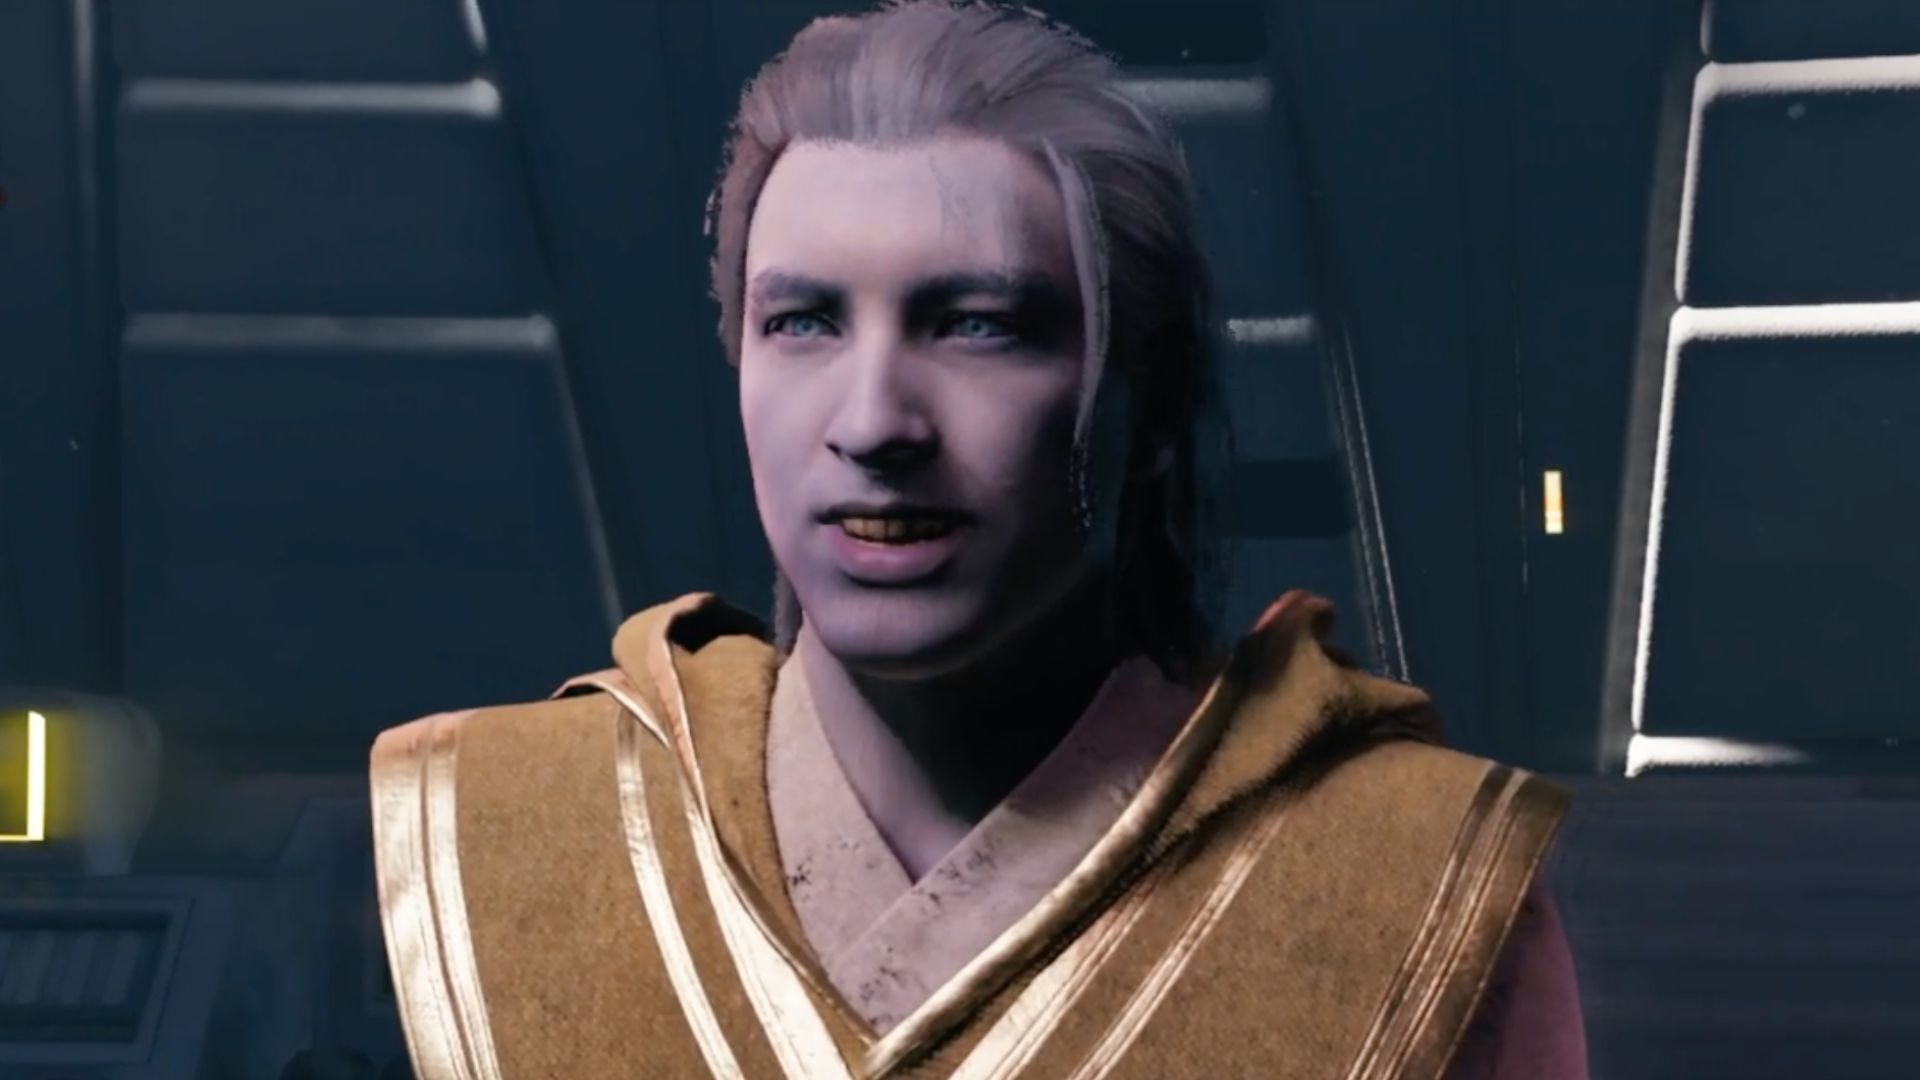
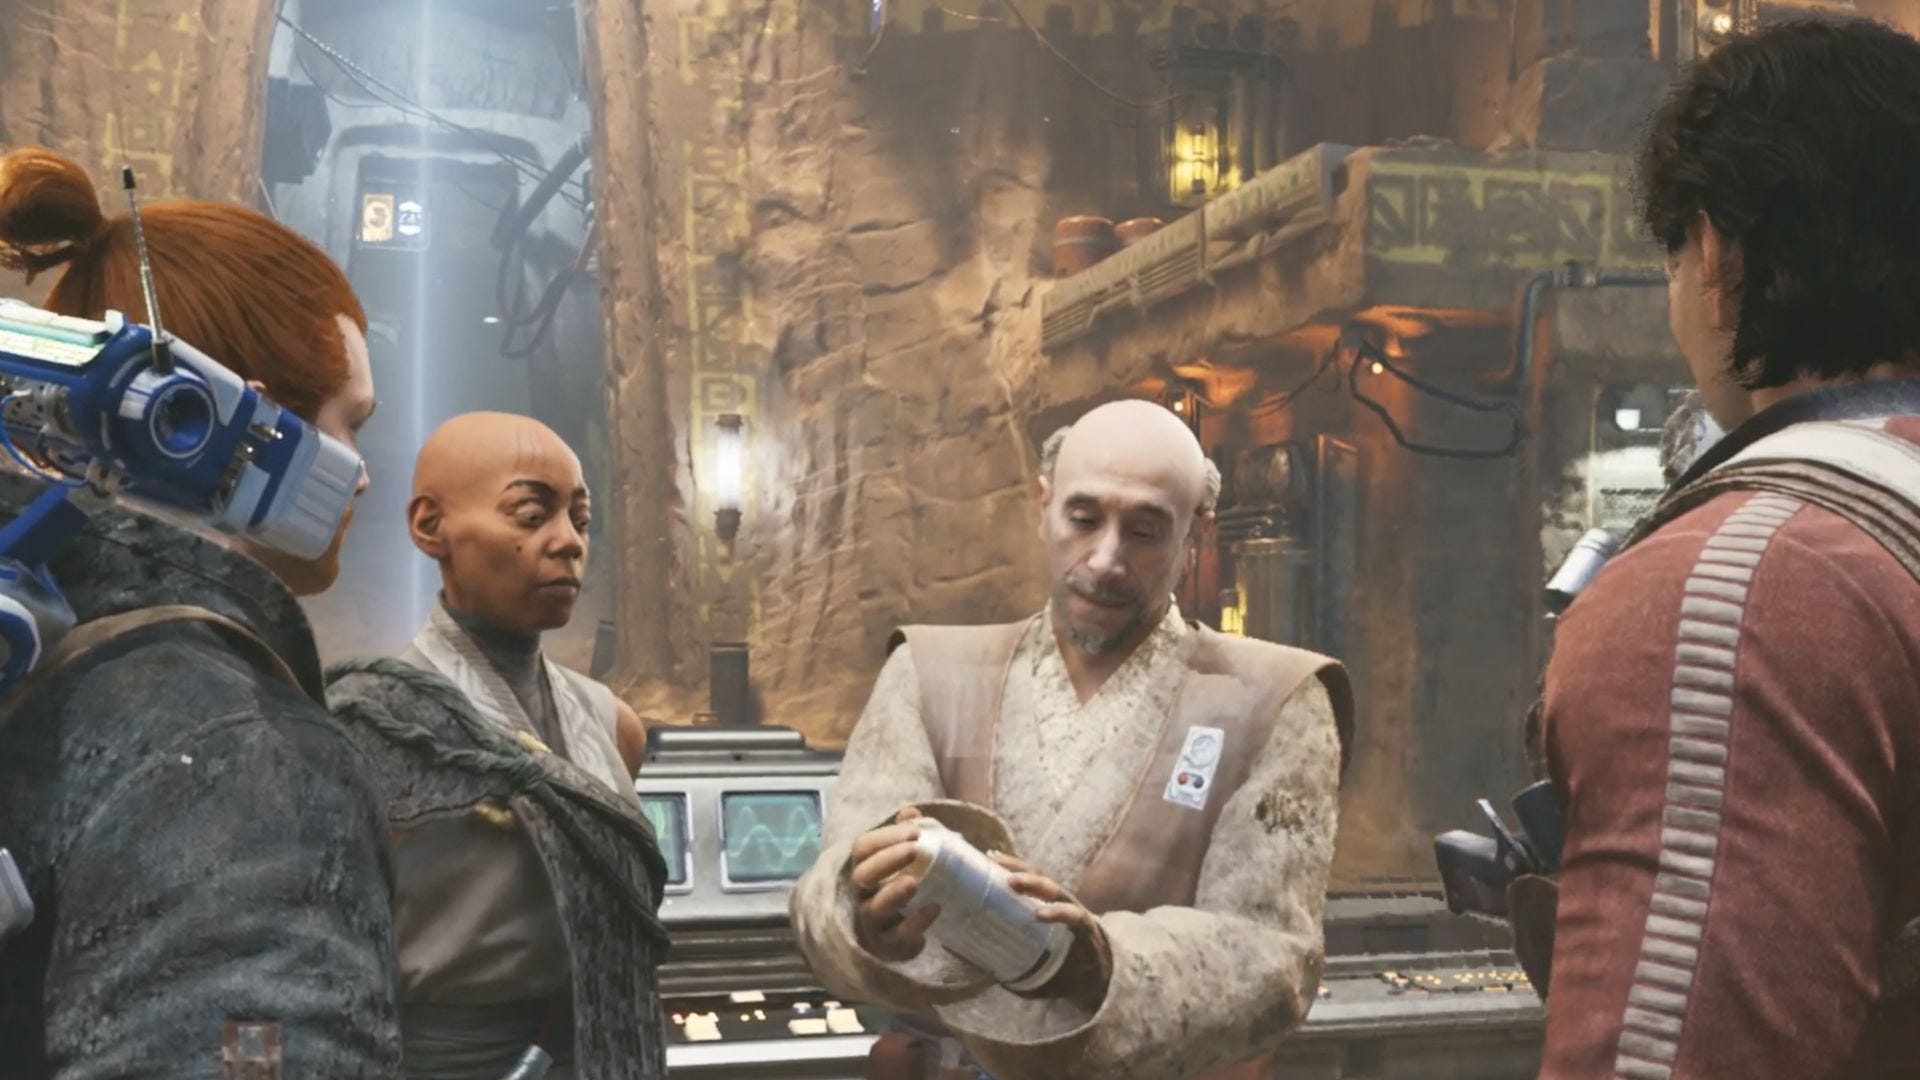
Enjoy a nice fireside chat with Merrin and a nap before continuing on your way, where Eno Cordova will greet you and bring you to the Archive to talk to Cere.

Greez and Bode will join you, and you'll then have the option to travel to either the Shattered Moon or back to Koboh to research Tanalorr, granting hope for a land where Force-sensitives could be safe from the Empire. It doesn't matter which option you choose here, but we've chosen Shattered Moon as the next destination for this guide. Playing through this interlude is also how to unlock the Star Wars Jedi: Survivor blaster stance, which grants you a gun, but only reloads ammo when the player hits enemies with the lightsaber in their alternate hand.
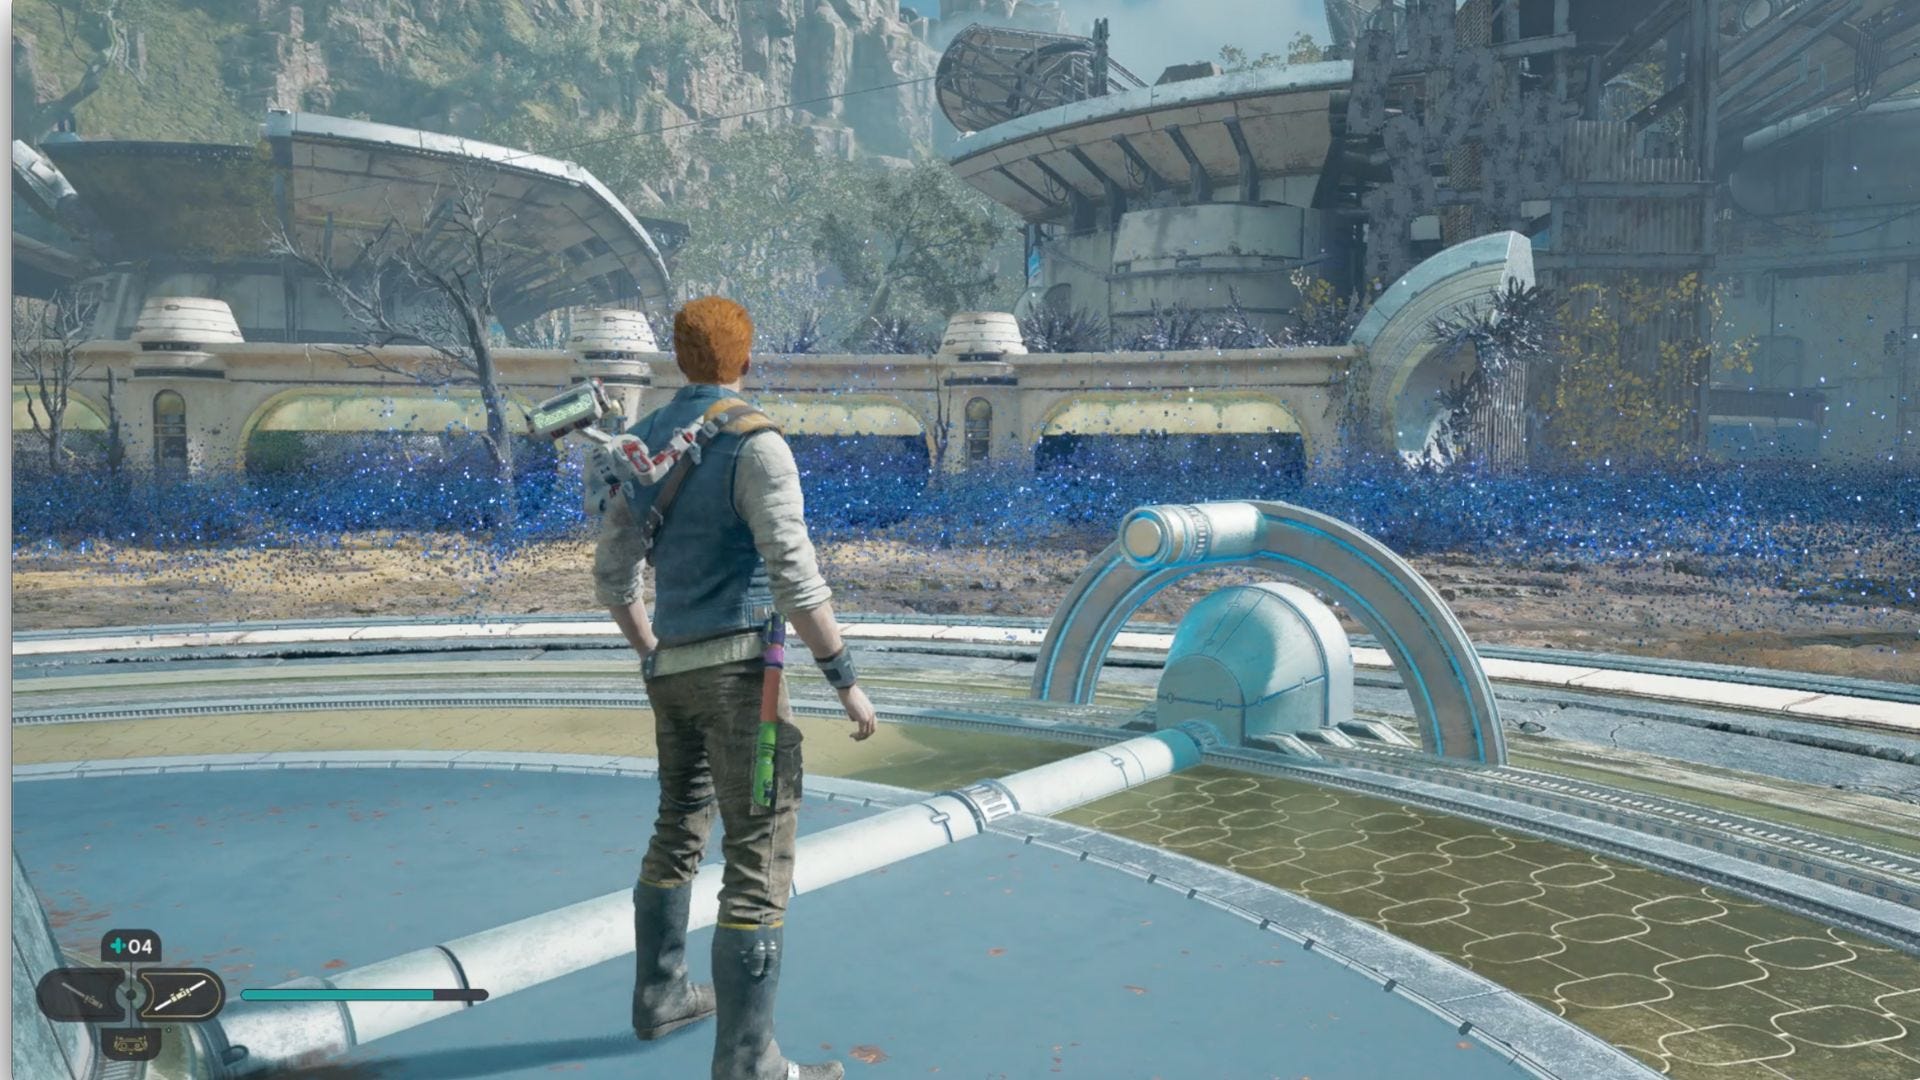
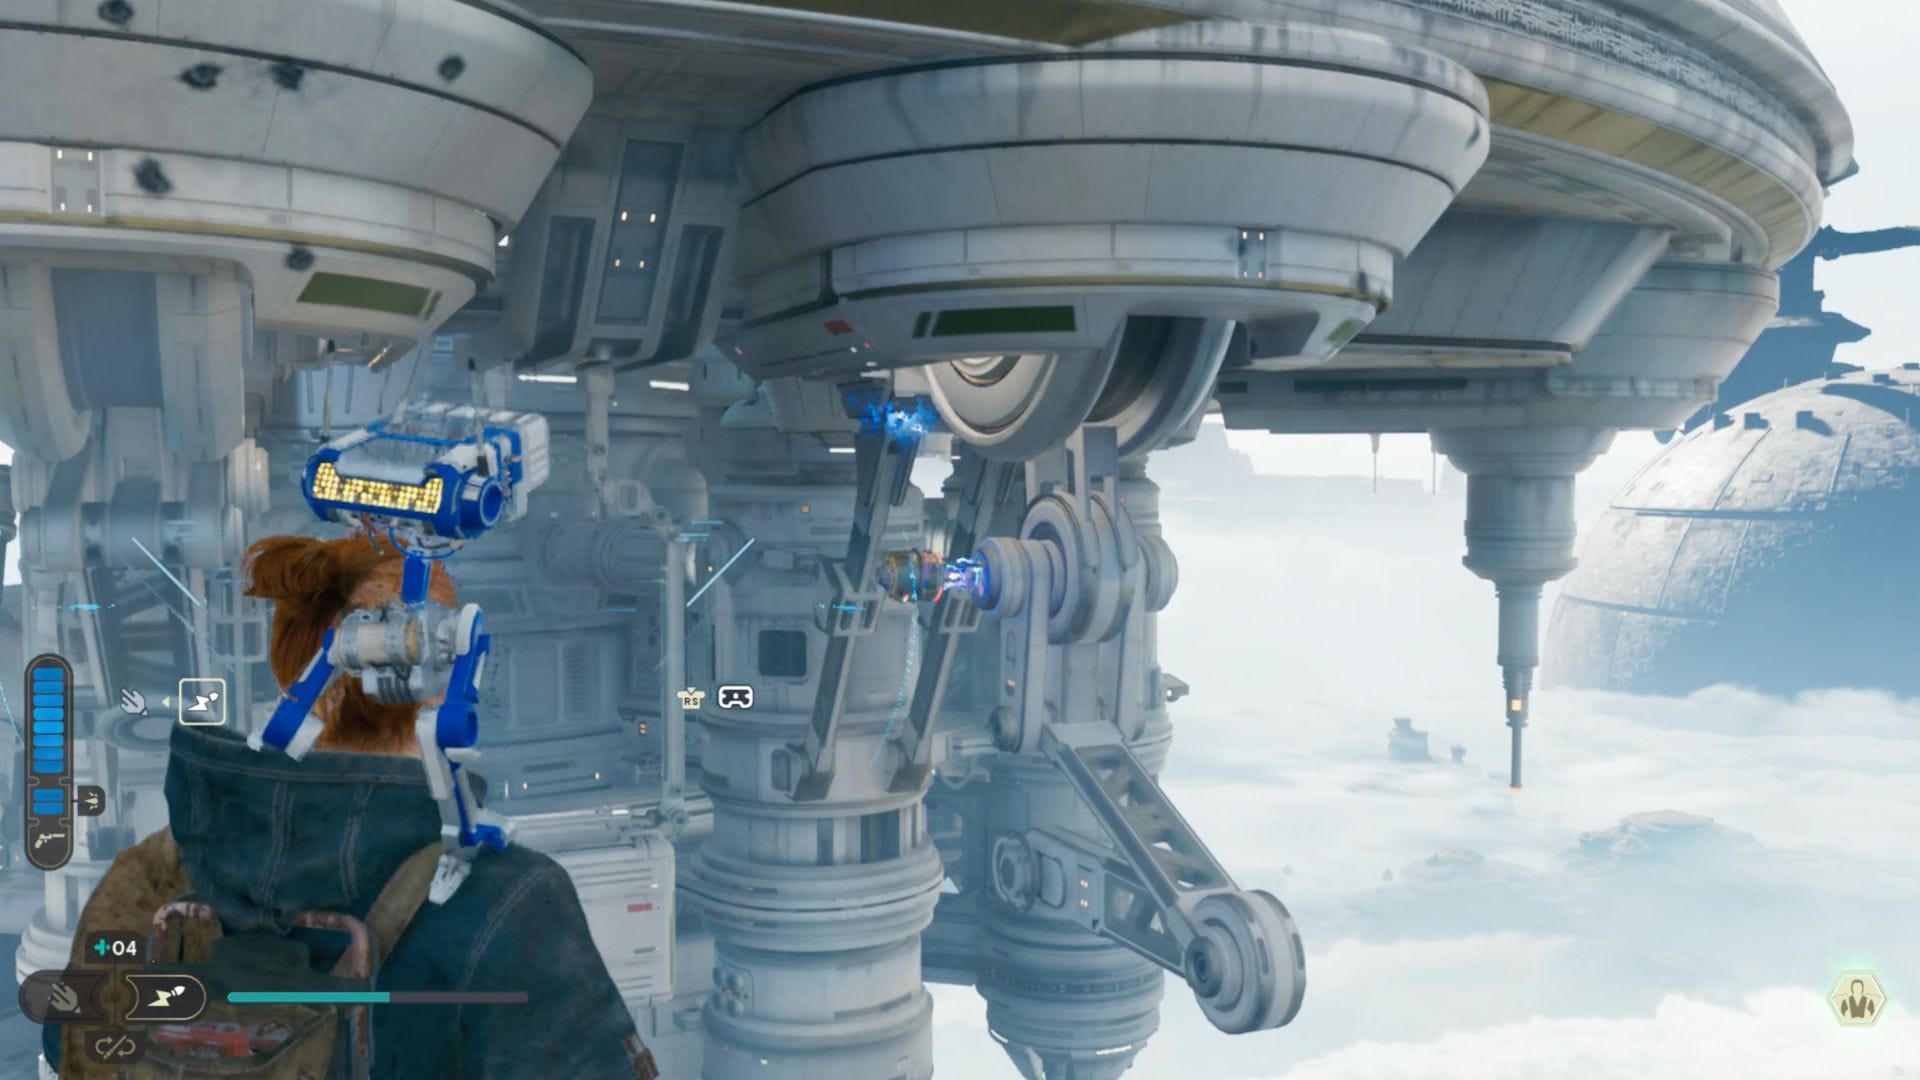
Shattered Moon walkthrough: Gather research
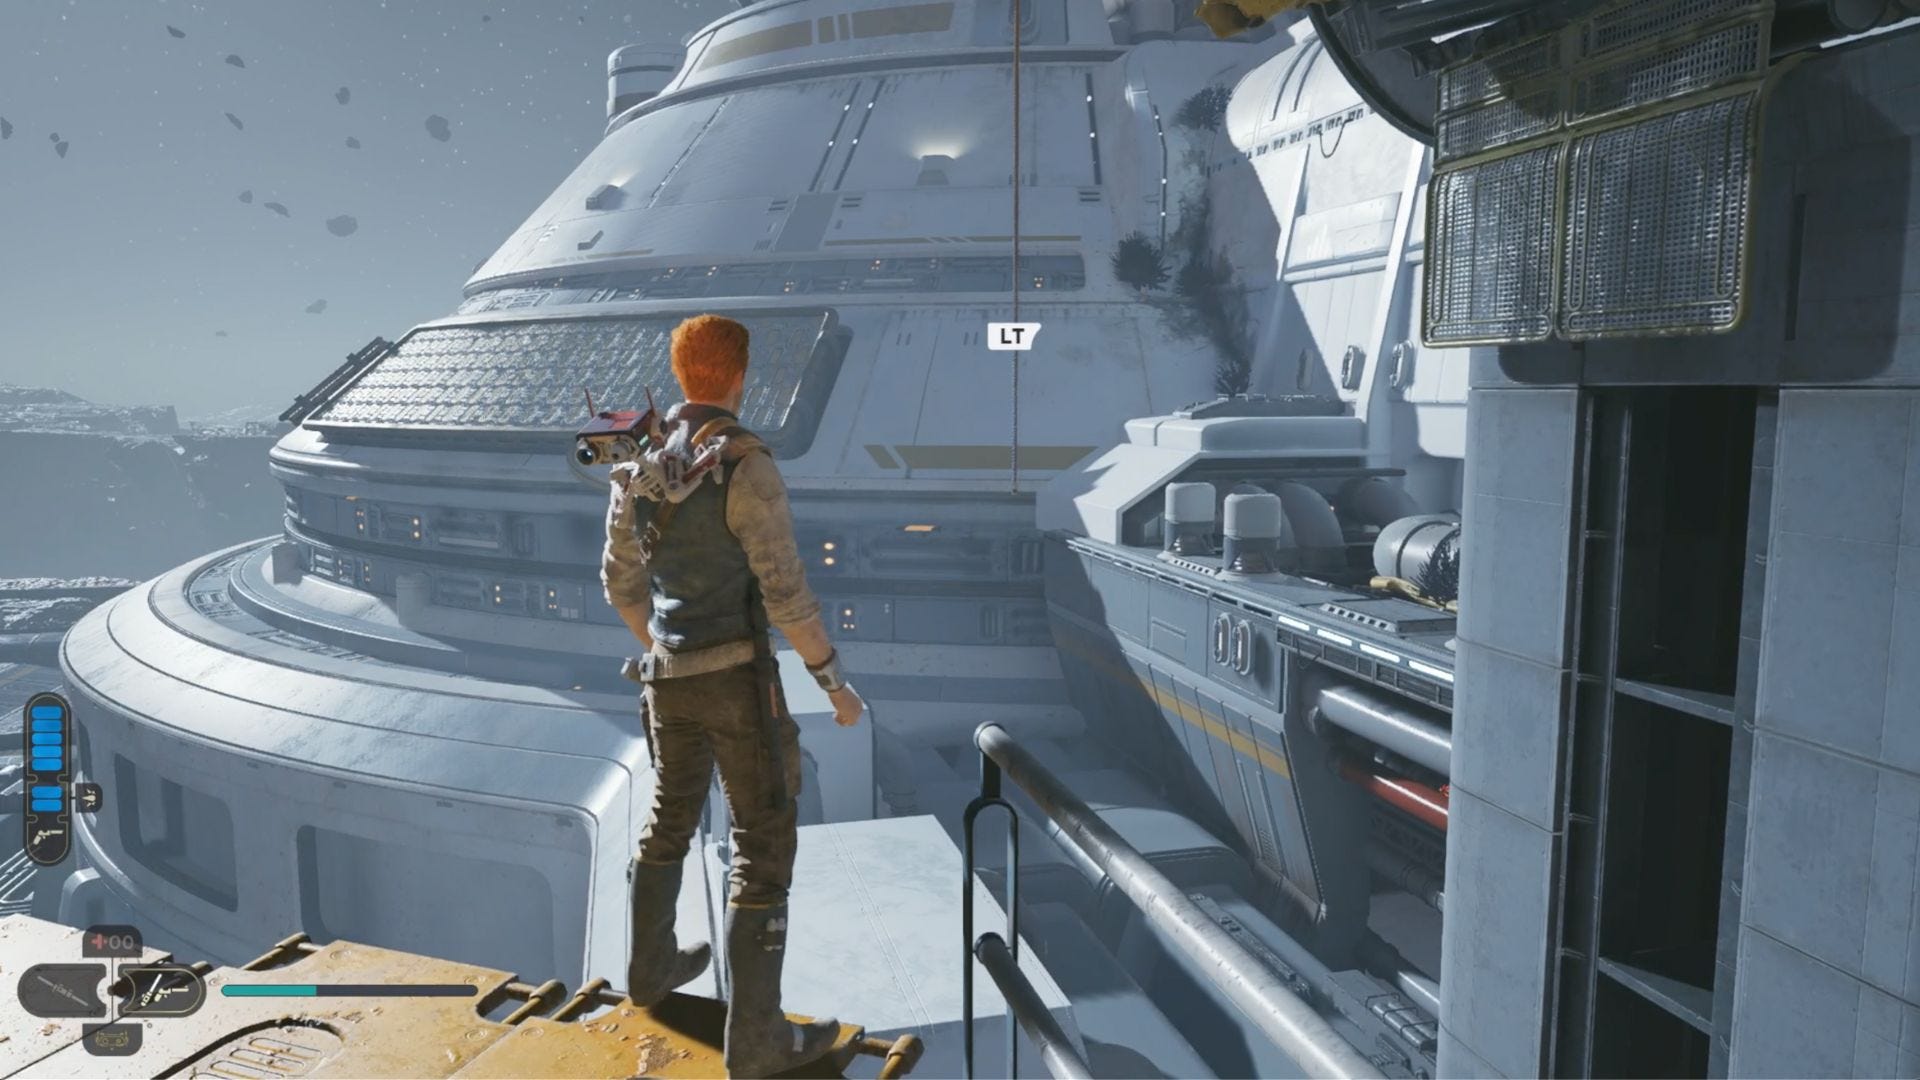
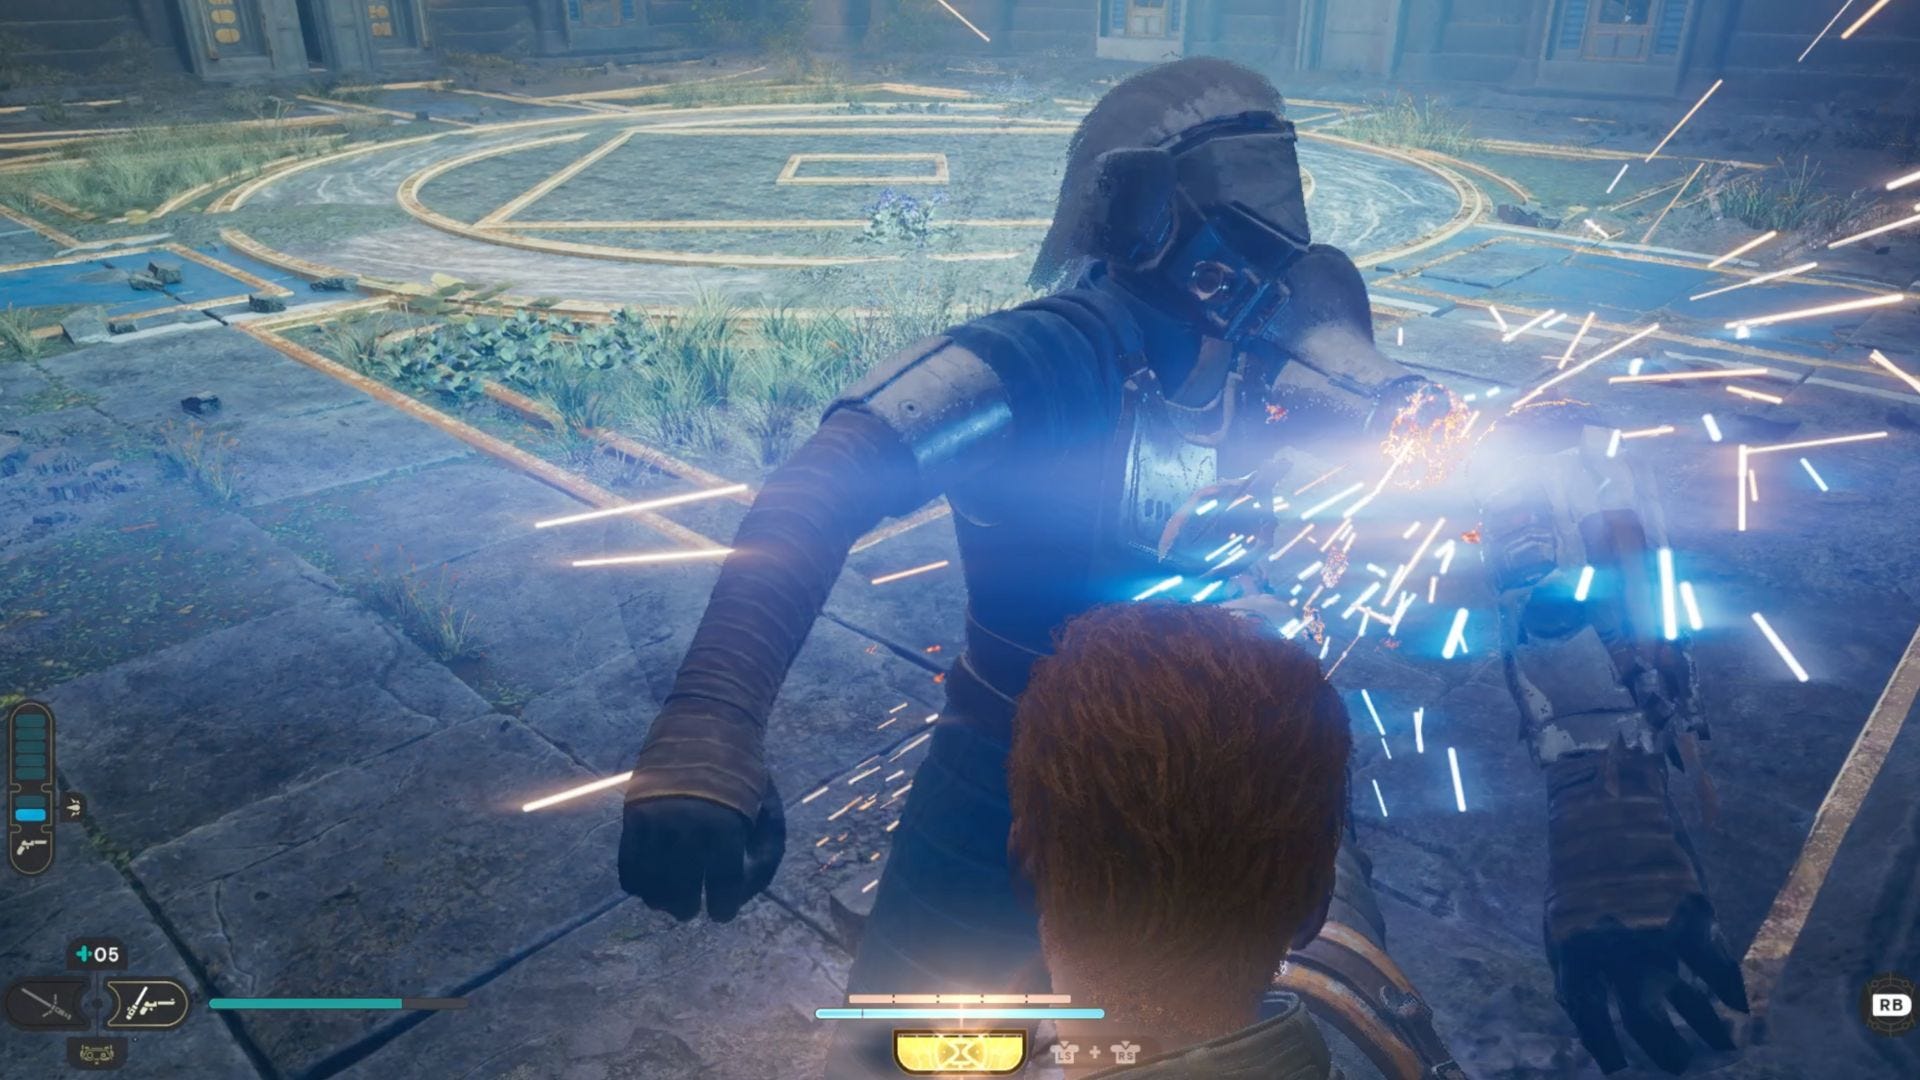
Shattered Moon begins with a relatively straightforward traversal as you explore the area and combat enemies. However, there are a lot of hidden goodies, so keep an eye on our Star Wars Jedi: Survivior Shattered Moon collectibles guide to pick up some loot along the way. Certain rooms in this facility have a lot of enemies and be warned: the Reprogrammed Magnaguard will seemingly spawn out of the ether, so be wary of any hallways with a lot of sparks. Fortunately, this boss is relatively easy, as long as you can avoid its powerful melees.

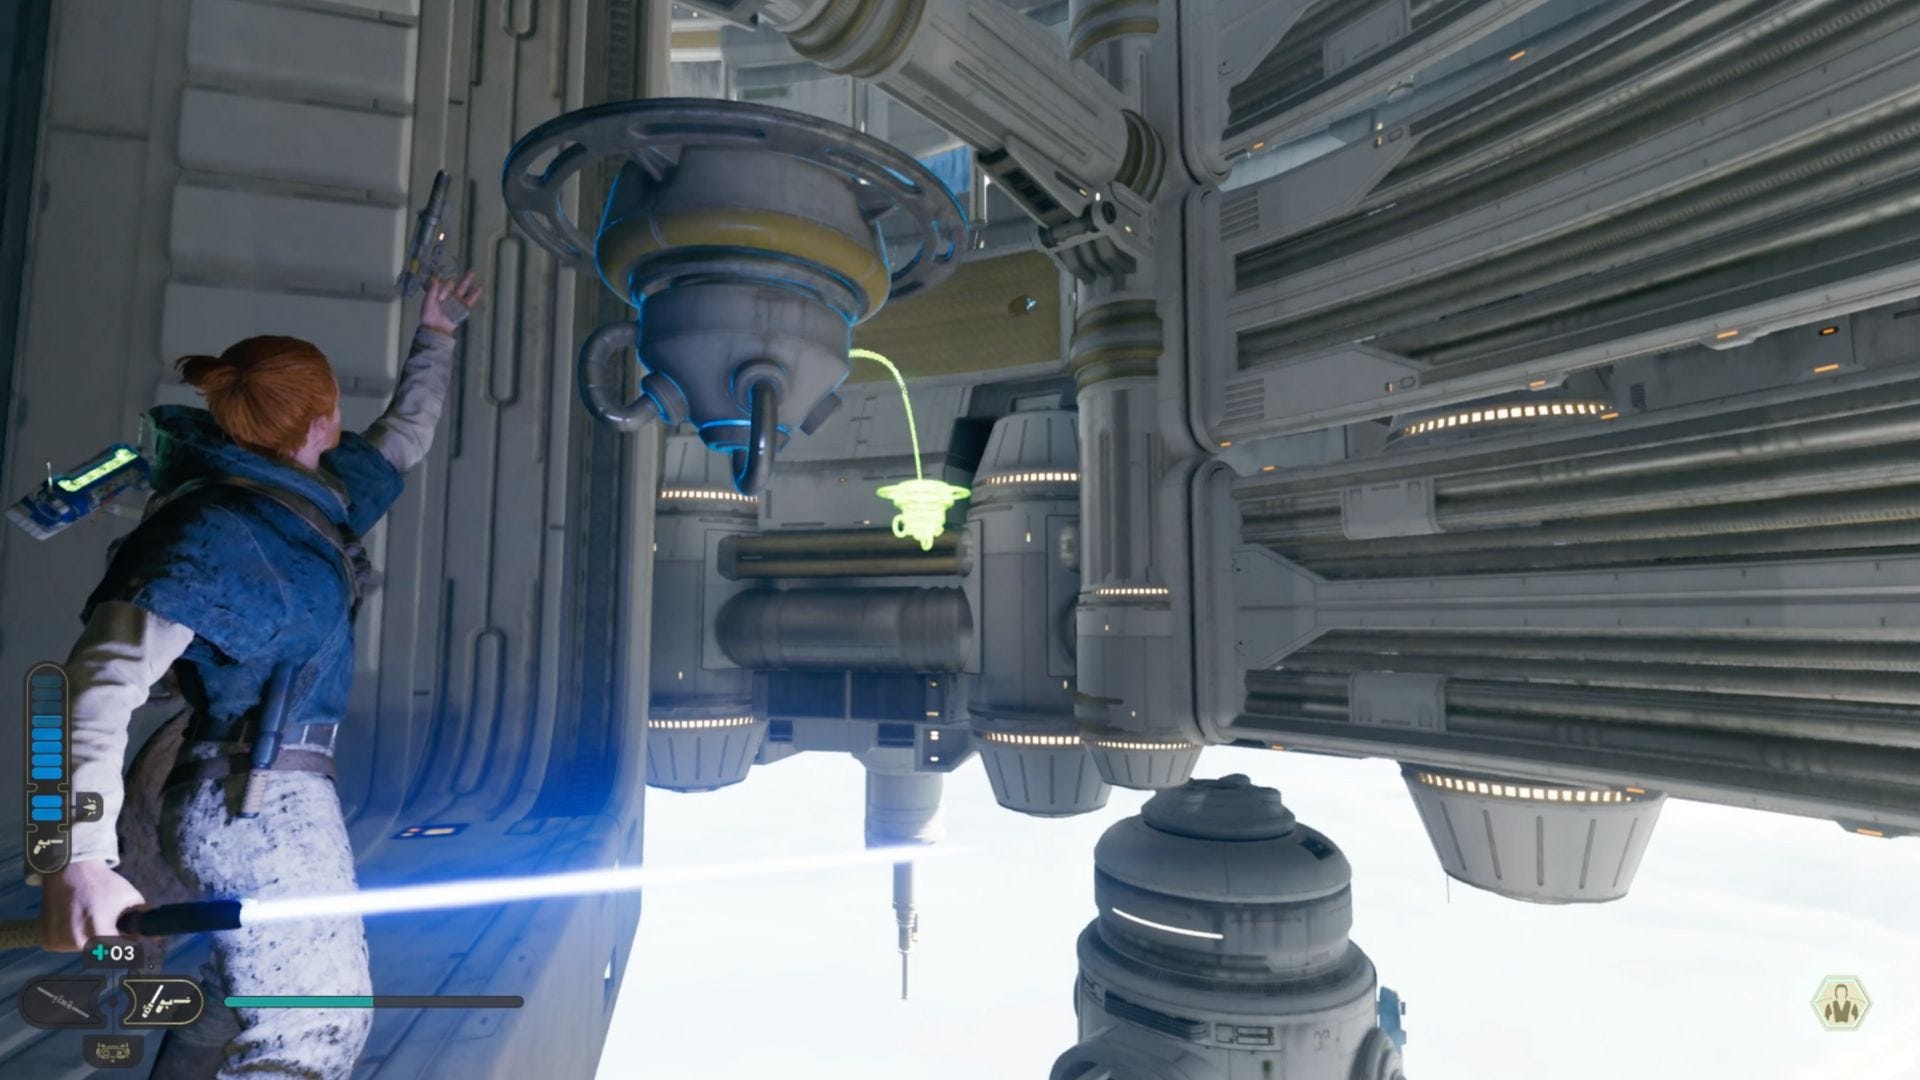
The traversals on Shattered Moon require much more specific timing than what you've seen to date, so you'll want to be prepared to avoid sparks and other elemental hazards on ziplines, grates, and platforms.
Continue your ascent along grates, ziplines, and wall-running parkour sections. One area in particular, which you'll encounter soon after speaking with a maintenance droid, may be tough for newer players as it requires zipline jumping to wall running to grappling and then more ziplining and wall running. Just keep your cool and focus on timing everything just right. It'll be a while before you see your next Meditation Point, so try to keep some stims on reserve just in case.
You'll then encounter enemies behind a wall and need to veer to the right, dropping you into a pit. Defeat the creepy-crawlies and climb the yellow grate with the help of the Lifter Bot to make your way to the back area of this room, where you can drop in on the enemies.
Continue the platforming until you reach an endpoint where you fight several more enemies, and then turn right to find a rope off the side of the platform, which is easy to miss.
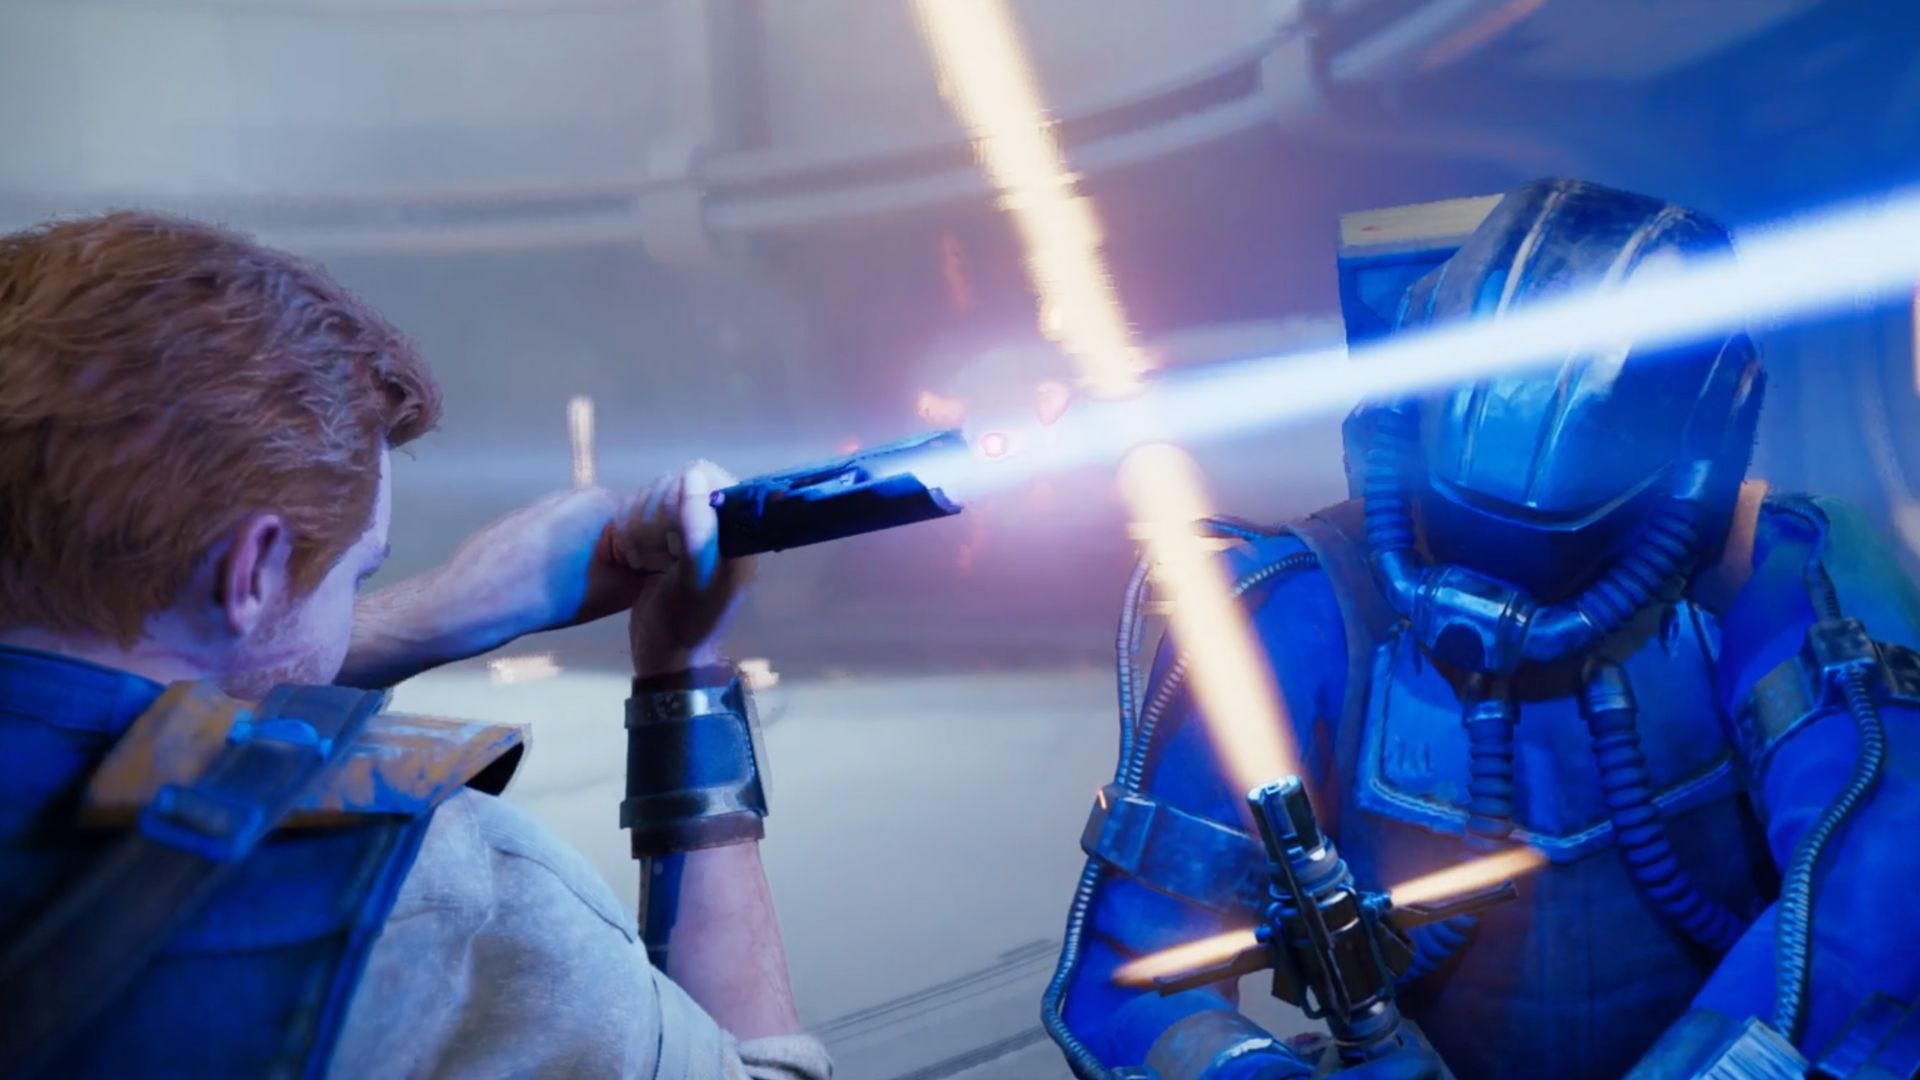
Continue ascending via the platforming, grates, and grapple until you reach the next Meditation Point. Swing your way through to the Superstructure Fabricators, and eventually, you'll parkour your way right to a boss room. Pick up the mysterious High Republic Device, and trigger your fight against Drya Thornne. Avoid the baddie's ranged attacks and, when possible, leverage the Force to use their attacks against them.
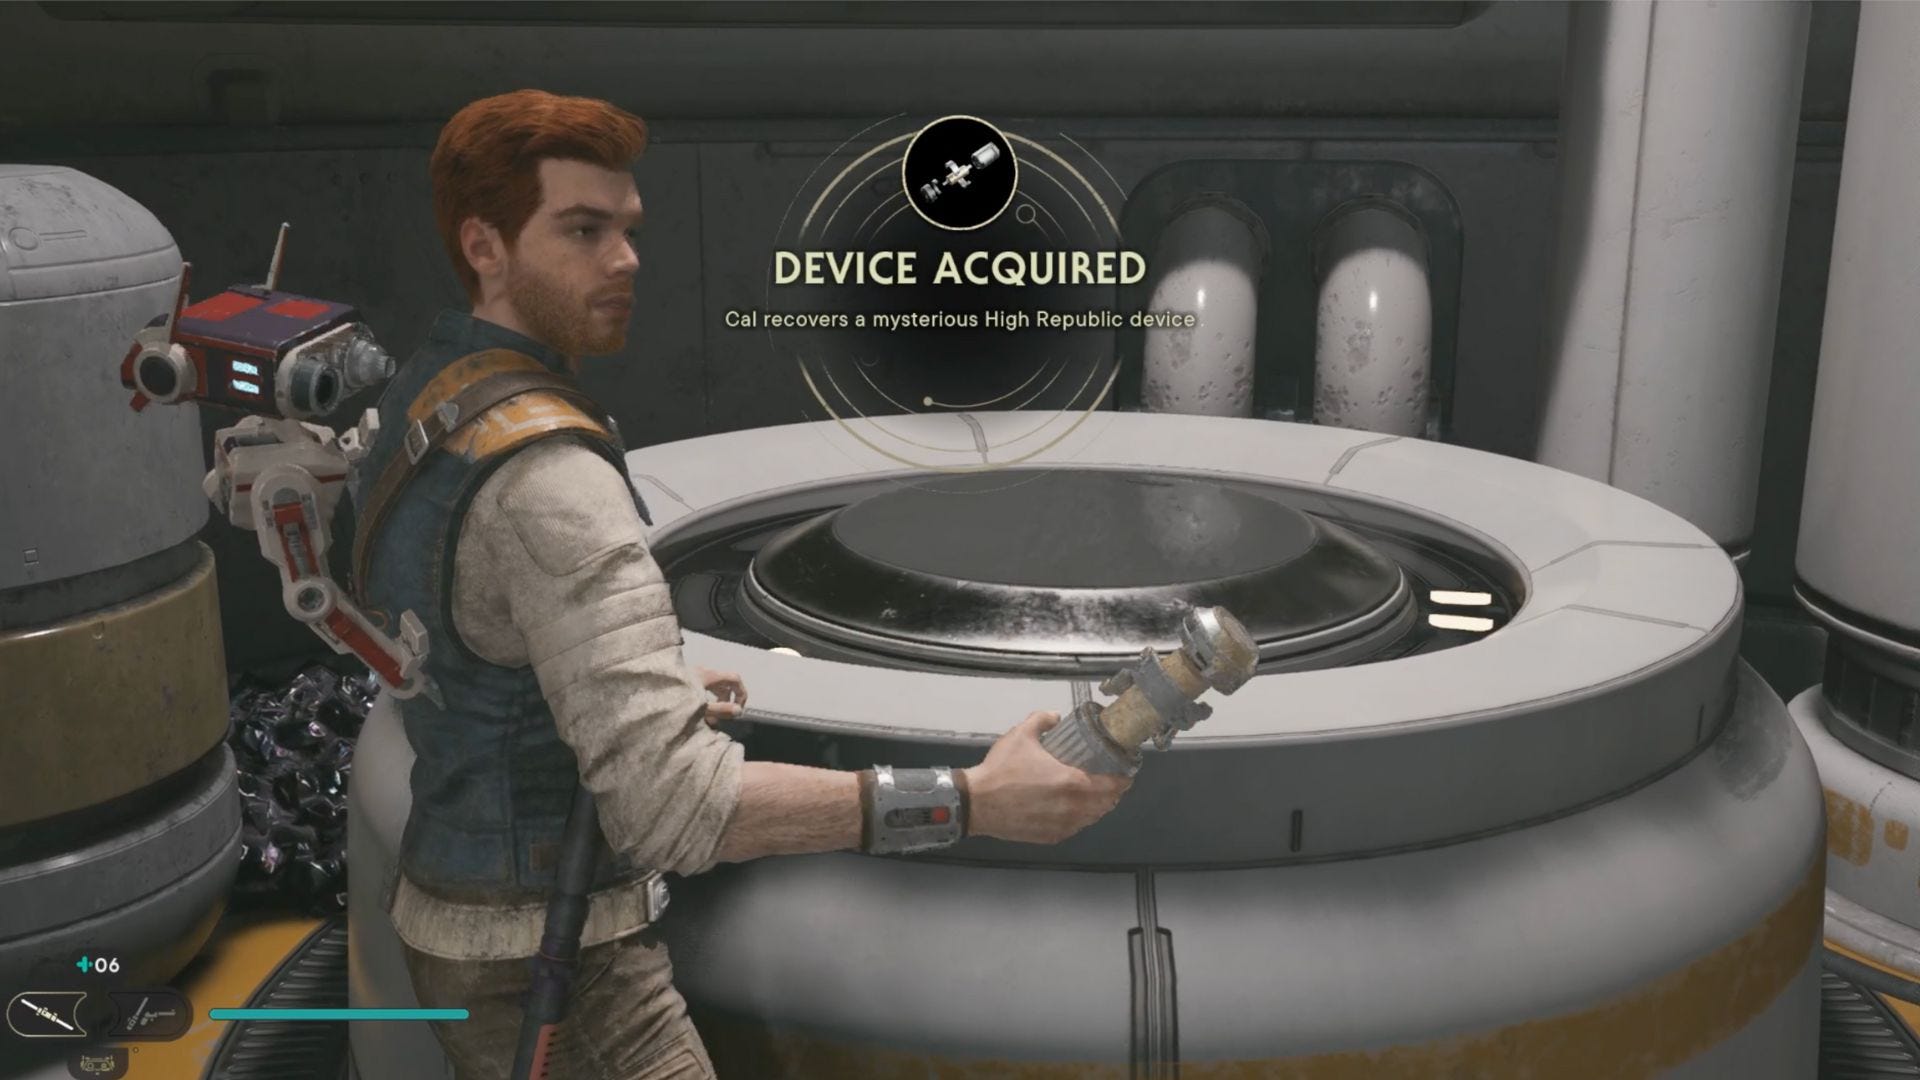
This battle is also how to unlock the crossguard lightsaber stance in Star Wars Jedi: Survivor, so check out our guide to learn what it is and how to use it in combat.
Make your way through some more enemies as you head back to the Mantis to return to Koboh.
Koboh walkthrough: Gather research
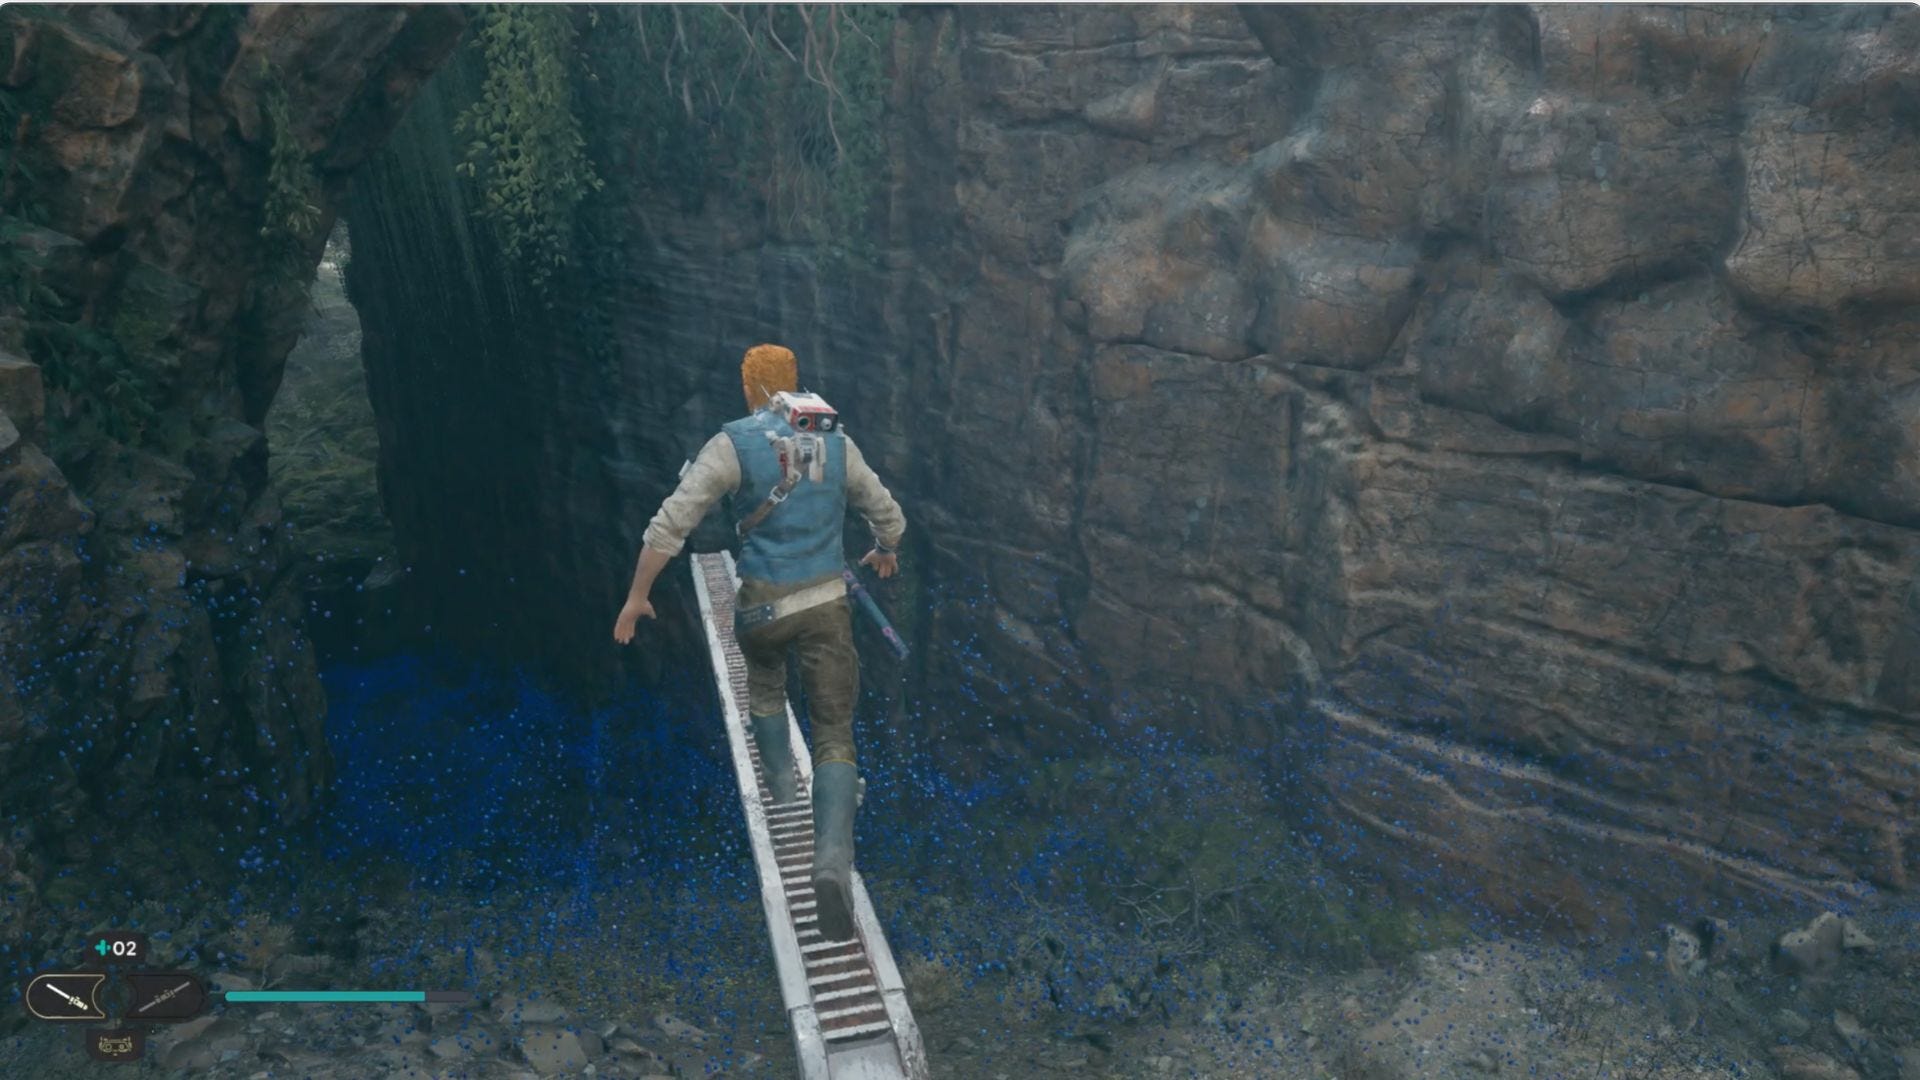
Back on Koboh, head toward the Stone Spires as indicated on your holomap. You can use a Meditation Point as a fast travel option if you have one unlocked in that direction, such as the one in Riverbed Watch. At a waterfall in Riverbed Watch, hitch a ride on a glider to fly to a platform across the way.
After a stop at the Igneous Fissure Meditation point, another short traversal, and another glider excursion, you'll encounter your first bounty hunter, Korej Lim.
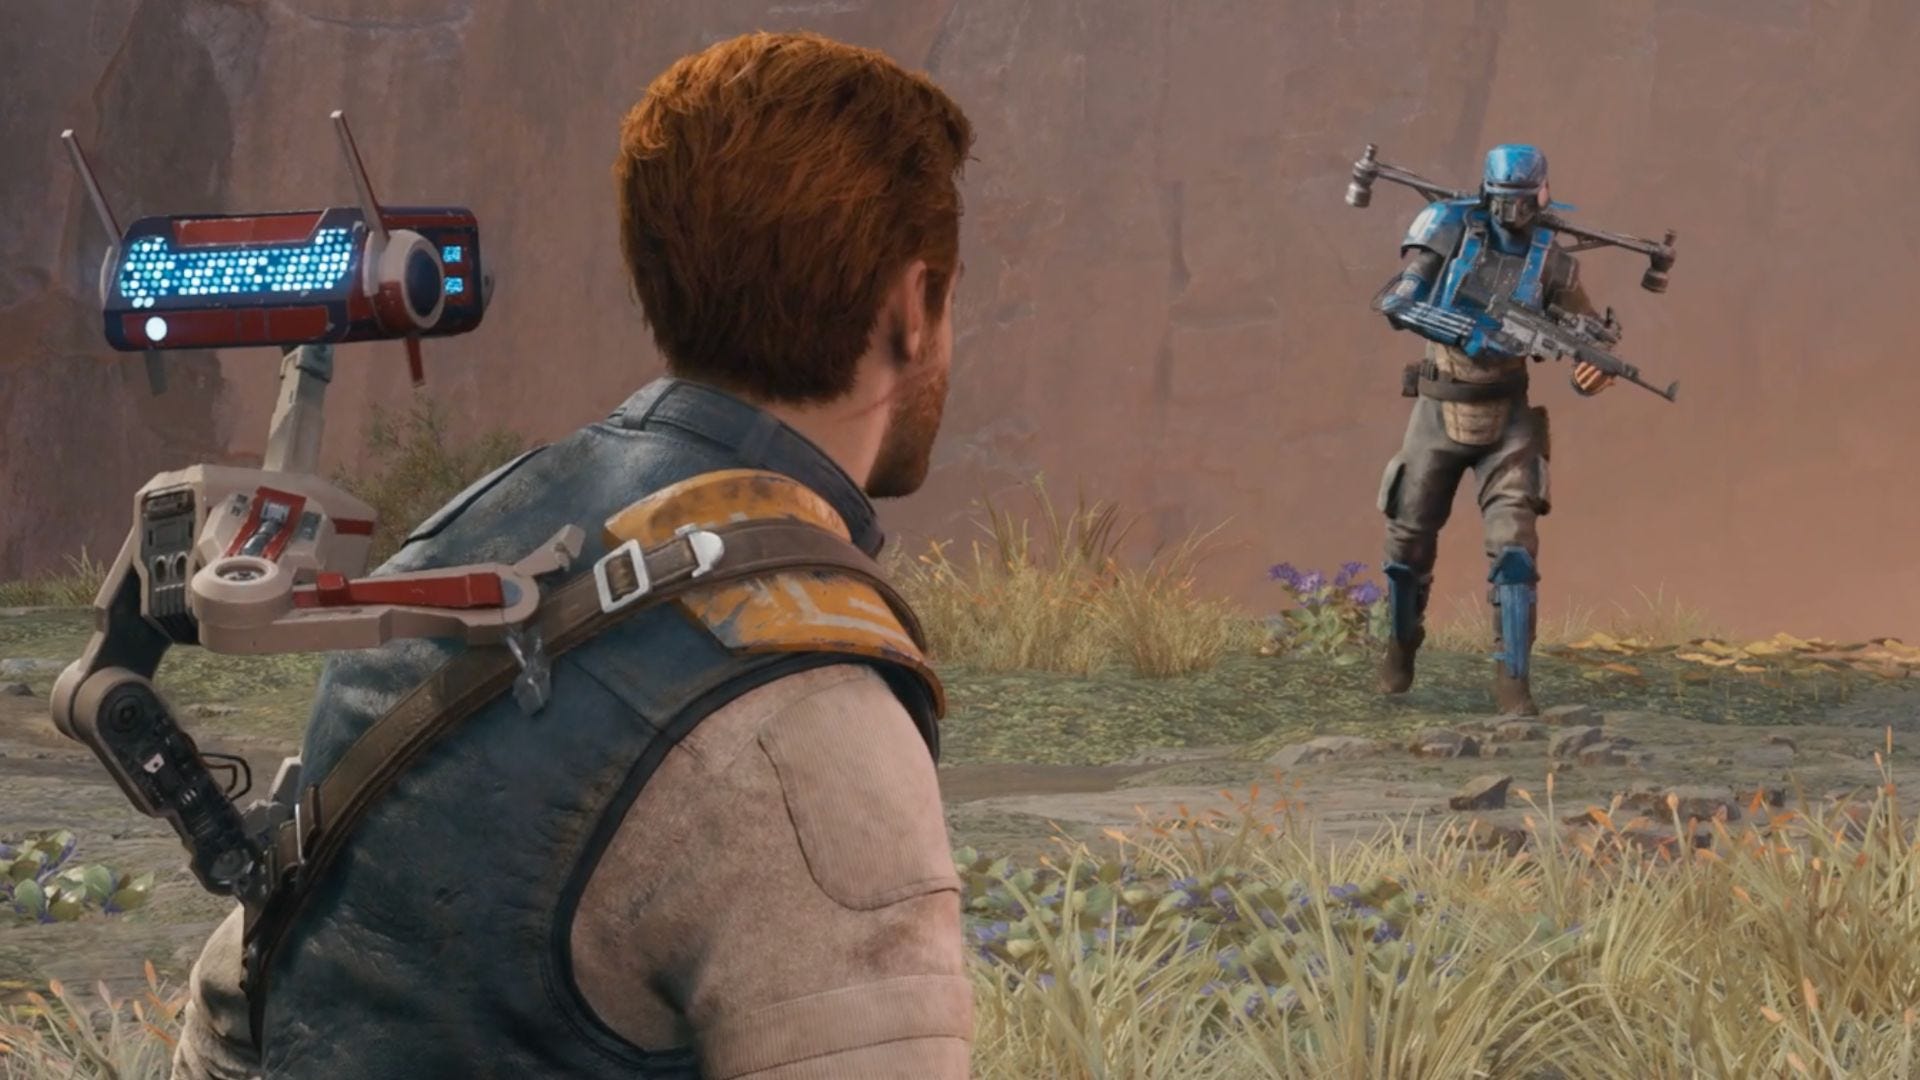
Completing this fight will introduce you to Aussie-accented Caij, who will join the Saloon crew and offers rewards in exchange for Bounty Pucks collected from bounty hunters. Climb the wall behind her, deal with the Gorocco, and glide your way to the Devastated Settlement Meditation Point ahead of you.
You'll then need to use a combination of gliders and laser mechanics to traverse this area. The puzzle series requires you to point lasers to clear off smokestacks, allowing you to glide to otherwise unreachable areas. But first, you need to activate the lasers by getting orbs in the couplers. This is a little tricky and, at some points, requires using a BD-1 ability you'll earn called the Koboh Grinder. This ability allows you to create paths from rock formations to the lasers to clear blocked pathways. The puzzle series requires moving orbs from several locations into the mountain couplers to clear the formations. This bit is tricky, which is why he have a separate guide to the Star Wars Jedi: Survivor Koboh Grinder puzzle for you to check out.
Completing this will immediately take you to a boss fight against Tague Louesh.
Defeat them, then pick up the mysterious device and return to the Mantis.
Jedha walkthrough: Pilgrim's Sanctuary
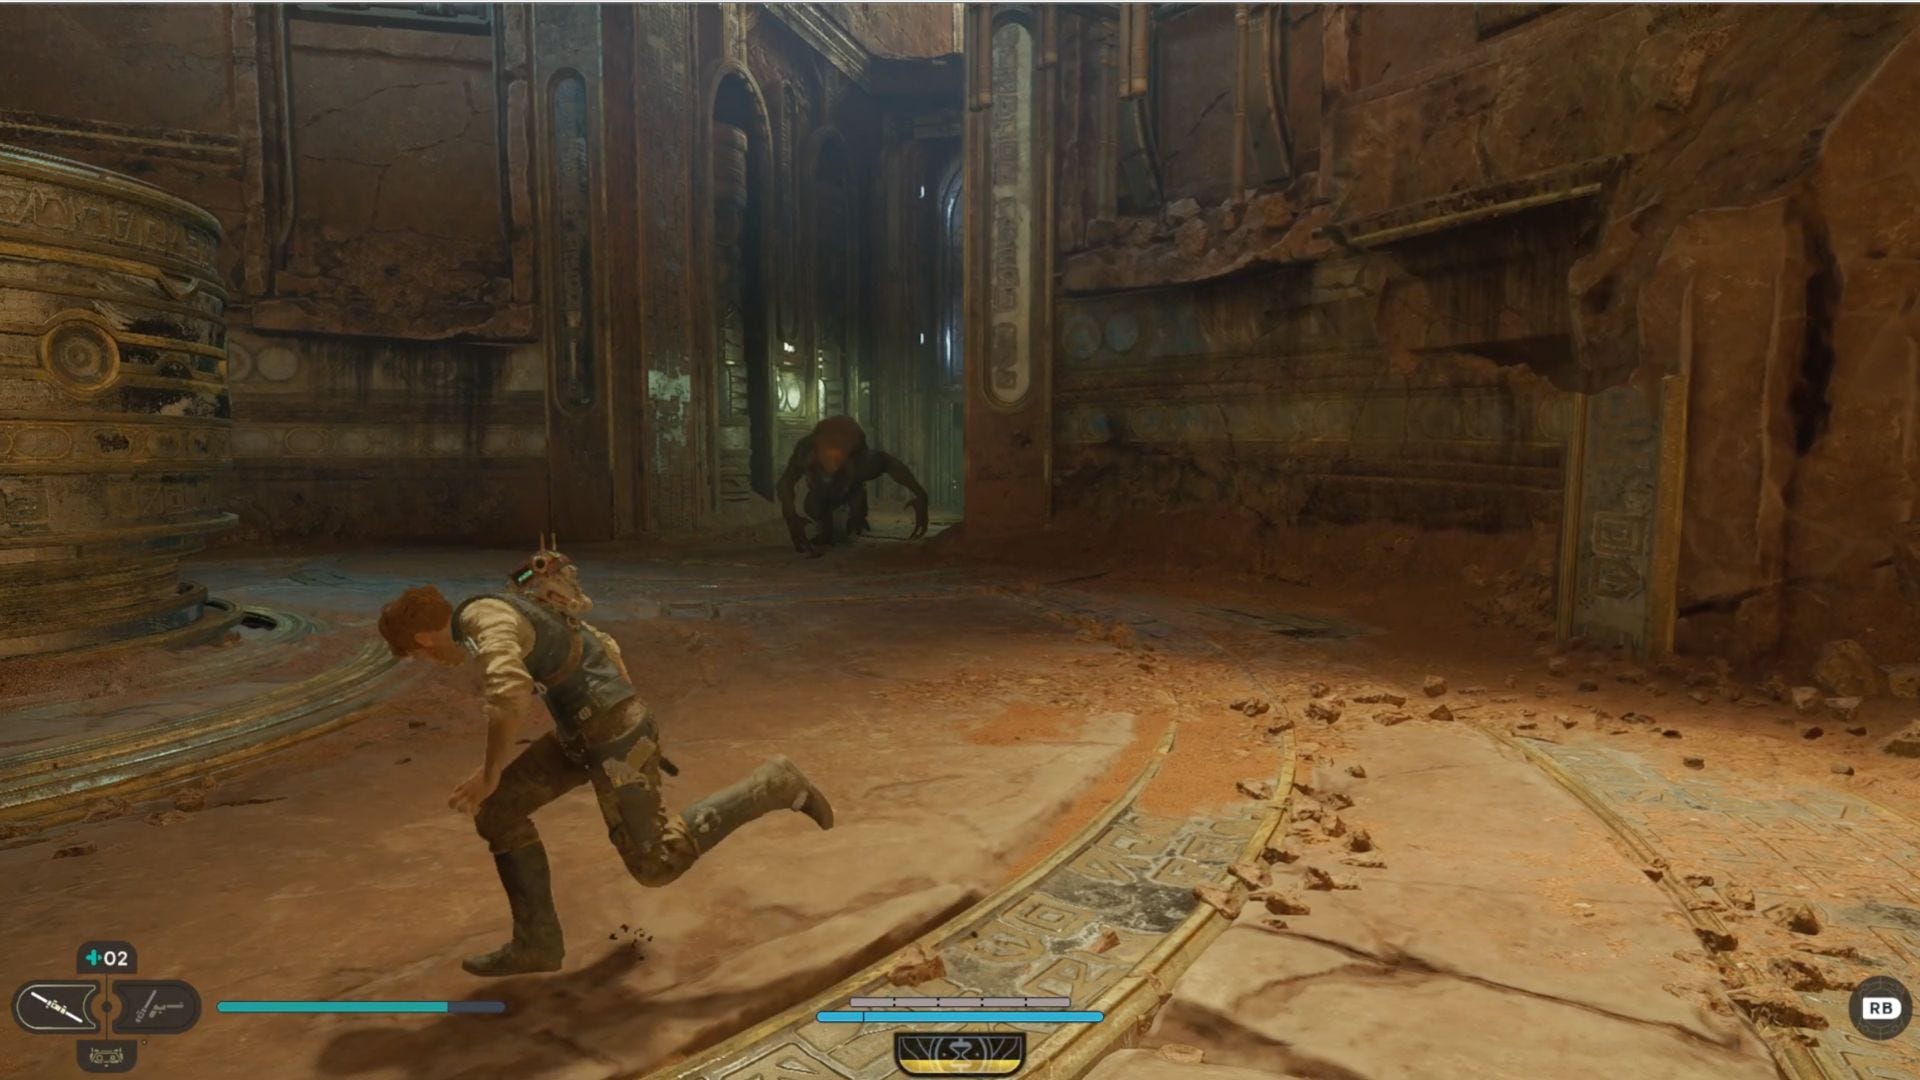
With your research findings in hand, return to Jedhas. Here, you'll be directed to traverse the desert with Merrin, using a Spamel to help you cross. The desert is rather vast, so pop open your map and head toward the marked location. Once you've crossed, follow the parkour path around the left to access the initial entryway, dropping enemies along the way.
You'll face a quick little puzzle, so use the Force to move the platform so you can roll the ball to unlock the door, then move it back to give you the lift you need to cross. Then, take on the desert creature alongside Merrin and fight the Sutaban to continue.
In the Sutaban room, a simple puzzle will require you to pull a glowing blue box out from behind a grate, so be sure to look up so you can see where to find the pulley.
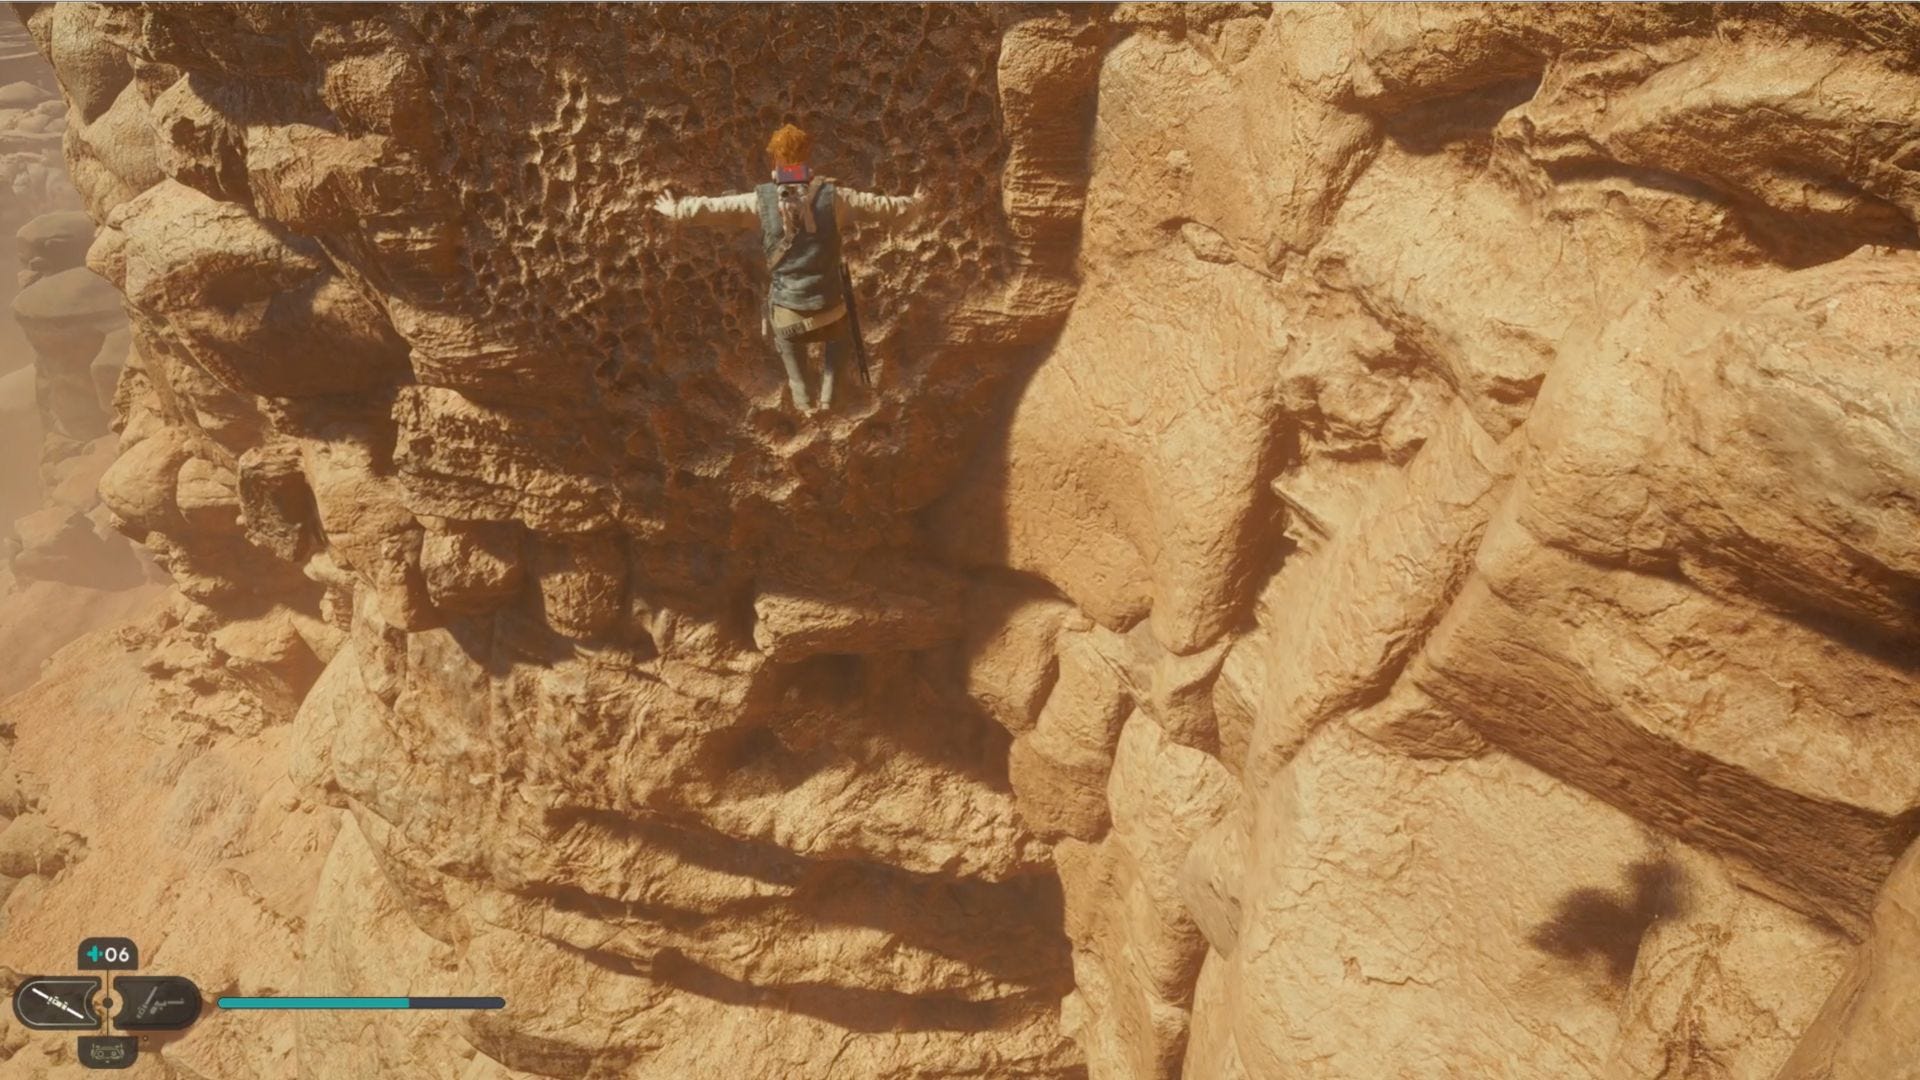
At this point, be prepared to perform significant acrobatics to ascend the mountain. Nothing here is too complicated, but it may take a little effort to figure out how to navigate every path.
Once the wind rushes you, follow the path to the left and use your Force abilities to move the block to block the wind. Progress, and in the next part, note the spinning poles and face the wind as you climb, jump and grapple across the way, pulling another block out to block the wind before making your way back and swinging across the poles that were previously spinning. Continue battling enemies and performing acrobatics, remaining aware of your surroundings so you know when to climb, jump, grapple, swing, and wall run. It's also relatively easy to backtrack here, so reference your map often.
Note that just beyond the Crypt of Uhrma Meditation Point, you'll hear the sound of a block pulsating energy block but won't be able to see it until you drop down to fight the Stormtroopers. Pushing it in will give players the boost they need to cross to the following path section.
Continue progressing through the crypts, taking the elevator up and following the ledges around until you meet with Merrin again. You'll reach a path gap you can't clear, so turn right and use the wind to guide you to the Singing Ruins. When you enter the room with the platforming mini-puzzle here, it's easy to miss that there's a block above you that you can move to block the wind to help you cross, so be sure to look around the room and cross-reference your map as needed.
Once you climb this and drop back down, you'll drop back into a windy area and find yourself at an impasse. This will introduce you to the Dash Jump ability, which you'll need to continue your traversal. Follow Merrin's path using your newfound skills, and cross the gap in the bridge you could not complete earlier. You still won't be able to jump over the next opening, so go down through the hole in the path instead, wall running to backtrack just a bit before taking a lower route that involves jumping across grates and using the dash jump.
Climb and dash jump through this section, climbing up to fight the Stormtroopers before squeezing through the wall path to reach your destination. Make your way through Sanctuary Temple, using the vertical wall to assist you downward where needed. Fight the enemies, and make your way to the barrier door and go right through the opening.
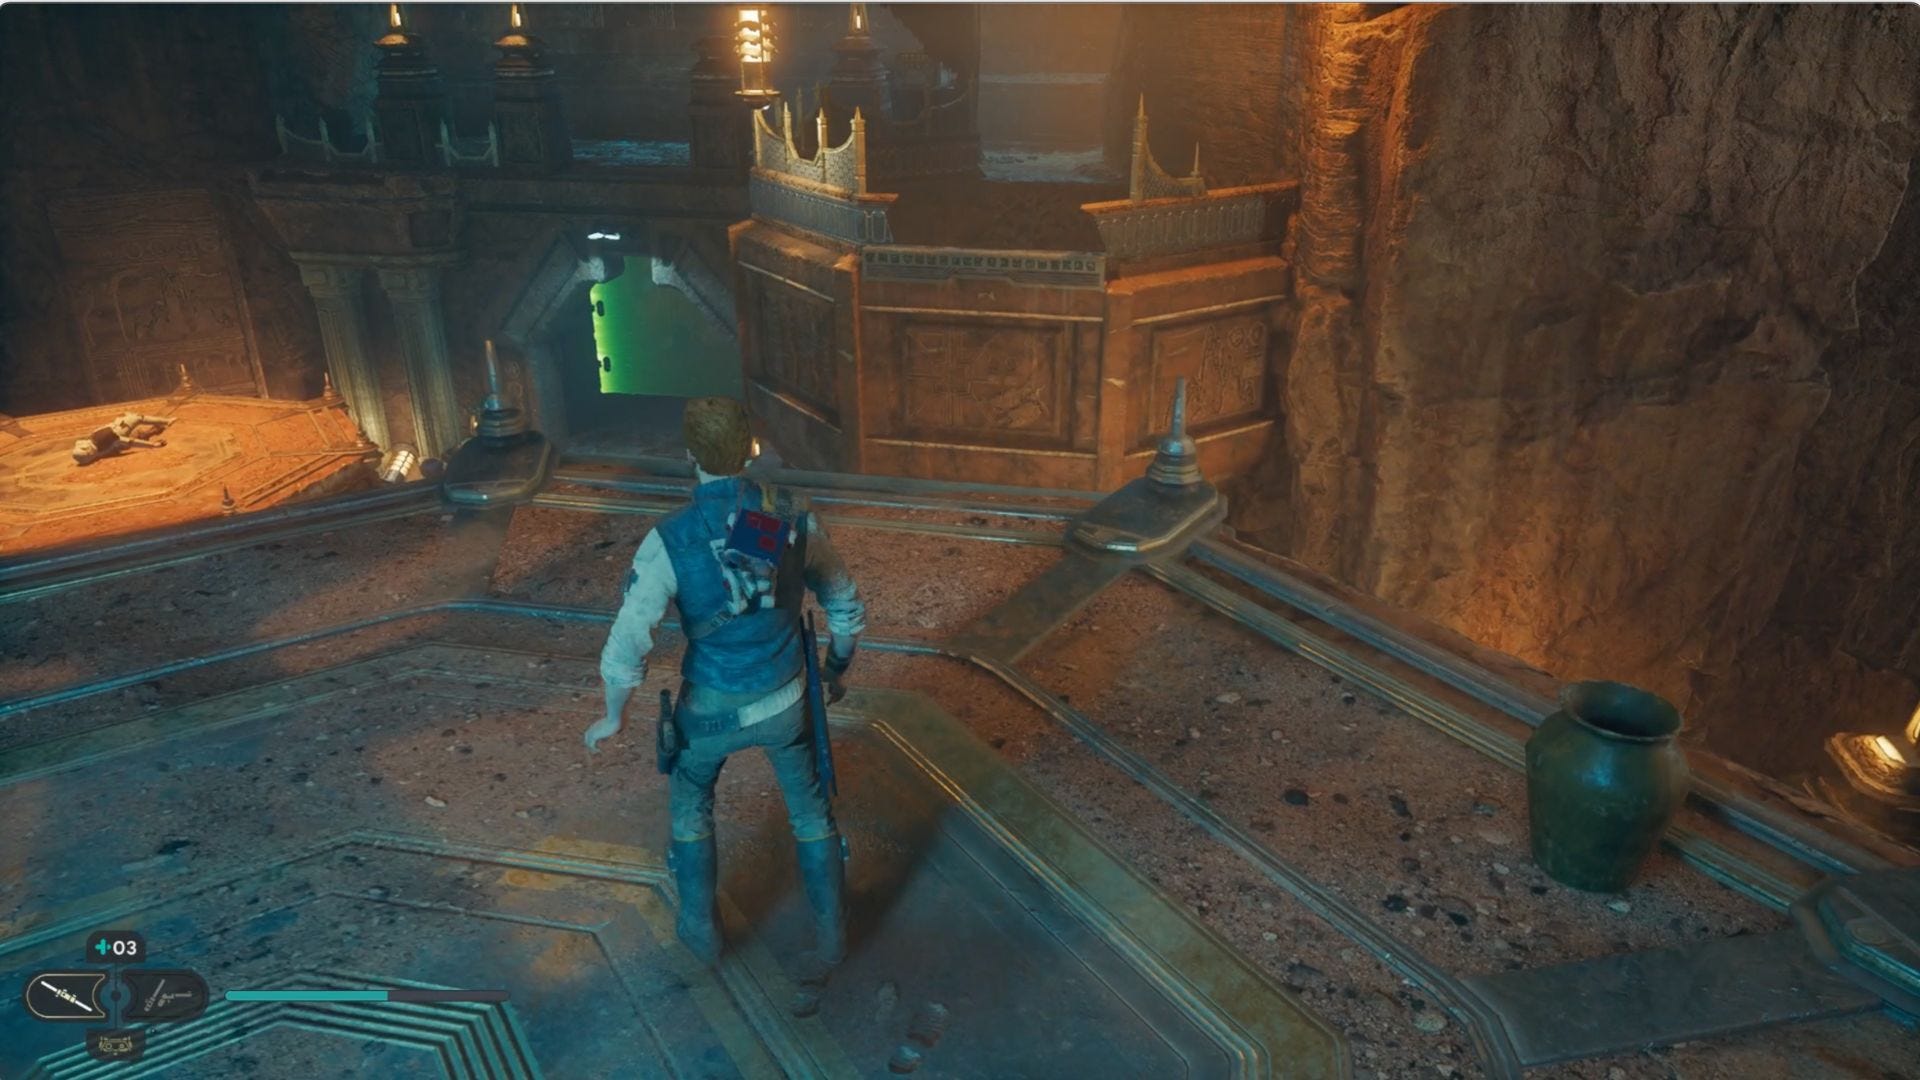
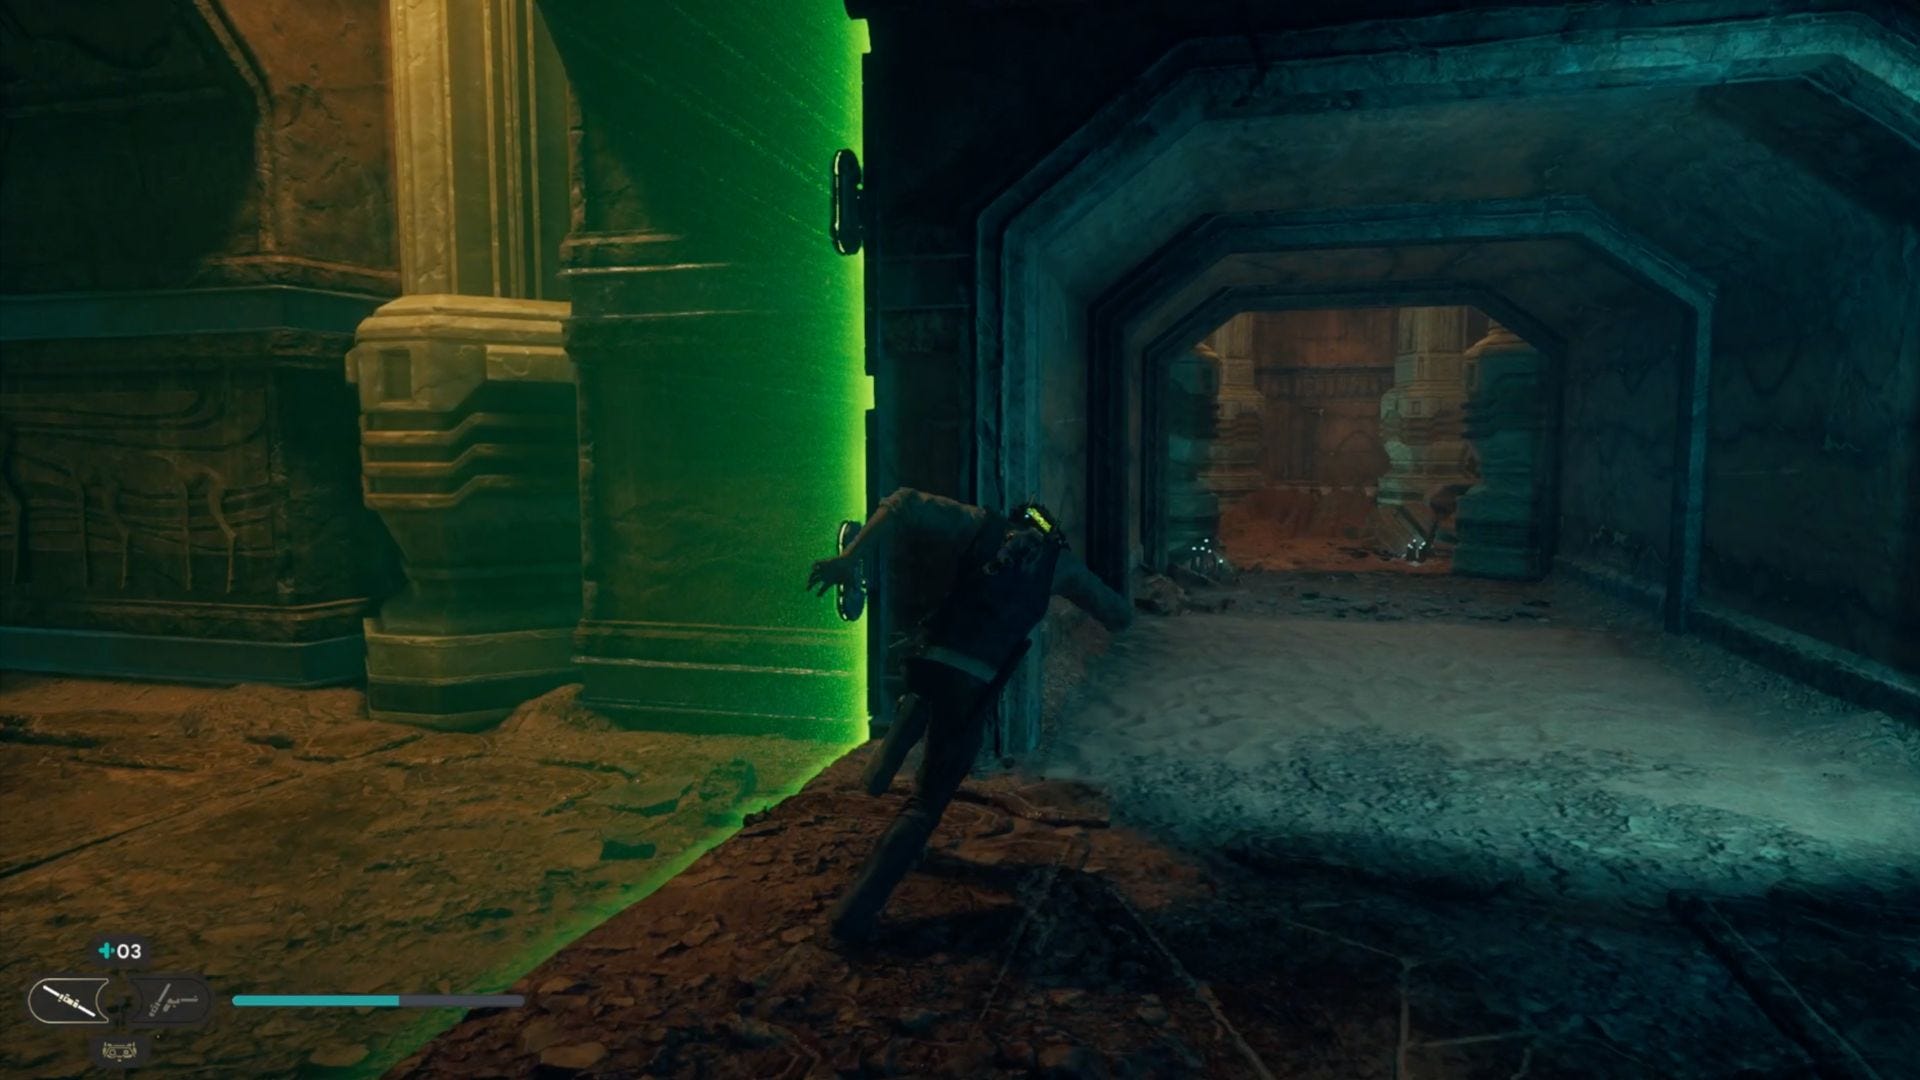
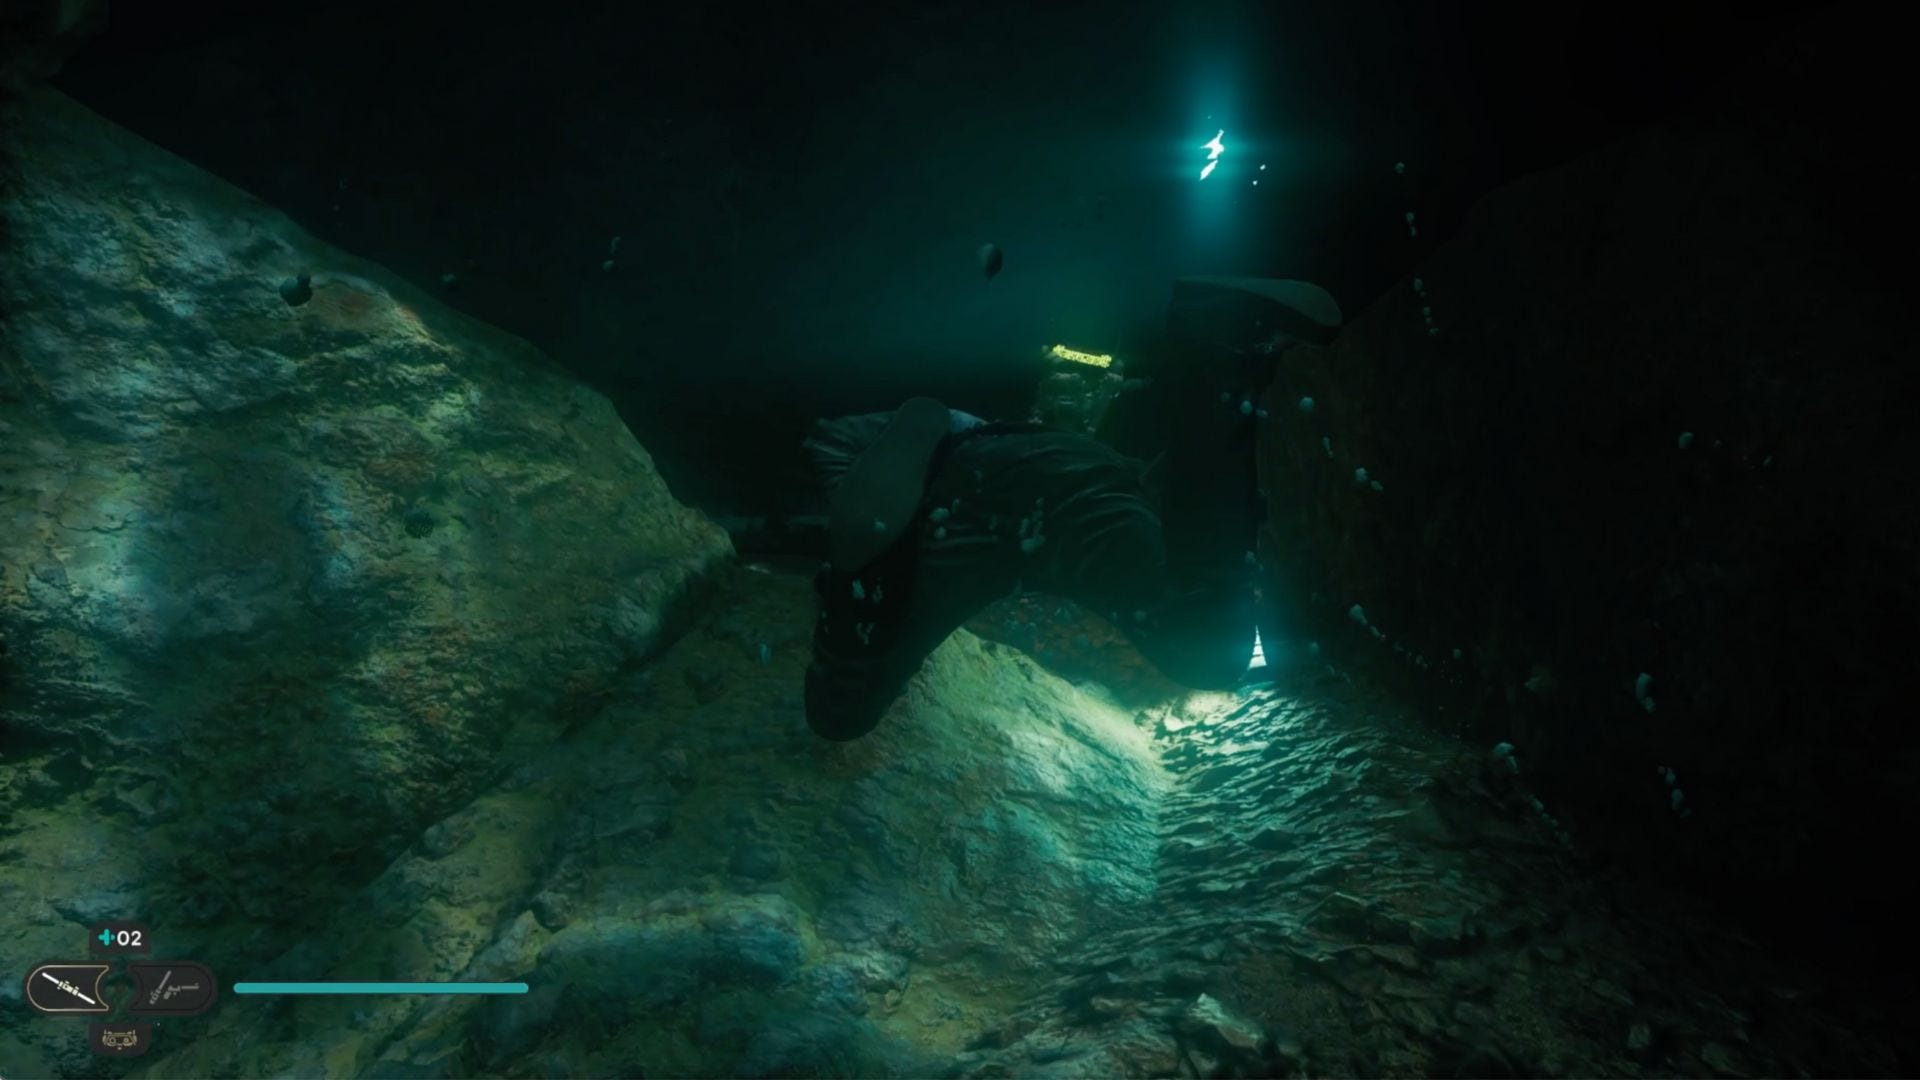
This series of jumping and climbing puzzles will then take you to an area of the ruins that requires swimming, but simply follow the lights, and you'll reach your destination.
You'll emerge at a puzzle, which is one of the trickier you'll encounter in the game. It involves pushing the blocks and using the pulleys center them around the main door frame and may require some trial and error to get right.
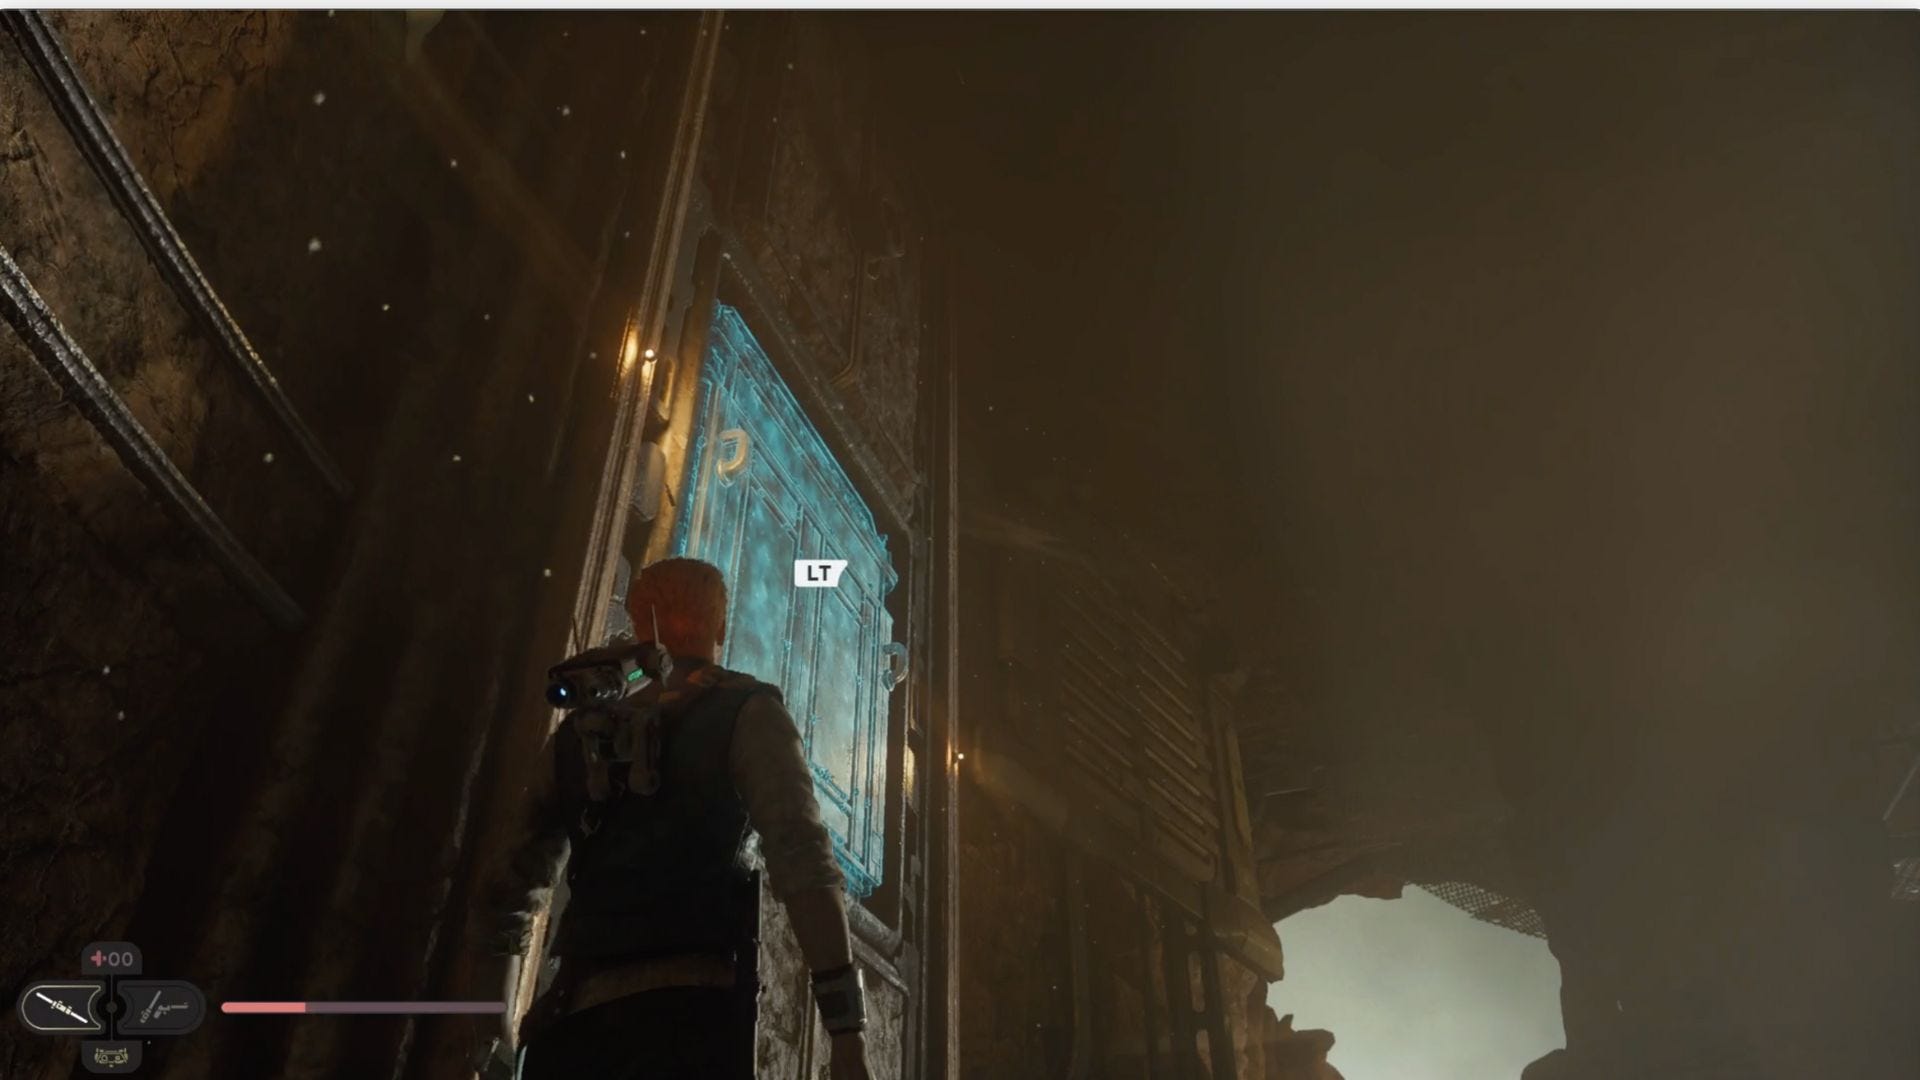
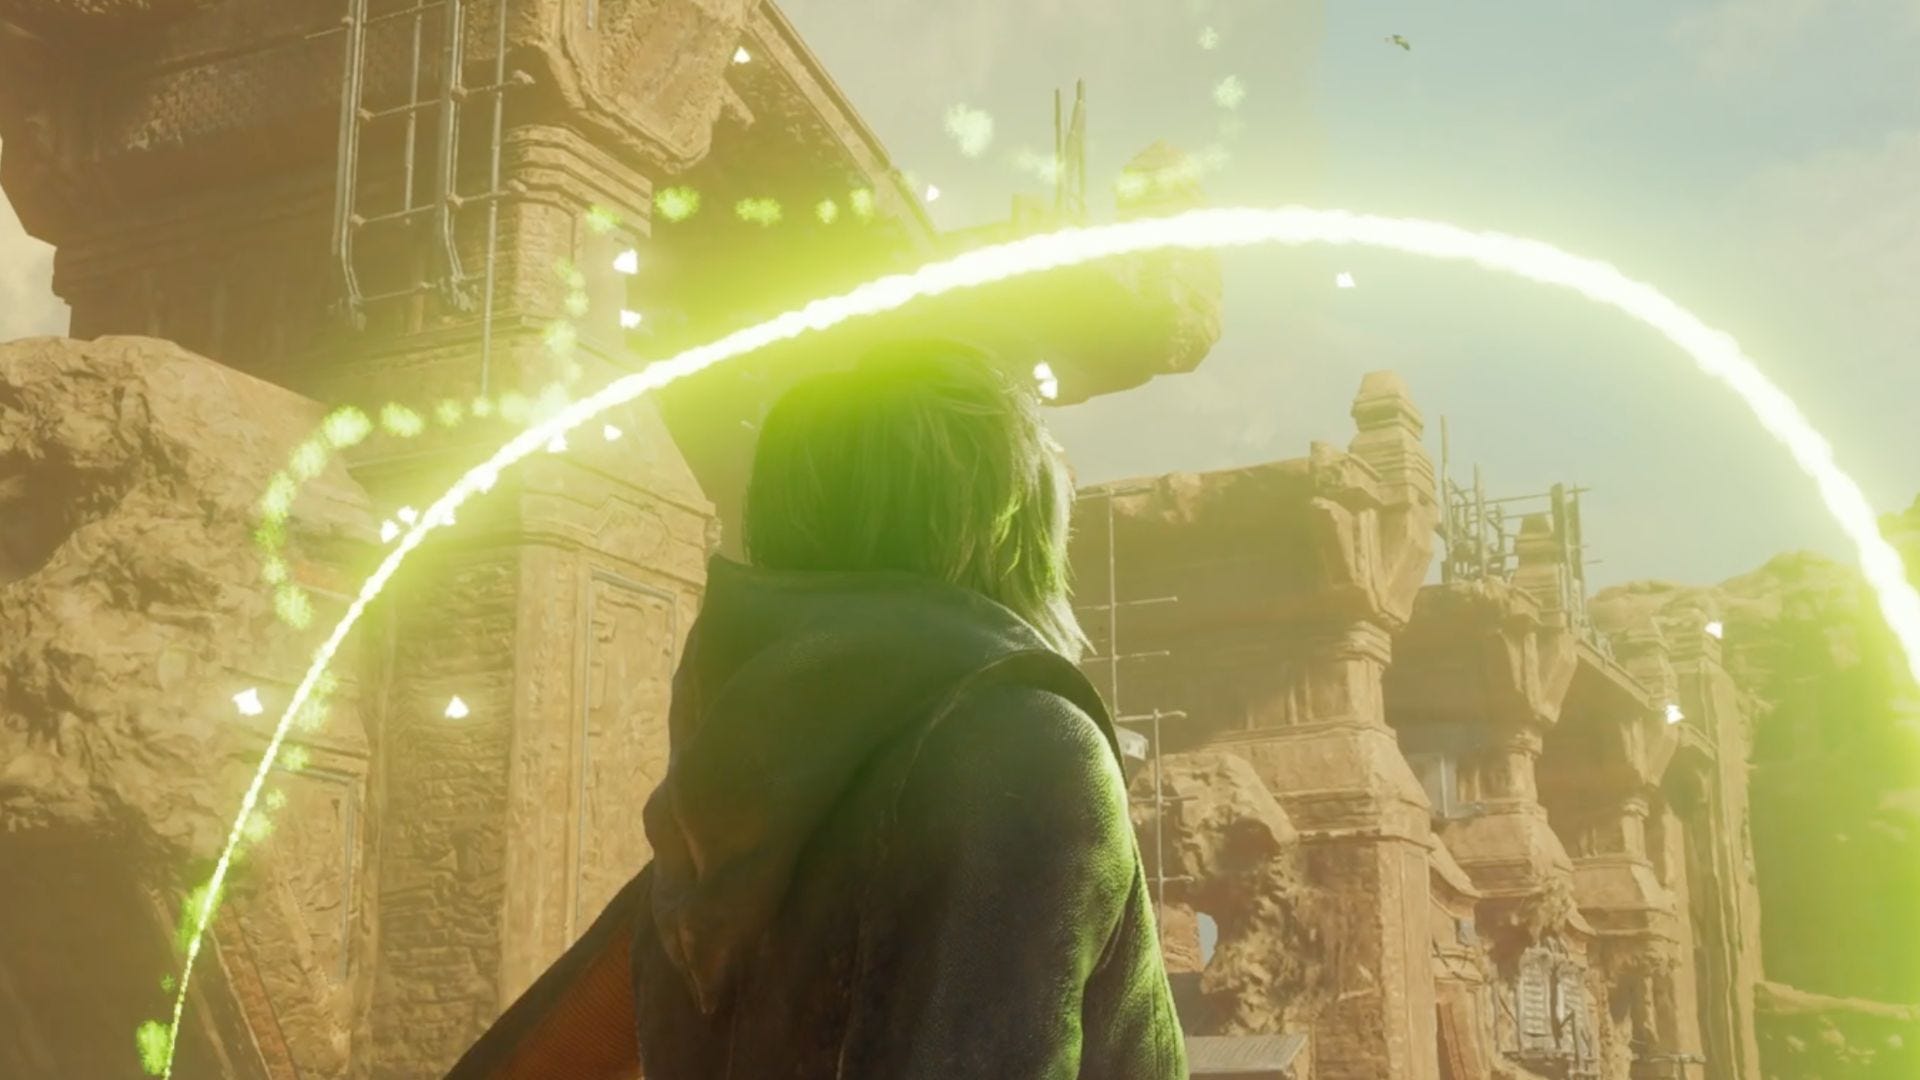
Soon after, Armeis will hand off some access codes in a cutscene. You'll gain the ability to traverse through green barrier walls using your jump dash ability. Use this in tandem with your other skills to descend from the area. Follow Merrin's lead to fly through a series of portals in the sky.
Then, continue across the desert to return to Cere and the others with the codes.
After a cutscene, you'll return to Koboh to search for a missing compass.
Koboh walkthrough: Finding the compass
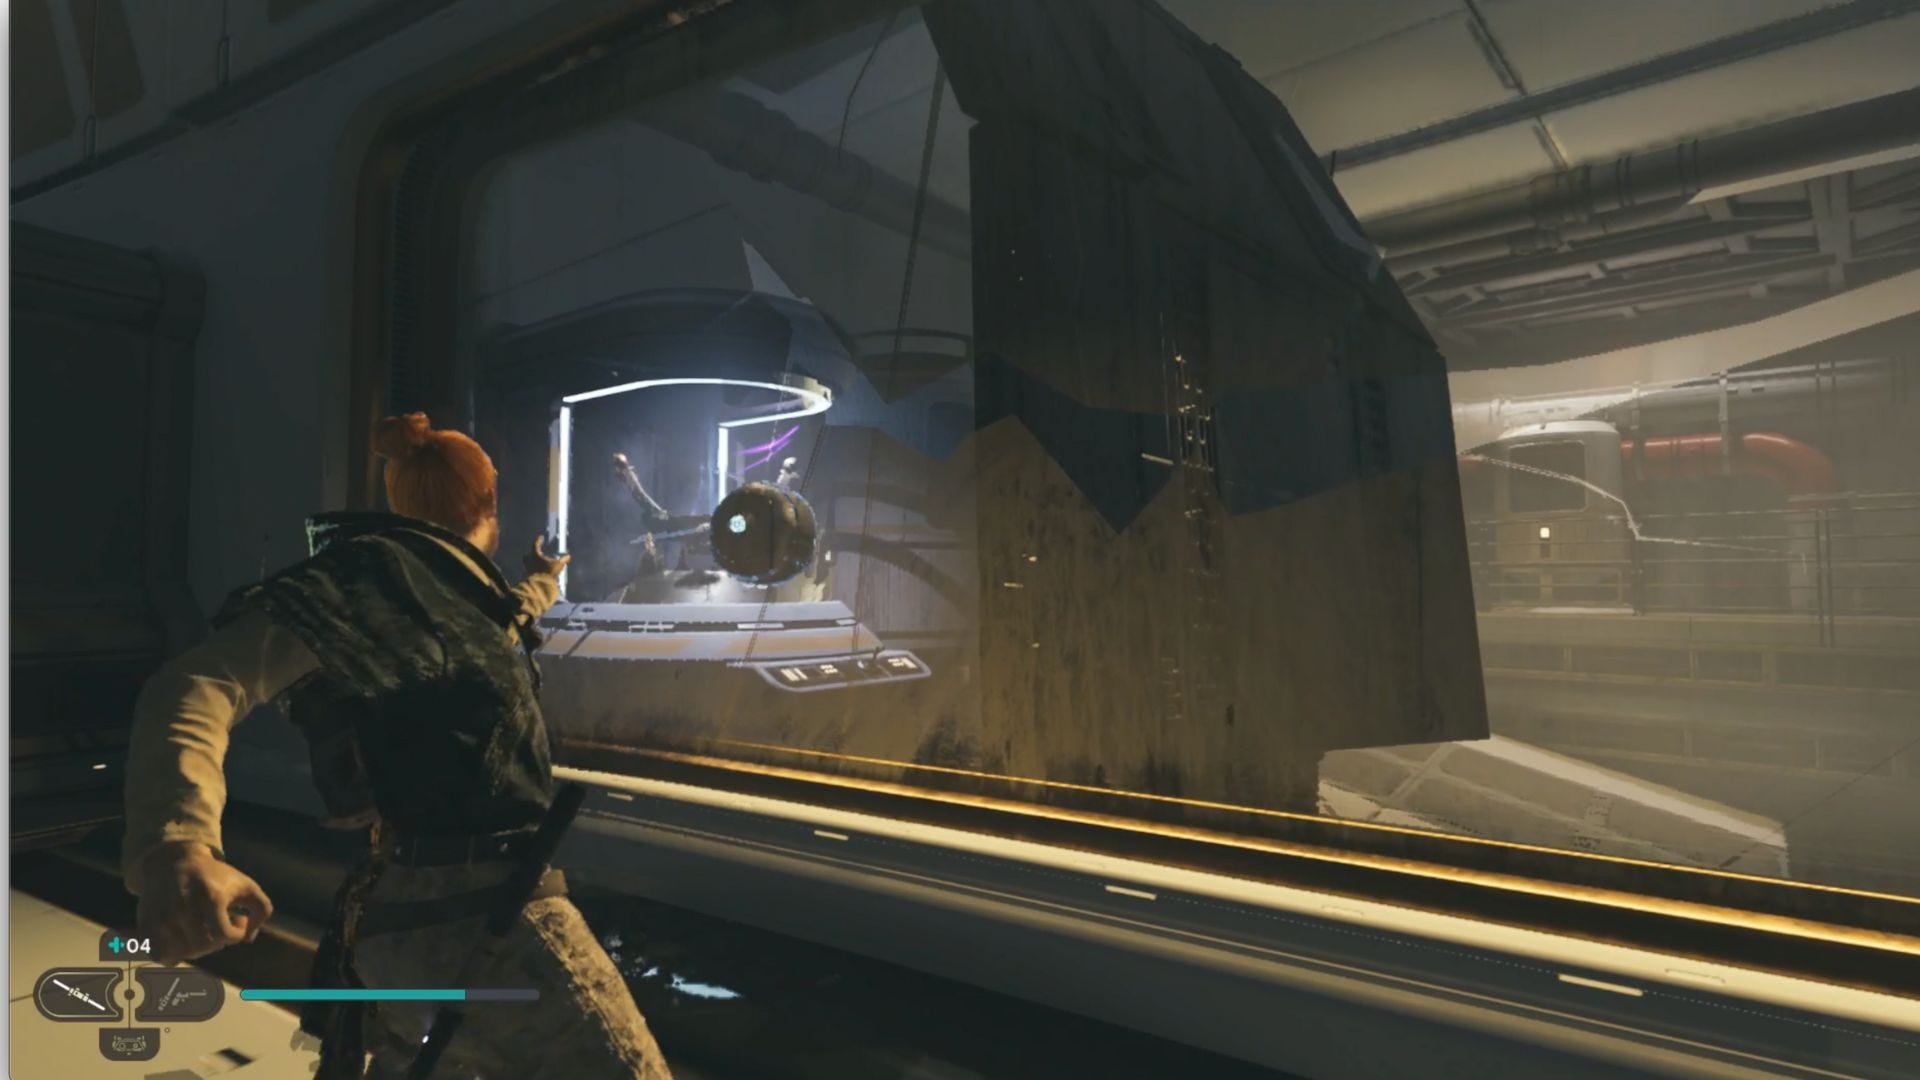
Once you arrive on Koboh, you'll learn Zee is missing. You're tasked with finding her in the Lucrehulk. The easiest way to get there is to fast travel to the Devastated Settlement Meditation Point, where you can glide through the canyon and use your newfound dash abilities to break through the green barrier previously blocking you from entering the area.
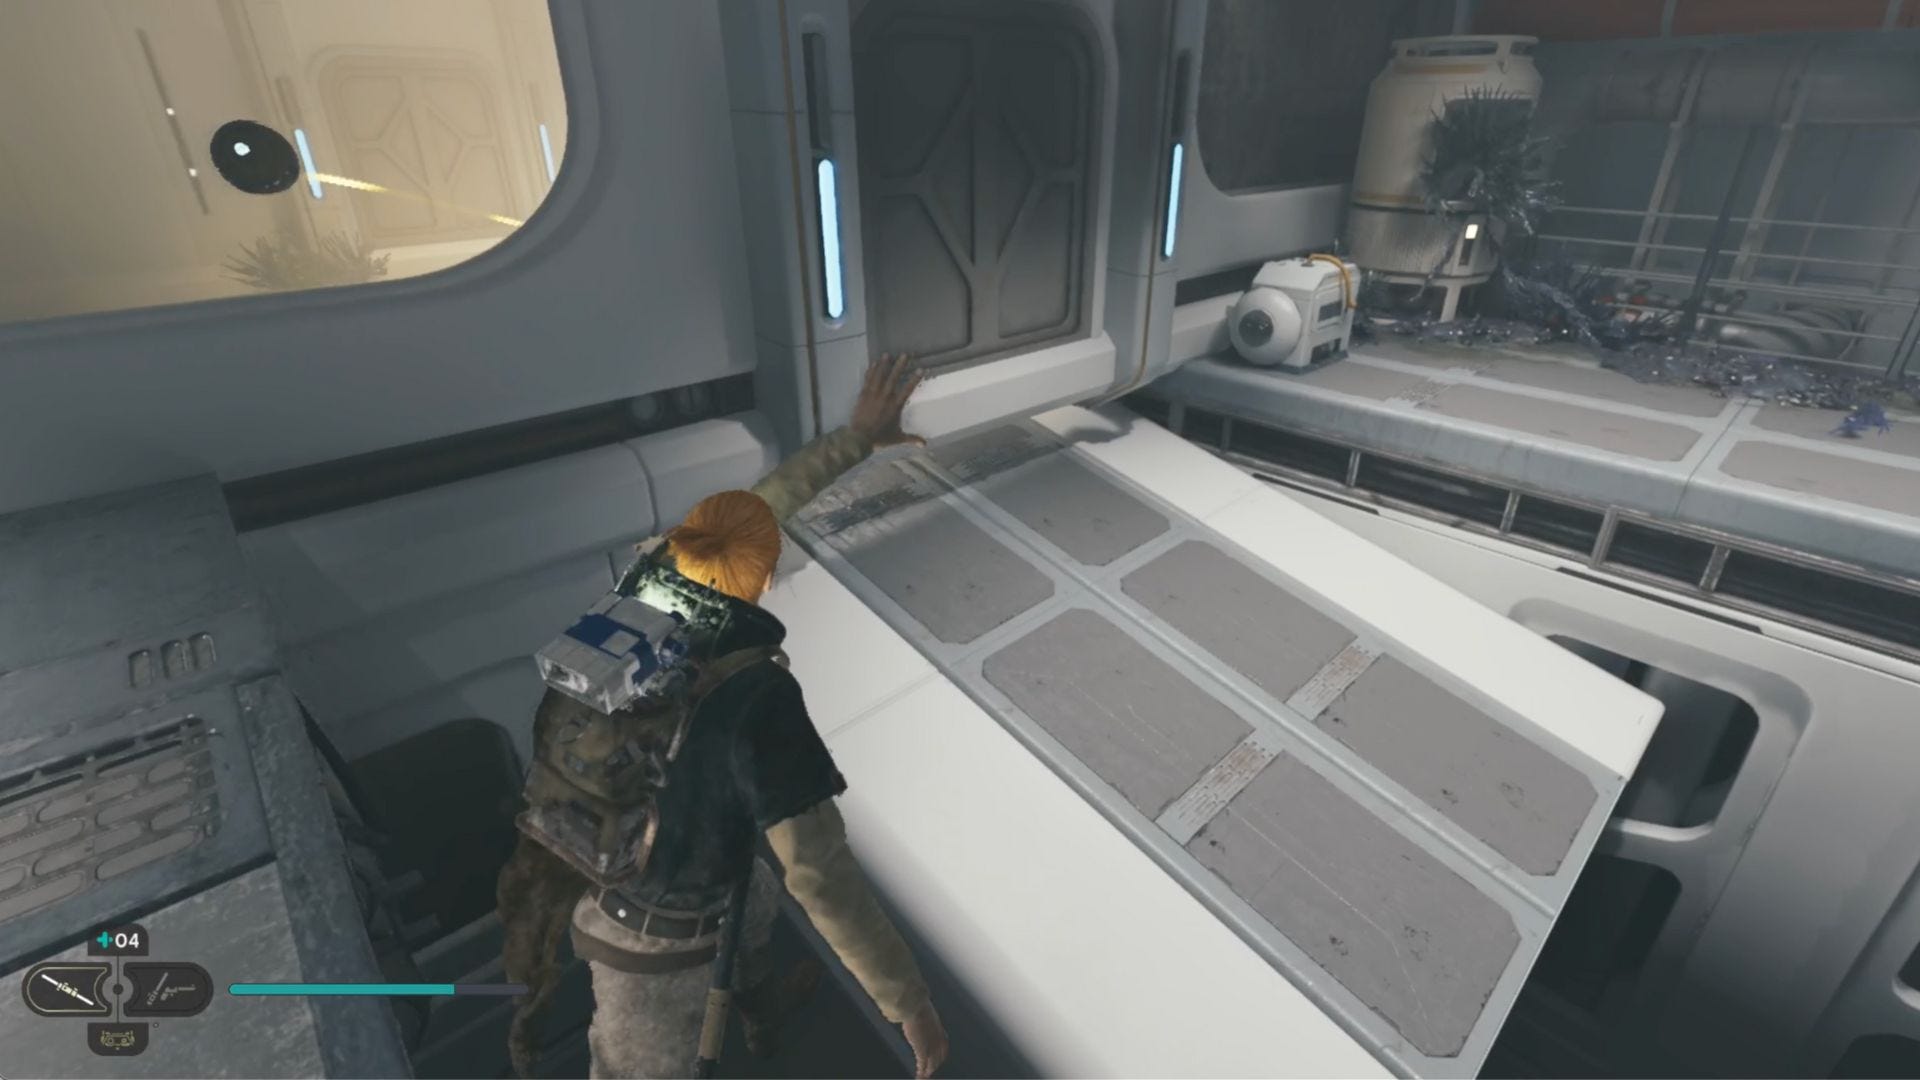
You'll then use BD-1 to pinpoint an entryway that will allow you to enter the Gantry by using a glider.
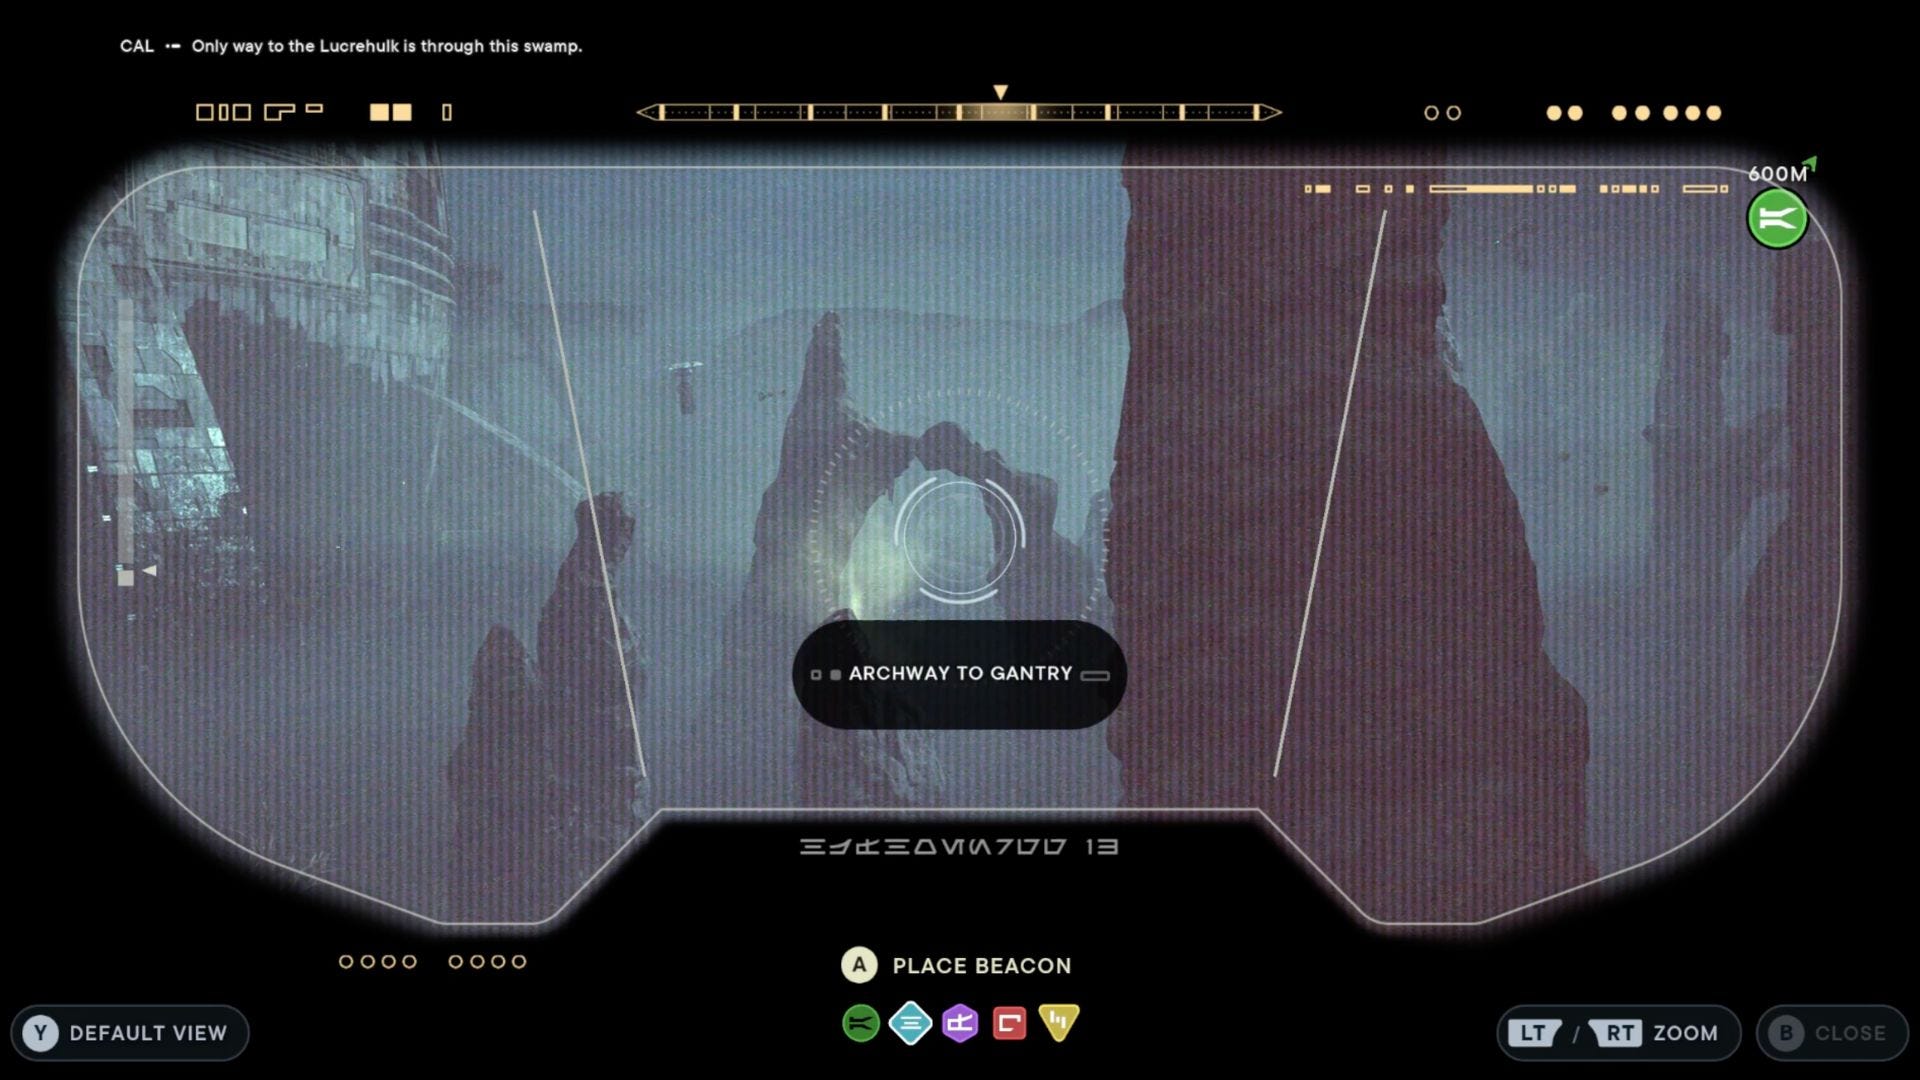
You'll land on an island, which you must go underneath to make your way to the Gantry.

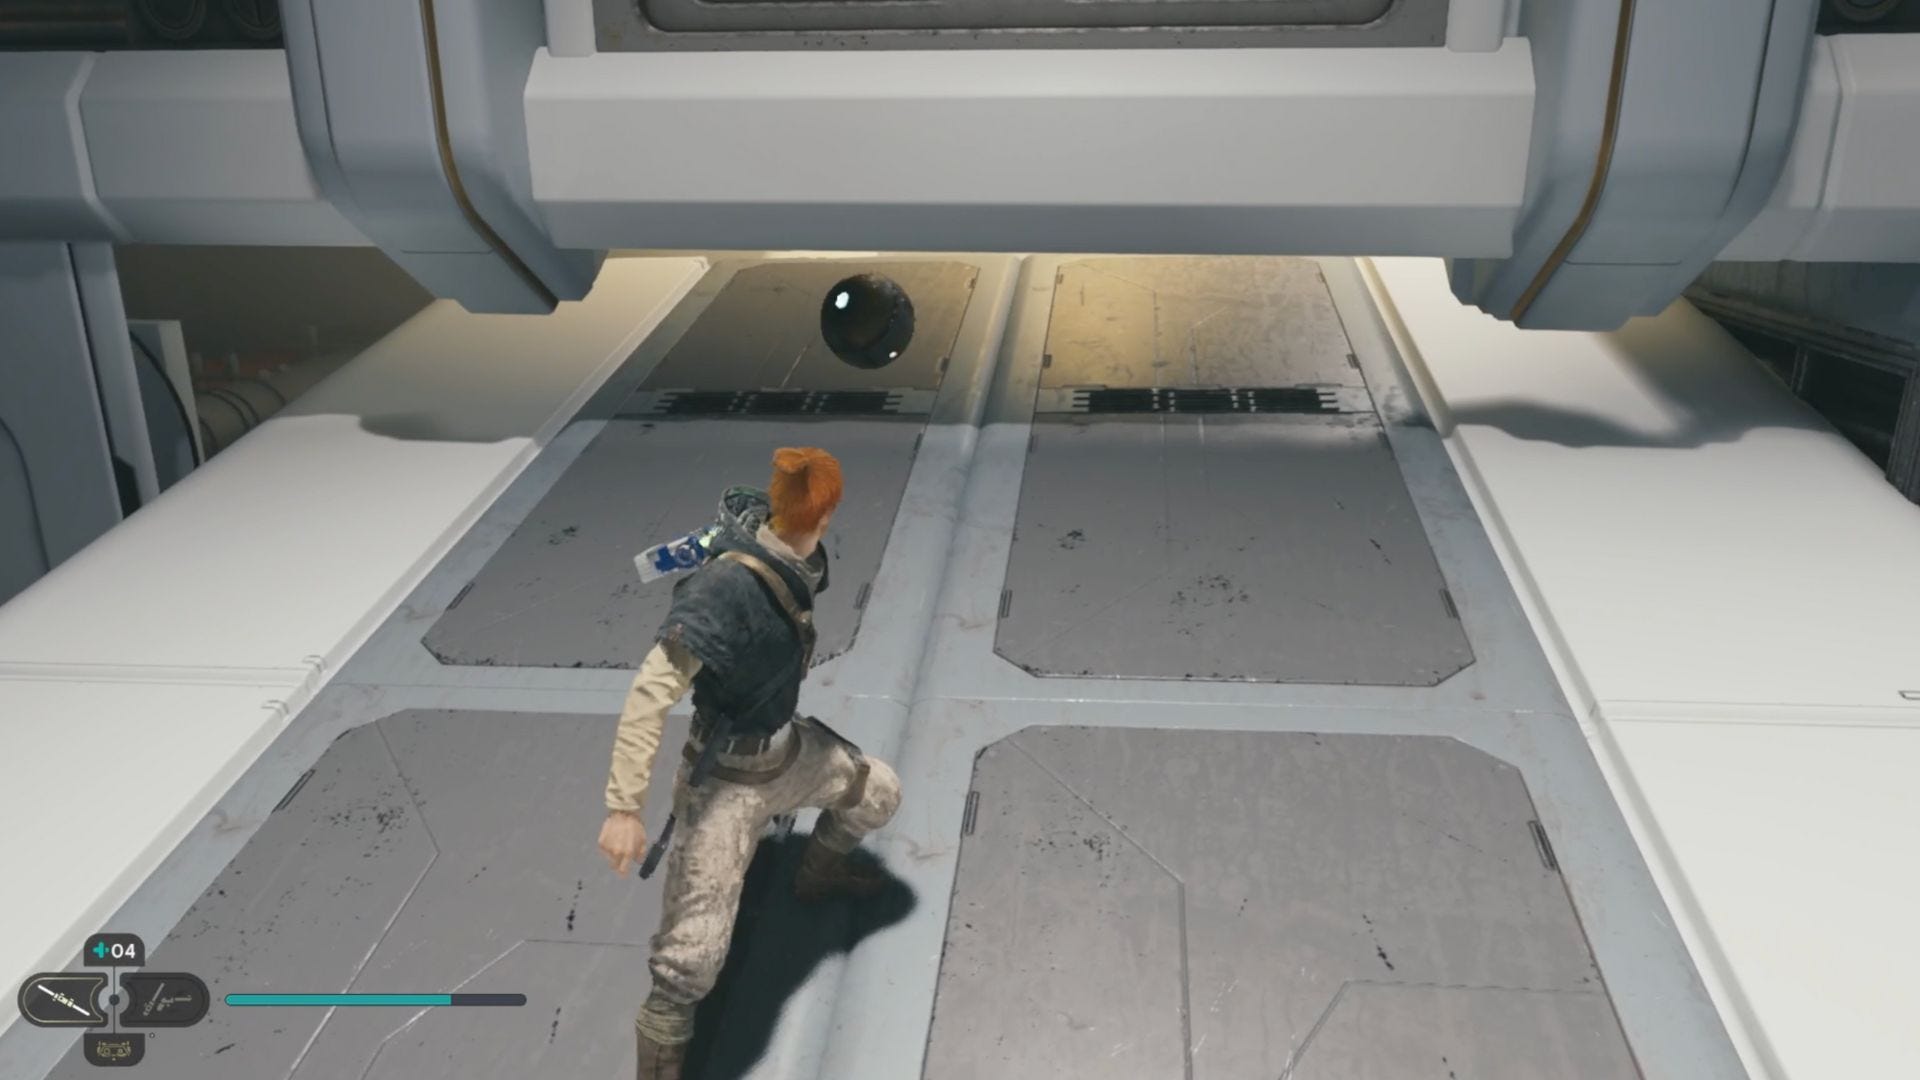
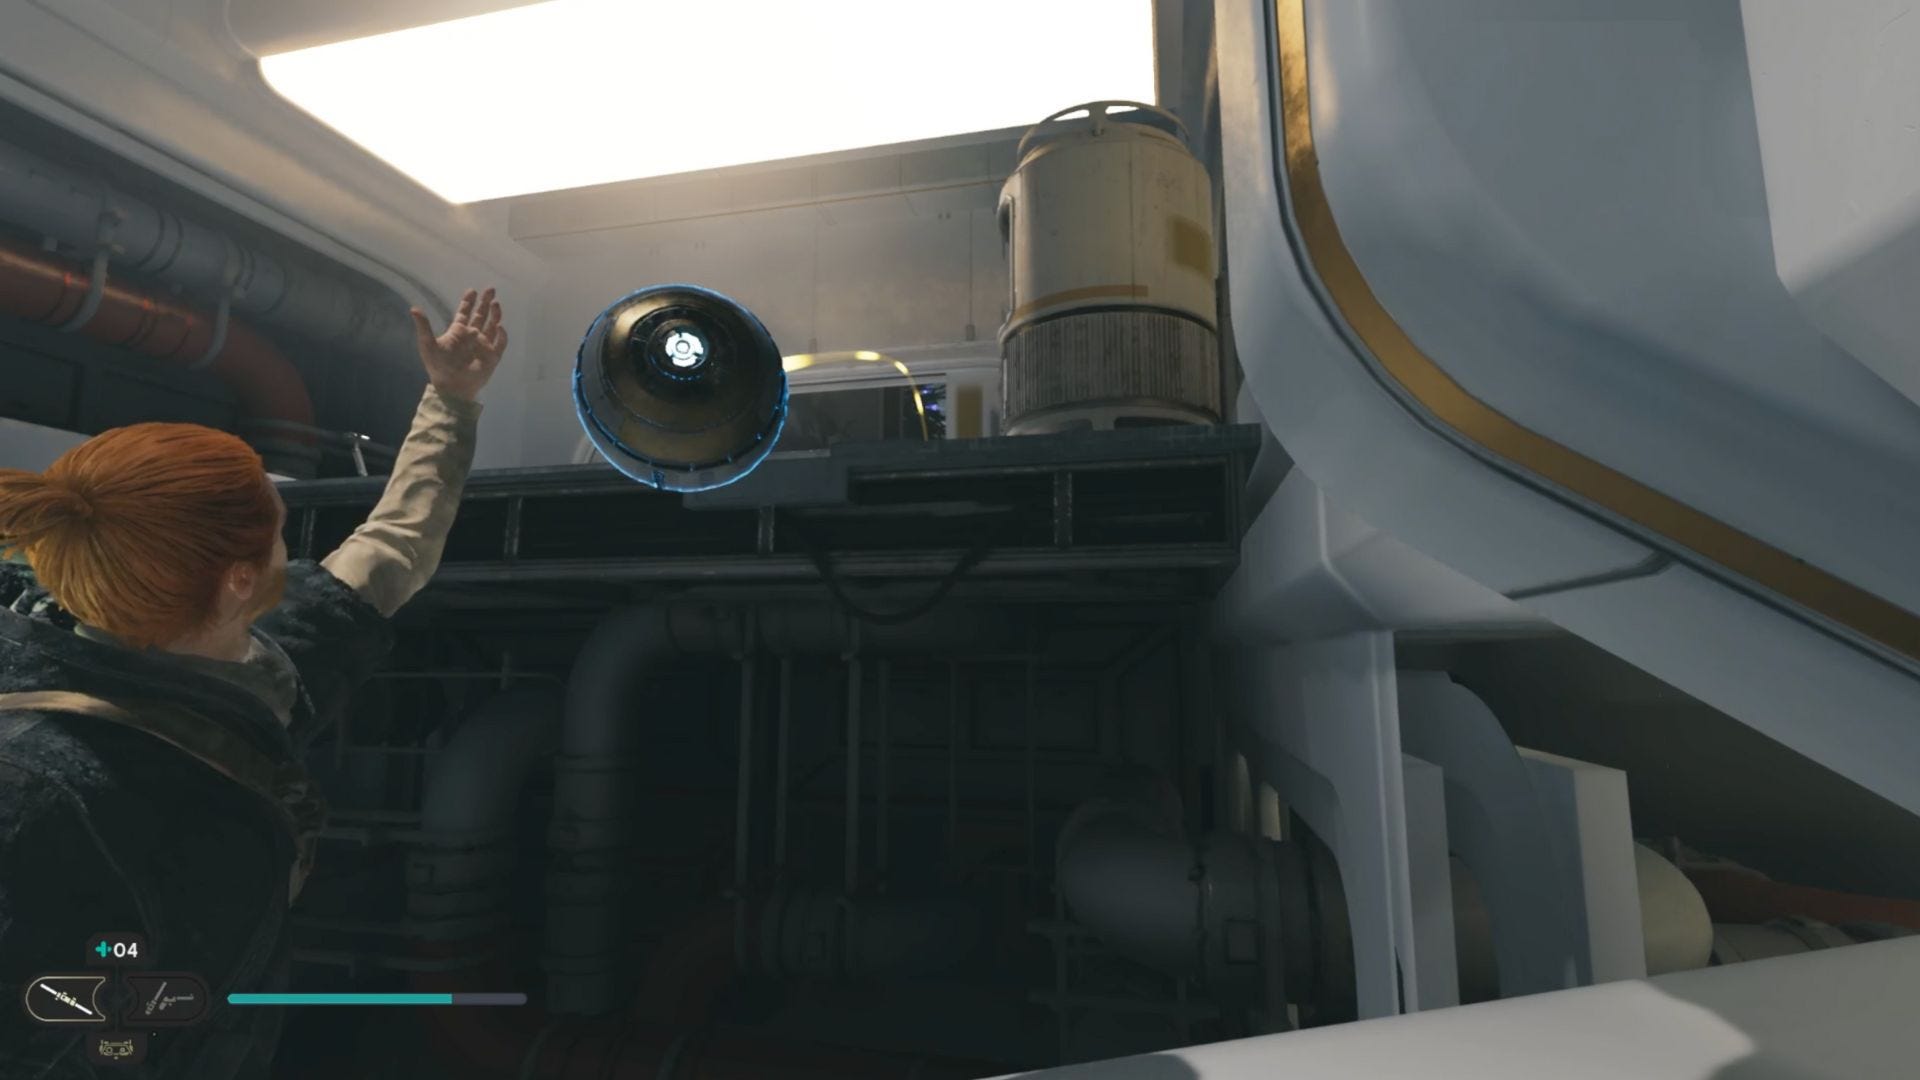
Then, follow the zipline course to the entryway. Progress through this series of jumping puzzles and the Hangar Rafters. It's easy to backtrack accidentally in this area, so reference your map to stay on course. Use your blocking and Force abilities to deflect gunfire in areas with higher concentrations of enemies or when facing enemies with powerful projectiles.
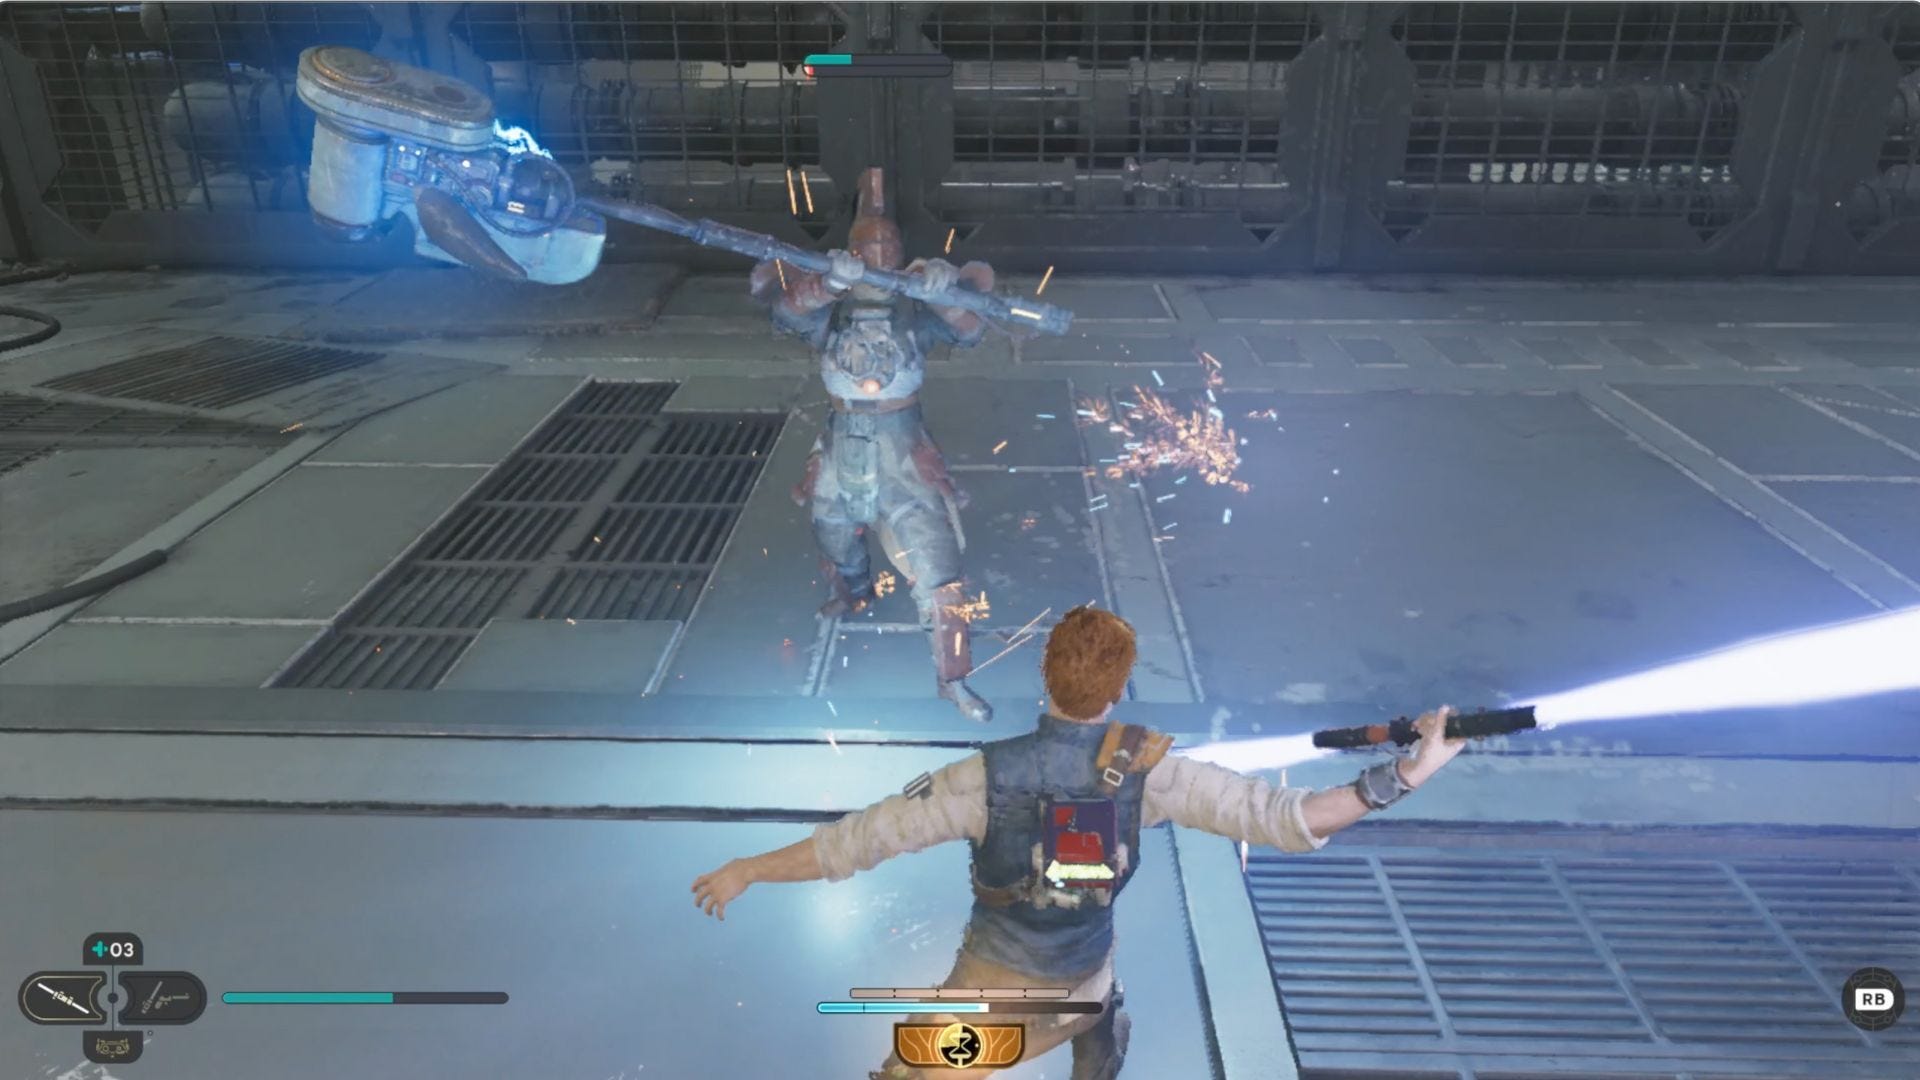
Eventually, you'll rejoin Bode and get eyes on Zee. You'll encounter some enemies with charged hammers, so your best bet is to try to exercise your ranged maneuvers from the blaster or dual-bladed stances.
Make your way through the facilities and into the Yurt Barracks. There will be several enemy spawns in this area, so take these fights slowly as needed and remember to use Bode to assist you as you fight enemies. After you move past the main Yurt settlement area, you'll also come to a place where you'll fight numerous droids that continue to spawn, so area-of-effect combat tactics are helpful here.
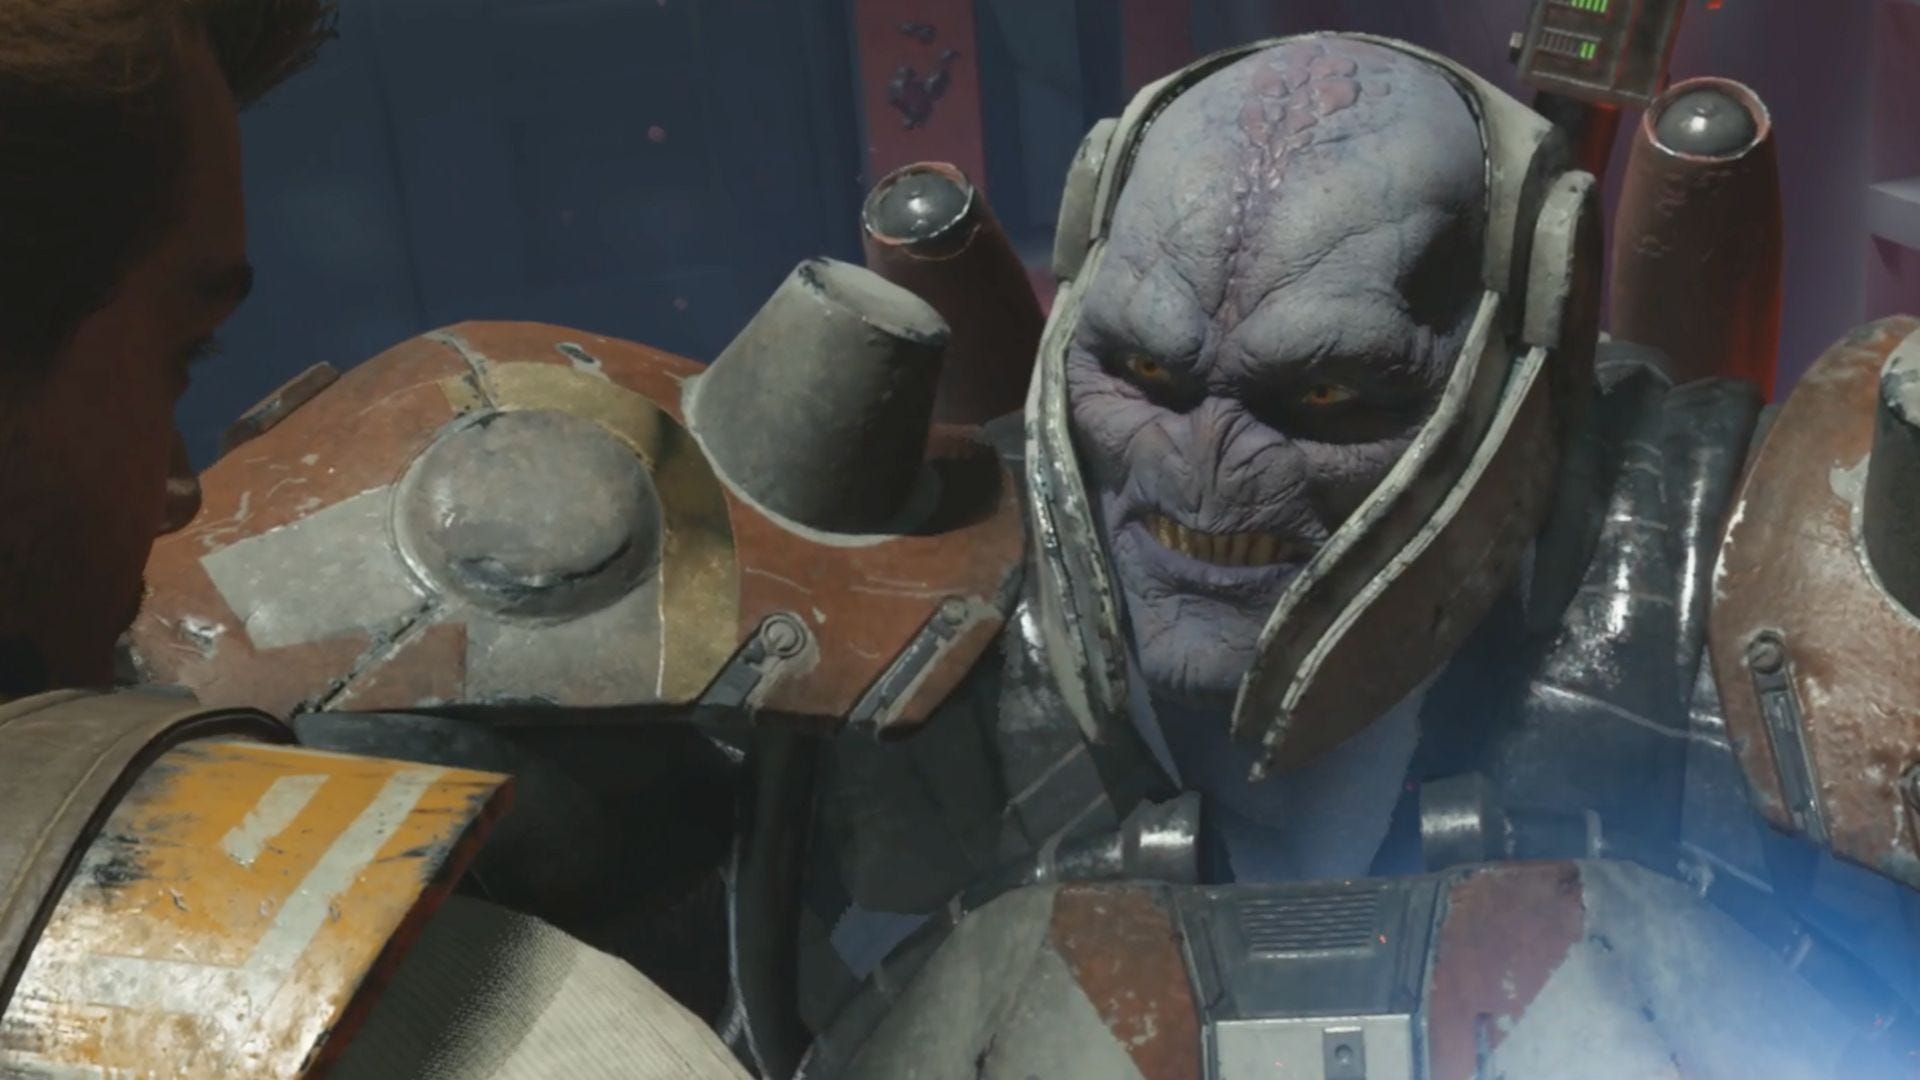
As you head through the back cargo areas, you'll have a run-in with Rayvis, head of the Bedlam Raiders, who works alongside Dagan Gera. In this segment, he'll steal a key from you.
The cutscene grants you the lift and slam abilities, which you'll need to complete various tasks as you continue your progress.
Meditate at the Generator Underbelly point as needed, and then use your new abilities to lift, drop, and climb your way through the area.
Continue onward, taking the lift up and using lift and pull abilities to access a platform near the Lucrehulk Core that was previously inaccessible.
In the Forward Control Tower, you'll free Zee and fight Dagan Gera again.
Unfortunately, he'll escape. Now, you'll return to the Mantis and go to the Shattered Moon to track down Rayvis.
Shattered Moon walkthrough: Locate Rayvis
With your lift abilities, you'll now be able to access new areas of the Shattered Moon. You'll encounter pulsating lasers as you maneuver through the obstacles, so just be sure to time your jumps and swings to avoid them, as they'll knock you off course and do major damage. However, note that these beams also take out enemies, so you can use them to your advantage in a hilarious fashion to fry hordes of droids that attack you.
Meditate at the Republic Research Laboratory to prepare to fight Rayvis. As you ascend, you'll encounter another Koboh crystal formation mini-puzzle. Here, you'll lift the orb from behind the glass wall, moving it to the slanted platform across the room and then "catching" it using your Force abilities before it falls into the abyss.
Place it on the platform ahead of you, jump up, and then pick it back up before putting it into the coupler and using BD-1's Koboh Grinder to open up the pathways in the area.
Once you reach the center area, you'll see a cutscene between Dagan and Santari Khri. This will grant you the upgraded ascension cable, allowing you to grapple onto the floating balloons throughout the facilities. Use these to climb toward the top of the area to fight Rayvis.
Rayvis is a two-phase boss who can regrow limbs, so save your stims so you have some for the second round because it's a toughie.

Once you defeat the regenerating renegade, return to the Mantis to trek to Koboh Observatory to confront Dagan.
Koboh walkthrough: The Observatory
At this point, you'll be tasked with ascending the mountain area toward the observatory. The early part of this is reasonably straightforward, but be prepared to fight or avoid bilemaws and mogus during this part of your journey.
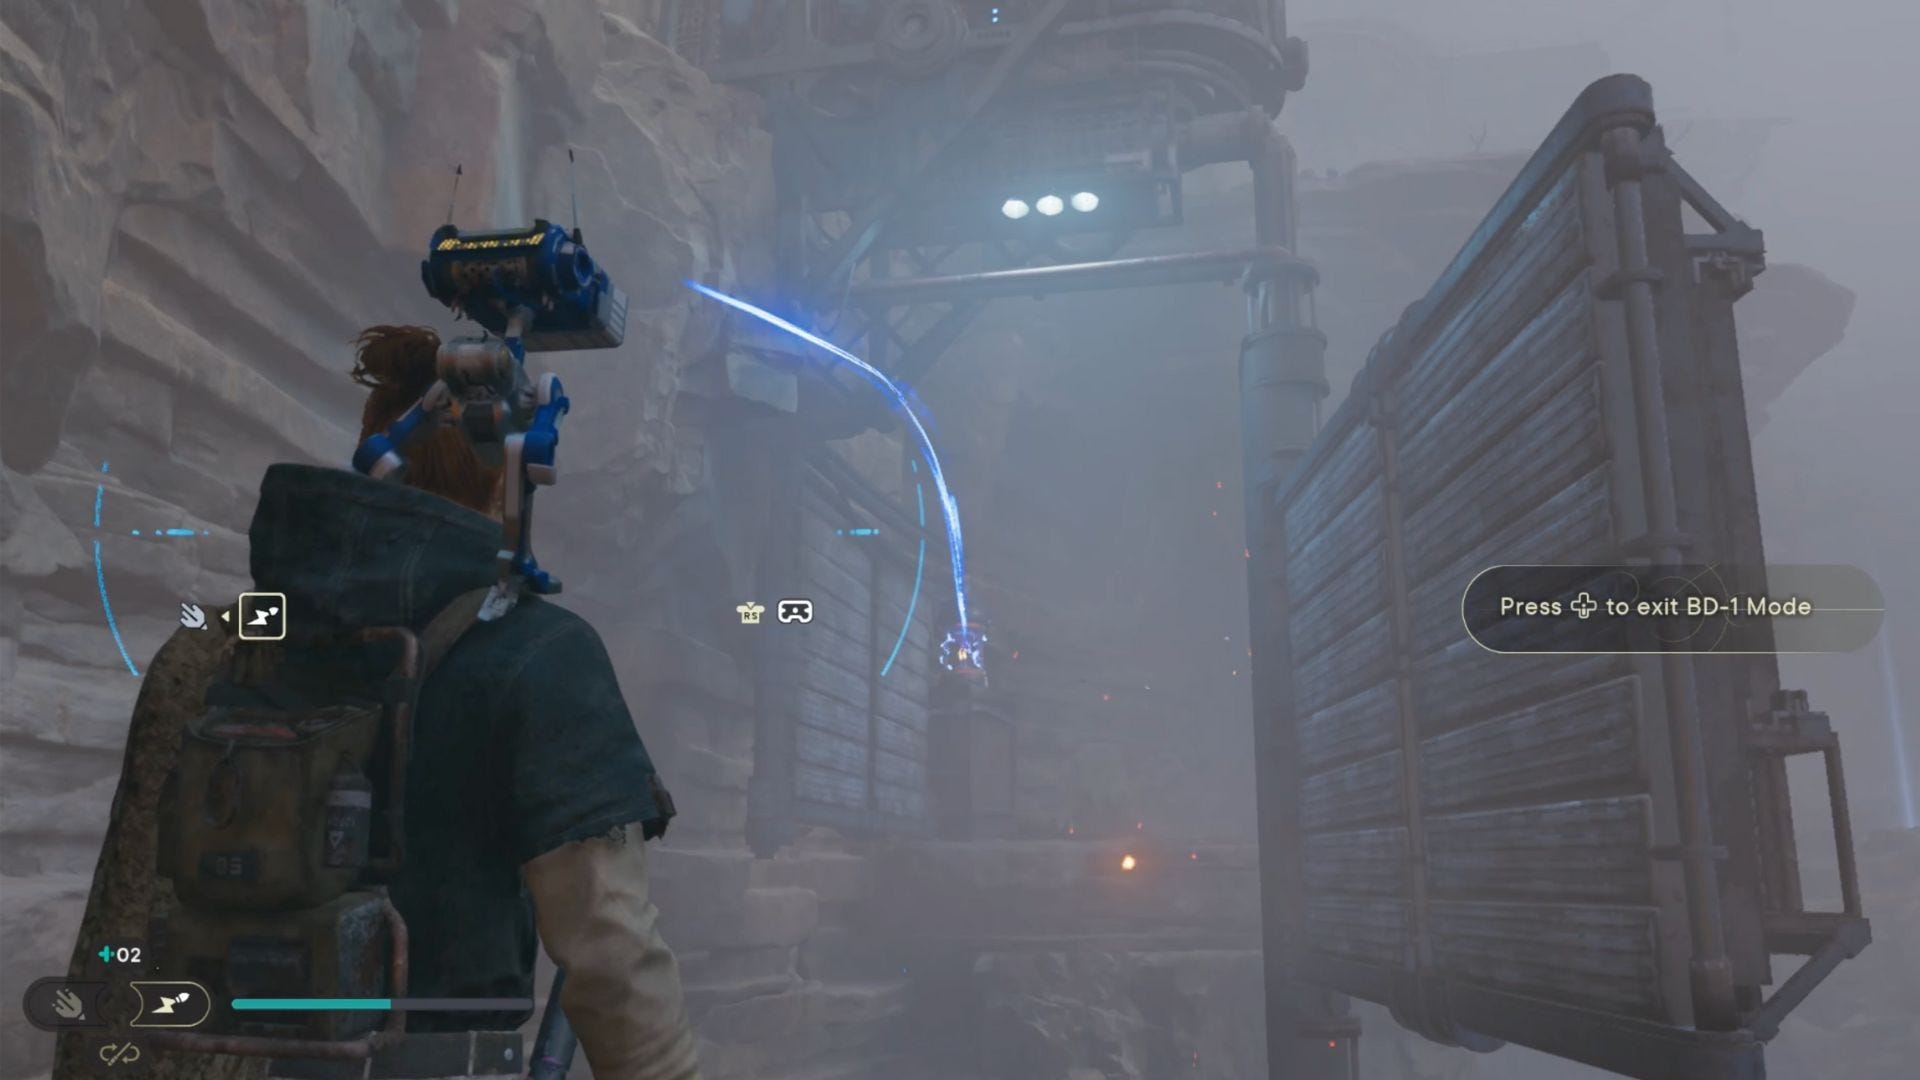
You'll eventually find yourself in a downed shuttle. This cutscene grants BD-1 the ability to shoot electrical sparks via an electro dart, which will trigger reactions in various electrical environmental elements.
You'll typically be looking for glowing blue electrical charges in cylindrical casings. To use the ability, go into your BD-1 visor, which is down on the d-pad by default, and highlight the correct option. Then, shoot the charges at designated locations to move objects.
Continue through the area and on to Marl Cavern, using your new abilities to move objects to parkour through the environment. Make your way into the Imperial Post facility and fight off the waves of Stormtroopers and droids before taking the elevator up. Get past the guard, and here, you'll encounter one of the most entertaining "boss" battles in the game, against Rick, the Door Technician.
Poor Rick.
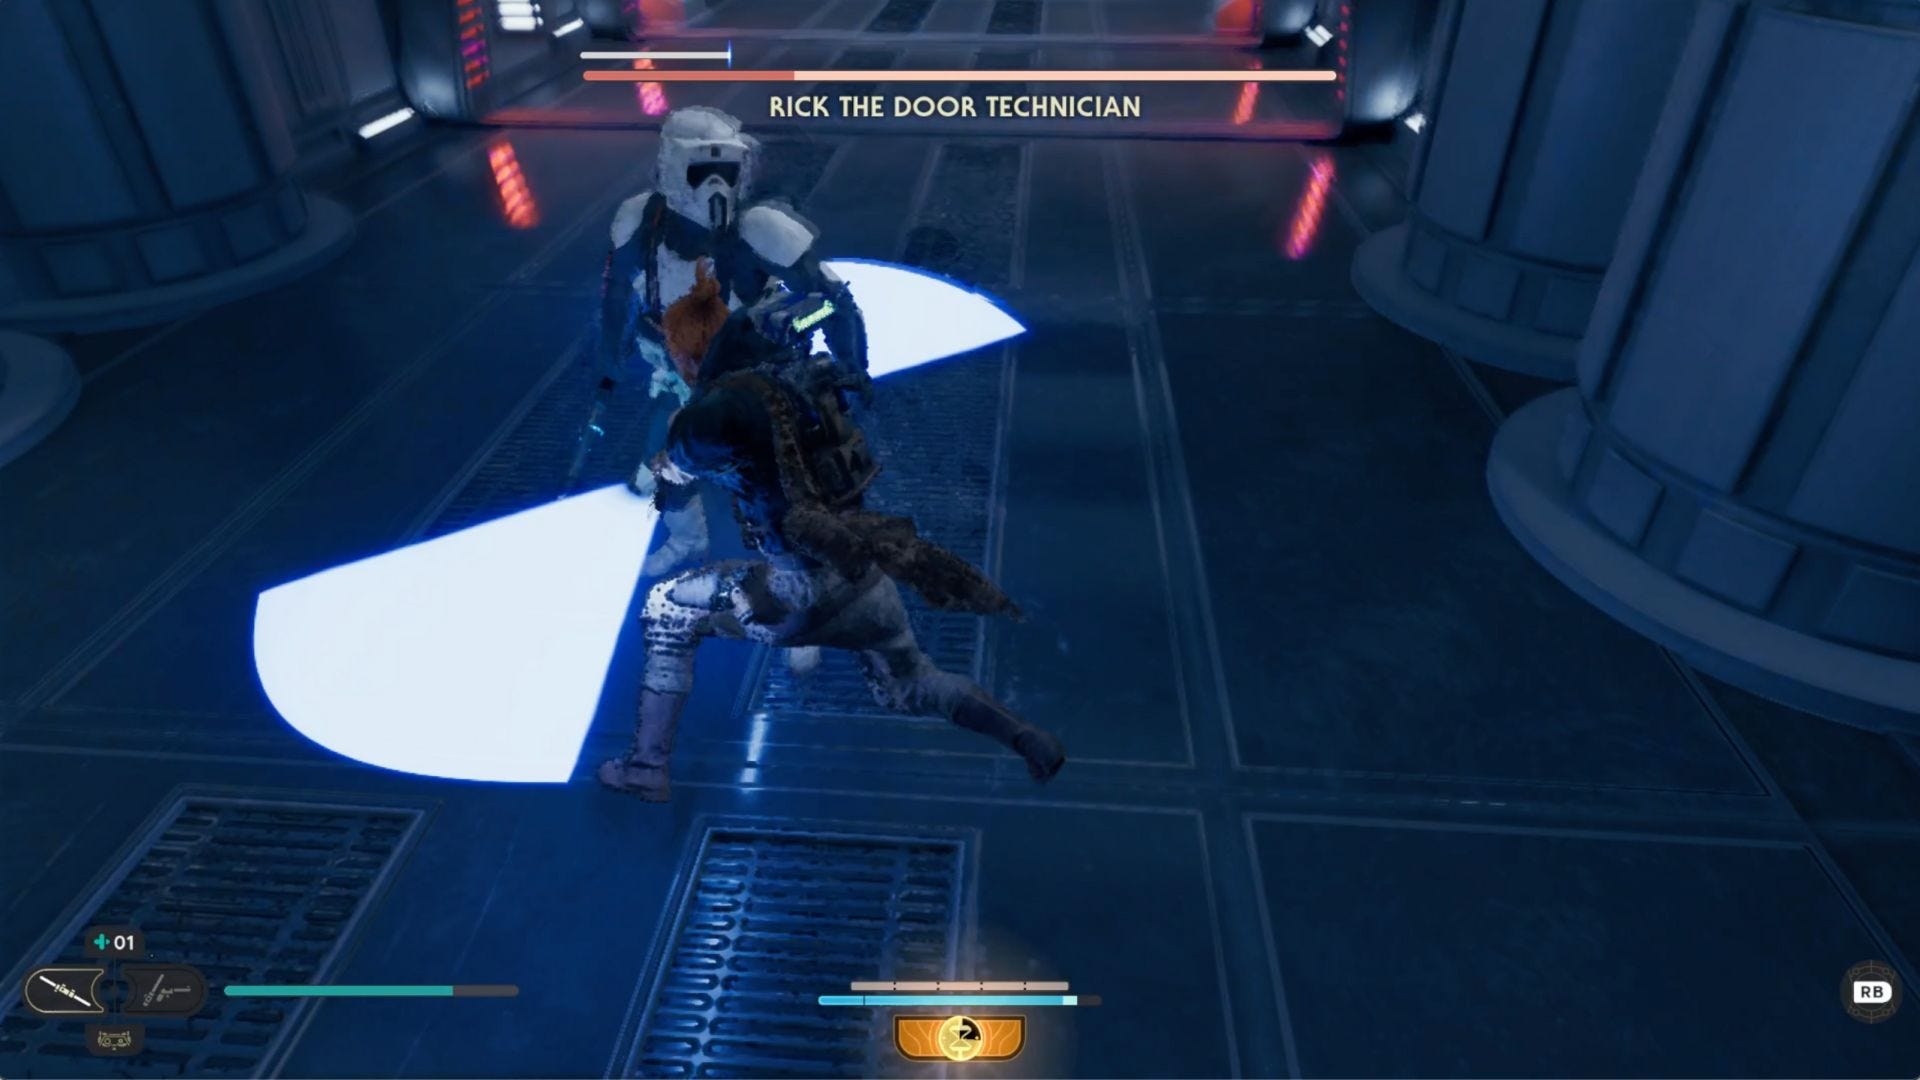
Take weak-minded Rick down in one or two shots before proceeding. Use the lift to head upward and continue your journey toward the top of the mountain observatory.
Continue making your way through the area and to the ascent on Summer Ridge. Stop off for a rest at the Summit Ridge Meditation Point and use the high-altitude balloons to create pathways to continue the climb through the air.
Take the glider to the floating balloons, and use these to make your way to the Observatory Understructure. In the area blocked by a Koboh mass, you'll note that you can't remove the high-altitude balloons anywhere outside of the facility. You'll also see an orb with a laser, indicating that you'll need the Koboh Grinder for some part of this, and you'll see it behind a locked door. Note that you can use the Force to open a small door, revealing a blue light for which you can use BD-1's Electro Dart to open a hatch at the top of the building.
Go outside, drop through this hole, unlock the door, and use the Koboh Grinder to unbock the mass so you can bring the portable high-altitude balloon outside. Use it to jump to the building at the left of the one you're in and stop for a break at the Observatory Understructure Meditation Point.
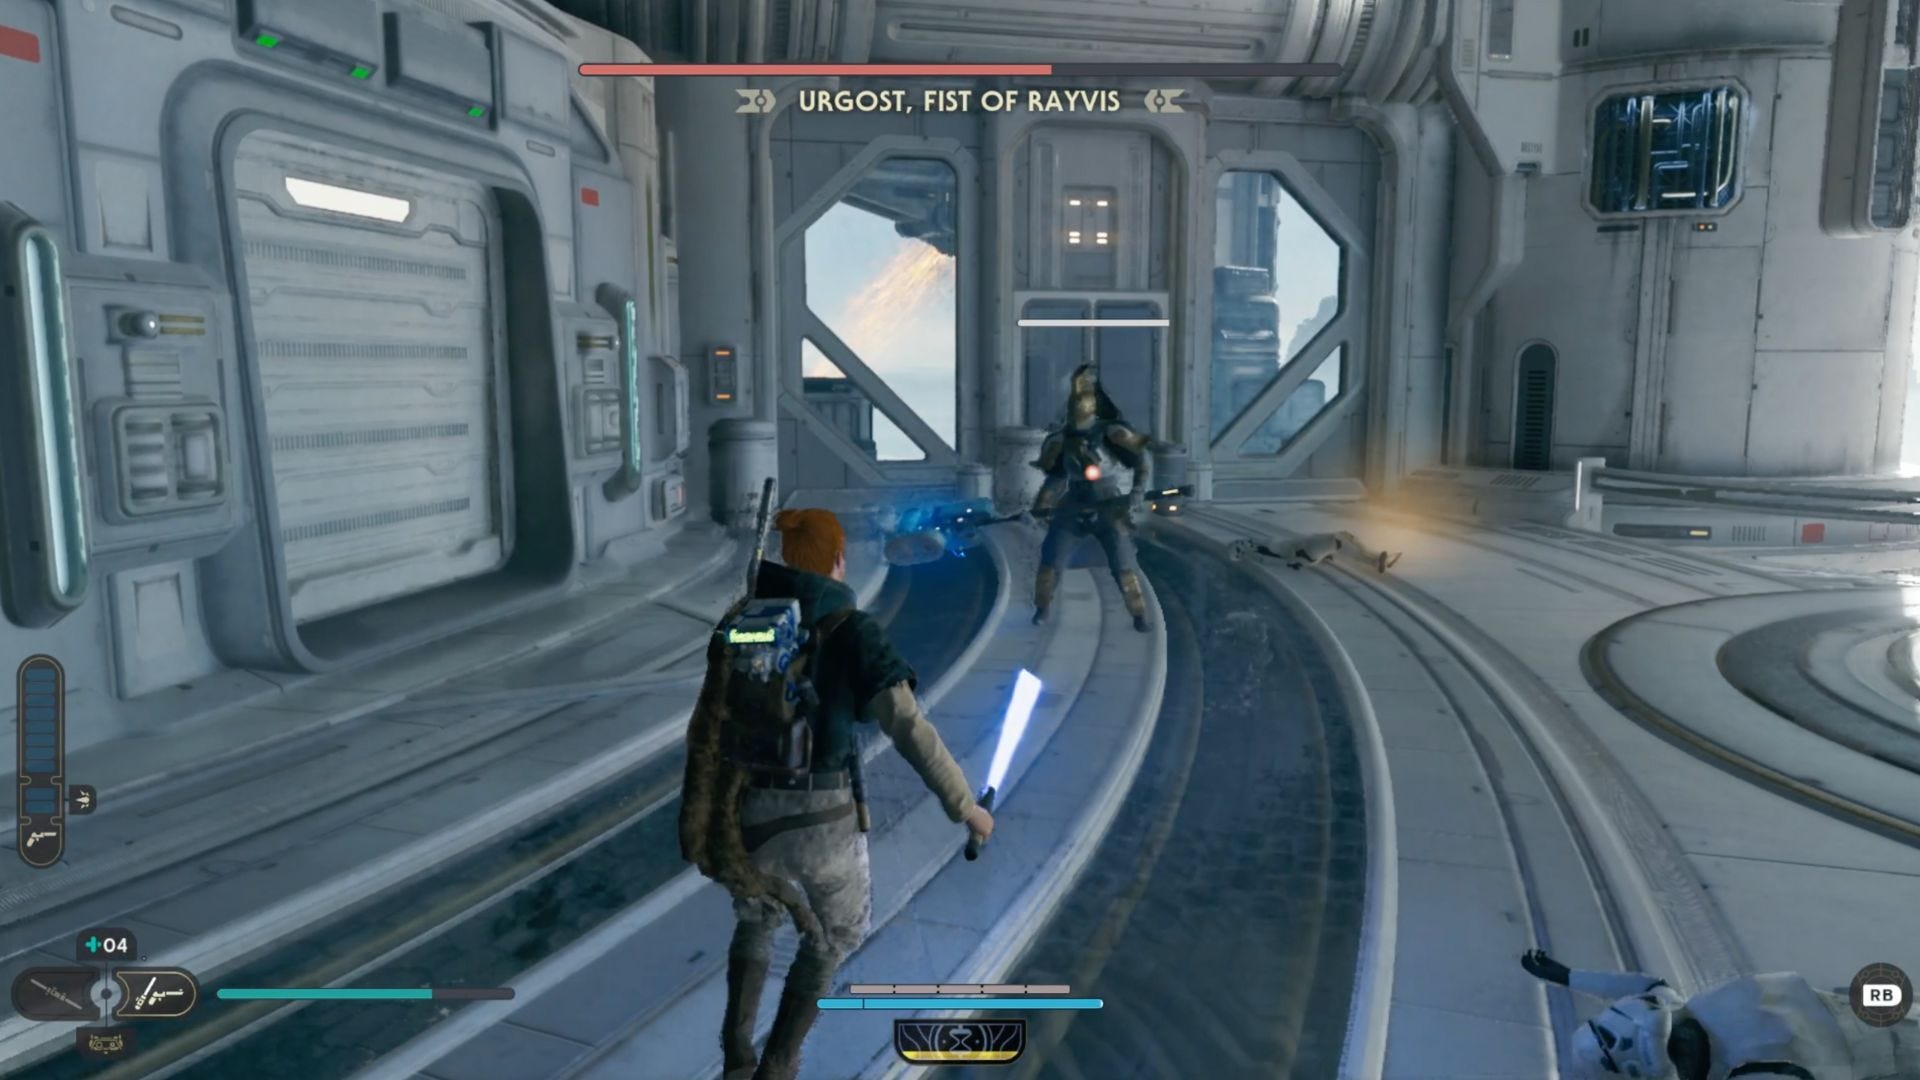
Continue your ascent, fighting enemies along the way as you use a series of balloons, grapples, and climbing rates to continue onward. Eventually, you'll come across a propeller, which you'll need to time several grapples in a row to each wing to make it to the next area. This will take you to a fight against Urgost, Fist of Rayvis.
Then, use BD-'s Electro Dart where indicated to continue along your way. As you continue your ascent, you'll note that in the area where Bode returns to you, you'll need to use the BD-1 Electro Dart ability to move a crane from the position you moved it to back to its original position, which will give you another floating high-altitude balloon, which you can use to reach a grate to enter the Diagnostics Corridor.
Make your way through there using your grapple, wall running and dash abilities to get through the green barrier, then settle at the Meditation Point before you come to your next step.
Continue onward, and complete the mini-puzzle here. You'll use BD-1's Elecro Dart to rotate the room, defeat enemies, and use another mobile balloon to place it near the moving wall-running walls.
Climb up to the Meditation Point on the Observation Deck, and get ready for the battle (you think) you've been waiting for: Dagan Gera, the finale. Or at least maybe, anyway. Even with your bud Bode helping you, be ready for this fight to be a bit of a doozy.
After this, you'll get the compass showing you the way to Tanalorr, and it's time to return to Jedha to see if the homies can make it work.
Return to Jedha (with a major plot twist): Defend the archives
Hurrah! You're back on Jedha, had a little smooch with Merrin, and Cordova has fixed the compass. Everything's going great!
Except…
Hey, you know that guy Bode who was supposed to be your best friend, gave you great life advice, helped you in tough battles, and that you trusted with from the depth of your soul? Turns out he's a real piece of shiitake mushroom. Dafuq?
So after that guy murders Codova for the compass, it's time to take off on a race that's a little too much fun for the tragedy you just endured.
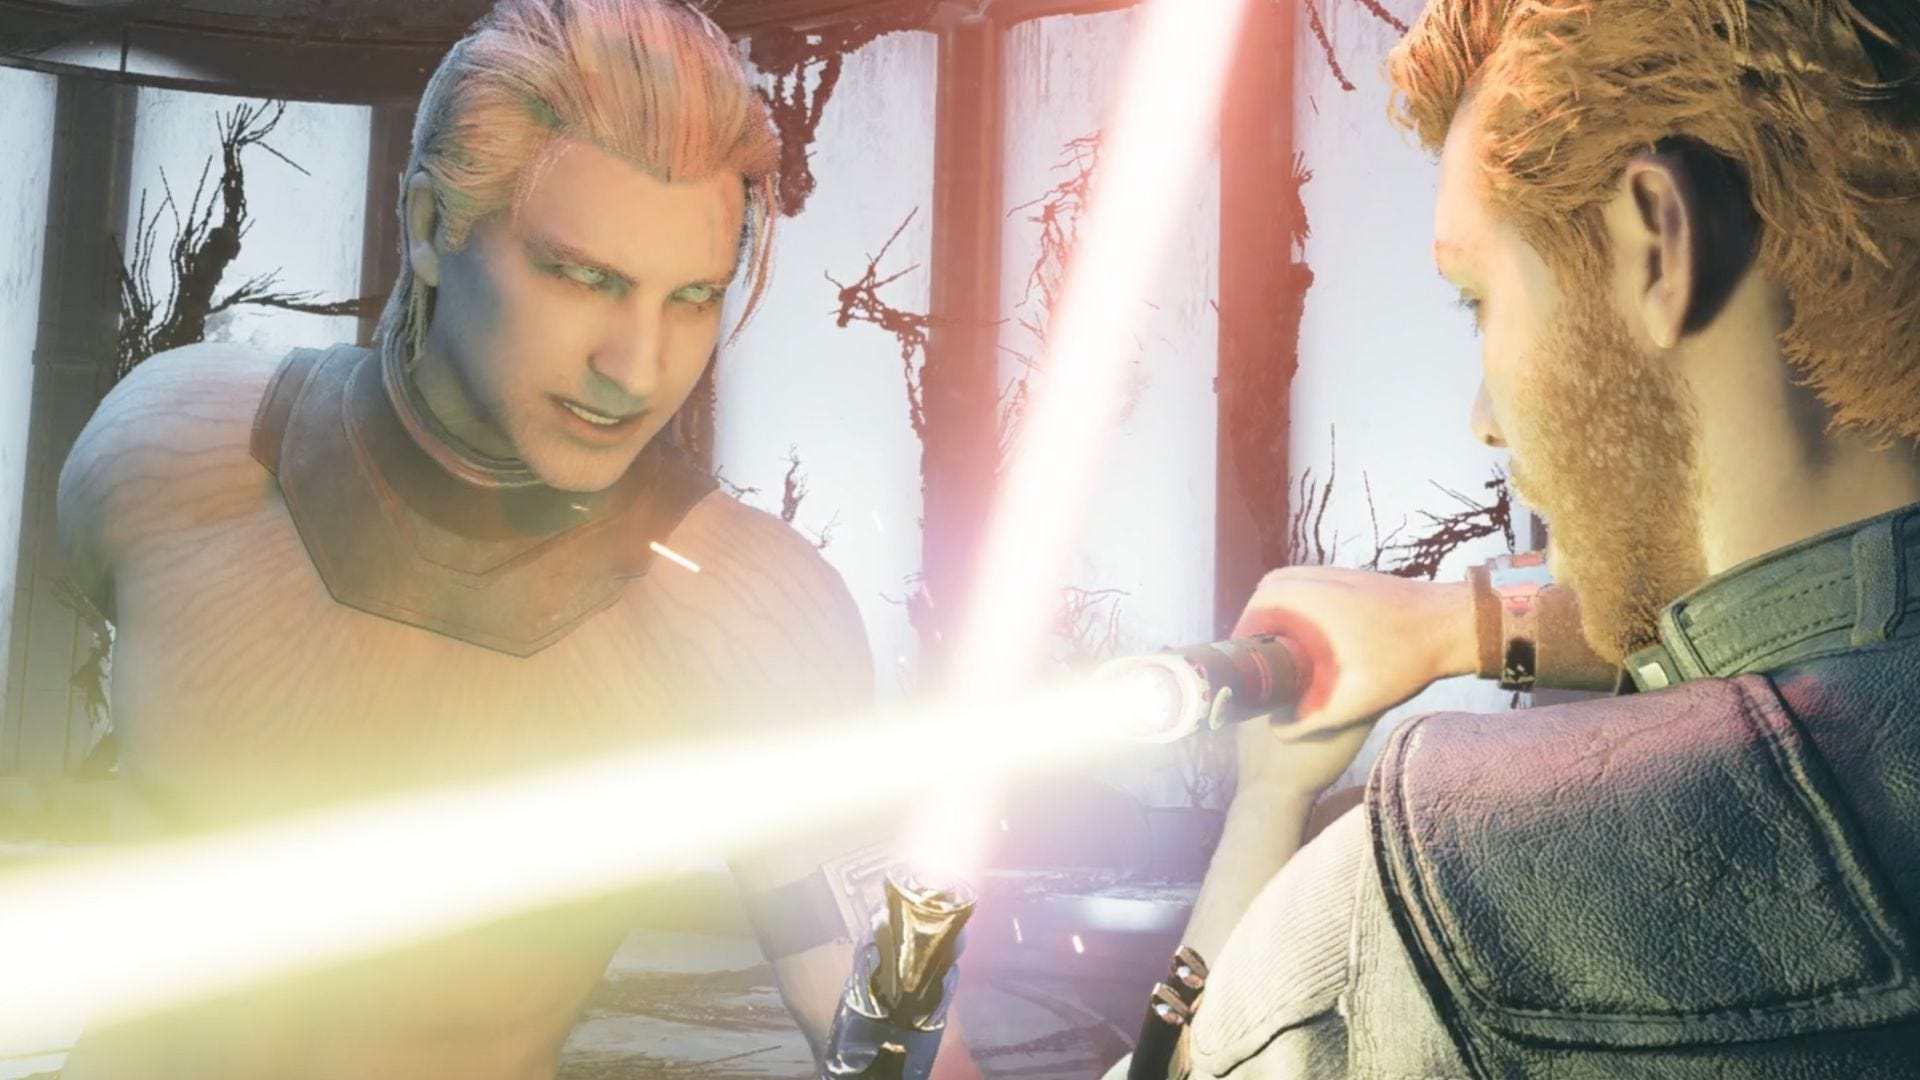
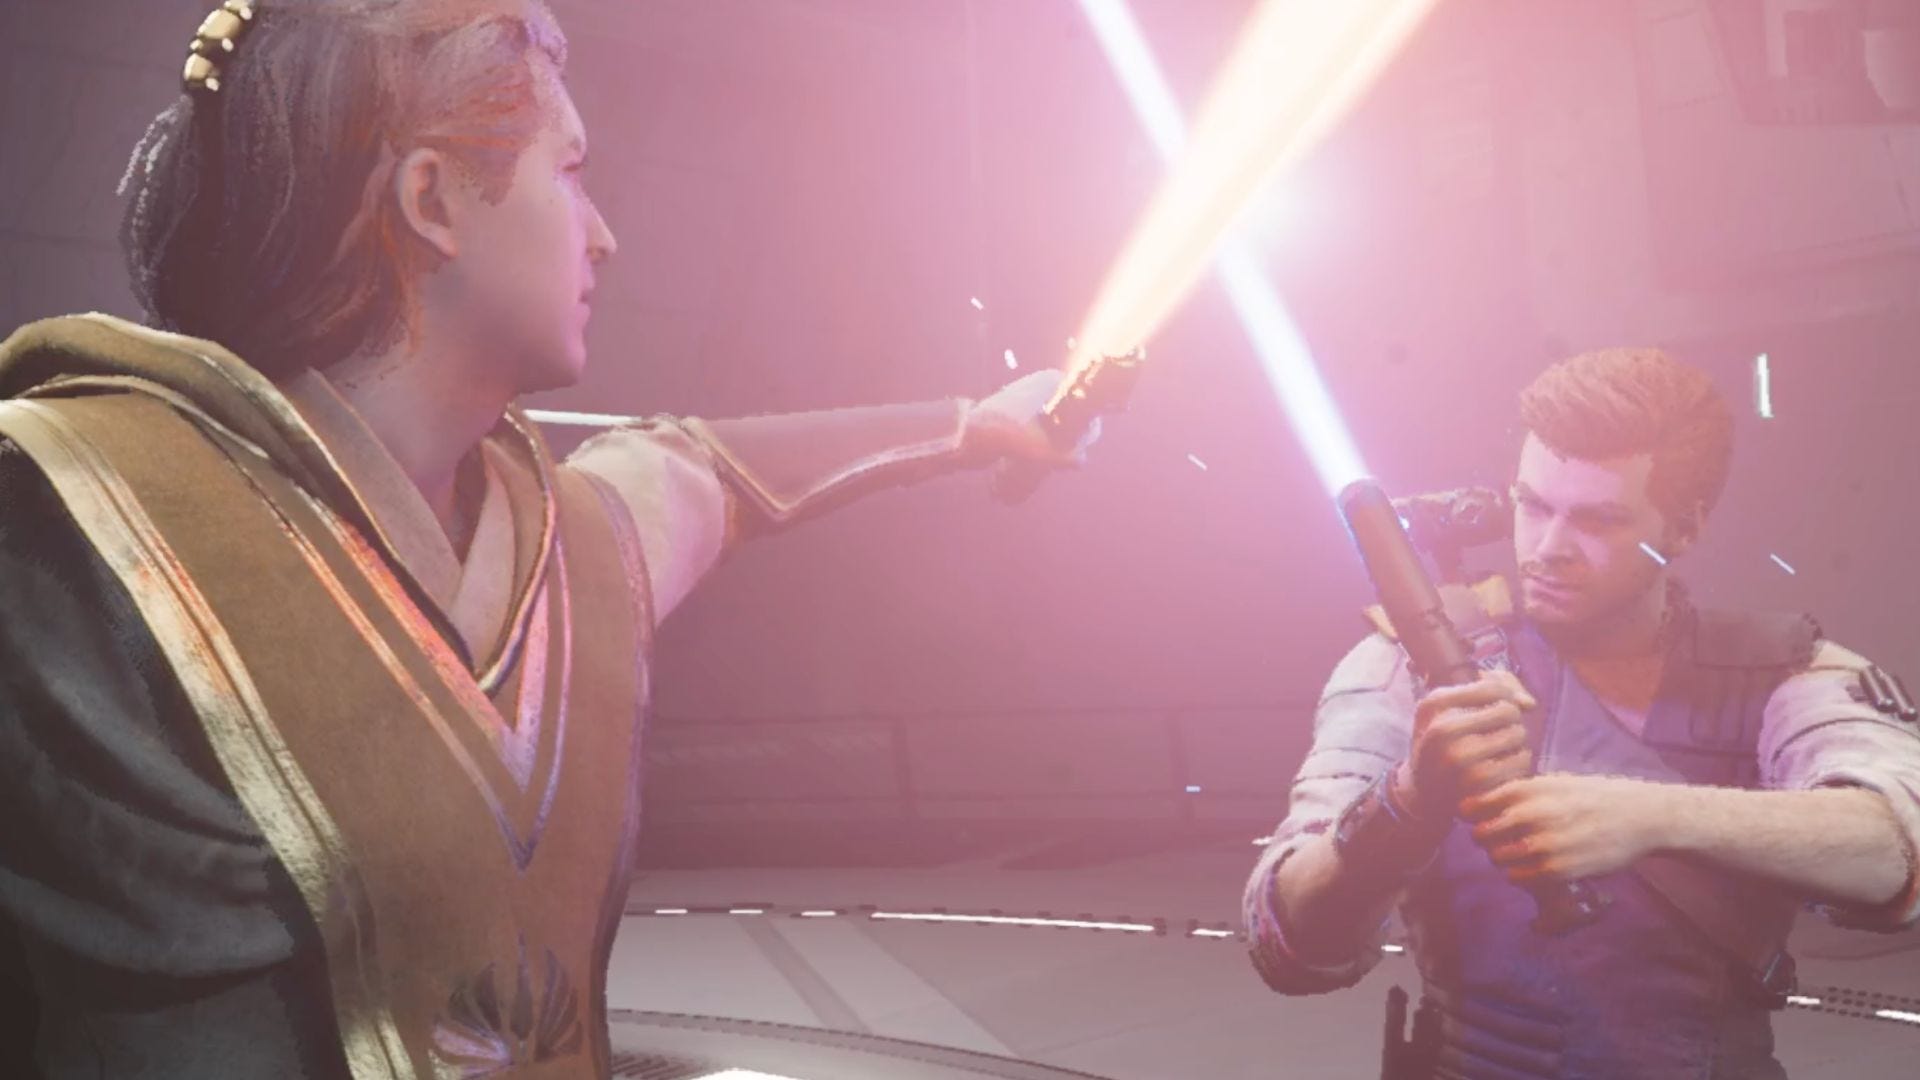
And then, the big reveal: Did you know Mr. Jetpack Suave was actually a Jedi, too? MIND BLOWN.
Unfortunately, you won't win this battle with Bode, but the game then takes you to play as Cere, who must hold back an attack from the Empire. She has a force field ability slightly different from Cal's time-slowing one, so use this to your advantage as you take on enemy hordes.
After the first bit of this fight, you'll find two walkers attacking the front gate. Climb the incline and use your force abilities to the right and left of the incline to cause the giant balls to roll down, destroying the walkers. To get to the second one, note that you must go through the clearing you created by moving the first one and then climb on the platform. Pull the second ball out with your Force ability, then find the small ball around the curve to push it around, allowing the second large ball to drop.

Once you've done this, drop down and fight toward the Hangar, taking on the hordes of baddies in the lowest level. As Cere, you'll then make your way to try to recover items from the archive before the Empire burns it completely. Rest at the Archive Vestible Meditation Point and prepare for your next big fight.
You know that big meanie who always seems to be at the heart of everything that turns the galaxy into an eternal warzone? Hello, old friend! You'll fight Darth Vader as Cere, but even with your best efforts, it's a losing battle.

All hope is lost as Bode has gotten away, Cordova and Cere are gone, and Vader has escaped yet again. However, it turns out Bode has a tracking device on his ship, leading you to Nova Garon.
Nova Garon walkthrough: Find Bode
Make your way through Nova Garon, and maybe take a peek at our Star Wars Jedi: Survivor Nova Garon collectibles guide to pick up some goodies along your journey. There are few platforming puzzles or tricks here that you haven't encountered in previous sections, but you will face many enemies. When it comes to some of your more difficult foes, just remember that you can use ranged attacks and take them on slowly and, in some cases, one by one as needed. Or, just using the Force to push them off the ledge can solve many problems, too. Look at your map to navigate the area as needed. You can also find yourself accidentally backtracking a little bit here, so take note of your surroundings, and if you've been someplace before, turn around.
In a cutscene, you'll learn Bode was working as a spy for Commander Denvick, meaning he's been working for the enemy the entire time. He seems to deny any involvement with working with Vader or burning down the Empire, but who can you trust anymore, really?
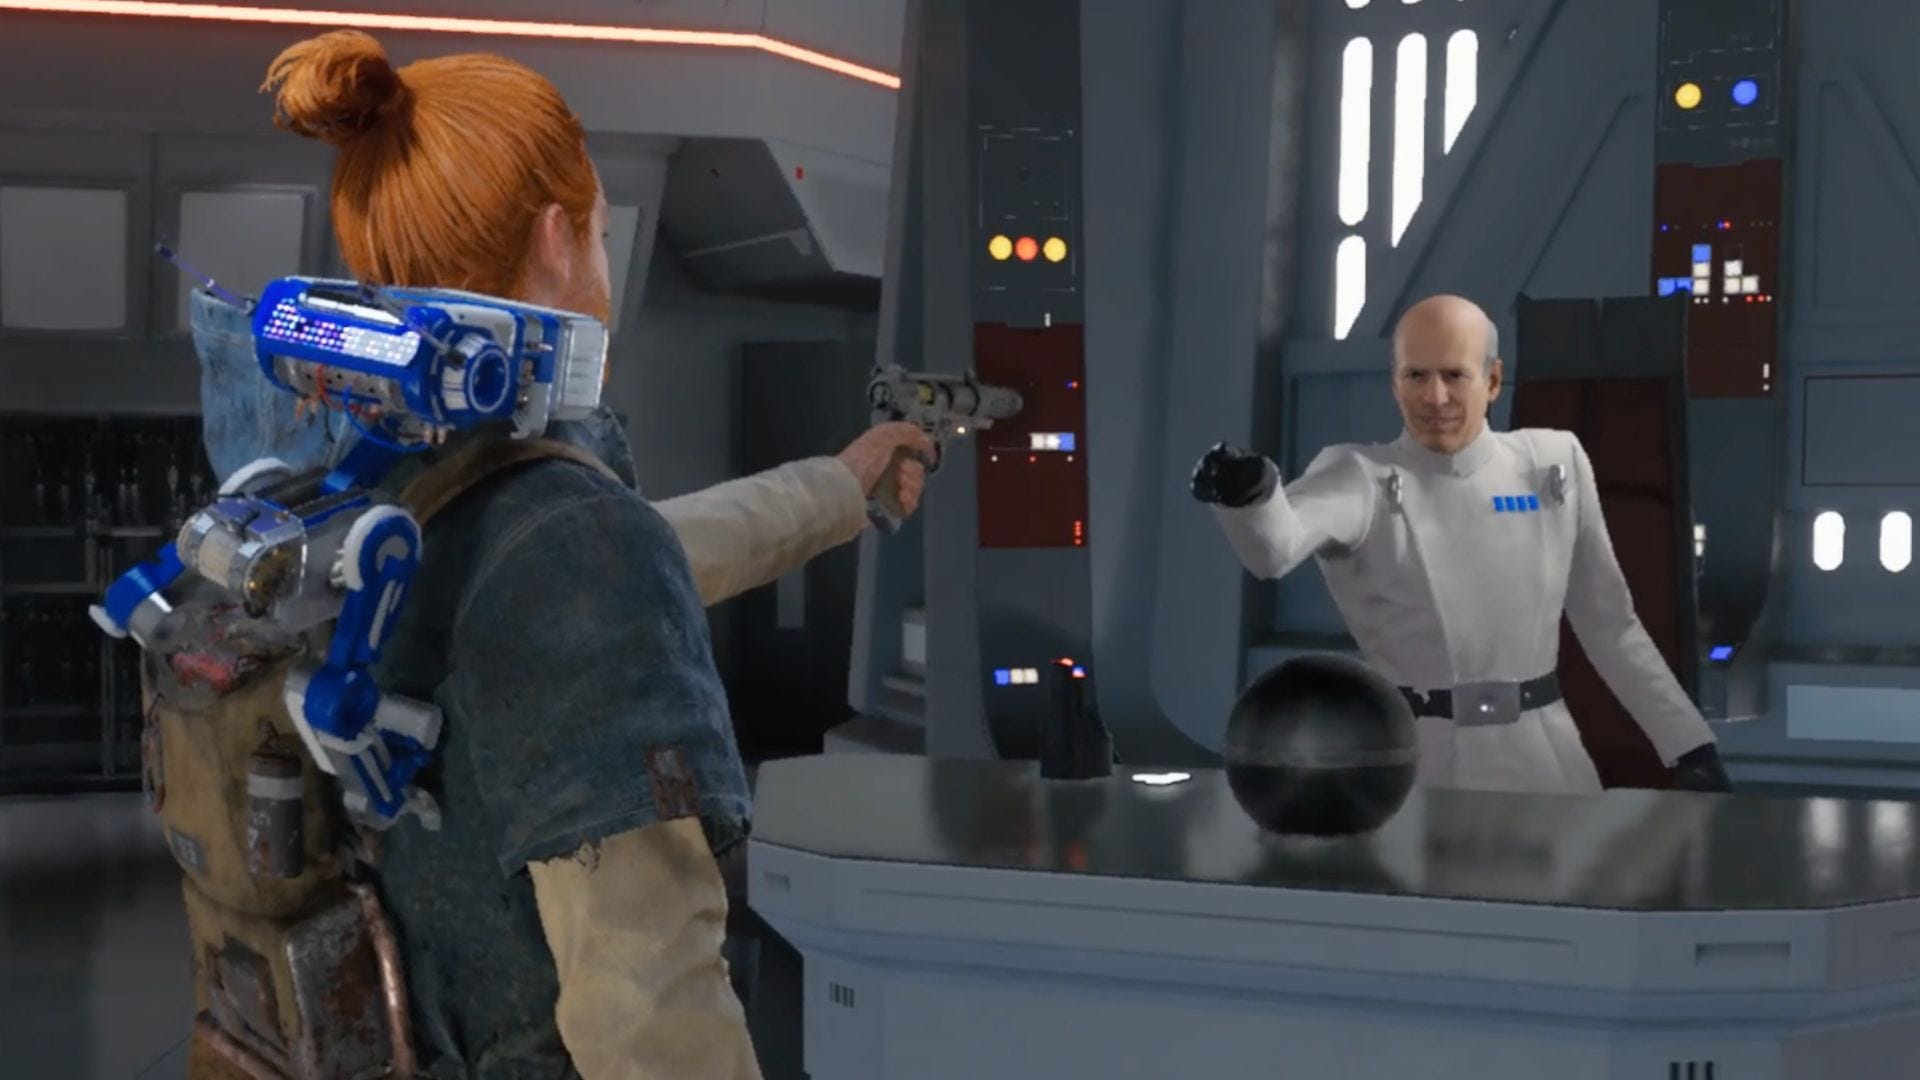
But, you'll take his outfit to pose as an IBS agent and make your way through tons of enemies who have no idea you're "wanted terrorist Cal Kestis." In fact, the only person who's on to you is a young girl named Kata, who just happens to be Bode's daughter.
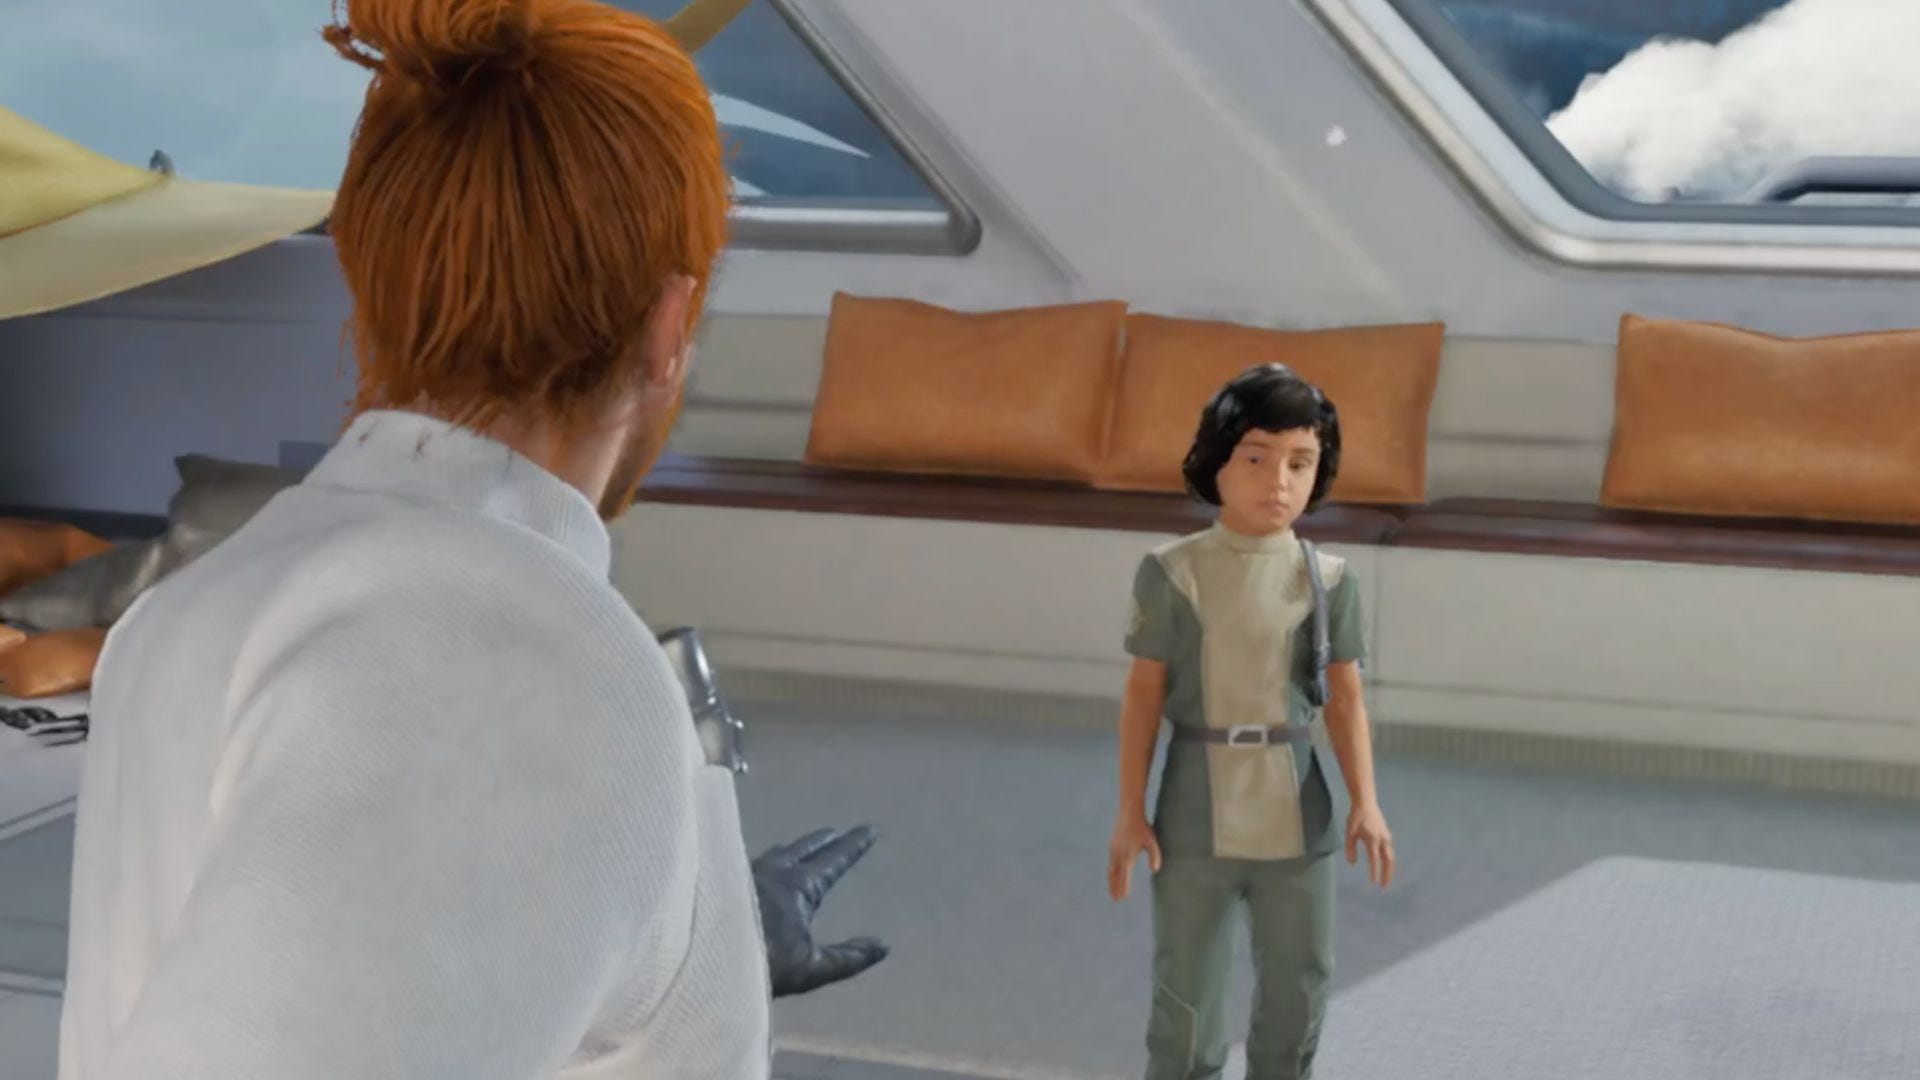
With some exposition, you'll learn that Bode wanted the key to Tanalorr to protect his daughter from the Empire, everyone else be damned.
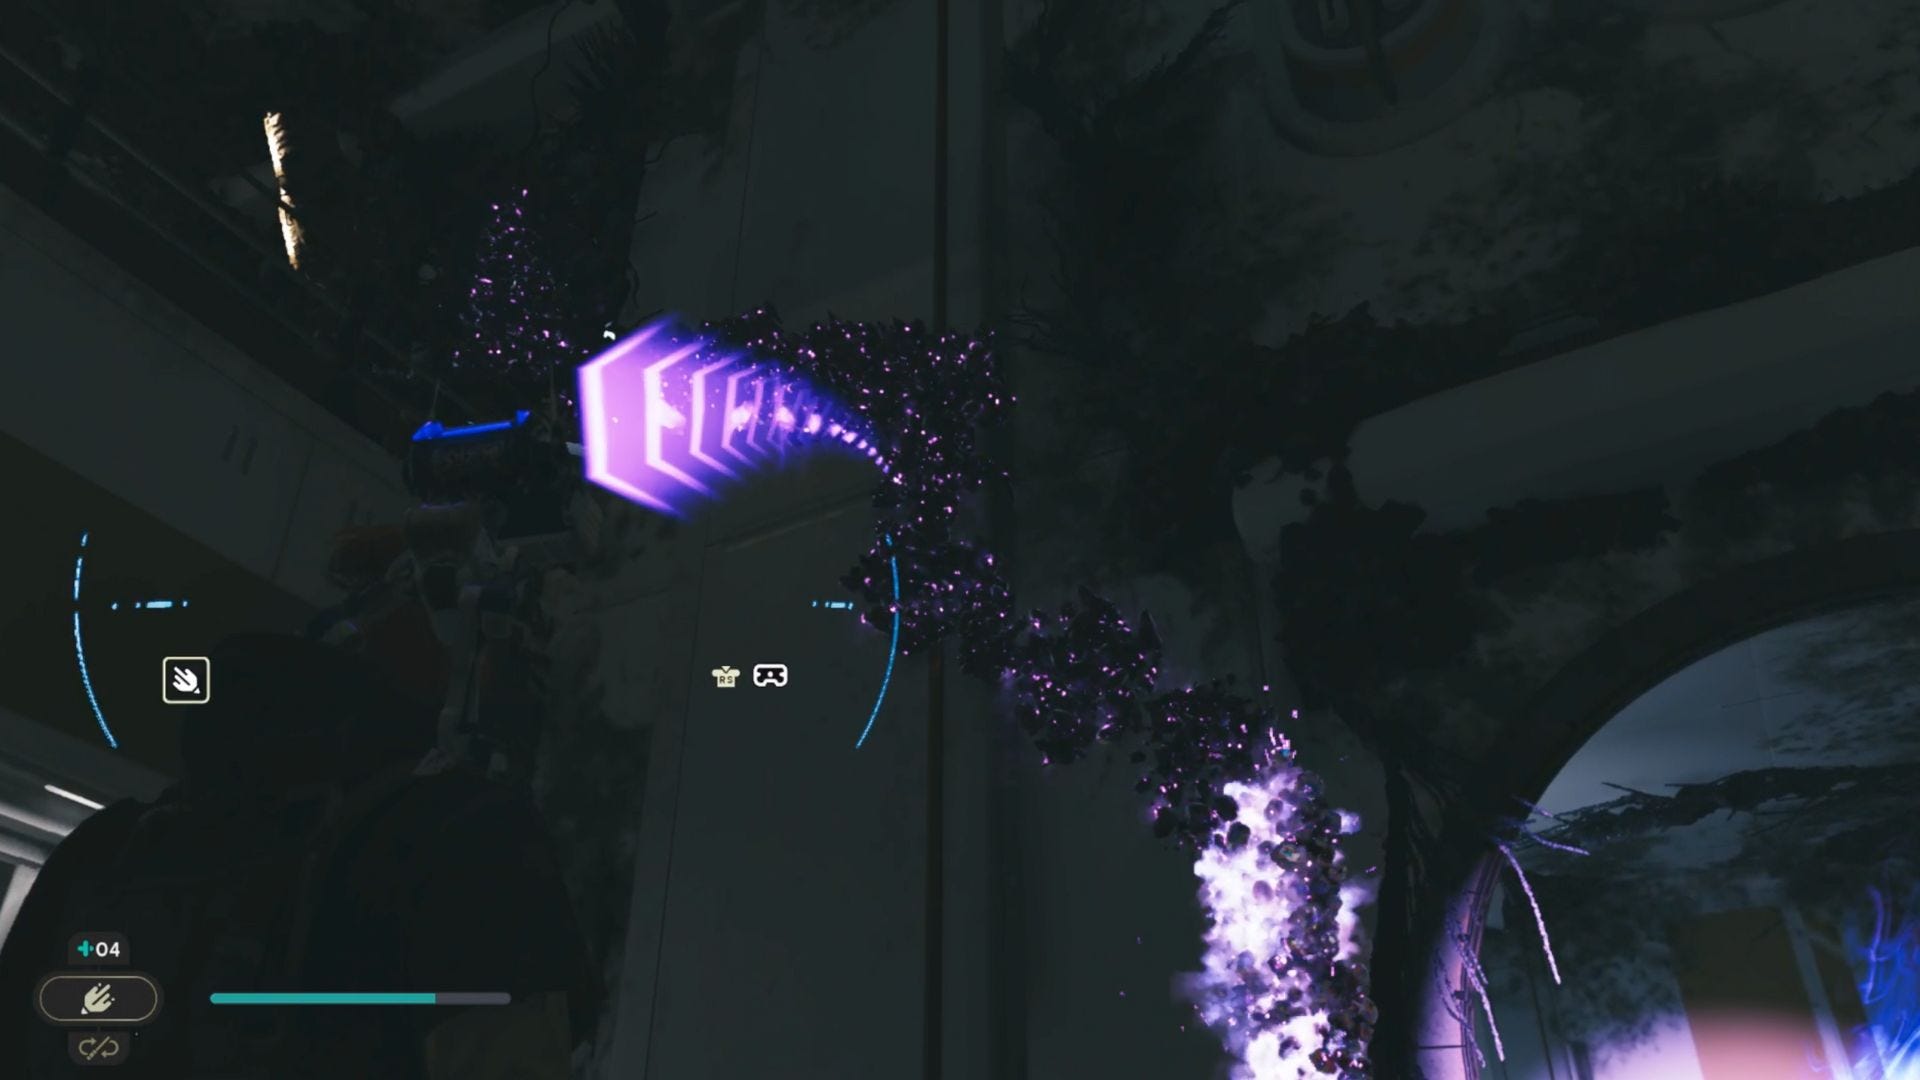
Feeling especially betrayed, Cal now has access to a mega-powerful Darkness power rather than the typical time-slowing ability.
Make your way through Nova Gaaron, meeting up with Merrin who is there to help you escape, and (with some urging from Merrin) sparing Denvick.
It seems the whole thing is a failure, but on the Mantis, you'll learn there's another way to reach Tanalorr. This will take you back to Koboh.
Koboh Alignment Control Center walkthrough: Find Tanalorr
Make your way to the Koboh Alignment Control Center, and once within it, you'll fight several enemy hordes. Use your new Darkness power to fend them off. Eventually, you'll be able to reach a point where you can access a node that will allow you to align the coordinates, so you can return to the Mantis and find the way to your next destination: Tanalorr.
Tanalorr walkthrough: The finale
Once on Tanalorr, traverse the path and find your way to the Tanalorr Atrium, where you'll find Kata. A cutscene will ensue, and you'll find yourself in a fight with your former BFF, Bode. Use your Jedi powers of patience, mindfulness, and that deep dark energy that seems very un-Jedi-like to take down your former bestie. It's a sad day, but you did what you needed to do.

You'll then watch the bittersweet ending. Congrats on navigating all the puzzles, boss battles, and challenges in EA and Respawn's newest game! But, realistically, you're not even close to done with the game since there's so much story beyond the credits roll. So, return to the other planets and search for new Force Echos and all the goodies you missed. Now equipped with the Darkness force, there's nothing that can stop you — and that's a scary proposition.