The Division 2 Control Points - accessing supply rooms, gathering materials


With both the White House and Theater acting as settlements in The Division 2, there are only a few other places that you can warp to, in order to save on the walking. The first are Safehouses that can just be accessed once, but the more interesting checkpoints are the Control Points. You'll need to take over them, but once you do, they unlock goodies for you and you'll be asked to help with supplies.
Want to know everything about the various different systems in The Division 2? Head on over to our The Division 2 guide hub to find lots more information about the game. More will be discovered as Agents pile into Washington D.C., so stay frosty. If you're looking for information about the skills of The Division 2, head on over to our The Division 2 best skills guide for the best skills to unlock and equip, while our The Division 2 best perks guide will go into more detail about the perks themselves and which ones are best to unlock early. For those that just want to get to the endgame quickly, our The Division 2 How to level up fast guide will give you tips on how to do that quickly.
The Division 2 Control Points guide
Our guide for Control Points will detail how to unlock each Control Point in the map and how the supply rooms work. There's also some information on how to donate materials to help the Control Points.
Unlocking Control Points in The Division 2
So to take over a territory, sneak into the area in question and begin attacking before shooting a flare. If you shoot a flare immediately, every enemy will be alerted to your position, and you will lose the element of surprise. You'll then need to kill enemies, until a leader shows up. These tend to be yellow coloured enemies - but you can find more about them in our The Division 2 factions guide.
Once the yellow enemy is taken down, you should have some allies on-site. However you'll immediately be attacked by enemies looking to claim the point back. These will also culminate in a yellow enemy leader and this one is more likely to have armour that you'll need to shoot off. Killing all the enemies after the leader spawns will unlock the Control Point.
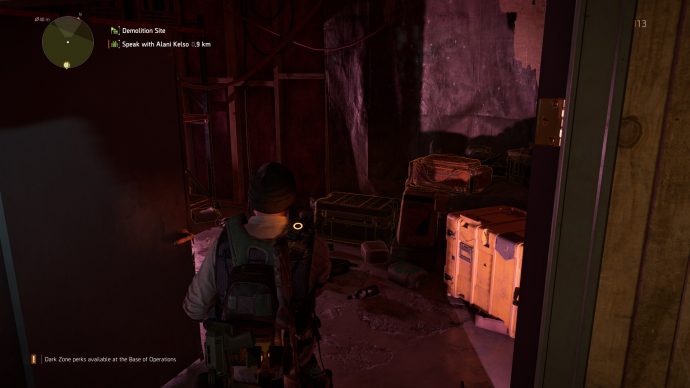
Supply Rooms
Upon taking over a Control Point, the supply room will open up. This is a great place to find loot early on in the game since they get new items for you to nab after an in-game day. Occasionally there are rare materials found here, but it's mostly weapons and armour pieces that you can sell - more on weapons in our The Division 2 weapons/guns guide.
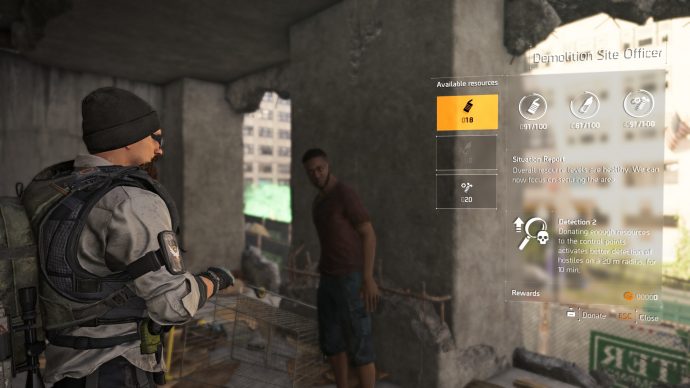
Gathering materials for Control Points
Each Control Point has a dedicated officer. If you have unlocked the Detection Perks (more on how to unlock perks in our The Division 2 best perks guide), then you can get bonuses for gathering more materials and items. But in order to do so, you'll need to hand over water, food, and screws.

You may therefore be wondering - where do I get food, water, and screws? You won't be able to see them on the map when it's zoomed out, since the map screen prioritises missions and objectives over other points. However, if you zoom in a tad and look around the area, you'll see little tiny dots. Hovering over them can reveal a few things:
- Icon - This depicts what the crates in the area contains
- Colour - Which faction it is under the control of - Red is enemy, Green is allies, and grey is neither.
That's everything you need to know about Control Points in The Division 2. We will have some more guides on the game in the coming weeks ahead, so stay frosty out there with your new stuff and come back soon where we'll have a lot more tips for you. In the meantime, if you preordered or obtained one of the many special editions to the game, head on over to our The Division 2 preorder bonus item guide for the steps that need to be taken to unlock these items for use in-game.