As part of the Operation Para Bellum update, Tom Clancy's Rainbow Six Siege has a rather interesting new map as part of year three's latest update. The Villa is a huge and somewhat lavishly decorated property that opens up some unique opportunities for both attackers and defenders. This guide will go over all of the main points in the map of note, such as objectives, cameras, and areas of tactical importance.
There's perhaps no better time to jump back in than now, so for those who haven't played in quite a while may wish to consult our Rainbow Six Siege guide hub for some more tips that can be used on any map in the game, as well as some things to keep in mind when on either the attacking or defending team.
This beautiful property is three stories high and lavishly decorated with lots of expensive art, questionable taxidermy, and a basement full of vintage wine. It's apparently owned by a mob family called the Vinciguerras who use it as a hideout. Various parts of the map are themed, with some being used as bedrooms and communal living areas, while others seem more like a private art gallery. This guide will take you through the spawn points for both attackers and defenders, some strategies to keep in mind, and a few operators that really excel in this map.
Defence spawn points
With so many rooms to navigate, it can be quite easy to get yourself turned around, particularly when using the drones as the attackers. None of the rooms however have instantly accessible barricades or walls from outside the property, meaning that defending players can set up their defences a little bit away from the room itself.
One thing to definitely keep in mind though is the fact that if you're in the basement, the enemy will likely be heading in from the crypt entrance - which is a huge wooden circular barricade. They do this because there are no cameras that can spot them as they head underground, so they can remain fully hidden on their approach.
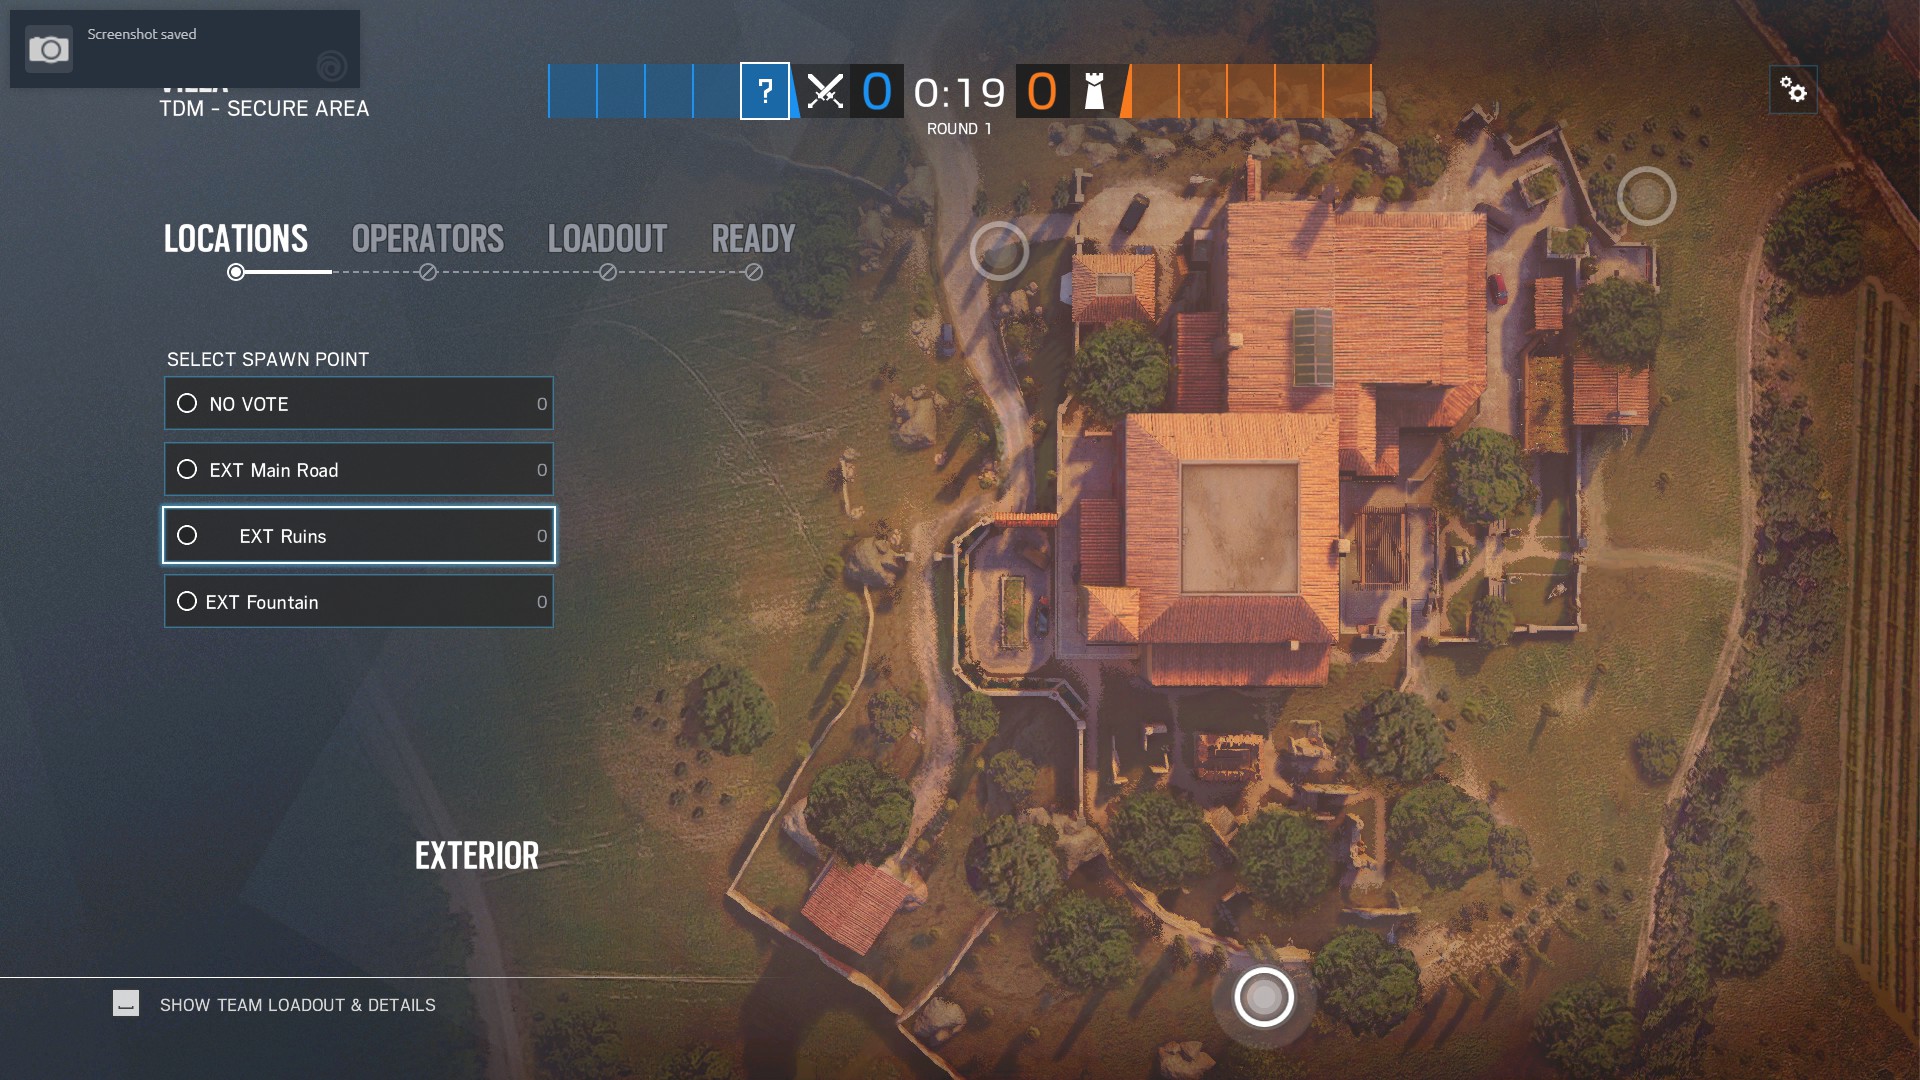
Attacker spawn points
As mentioned before, the attackers can't be spotted if they approach from the crypt via the tunnel into the basement, but there is the possibility of spawn camping elsewhere on the property. Some windows at the far end of the property have very good views, meaning that enemies can take shots from very far away. Therefore it's worth proceeding with an element of caution when storming the property. Main road has the closest path to access the villa, while Fountain has a small amount of cover to hide behind.
Once you're just outside, it's worth seeing where you're about to enter and access whether or not it is high risk. If your drones are still available, it can be worth scouting the room to see if the enemy has shot a hole in the ceiling. If they have, it may be worth considering entering a safer route.
Tips for Villa
Most of the floorboards in Villa are double sided. You can shoot holes in them with a trusty shotgun, then use the layout of the floor underneath to attempt to assassinate enemies from above. It's a tactic that shows just how clever the map is as most players don't tend to look up all that often. Various locations provide a surprising amount of coverage, such as round the back of the pool table in the games room.
It's not just the floorboards. Almost every surface in Villa is made of wood, so there is always that constant danger of someone killing you from a peep hole they've made. Some particularly good ones include the wall with the painting in the Astronomy room, which has a good amount of coverage, as well as the wall in the Aviation room that has the "Amazon Sky" poster.
For the attackers, good operators to use are Sledge with his hammer and any operator that uses a decent shotgun for tearing up floors. Since the map is full of tight corridors and wooden walls, shotguns have a surprising amount of effectiveness. It may be somewhat difficult to get precision with some of these weapons, but most of these choke points also have nearby hatches that you can jump down from to dispatch any roaming defenders. Sledge definitely has the most efficient way of ploughing through these walls with his trusty hammer.
Defenders have a few decent options to choose from, but perhaps the character that benefits the most from this map is Mira. She can set up her black mirror in some positions, such as the gallery or dining room, where she can keep track of multiple doorways on the first floor. That said, the ceiling in these choke points is made of wood, so an attacker could quite easily head upstairs and take you and the black mirror's canister from above. Another very good operator in this map is Valkyrie as her cameras can be planted between the floorboards, providing security footage for more than one floor, as well as being relatively well hidden.
You can find out more about these three character's abilities in our Rainbow Six: Siege operators guide, which also has information about the more universally useful operators and which ones are best for those getting back into Rainbow Six Siege. Alternatively, you can look at the latest maps, which include a reworked classic in our Rainbow Six: Siege Hereford Base map guide, or the new map in the Rainbow Six: Siege Fortress guide


 Watch on YouTube