Risk of Rain 2 enemies list - stats & behaviours of all enemies & monsters, Elite variants explained
Sorting your Beetles from your Bison

From tiny wisps that hover in the sky and zap you from above to roaring bison that charge at you from the other side of the map, each of the Risk of Rain 2 enemies - much like those of its predecessor - presents a unique set of stats and behaviours which you must learn if you are to defeat them time and time again. And what's more, with the endless difficulty scaling of Risk of Rain 2, even the most meagre of enemies can grow powerful enough to kill you in a single shot if you aren't careful. Our Risk of Rain 2 enemies guide will walk you through these enemies one at a time, explaining how they work and how to deal with them even at the highest difficulty levels. We'll also give you some handy info regarding the Elite variants that you can come across and why you should be wary of these deadly upgraded monsters.
If you're after some more general information on Hopoo's latest roguelite survival game, you'd best check out our Risk of Rain 2 guide, which we've packed with tonnes of beginner-friendly explanations and practical tips, along with links to the other areas of our expanding Risk of Rain 2 guides series. If you're looking for tips on the various bosses of the game and how to defeat them, look no further than our Risk of Rain 2 bosses page.
Risk of Rain 2 enemies list - stats and strategies
We've got a fair amount to cover with each of the 12 regular enemies currently in Risk of Rain 2, along with our explanations of the Elite variants of each enemy. To try and create a bit of order out of this chaos, we've made it so you can skip to any section or enemy of your choice by clicking on the corresponding link just below.
Risk of Rain 2 enemies guide - contents
| Elite variants of enemies - Blazing, Glacial, Overloading | |||
| Beetle | Lesser Wisp | Lemurian | Stone Golem |
| Beetle Guard | Greater Wisp | Elder Lemurian | Brass Contraption |
| Jellyfish | Imp | Hermit Crab | Bighorn Bison |
Elite variants of enemies
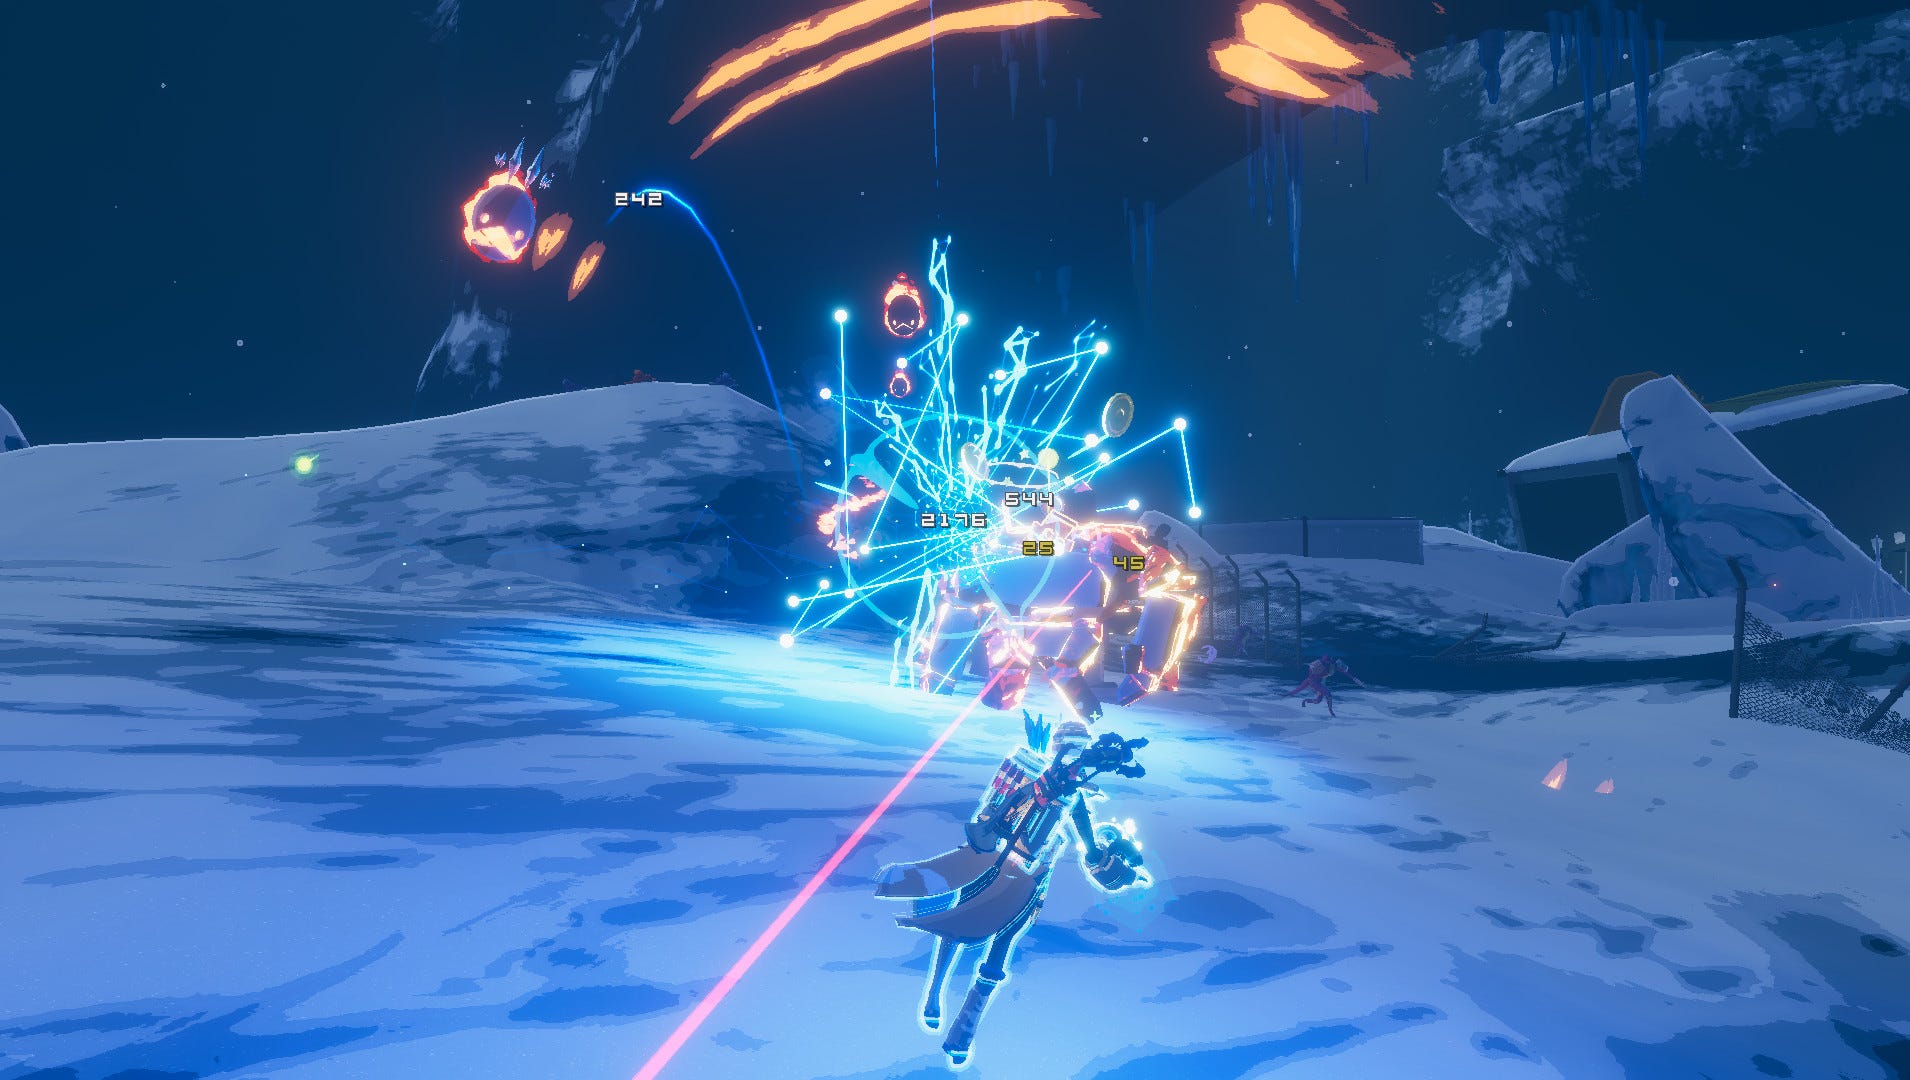
Before we get stuck into each enemy's stats and characteristics, you should be aware that each enemy has a chance of spawning as an Elite variant. These Elites are much tougher than normal, and can apply both to regular enemies and to bosses. The probability of an enemy spawning as an Elite, quite predictably, starts off low but increases the longer you survive in a run.
There are three types of Elites that you can come across, and each are recognisable by their distinct colour (see below). Regardless of the variant, all Elites enjoy 4.7x the Health and 2x the damage of their regular counterpart, so they are not to be trifled with - particularly on the later stages of a run, when enemies are getting pretty beefy anyway.
The three types of Elites that can spawn are as follows:
- Blazing Elites are coloured red, leave behind a fire trail that damages players that come into contact with it, and their attacks can ignite the player for 4 ticks of the Elite's damage.
- Glacial Elites are coloured white, and their attacks significantly slow the player upon each hit. They will explode shortly after death, so make sure you are out of its range before that happens.
- Overloading Elites are coloured blue and have 50% of their Health converted into rapidly recharging Shields; and their attacks deal an electric explosion on each hit.

Complete list of Risk of Rain 2 enemies
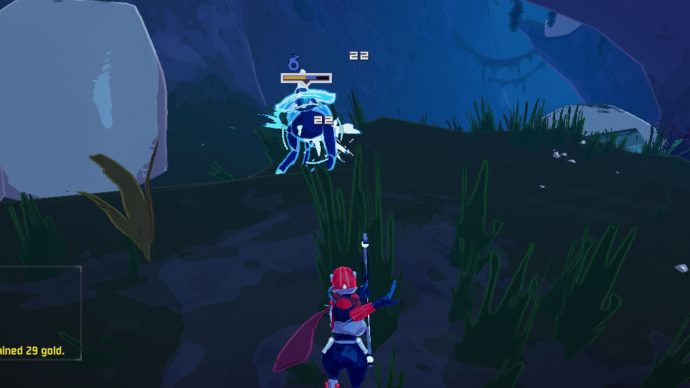
The below table lists every enemy currently in Risk of Rain 2. More enemy types will doubtless be added at later stages of the game's journey through early access, but we'll be sure to keep this page as up to date as possible.
Next to each enemy you'll find descriptions of each enemy, as well as their speed, health, and damage stats. It's worth noting how the Health and damage stats scale up over time: each difficulty level through a run ("Easy", "Normal", etc.) is broken in to three sections, and each time you move to the next section, the enemies move up a "level", giving them an extra 30% Health and 20% damage (based on their original values). An increase in level also increases the rate at which they spawn. Check the table for all the relevant values.
Note: enemies limited to a specific Environment can still spawn in others once you've completed a "Loop" of all Environments - for example, you may find Hermit Crabs in the Titanic Plains once you've completed Abyssal Depths and returned full-circle to the starting Environment.


And with that, we conclude our Risk of Rain 2 enemies guide. Hopefully this has helped supply you with the information and confidence you needed to get back out there and complete the next Loop or five. And be sure to check back here for all the latest and most updated information on the enemies of Risk of Rain 2. We'll be waiting, survivor.