Valorant Phoenix guide - 30 tips and tricks that all Phoenix players should know
Hot flashes incoming
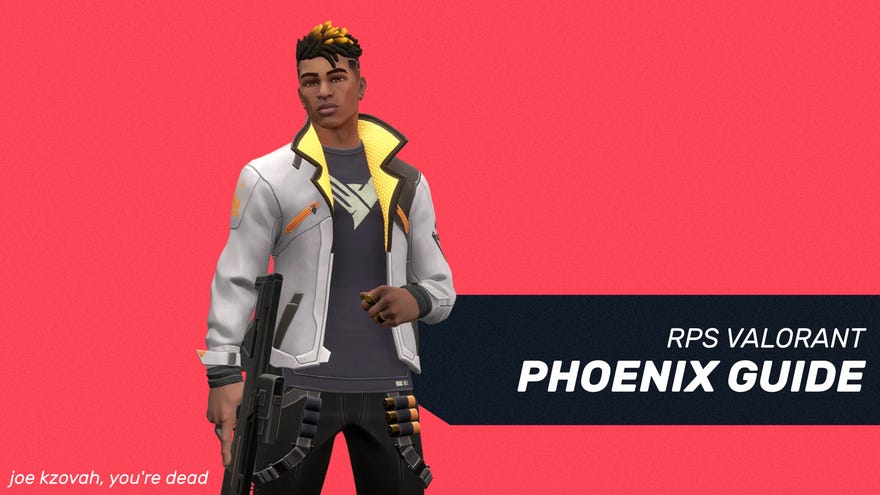
Phoenix occupies a special place in the Valorant characters roster. Armed with his Curveball flashes and damage-over-time abilities, he's a spectacular agent for flushing enemies out of hiding and countering players who hold angles in wait for your attack. But as with all Valorant agents, there's even more to him than just the surface detail - and our Valorant Phoenix guide will ensure you're up to the challenge of using all four of his abilities as effectively as possible.
Valorant Phoenix guide
- Phoenix abilities overview
- Phoenix tips - Hot Hands
- Phoenix tips - Blaze
- Phoenix tips - Curveball
- Phoenix ultimate tips - Run It Back
Phoenix abilities overview
Before we get stuck into the in-depth tips and tricks, it's good to get a quick refresher on each of Phoenix's abilities and how they work.
Right, now I think we're ready to get stuck into the aforementioned Phoenix tips and tricks, don't you?
Phoenix tips - Hot Hands
- The fire left behind by Hot Hands lasts just 4 seconds - enough to heal yourself by a maximum of 45 health.
- You can't throw Hot Hands a very long distance, because after a certain amount of travel time the projectile will drop straight downwards no matter what. However, like many other abilities it does bounce off walls, lending you extra utility in more confined spaces.
- There's very little reason to ever use the underhand throw option for Hot Hands. It's useful for abilities that bounce, but Hot Hands will activate the moment it touches a surface, so there's really no reason to ever use the underhand.
- You cannot hear when enemies are being damaged by Hot Hands, so don't lie in wait expecting to hear anything.
- While the fire from your own Hot Hands (or Blaze) will heal you, the same abilities from an enemy Phoenix will hurt you. So don't try to stand in enemy flame expecting your HP to replenish.
- The predictable drop and velocity of the Hot Hands projectile means you can learn certain line-ups such as those in the video below, from Valorant streamer Kephrii's YouTube channel.
Phoenix tips - Blaze
- Phoenix's Blaze wall lasts 6 seconds, and heals you at the same rate as Hot Hands does, making Blaze a better option for healing. You can heal up by a maximum of 69 health with a Blaze.
- You can curve Blaze very sharply around corners and continue to angle it until the wall is erected. This gives you extra flexibility for blocking off specific sections of maps - but don't concern yourself too much with this. A straight wall is often just as effective as a wibbly-wobbly wall.
- Because Blaze only lasts 6 seconds, don't expect it to hide you long enough to pull off extravagant repositions. It's much more like Jett's Cloudburst than a Brimstone or Viper smoke - enough to block line of sight while you quickly cross an area, but not much more than that.
- Despite its brevity, Blaze is a great tool for playing mindgames with your opponent. If you wall off a chokepoint, the enemy won't know where along the wall you might appear at any moment, which is often enough of an incentive for them to back off or duck into cover.
- Bear in mind that an enemy could walk through your wall without sustaining a terrible amount of damage, so be prepared for this eventuality. On the whole though, players would rather not risk it, making Blaze a fairly effective zoning tool.
- As with Hot Hands, you cannot hear when enemies are being burnt by Phoenix's Blaze wall. Just another thing to bear in mind.
- The vertical angle of Blaze is very important, because of the way that the wall is created. Think of it like this: whatever path your throwable projectile takes through the air, imagine there's a shadow directly below it on the ground. That shadow is the line from which the wall arises. And that means if you angle the throwable so that it arcs over the top of a building, the wall will effectively intersect the building, appearing on the other side as well as on your side. But if you attempt to just throw the projectile at the building, it will impact, and the wall will only be drawn up to the building's edge and no further.
Phoenix tips - Curveball
- Despite the short life and range of the ability, your Curveballs are very capable of bouncing off walls. In fact, this is often what goes wrong: you throw the Curveball too short a distance, it bounces off the corner you intended it to go around, and suddenly you've blinded yourself.
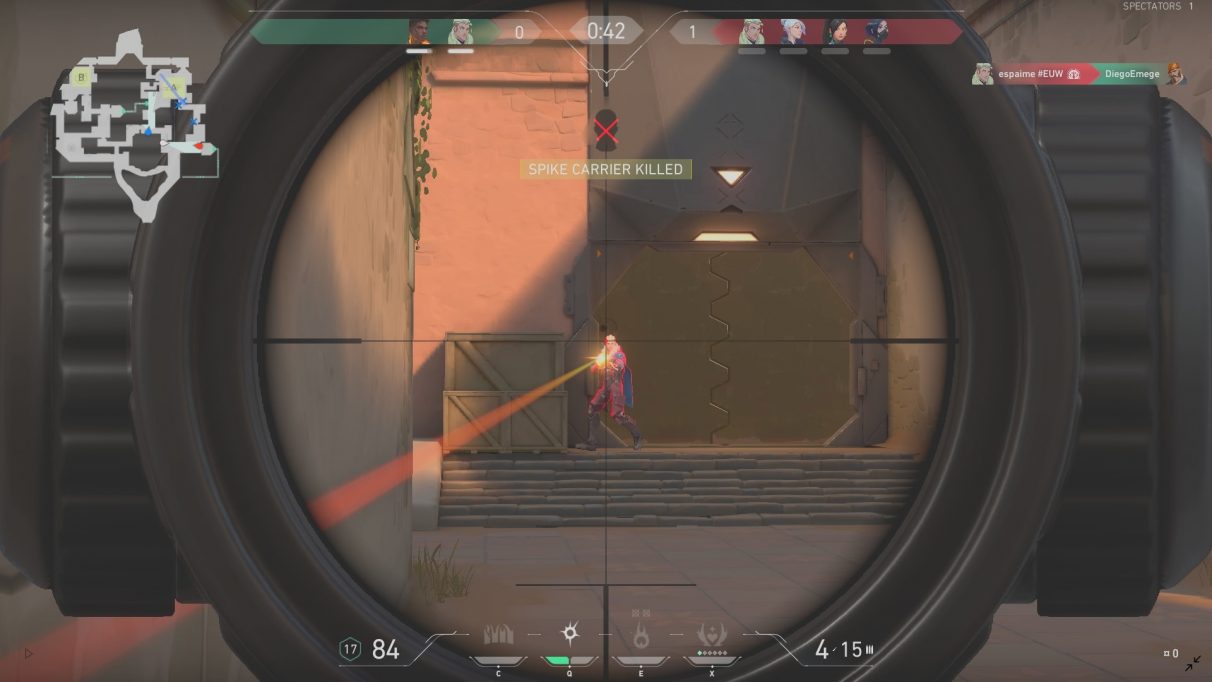
- The flash of Curveball operates via line-of-sight. If the game can draw a line between the flash and a player's face without finding any obstacles, then that player will be blinded. This is how it works for Breach's Flashpoint ability as well.
- You can throw the Curveball up or down, irrespective of its curve. This is notably useful on the map Split, because you can throw a Curveball directly into or out of the vents that connect A Heaven to Mid.
- Players can look away from the flash to drastically shorten the duration of the blind. Again, this is true of Breach's Flashpoint ability too.
- Many players will respond to being blinded by firing pre-emptively at where they expect you to peek from. And it's a good tactic that often works. So be careful when you decide to expose yourself after letting loose a Curveball.
- Try to be as far away from the corner you want the Curveball to go round, while still actually being able to get it round the corner. Why? Because it means the ball will only be seen for the tiniest amount of time by enemies before they are blinded, giving them less forewarning of what's about to happen.
- Be considerate of teammates when using Curveball. It's very easy to accidentally blind your allies (not to mention yourself). So be careful, or you may find that Phoenix isn't the only person on your team capable of flaming.
- You can follow up a Curveball with primary weapon-fire surprisingly quickly. In fact, you can be ready to fire before the flash even goes off. But don't get too ahead of yourself. Immediately following up the Curveball as quickly as possible makes your actions predictable, and renders you vulnerable to the aforementioned pre-firing strategy.
- I see a lot of Phoenix players flicking their view away from their own Curveball just after they throw it, to mitigate the effects of the blind in case they accidentally catch themselves with it. Which is fine, as long as you are able to unlearn that behaviour as you improve with Phoenix and no longer need to hedge your bets in such a manner.
- Enemies cannot hear Phoenix's finger-snap before throwing a Curveball. Allies can, but enemies can't. So don't worry about that.
Phoenix ultimate tips - Run It Back
- Run It Back lasts 10 seconds. This is not enough time to cross the entire map or go on a wide flank, so make sure you only use your ultimate when you're near enough to where you want to go. Run It Back is most useful when you're using it to break a stalemate at a chokepoint, so don't squander it somewhere you're not going to see an enemy for the duration.
- You can use all your regular abilities as normal while using Phoenix's ultimate. It's often a good idea to at least use a Curveball before you push. After all, if you get caught by a blinded enemy's pre-fire, you'll just be sent back to your starting position rather than dying outright.
- You can activate Run It Back while running, and it won't interrupt you.
- For those wondering, you don't leave a body behind while using this ability. It's not like Sova using his Owl Drone. You don't have to worry about someone sneaking up on your dormant body while you're off somewhere else.
- There's a long wind-down animation that occurs after you return to your initial position. It may look cool, but it leaves you very vulnerable to attack for a good two seconds, so make sure you're in a safe location.
- No matter what happens, you'll lose any Armor you had on you once you return after the ultimate finishes. This is counterbalanced by the fact that you'll be returned with a guaranteed 100 health, even if "killed" while using your ult.
- A nice map-specific tip is to activate Run It Back from inside a teleporter room. This allows you to scout out the area with relative safety, and also ensures your safety once you return.
With that, we'll conclude this Valorant Phoenix guide. But we've got plenty more to offer for any Valorant player looking to increase their skill and knowledge! Click any of the links below to head over to a different Valorant guide.
| Valorant basics (start here if you're new!) | ||||
| Valorant weapons | Valorant crosshair | |||
| Valorant characters | ||||
| Valorant characters | Valorant team comps | |||
| Breach | Brimstone | Cypher | Jett | Omen |
| Phoenix | Raze | Sage | Sova | Viper |
| Reyna | ||||
| Valorant maps & callouts | ||||
| Valorant Ascent map | Valorant Bind map | |||
| Valorant Haven map | Valorant Split map | |||
| Miscellanious Valorant guides | ||||
| Valorant Store & Valorant Points | Valorant ranks | |||
| Valorant error codes | How to report in Valorant |


.jpg?width=291&height=164&fit=crop&quality=80&format=jpg&auto=webp)


