Fallout 76 Bobbleheads: locations, are they permanent

Fallout 76's Bobbleheads don't work the same as they once did, which has irked some people. They're now temporary buffs as opposed to permanent upgrades, though they still increase your S.P.E.C.I.A.L. stats, or affect weapons used. Since they're more plentiful, there's a huge number of places where you can find them just lying around, so this guide will have more on their locations, exactly how to obtain them, and when it is best to collect duplicates.
Fallout 76 Bobbleheads guide
Those looking for a beginner's guide to get started with Fallout 76 when it comes out should have a look at our Fallout 76 guide hub. Each of Bobbleheads and Magazines tend to have multiple areas in the same named location, so read on to find out where you need to go to find them.
Are Bobbleheads permanent?
In yet another major difference to how Fallout 76 plays compared to just about any other Fallout game, Bobbleheads are no longer permanent buffs. Instead they stay in your inventory as items until they are used, with a long ticking countdown until you exhaust their potential. Picking up your first one of each will complete challenges, of which there are many ways to obtain atom. Look at our Fallout 76 challenges guide for more on that. However, in terms of what they do, the following table has a list of all the Bobbleheads that you can find in the game, as well as what they do.
| Bobblehead | Buff | Duration |
|---|---|---|
| Agility | +2 Agility | 10 hours |
| Big Guns | +20% damage with heavy guns. | 10 hours |
| Caps | Twice as likely to find better cap stashes. | 10 hours |
| Charisma | +2 Charisma | 10 hours |
| Endurance | +2 Endurance | 10 hours |
| Energy Weapons | +20% damage with energy guns. | 10 hours |
| Explosives | +30% damage from explosives. | 10 hours |
| Intelligence | +2 Intelligence | 10 hours |
| Leader | +5% extra experience | 10 hours |
| Lockpicking | +30% larger sweet pot when lock picking. | 10 hours |
| Luck | +2 Luck | 10 hours |
| Medicine | Heal 30% more with Stimpaks. | 10 hours |
| Melee weapons | +20% damage with melee weapons | 10 hours |
| Perception | +2 Perception | 10 hours |
| Repair | +30% Fusion Core regeneration | 10 hours |
| Science | 1x extra guess when hacking terminals. | 10 hours |
| Small Guns | +20% damage with ballistic guns | 10 hours |
| Sneak | 30% harder to detect while sneaking. | 10 hours |
| Strength | +2 Strength | 10 hours |
| Unarmed | +25% damage to unarmed attacks. | 10 hours |
Can I stack multiple Bobbleheads?
If you want to extend how long a particular Bobblehead lasts, you only need to find a second copy of the same Bobblehead and then use it as the time runs out. If you're lucky to have the perk "Percepti-bobble", this can make Bobbleheads easier to detect for those looking out for them. One thing you should probably be aware of however is that you should pick up every Bobblehead in front of you that's a duplicate of one that's currently active, but then only use it once you've checked to see how much time that perk has left. It's inefficient to use these items immediately.

Bobblehead locations
After some extensive testing, it seems that while the locations for where to find the Bobbleheads may be fixed, the Bobblehead you will find seems to be different depending on what the server spawns there. Therefore we will be breaking the following table into two: One will detail all the Bobbleheads in the game, what they do, and how long they last for. The second will go over each and every location we have found in the game. Since there are a lot of Bobbleheads to find, I've enabled the search functionality to filter the list down to the Bobblehead or location you are looking for, so please take full advantage of this. With all of our locations, just search for the location you are in and see if there are Bobbleheads to be found.
Region 1: The Forest
| Location | Directions to Bobblehead |
|---|---|
| Landview Lighthouse | There are two here. One is in the yellow house, on the desk in the upstairs bedroom between the typewriter and the terminal. The other is inside the lighthouse on the window sill heading up the most high-up gantry platform. |
| Alpine River Cabins | There are two here. The first is in the south-eastern cabin on the top corner of the bunk beds. The second is in the southern cabin with the bear rug, this time under the corner bunk bed. |
| Wixon Homestead | Just one here, and it's on the barrel next to the southern wall of the hay barn and garage. Just look right of the metal shelving and you should see it. |
| Vault-Tec Agricultural Center | A whopping four of them to find here. All are inside the building. The first is on the open rusty fridge on the lower level Hydroponics room. It should be opposite a fertiliser hatch. The second is in the urinal of the men's toilets by the stairs. A third can be found in the filing cabinet tray on the floor in front of some empty filing cabinets in the filing office. Finally, the fourth is on the corner of the metal desk that has a wrecked terminal on the dry part of the basement lab level. It's just left of some empty filing cabinets. |
| WV Limber Co. | Two here. One is in the red barn storage warehouse, located by a raised area by the upturned filing cabinet. There's also a first aid box nearby. The second is on the edge of the roof, near a "Protect your Hands" poster in the partially ruined maintenance gargae. Look for some stacked timber nearby. |
| Darling Sister's Lab | Just the one to be found here, and it's on the roof of the caravan trailer with "Welkcom" written nearby. There's also a gramophone and banjo if you want a focal point to see if someone else has gotten to it first. |
| Grove's Family Cabin | Another one Bobblehead to be found here. This is on top of the bunk bed in the south-eastern corner of the room of the cabin with the trunk and American flag hung up. |
| Tyler County Fairgrounds | There's three to find here. The first is below the two token machines in the metal sheds by the hoop shot games. The second is by some Nuka-Cherry and Nuka-Cola bottles on some metal shelves at the base of the massive rusted Nuka-Cola bottle. Finally, there's also one on the long table decorated with a lot of pumpkins in the warehouse with the Tinker's Workbench. Just look for an over-abundance of pumpkins for the right area. |
| Deathclaw Island | Just one on this tiny island and it's on the bench on the northern bank of the island. Just watch out for the Deathclaw, she's very protective of it. |
| Marigold Pavilion | Head into the Attic inside the pavilion for this one bobblehead. It's by the support beam bear two mattress beds. |
| Hunter's Ridge | Look for the north-eastern treehouse shack with the mattress and a metal bucket. It should be on the corner of the wooden floor attacked to the roof, but the one bobblehead may have fallen off due to the rather tight platform it's on. |
| Morgantown Train Yard | In the main tower of the main building. You'll find this one bobblehead on the top floor, next to the desk next to a radio. |
| Morgantown Airport | Look to the south-west corner of the Responder Laboratory Hanger, specifically on the shelf, for this one bobblehead. |
| Morgantown High School | There's three of them. Thr first is on the tall bookshelf that's in the office with blue-checkered wallpaper. The room has a level 2 lock. The second is in the closed stall in the boy's toilets, while the third is in the gymnasium. Look for a basketball hoop without aa pole in the upper storage roof in the south-western part of the room, which can be accessed by jumping from the stands. It's on a cinder block. |
| Portside Pub | Just the one here. It's on the rusting AC units on the roof. |
| Mama Dolce's Food Processing | Mama Dolce loved bobbleheads as there are four here. All four are in the Fujiniya Intelligence Base. One is by the door in the north-eastern corner of the dorms on a cabinet shelf. A second can be found in the laboratory chamber between a ladder and Protectron pod on a shelf. The third is on the linked computer/phone terminals in the south-western corner; there's a Chinese flag on the floor. Lastly, the final one is in the main processing chamber, on top of the mainframe computer. |
| Vault-Tec University | You'd expect these here and there are three of them. The first is inside Room 203, which is the Dean's office, and is behind the filing box on the filing cabinets. The other two are in the simulation vault; one being near the black mirror and sink of the shower room near the gym, while the other is inside the upper fridge in the cafeteria, behind the counter. |
| Grafton Dam | Look for the one bobblehead on metal typewriter desk in the blue office hut. It's on the top floor. |
| Gauley Mine | You'll find three here. One is in the left-hand locker on the south-west corner of the locker room. The locker room itself is south of the entrance, going into the mines. Your second is at the end of the first mine tunnel on the ceiling supports, while the third is on the top edge of a blackened wall AC unit with a light above of it. This is north-west of the main generator and gantry chambers. |
| Arklos Pharma | Just one very corrupt Bobblehead in Arklos Pharma, which is in the Protein Sequencing Lab, between the Terminals and the collection chamber. |
| Greg's Mine Supply | Greg has his own one little Bobblehead placed on the desk left of Greg's terminal. |
| Bolton Greens | A whopping five to be found here. They're in the baby pram by the playground just outside the mansion, near a golf bag in the golf-course deception office that's accessed via the locked door in the kitchen, on the north mezzanine balcony with an onrate side table, on the concrete steps found on the roof of the mansion itself, and the western corner of the upstairs bedroom with the brick fireplace - look for the small table. |
| New River Gorge Resort | Go across Interstate 59 once you've completed the adventure course in the woods. You'll find it inside the top platform of the adventure tower. You can also use enhanced jumping to get to this one. |
| Horizon's Rest | Two to be found here. One is in the cockpit of the crashed airplane on the floor, while the other is on the metal table next to a safe with a level 1 lock, and a jail key. The building is attached to the electrical pylons. |
| Relay Tower HN-B1-12 | This one can be found on the computer bank in the southern corner of the hut inside the tower complex. |
| Tygart Water Treatment | A small wooden crate near the two mattresses in the Raider base defensive wall houses this one Bobblehead. |
| Ohio River Adventures | Just the one here, which is inside the fishing boat and on top of the computer. |
| Silva Homestead | There are two to be found here. One is in the red silo barn on the desk by the Arktos Pharma Terminal, while the other is on the dresser along the north-western wall of the bedroom of the roadside farm house building. |
| Lewis & Sons Farming Supply | You'll find three of them here. The first is in the greenhouse by the cash register, while the second is on the upstairs balcony of the large metal tractor barn, south-east of the complex. The final one is next to the Power Armor station in the large metal tractor barn. |
| Kanawha Nuka-Cola Plant | Look for the three in the following locations. The first is on a section of the mainframe computer in the sunken loading dock. You'll need a lockpicking skill of 3 to access the hatch on the roof by the orange/white trailer. Another is behind the locked door (level 1) in the pantry insiode the wonderfully named "Snackability R&D Lab" on the upper floor, while the last one is in the open locker in the locker room between the two big chambers of the plant. |
| The Giant Teapot | Just two here. One is by the toilet in the gift shop, while the other is below the cash register inside the Red Rocket Gas (Petrol) station. |
| Posiedon Energy Plant WV-06 | Another massive place with five Bobbleheads! The first is at the end of the two T-Shaped pipes entering the first of the two cooling towers, near a skeleton with tons of chems littered around it. There's another skeleton with lots of chems and a Bobblehead around one in the west corner of the expansion cooling tower and you can access the area via the stairs on the north-east side of the main building, though you may need enhanced jumping to get to this. Another is on the roof at the end of the highest scaffolding. Look for the crates. A third can be found in the largest pool of the Fuel Storage chamber on a submerged girder. Finally, the last one is in the reactor room on the south-side girders. You'll need to jump from the computer bank to the gantry to reach this one, so do take care not to fall off. |
| Charleston Railyard | You'll find this one on a table in the cabinet office in the brick office building. There's a Mr Handy billboard on top of it. |
| Hornwright Summer Villa | This one is on top of the gazebo near the greenhouse. |
| Torrance House | Just the two here. One is on the top corner of the stone wall surrounding the hedge maze, while the other is a bit of a voyeur on the corner of the roof of the eastern battlements, as it's just east of the skeletons getting intimate with the word blocks nearby spelling out "Hubba Bubba" - the dirty fiends! |
| Riverside Manor | The two Bobbleheads are inside the manor. One is in the bureau of the master bedroom on the second floor, while the other is in the corner bedroom along the west wall on top of a dresser. |
| Overlook Cabin | Two more here. One is outside by the broken windows of the north side of the cabin, next to a pool table and game room, while the other is on the rock cliff on a ledge halfway down just shy of the stone driveway wall and a blue car. |
| Burdette Manor | Look for these two Bobbleheads on the floor near the western side of the manor, and on a narrow ledge on the cliff below the cluster of soot flowers. |
| Summerville Docks | This location has three of them. One is in the dried out lake bed north-east of the boathouse by the red fishing boat, while the other two are in the fish store shack on a metal shelf, and in the red storage shed on the north-west corner with a dingy propped up against the side. |
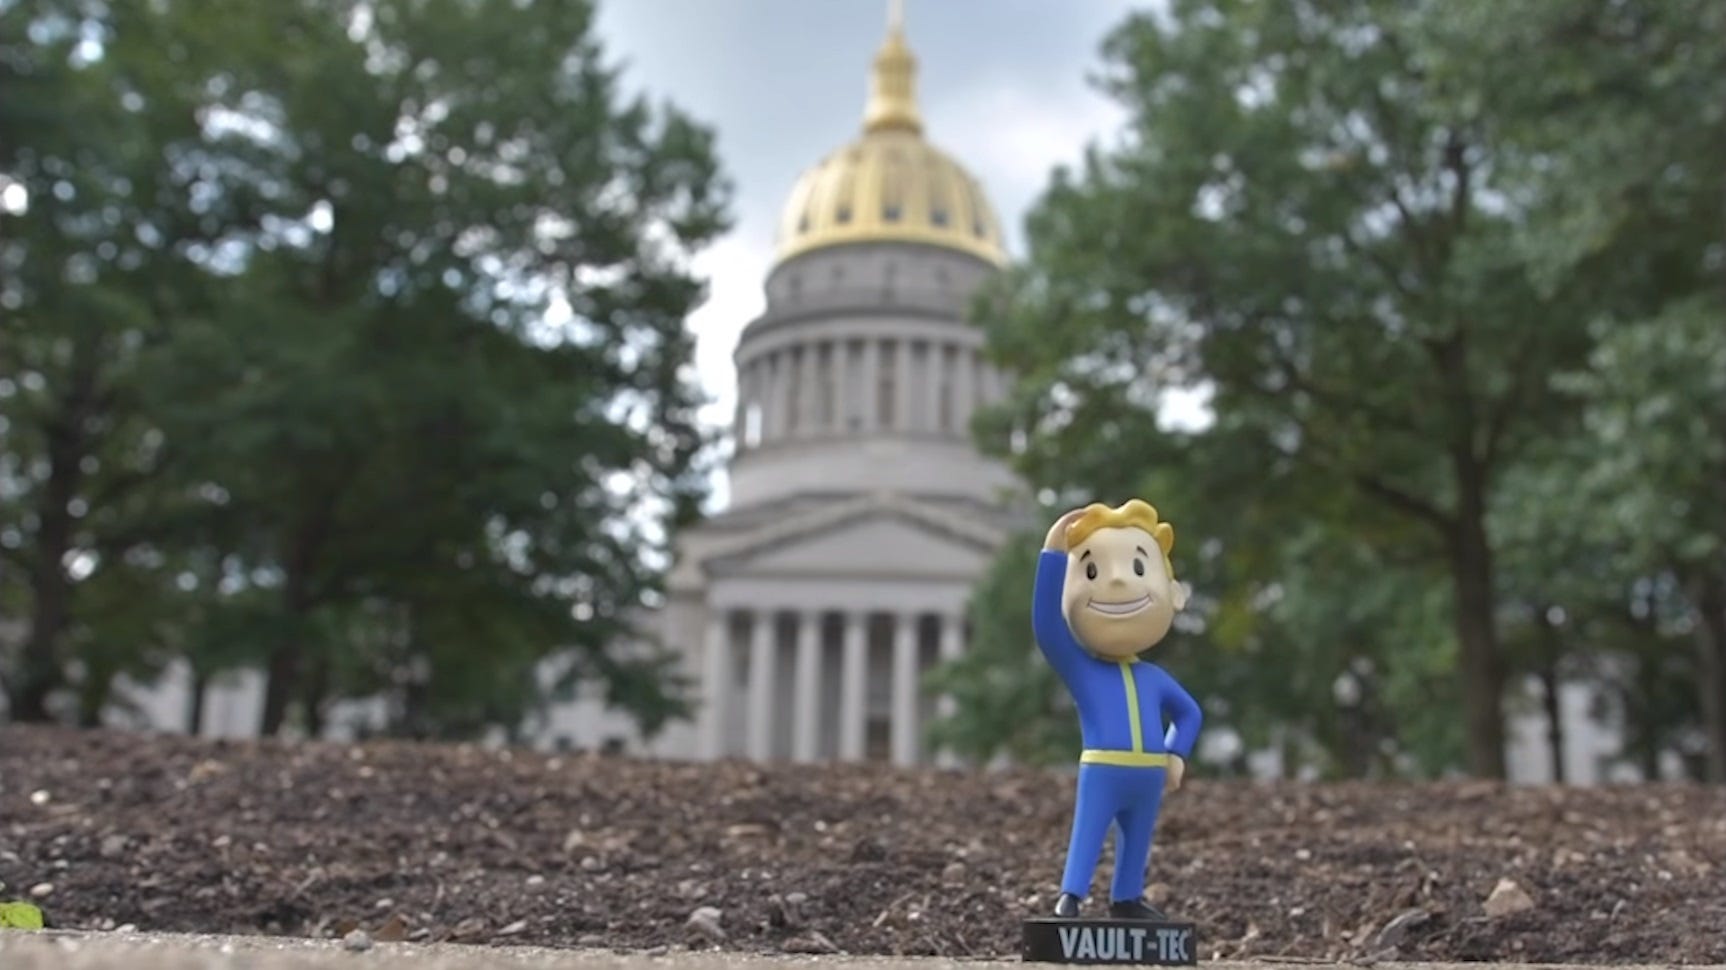
| Charleston Capitol Building | Seems the officials only have one Bobblehead, which is on the judge's table in the first courtroom. It's marked "State Courthouse". |
| Hornwright Industrial HQ | There are three bobbleheads up for grabs here. The first is on Floor 03 in the southern corner of the Reactor Lab room, while the second is in the sunken floor area of the External Connection System Chamber in a tiny alcove of the red mainframe computer by the Protectron Calibration pad. The last one is in the sub-level basement where you'll find an alcove next to the jutting part of red mainframe computer in the northwest of the room. |
| AVR Medical Center | Doctors must love Vault-Boy as there are four Bobbleheads in this facility. The first is on top of the ceiling light near a dropped skeleton in the reception area. Shoot this one down as it's quite difficult to reach otherwise. The second is next to a terminal found in the eastern balcony on the second floor, just above the massive hole leading to the basement/cafeteria area. Your third one is in the south-side office that's accessed via the hole in the wall on the north-east corner alcove in the office, while the last one is near the terminal shelf in the upper lab room with the Chemistry station. |
Region 2: Toxic Valley
| Location | Directions to Bobblehead |
|---|---|
| Wavy Willard's Water Park | Wow, there's four I've found so far. The first is in big building with the zebra ride in the centre of the park has a staff entrance near some dumpsters and a broken fence. Follow until you find the fusion core. The bobblehead is on top of a toolbox. The second is in the Brick building in the southern part of the part with "Employees Only" near a drained pool. Above the crafting table. The third is inside the giant alligator's mouth, while the fourth is in the lockers near the entrance. Look at the end locker on the left side of the middle section. |
| Philippi Battlefield Cemetery | Just the one to be found here. Enter the museum and check under the counter. |
| The Crosshair | Two can be discovered here. One is in the human cage that's toppled sideways at the back of the cave's alcove, while the other one is left of the Armor Workbench in the north-eastern part of the camp, beyond the hanging pole that's being used to hoist a Radstag carcass. |
| Clancy Manor | Head to the roof outside of the manor itself. It's on the wooden board between the two windows. |
| Cobbleton Farm | This one Bobblehead can either be found on the central beam of the roof, or the centre of the shack that's below it. |
| Lady Janet's Soft Serve | Just the one and it's either on the windowsill with four coloured sheets fixed to it, or the apex of the broken trailer near the level 1 locked safe, northwest of the ice cream trailer. |
| Becker Farm | Two here. The first is on the bedside drawers with the radio on it in the white house by the bridge. The second is right of the Industrial Trunk opposite the safe in the white farm house. This is south of the "aerosoliser". |
| Eastern Regional Penitentiary | This huge place has four Bobbleheads. The first is on top of a locked safe (Rank 0) in Cell Block B's upper level. It's close to a crumbling floor. The second is below the northern watchtower outside the prison perimeter on a rock outcrop. The third one is by the Caps Stash that's found by the chimneys on the roof of the Penitentiary building, while the final fourth one is on the corner of the mainframe computer inside the middle watchtower. |
| Kiddie Corner Cabins | This one is on the desk inside the ruined trailer north of the cooking station. |
| Black Bear Lodge | Find this one on the metal desk near the door to the huntsman's office in the basement of the lodge. |
| Pioneer Scout Camp | Two to find here. The first is on the edge of the picnic table in the upper dining area of the mess hall, while the second is on top of the adventure tower. You'll need to do some platforming to reach the top, so jump along the log ramp and wooden platforms that are attached to it. |
Region 3: The Ash Heap
| Location | Directions to Bobblehead |
|---|---|
| Camden Park | There's a rather significant number of them here. The first is below the sign that says "Minor Miner Zone", there is a mine cart with a skeleton in it. Another is found in the employee's warehouse between the two filing cabinets. There is another one in the hut on the Widow's Maker ride, while the fourth is in the middle of the Widow Maker ride (not on it) with the ruined stall. |
| Relay Tower HG-B7-09 | This one is on the roof of the hut at the base of the tower mast. There should be skeletal remains nearby. |
| Belching Betty | Four to find here. The first is by the body of Rita Wilcox, on top of a metal table by the mainframe computer. Another is in the corner of the shelves by the storage and locker room down the main steps while a third is at in a tunnel alcove in the long conveyer belt room. Finally, there's on on top of a tool box in the trailer inside the mine close to the Chemistry station. |
| The Rusty Pick | Two here, one is just before the level 2 locked double doors behind Mick Flannigan's terminal, while the second is at the end of a dead end in the cavern behind a half-buried barrel. |
| Beckley | Two to find here, with the first being on a green card table on the defensive wall in the southern side, in the middle of town. The second is on the roof of the inaccessible store that's south of the gas station on the eastern side of town. There's structures to the west where you can access it and it's by the air conditioner. |
| Sal's Grinders | One is on the desk by Sal's Personal Terminal, in the large upstairs bedroom, while the second is on the roof of the inaccessible gun shop that is reached by the hole inside Sal's Grinders upstairs building. |
| Mount Blair Trainyard | Four here. One is in the north-western area by the conveyer belt in Abandoned Mine Shaft Elaine, while the second is on the southern edge of the roof at the foot of the chimney of the western trainyard. A third is on the northeastern corner of the east trainyard roof by the chevron plate, while a final one is on the girder of the L-shaped pipe attached to the metal tower. This is accessed with enhanced jumping or explosives. |
| Mount Blair | Two more here. The first requires the ID card for the bulldozer gargage, while the second is on the oval table in the west-based trailer. |
| Rollins Work Camp | Just the one here and it's under the cables on the roof of the bucket excavator. You can access it by the gantry nearby. |
| The Burning Mine | Four more to be found here. One is on the metal mainframe computer in the upper break room (it has a jukebox), while a second is on the metal shelf behind the fusion core generator on the western side of the room with a large gantry platform. A third can be found on the blue conveyor attached to some yellow machinery in the huge tiered chamber inside the mine, while the final one is on the tiered rock area with the burning coal halfway down the smoke-filled room. It's in the yellow crate trolley. |
| Widow's Perch | Just one here. At the end of the plank linking the shack to the billboard, it's at the foot of the opposite fence post to the one with the radio. |
| Uncanny Caverns | Four more to find in the Uncanny Caverns. One is by Nuka-Cola machine by audio tour #1, and a second above the skeleton in the cave close to audio tour #6. A third is by a patch of glowing fungus across from "cold deep" water - close to audio tour #7, and by audio tour #8 tyhere is a crease in the wall left of two sleeping bags and right of the cooking station. |
| Bastion Park | Two to be found, with one in the school bus next to the fountain and the other on the bench with two skeletons on it near the flagpole to the north side of the park. |
| Lewisburg | Two more here. One is on the crate in the rooftop "living room" on top of the two storey high white building. A second can be found in the upper floor of the Visitor Center, close to the toilets. It's on or close to the writing desk. |
| Big Bend Tunnel West | Just one on top of the filing cabinet in the central mine warehouse in the middle of the tunnel itself. You need a key to access. |
| AMS Testing Site | One more in the southern warehouse close to the fusion core generator , or behind the two concrete barriers near the Power Armor Station. |
| Red Rocket Filling Station | South-eastern corner of the roof of the filling station. Jump up via the cylinders and trailers, though Enhanced Jumping may be required. |
| Hornwright Testing Site #03 | This one is on the blue mainframe computer at the end of the main gantry. |
| Striker Row | Two here, one on the dashboard inside the coach, while the second is on the metal desk inside the blue and white metal trailer at the top of the location. |
| Garrahan Mining HQ | Look in the CEO office on the white shelf for this one. |
With that, our guide for Bobbleheads is complete, but there's also the magazines that are strewn around as if the printing press went out of control. Look at our Fallout 76 Magazines guide for all the locations found thus far and how magazines differ from Bobbleheads. Also keep checking back as we spend more time with the game, but in the meantime you can head over to our Fallout 76 perk cards guide for more on how different perks work to just about any other Fallout game. There are also brand new mutations that you can find out more about in our Fallout 76 mutations guide.